
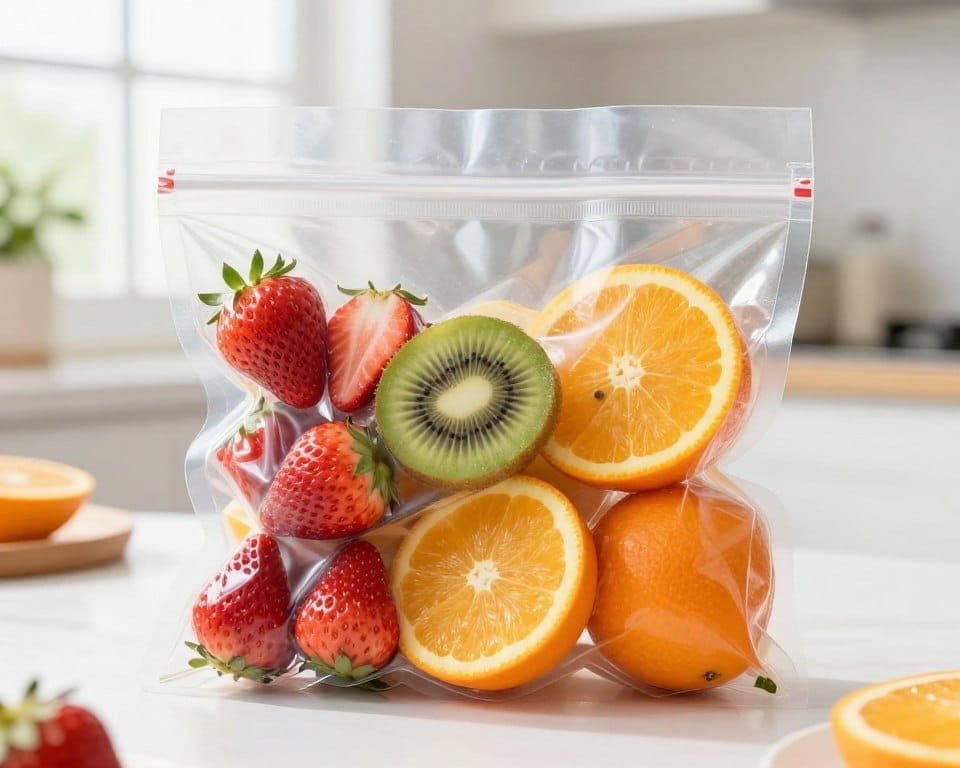
Quick answer: I test this at home and I find that can you vacuum seal cut fruit helps most for firm pieces headed to the freezer and less for ripe, soft pieces that bruise easily.
The process removes air to slow oxidation and helps reduce freezer burn. Results depend on the produce quality and storage steps. I like to flash-freeze delicate slices first—this keeps bags from turning into mush.
I’ll walk through simple, practical steps for meal prep, smoothie packs, and longer storage. I’ll name the key variables: ripeness, surface moisture, sealer pressure, and fridge versus freezer choice.
Why try it? You get less browning and longer usable life for firm pieces. But remember: vacuum sealing does not make old produce fresh again.
Key Takeaways
- Best for firm, just-ripe pieces going into the freezer.
- Flash-freezing prevents crushing of delicate slices.
- Removes air to slow oxidation and cut freezer burn.
- Quality at packing time sets the storage outcome.
- Use simple labels and rotation to reduce waste.
Quick answer: when vacuum-sealing cut fruit works best
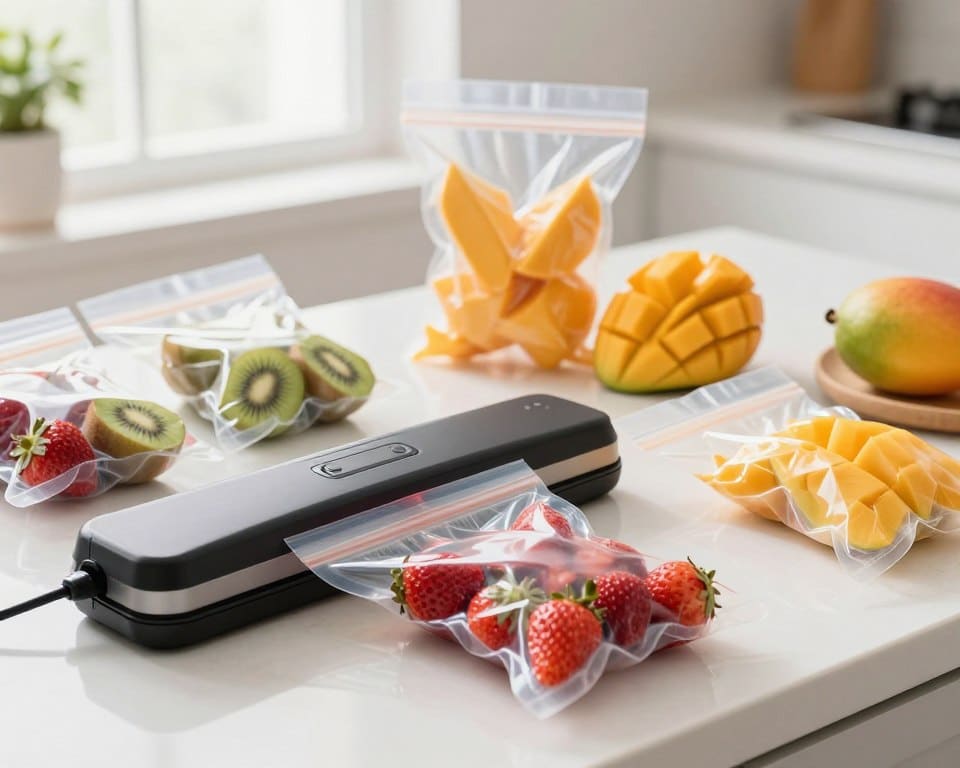
When I draw most of the air away, slices hold color and texture longer in cold storage. Less oxygen on exposed surfaces slows oxidation and limits dehydration. That helps extend shelf life and keeps taste closer to fresh.
What changes when air is removed
Less oxygen contact: Wet, exposed surfaces brown more slowly. That preserves appearance and some nutrients tied to oxidation.
Less freezer damage: During freezing, reduced air helps minimize freezer burn and off flavors over time.
What it cannot do
If pieces are bruised, fermenting, or slimy, sealing only traps the problem. Microbes still grow if temperature control fails. This is a storage aid — not a fix for poor-quality food.
Best home uses
- Portioned snack packs for quick grabs.
- Smoothie-ready bags to save prep time.
- Longer-term freezer storage to protect texture and reduce freezer burn.
Simple rule: keep slices in the fridge for short-term eating; put them in the freezer for longer time and better texture control.
Can you vacuum seal cut fruit
A gentle approach to liquid and pump strength keeps slices from collapsing or leaking. I answer plainly: yes — but only with care 😊.
Why it needs attention
Weeping happens when a piece sheds juice. That liquid pools near the edge and weakens the seal. Strong suction can squash soft pieces. Pre-freezing or a light pulse helps protect texture.
Why slices act different
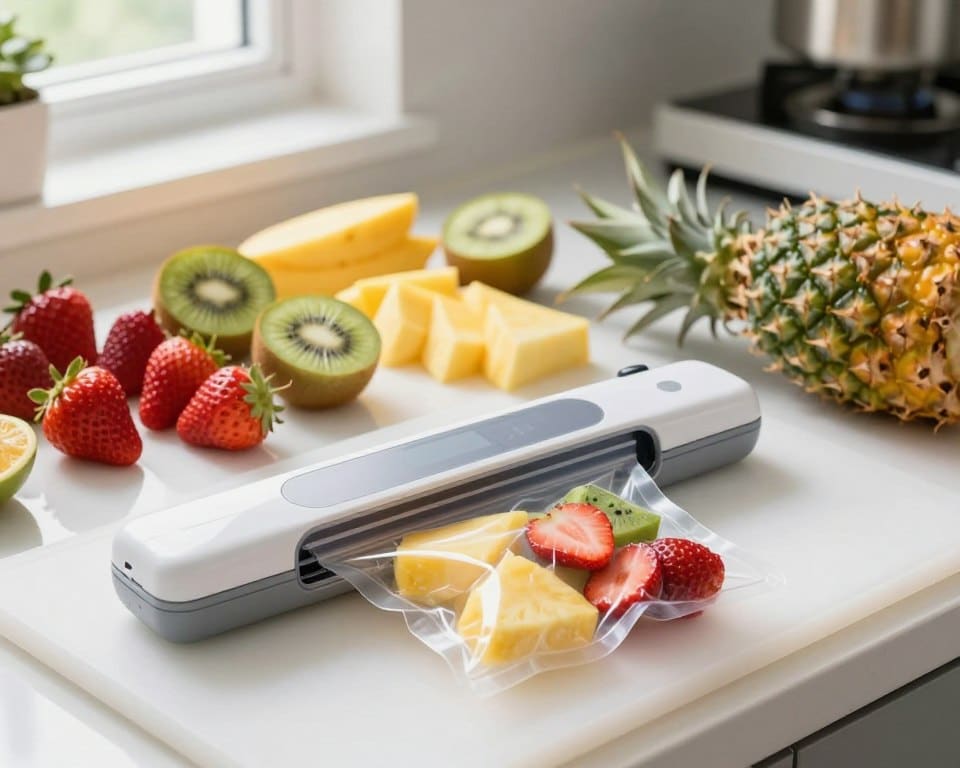
Slices show more exposed surface area. More oxygen meets flesh. That speeds browning and moisture loss. Whole items hold up longer for the same storage time.
Fridge vs freezer — a quick guide
- If eating in a few days, store in the fridge for ready texture.
- For longer shelf and texture retention, choose the freezer after flash-freezing delicate pieces.
- Use a single-layer pack in each bag and dry surfaces first.
| Item | Fridge (days) | Freezer (life) |
|---|---|---|
| Apple slices | 3–5 | 6–12 months |
| Melon chunks | 2–4 | 6–10 months |
| Berries | 1–3 | 6–8 months |
I pack apple slices for lunches, melon for snacks, and smoothie mixes for busy mornings. Remember: vacuum sealed does not mean shelf-stable. Cold temps still set safety and usable shelf windows. For more tips on handling moisture and packing, see the benefits of vacuum sealing fresh.
Tools and supplies for vacuum sealing fruits and vegetables
Picking the right tools makes the whole process gentler on delicate produce. I keep my setup simple and reliable.
Suction vs chamber machines
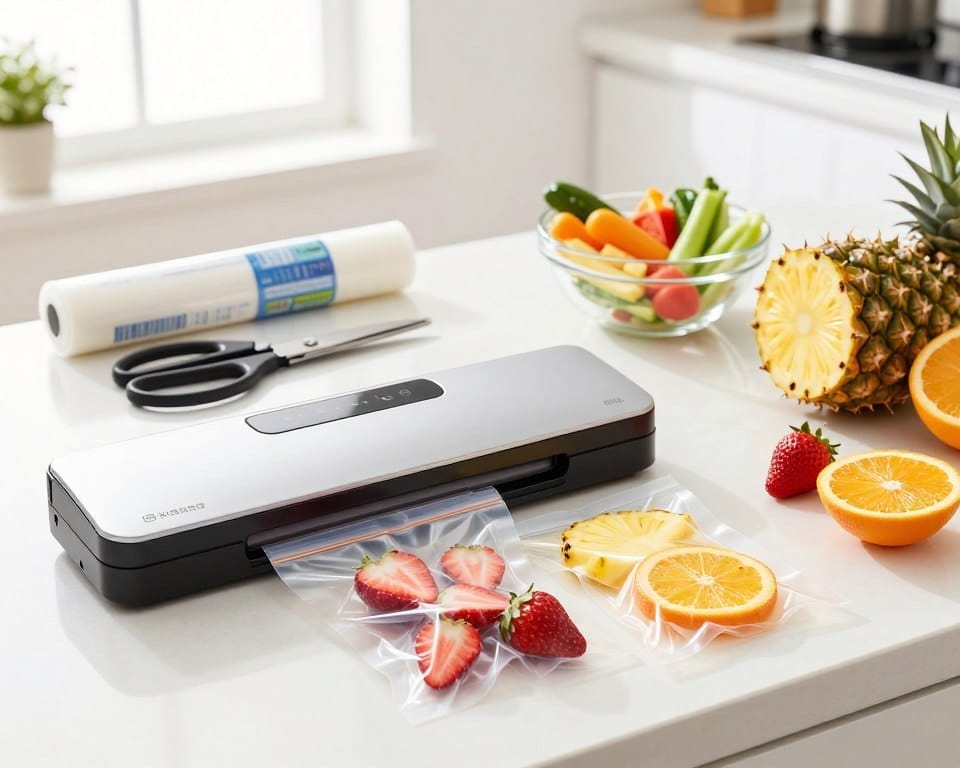
Suction models are common at home. They work fast and are fine for firm items and most vegetables.
Chamber machines handle soft, juicy produce better. Air leaves the whole chamber evenly, so the bag does not clamp down harshly. Many have a “soft air” feature that eases pressure back in—great for berries and tender slices.
Bags, rolls, and sealing strip width
Use thicker, freezer-safe bags or rolls for longer storage. Good channeling helps remove air without dragging juices into the edge.
- Bag types: heavy-duty freezer bags, rolls for custom sizes.
- Sealing strip width: wider strips make stronger seals when moisture is present.
- Quick checklist: clean, dry bags; scissors or cutter; sheet pan for flash-freezing; labels and marker.
| Tool | Best for | Why it matters |
|---|---|---|
| vacuum sealer | Firm slices, vegetables | Fast, compact, good for day-to-day packing |
| Chamber sealer | Soft berries, high-moisture items | Gentle pressure; handles liquids and “soft air” |
| Freezer bags / rolls | Long-term storage | Thicker walls; custom sizing reduces empty space |
How to vacuum seal cut fruit without crushing or leaks
Start with the freshest pieces—bright, firm, and free of soft spots—because packing quality sets the whole result. I skip bruised items; they speed spoilage and ruin a bag.
Prep: wash, trim, and dry
Wash gently, trim bad bits, then pat dry. Excess moisture drags into the sealing zone and weakens the seal.
Flash-freeze and blanch when helpful
Flash-freeze delicate slices on a sheet pan until firm—this protects texture during sealing. For peaches or tomatoes, a brief blanch loosens skins for easier peeling before freezing.
Packing and machine settings
Lay a single layer with a finger of headspace above the food. Avoid overfilling; sticky juice near the edge kills seals.
Use “dry” mode for firmer pieces and “moist” for juicy items. When available, use a gentle or pulse option to reduce crushing.
Chamber perks and high-moisture warnings
Chamber machines with soft air ease product distortion by returning pressure slowly. Watch liquids—pressure drops can make cold juice boil; pre-chill or stop early if vapor rises.
- Troubleshoot: seal fails = wet bag mouth; fruit crushed = vacuum too strong.
- Juice in channel = flash-freeze longer; leaky corners = overfilled bag.
Best fruits to vacuum seal vs fruit to handle differently
Some fruits hold up beautifully under low‑air packing, while others need extra steps to stay pretty and tasty. I sort items by firmness before any work. That simple move saves messy bags and wasted snacks. 😊
Great candidates
- Apples (sliced): quick prep, keep color with lemon or ascorbic dip.
- Citrus segments: stop drying; great for lunches and recipes.
- Melon (sliced): sturdy when flash‑frozen first.
Needs pre‑freezing
Strawberries, raspberries, blueberries, blackberries: wash, dry, freeze on a tray, then use low‑air packing to avoid smashed berries.
Special notes
- Bananas: low‑oxygen packs speed ripening — slice and freeze first for smoothies.
- Dehydrated snacks: sealing keeps dried pieces crisp and stops staling.
- Avoid whole apples or whole melons for long storage. Mixing many types in one bag changes textures and may shorten store life.
| Category | Best practice | Prep | Store |
|---|---|---|---|
| Apples (sliced) | Excellent | Dip, dry | Fridge/freezer |
| Berries | Pre‑freeze then pack | Wash, dry, tray‑freeze | Freezer |
| Bananas | Freeze slices first | Peel, slice, flash‑freeze | Freezer |
| Dehydrated | Great for pantry | Keep dry | Pantry or freezer (vacuum sealed) |
How long vacuum sealed cut fruit lasts in the fridge and freezer
Storage life varies wildly — from days in the fridge to years in the freezer when packed right. Short fridge windows are normal; cold and cleanliness still matter. Strong seals and dry mouths slow browning and extend shelf life.
Freezer shelf-life examples (published charts)
| Item | Normal freezer life | Vacuum sealed life |
|---|---|---|
| Berries | 6–8 months | 2–3 years |
| Peaches / Plums | 6 months | 1 year |
| Pineapple | 1 year | 2–3 years |
| Mango / Apricots | 6–12 months | 1–3 years |
What changes these timelines
Ripeness at packing: ripe pieces lose quality faster. Pack the freshest pieces to extend shelf life.
Sealing quality and bag integrity: weak seals or punctures let air back in and cut useful life. Keep bags clean and check seals.
Storage temperature and handling: freezer swings shorten life. A steady cold keeps texture and flavor longer.
Labeling and rotation for home storage
I mark every bag with type, cut style, and the date packed. Then I add a personal use-by window in days.
- Write: item / slices or chunks / date packed.
- Use first-in, first-out to reduce waste.
- Pack small portions so nothing sits too long.
When to consider preservative gas
For sliced produce sold commercially, MAP or gas flushing (nitrogen + carbon dioxide blends) helps extend shelf life beyond home methods. It’s handy to know for small businesses, but not required in a home kitchen.
For more tips on packing and to learn how to extend shelf life at home, see the benefits of vacuum sealing.
Conclusion
Bottom line: fresh pieces, dry surfaces, and a gentle pulse deliver the best results for longer storage and preserved nutrients.
Two simple success moves: flash‑freeze delicate slices first and keep moisture out of the bag mouth while sealing.
Use this method for: meal prep packs, smoothie bags, and freezer storage to extend shelf life and cut freezer burn on snacks and veggies.
What it won’t do: it won’t revive old food or replace good cold‑storage habits—temperature control still matters.
Label and rotate every pack so saved time becomes less waste. For a quick refresher on tools and steps, see the benefits of vacuum sealing. I hope this guide makes sealing an easy, reliable way to keep healthy snacks ready and tasty!
Leave a Reply