
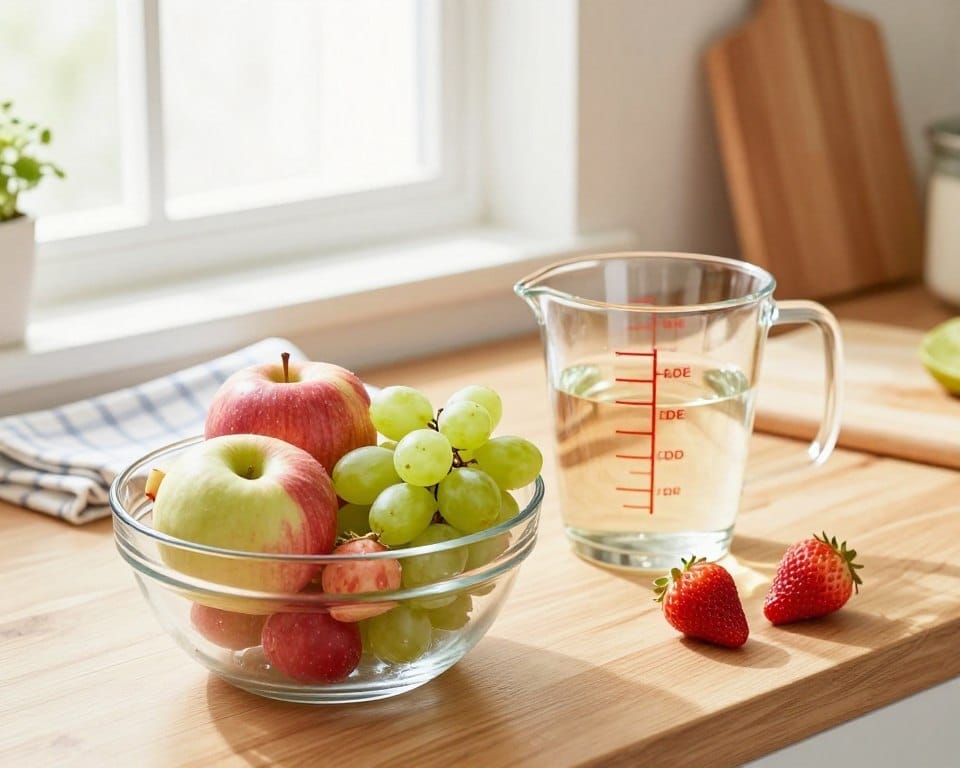
I use a simple, kitchen-friendly fruit wash vinegar ratio safe enough for everyday use: one part white vinegar to three parts water. This quick mix cleans produce gently, so you get brighter color and fewer surface residues.
Here’s the quick method I follow: mix the solution, soak items about two minutes, then rinse thoroughly and dry on a clean towel. This removes surface dirt and can reduce some bacteria—but it won’t sterilize what you eat.
Keep contact times short and use fresh solution for each batch. Don’t reuse cloudy water. Use one bowl, cool water, and a tidy towel—it’s an easy way to save time and keep snacks ready for the week.
Key Takeaways
- The recommended mix: 1 part white vinegar to 3 parts water for a short soak.
- Soak roughly two minutes, then rinse and dry on a clean towel.
- This method helps remove surface grime and some microbes but does not sterilize.
- Discard cloudy solution; don’t reuse across batches.
- Works for most produce; follow specific tips for delicate berries and melons.
Quick answer: the simplest vinegar-water ratio and soak time
Quick start: one easy vinegar-to-water mix and a short soak. I keep this in my kitchen notes so I can prep fast.
The basic step: use 1 part white vinegar to 3 parts water and soak for about 2 minutes. Then rinse under running water to remove any lingering tang.
How “1 part” looks in the kitchen
One part means equal measures. For a countertop batch, mix 1 cup white vinegar with 3 cups water in a large bowl. Swish gently, soak ~2 minutes, then drain and rinse.
Alternative mixes and when to use them
Some recipes use a milder bath: 4 cups water + 2 Tbsp apple cider vinegar and a 10-minute soak. I use that for delicate produce or when I want less smell and less softening.
| Mix | Example | Best for |
|---|---|---|
| Stronger (25%) | 1 cup vinegar + 3 cups water | Firm-skinned items; quick cleaning |
| Milder | 4 cups water + 2 Tbsp vinegar | Delicate items; less taste change |
- Exact soak time: 2 minutes for the basic method; up to 10 minutes for milder mixes.
- Step order I follow: mix solution, soak, swish gently, drain, rinse, dry.
- Make sure you rinse under running water so the taste does not linger.
Want a bit more detail on using apple cider versions correctly? See my short guide on apple cider vinegar rinses.
Why wash produce at all: dirt, handling, and foodborne illness risk
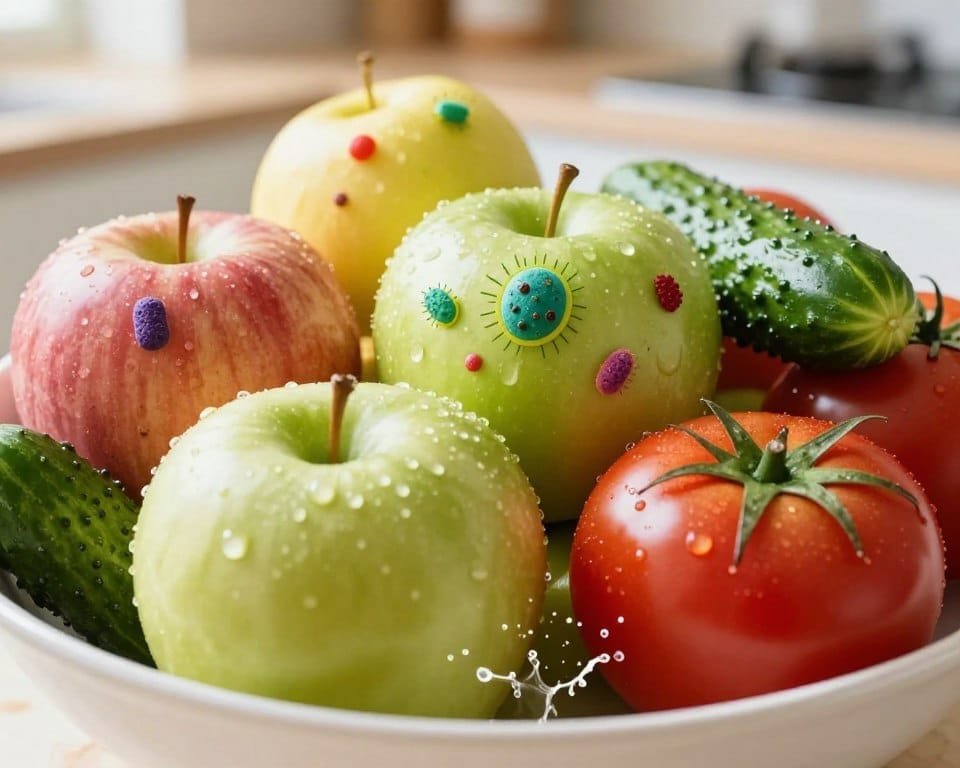
I always rinse produce because dirt and handling leave more than meets the eye. Farms, packing lines, trucks, and stores all touch items before they reach your kitchen. That handling can add visible dirt and invisible bacteria.
When you cut an unclean cantaloupe or onion, germs on the rind can travel to the knife blade and then to the inside you eat. This simple transfer is a common way contamination moves from peel to plate.
Common pathogens linked to raw produce
The big names to know are E. coli, Salmonella, and Listeria. These organisms have been tied to outbreaks from raw vegetables and fruits in public health research and surveillance (see CDC reports).
Baseline guidance from authorities
The FDA recommends rinsing fruits and vegetables under running water and scrubbing firm items before cutting or eating. This reduces surface dirt and some microbes, but it does not guarantee that internal contamination is removed. For more on gentle acidic rinses and options, see my short guide on apple cider vinegar rinses.
- I rinse to lower visible dirt and to cut down on bacteria that cling to peels.
- I scrub firm produce like melons and potatoes with a brush under running water.
- Washing is a smart habit—not a cure-all; cooking and proper storage also protect food safety.
fruit wash vinegar ratio safe: the best dilution for most fruits and vegetables
For everyday prep, a mild acidic bath is my go-to to loosen residues and freshen items. 😊
I stick with 1 part white vinegar to 3 parts water and use cool water. This mix is easy to scale and gentle on mixed produce.
What “1:3” means in kitchen measures
Here are quick, practical measures you can use right now.
| Batch size | Vinegar | Water |
|---|---|---|
| Small (jar) | 1 Tbsp | 3 Tbsp |
| Countertop (bowl) | 1 cup | 3 cups |
| Family batch | 2 cups | 6 cups |
White vs apple cider vinegar
Both rely on acetic acid — the ingredient that helps loosen grime and reduce some surface bacteria. I prefer white vinegar because it is neutral in smell and color.
Apple cider vinegar works too if you don’t mind a hint of scent. Use either one sparingly and always rinse well.
Choosing water
Cool, clean water keeps produce crisp. Filtered water is nice if your tap water tastes off, but plain tap water is fine for most homes.
Quick note: a short soak and a good rinse remove visible dirt and some residues, but they do not remove all pesticides. For full guidance, see the pesticide section later.
Tools and setup for a clean vinegar bath
A little prep goes a long way—set up a clean station before you begin. I keep this quick so it fits into my weekly routine.
What I line up:
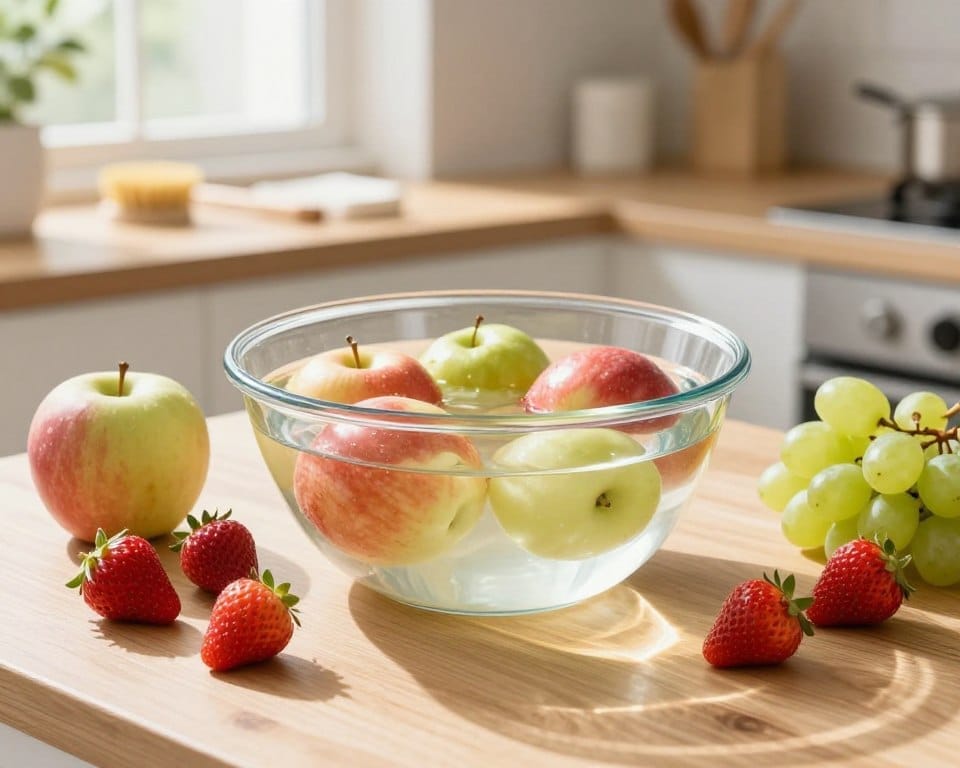
- A large bowl for the main soak — I use a bowl because it limits splashes and controls batches well.
- A second bowl or colander for rinsing and a clean towel to dry items right away.
- A clean vegetable brush for stubborn dirt on firm items and a pair of hands that were just washed.
Why choose a bowl over the sink
A bowl gives batch control and fewer cross-contamination risks. If you use the sink, scrub it well first and rinse it—sinks can hold bacteria.
Prep steps I follow every time
- Wash hands before and after handling produce—this is non‑negotiable.
- Scrub visible dirt with the brush on firm items, then place them in the bowl with the ingredients mixed.
- Set out the towel and the rinse bowl beforehand so flow is smooth and quick.
Quick tip: make sure you keep wet and dry areas separate to avoid drips and cross‑contamination. This simple setup saves time and helps keep your clean produce ready to eat. 😊
Step-by-step method to clean produce with vinegar and water
Let me walk you through a clear, step-by-step method I use to clean produce in minutes. I keep each step short so it’s easy to follow on a busy day. 😊
Sort by firmness and soil level
Group firm vegetables and firm fruits together. Put delicate berries in a separate bowl. Scrub very muddy items first so grime doesn’t cloud the main solution.
Numbered steps
- Mix a 1:3 vinegar to water bath in a clean bowl.
- Place firm items in the bowl; gentle items go in a second batch.
- Soak about 2 minutes, swish once, then drain.
- Rinse under running water to cut smell and remove residues.
- Pat or air-dry; store once fully dry.
Why short soaks are common
Short contact time — around two minutes — reduces surface grime and limits softening. This gives enough action to help loosen dirt and some bacteria without hurting texture.
Rinse and dry checklist
- Rinse each piece under running water for a few seconds.
- Pat dry with a clean towel or air-dry on a rack.
- Keep cutting boards separate until items are dry and ready.
Batch washing note: Dump the solution if it looks cloudy. Do not reuse dirty water — refill and rinse the bowl between loads to limit cross-contamination.
| Action | Time | Why it matters |
|---|---|---|
| Sort by firmness | 1–2 minutes | Prevents softening and keeps solution clear |
| Soak in vinegar water | ~2 minutes | Loosens grime and reduces some bacteria |
| Rinse under running water | 10–30 seconds per item | Removes smell and residual acid |
| Dry fully | 2–15 minutes | Stops trapped moisture from speeding spoilage |
Produce-specific guidance: what works well and what to avoid
Different items need different handling—here’s a friendly, practical guide. I keep routines short so busy families can use them every week. 😊
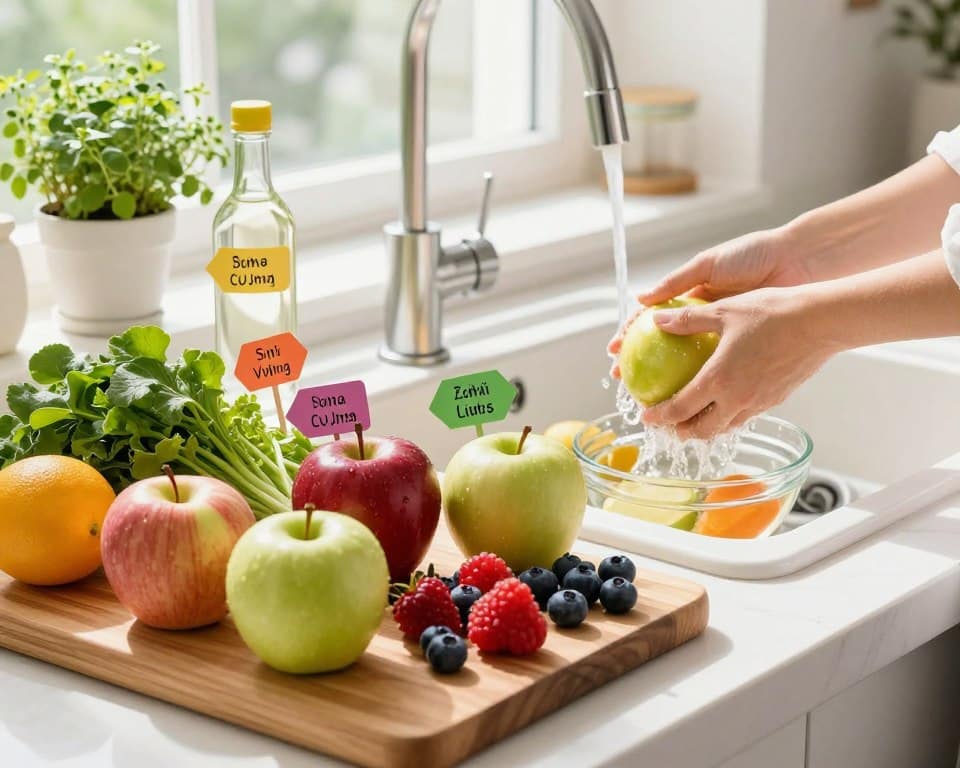
Edible peels: apples, cucumbers, peppers, tomatoes
These do well with a quick bowl soak and a light rub. I swish each piece once and use clean hands to remove stubborn dirt.
Tip: Short contact and a good rinse keep texture and flavor bright.
Inedible rinds that still need care: cantaloupe, onions
Even though you toss the peel, germs can ride a knife into the inside. I scrub rinds in a separate bowl before cutting.
Delicate berries and strawberries
Berries spoil faster after handling. Use a separate bowl, gentle swishing, and a quick drain.
Strawberries: pat dry thoroughly and plan to eat them sooner to extend shelf life.
What not to soak: mushrooms
Mushrooms act like sponges. I never soak them—just wipe with a damp paper towel or brush off dirt.
- Firm-produce technique: quick swish + light rub for apples and similar items.
- Keep berries in their own bowl; dry fully before you store.
- Scrub rinds before cutting to reduce transfer of germs.
| Type | Best method | Why |
|---|---|---|
| Apples / cucumbers / tomatoes | Quick bowl soak, rub, rinse | Removes dirt, keeps peel edible |
| Cantaloupe / onions | Scrub rind separately | Prevents knife transfer of germs |
| Berries / strawberries | Separate bowl, gentle swish, dry | Reduces spoilage and moisture trapping |
| Mushrooms | Wipe or brush | Avoids sogginess from soaking |
Want another quick cleaning trick? See my note on using baking soda for produce in a short guide.
Pesticide residues and buying choices: where washing helps and where it doesn’t
Picking organic sometimes comes down to budget — and a helpful list makes that decision easier. I use the EWG Dirty Dozen and Clean Fifteen as a simple guide. The Dirty Dozen flags items like strawberries, blueberries, and apples that often test higher for pesticides. The Clean Fifteen highlights produce that usually shows lower levels.
How I use the list: Dirty Dozen items are where I try to buy organic if I can. Clean Fifteen items I often buy conventional and still feel good about eating!
What washing can do — and what it can’t
Washing helps remove surface dirt and some surface residues. It does not remove systemic pesticides that the plant absorbed. Research shows results vary by item and method — so be cautious with claims.
| Helps | Doesn’t help | Why |
|---|---|---|
| Surface dirt and some residues | Systemic pesticides inside tissues | Topical residues sit on skin; others move into flesh |
| Lowering microbes with certain rinses | Eliminating all chemical traces | Studies show reductions, but not full removal |
| Guiding buying choices with a list | Guaranteeing zero exposure | Organic reduces some risk but is not absolute |
My practical tip: buy what you can afford, use the list to prioritize organic where it matters, then clean and enjoy more fresh fruits and foods without worry! 😊
Storage after washing: keeping fruit fresh longer without sogginess
The single trick that saves me time and prevents sogginess is thorough drying. I pat each piece with a clean towel or air-dry on a rack until no beads of water remain.
Why this matters: leftover water speeds soft spots and mold. That is especially true for berries — they go from perfect to mushy fast when trapped moisture sits in the container.
Paper-towel-lined airtight containers for berries and cut fruit
Use an airtight container lined with a single paper towel. The towel absorbs stray water and reduces humidity inside the box.
Replace the towel if it gets damp. For cut items, layer pieces in a single layer when possible so air circulates.
Meal-prep workflow: wash first to save time during the week
I wash and dry once on prep day, then portion snacks and recipes into containers. This saves time and makes grab-and-go eating simple!
Note: some berries taste best within two days after cleaning, even when stored well. If you want longer life, delay washing until closer to use — see this short post on how long can fruit sit in for timing tips.
- Start rule: dry everything fully before the fridge.
- Use paper towels to absorb moisture and keep airflow balanced.
- Label containers with the wash day to rotate stock and reduce waste.
If you have a favorite container trick or a favorite towel brand that works best, feel free to share it below — I love learning new tips! 😊
Conclusion
Let’s close with a no-nonsense takeaway you can follow in minutes. The simplest, reliable way I use: mix 1 part vinegar with 3 parts water, soak about 2 minutes, then rinse and dry before storing.
This routine helps remove surface grime on produce and keeps texture and taste bright for snacks and meals. It works well for many fruits and vegetables and fits into a weekly prep flow.
If you prefer, plain running water alone is an FDA‑endorsed option for cleaning produce—and it is perfectly valid when you want to keep things ultra-simple.
Two final success tips: don’t reuse cloudy solution, and dry items thoroughly so flavor and shelf life last. Keep it easy—cleaning should help you eat better, not add fuss! 😊
Leave a Reply