

Transplanting strawberry plants is a great way to propagate your existing crop and expand your berry patch. It can be an easy process if done correctly, but there are a few things to consider before getting started. In this article, we’ll cover the basics of how to transplant strawberry plants, including the best time for transplanting, how to prepare the new area for planting and how to properly move the plant itself. With the right knowledge and preparation, you can successfully transplant your strawberry plants and produce an abundant crop of sweet berries in no time.1. Choose a sunny, well-drained spot to plant your strawberry plants.
2. Test the soil in the area where you plan to plant; make sure the pH is between 5.5 and 6.5, and add amendments such as nitrogen, phosphorus, and potassium if necessary.
3. Water your strawberry plants thoroughly one day before transplanting.
4. Dig holes in the planting area that are twice as wide as the rootball of each plant and just deep enough to cover the roots when planted.
5. Place each strawberry plant into its hole and firmly press down on the surrounding soil to ensure good contact with the roots.
6. Prune any damaged or diseased leaves from each plant before planting, as well as any runners that may be attached to it coming from other plants in a group planting arrangement.
7. Water each plant after transplanting to help it settle into its new home and give it a good start for growth; keep the soil moist but not soggy until new growth appears on your transplanted plants.
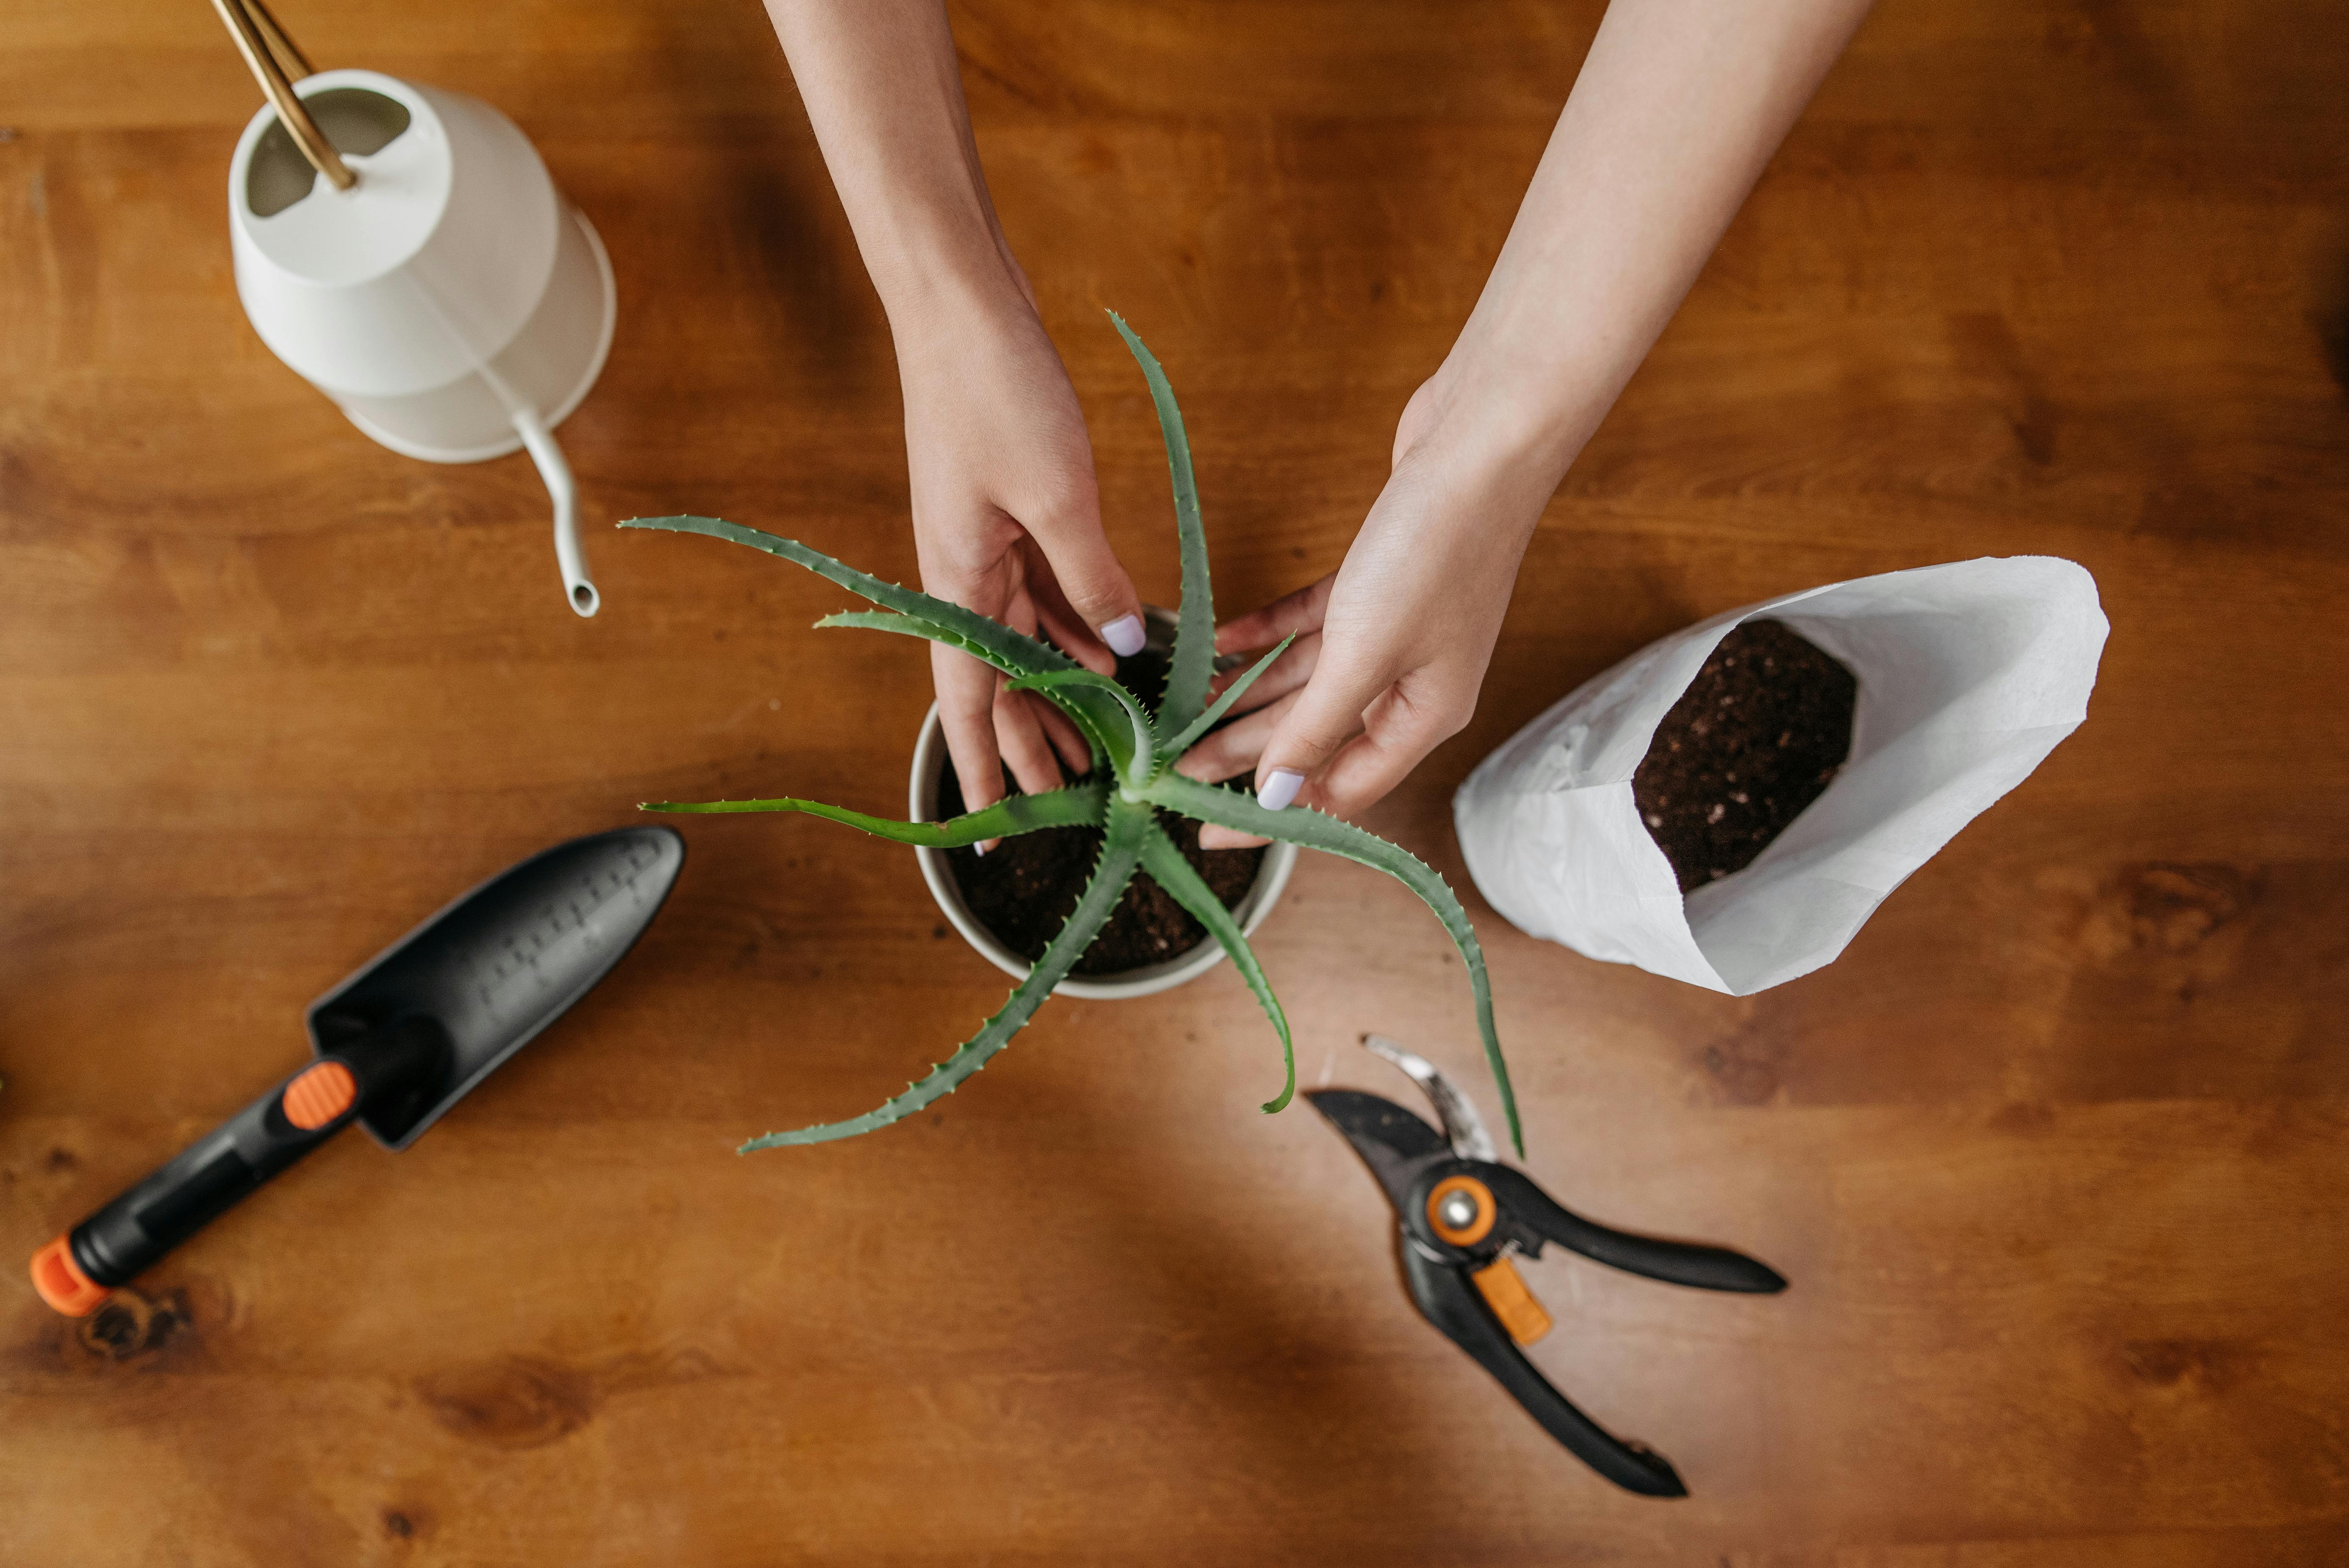
Gathering Supplies Needed for Transplanting
Transplanting is an important process when it comes to gardening, and it is important to ensure that you have all the necessary supplies on hand before beginning. To begin, you will need a shovel or trowel for digging up the plants, as well as a bucket or pot for storing them until they can be moved. Additionally, you will need watering cans or hoses for supplying water to the transplanted plants and soil amendments such as compost or fertilizer to provide nutrients. Lastly, you may also want to have some burlap fabric or plastic sheeting on hand in case the plants require extra protection from wind and rain during transport.
Gathering these supplies ahead of time will help make the transplanting process easier and less stressful for both you and your plants. Make sure that all of your tools are clean and in good condition before using them, and be sure to check that any soil amendments are safe for use with your particular plants. With these few simple steps, you can be sure that your transplanting project will go smoothly!
Choosing the Right Soil for Planting
When it comes to planting, one of the most important factors is choosing the right soil. Soil is a major factor in determining how successful your plants will be and how healthy they will remain. It is essential to select the correct soil for your plants so that they can thrive and grow to their full potential.
The type of soil you need will depend on what plants you are growing and what kind of environment they are in. Different types of plants require different types of soils, so it is important to consider the type of plant before selecting a soil. For example, some plants may require sandy soils while others may prefer clay soils.
The pH level of the soil should also be taken into consideration when choosing a soil for your plants. The pH level refers to how acidic or basic a substance is on a scale from 0 (very acidic) to 14 (very basic). Different types of plants have different requirements for pH levels, so make sure to select a soil that matches the needs of your particular plant species.
In addition to considering the type and pH level of your soil, it is also important to consider its texture. Different soils have different textures which can affect how well water and air are able to penetrate through them. Coarser soils tend to allow more water and air penetration than finer soils, so if drainage or aeration are concerns then coarser textured soils would be preferable.
Finally, when selecting a soil for planting, you should also consider its nutrient content and fertility levels. Soils with higher nutrient content tend to produce healthier and more productive crops than those with lower nutrient content, so make sure that you choose a soil that has adequate amounts of nutrients and fertilization for your particular plant species.
All in all, choosing the right soil for planting is an important step in ensuring healthy and productive crops. Consider the type, pH level, texture and nutrient content when selecting a soil for your particular plant species in order to maximize their growth potential.
Preparing the Strawberries for Transplantation
When it comes to growing strawberries, transplanting is an important step in ensuring a successful harvest. Preparing the strawberry plants for transplanting involves carefully assessing the growth conditions and taking steps to ensure that the plants have a good chance of thriving in their new environment.
The first step is to assess the soil quality of the new location. The soil should be well-drained, with a pH between 5.5 and 6.5, and plenty of organic matter added to help retain nutrients and moisture. When preparing for transplanting, it’s also important to check that there are no pests or diseases present in the new growing area. If any are found, steps should be taken to address them before proceeding with transplanting.
The next step is to prepare a hole for each plant large enough to fit its roots comfortably. This will provide adequate space for root growth and allow for proper drainage and aeration of the soil around the plant’s roots. Additionally, some compost or fertilizer can be added to provide nutrients for healthy growth.
Once each hole is prepared, it’s time to carefully dig up each strawberry plant from its current location along with as much soil as possible attached to its roots. After removing any excess soil from around the roots, place each plant into its new home and fill in around it with fresh soil before lightly packing down around its base so that it retains some stability during windy weather or heavy watering sessions.
Finally, water each newly transplanted strawberry well but not too much; too much water can cause root rot or other issues that can stunt growth or even kill your plants entirely. After watering, mulch around each plant with straw or other organic material of your choice to help retain moisture and keep weeds at bay while allowing air flow throughout their root systems.
Following these steps will ensure that your strawberry plants have a good chance of success after transplantation!
Digging and Moving the Strawberry Plant
Digging and moving a strawberry plant is an easy task if you know what you’re doing. If you are new to gardening, it is important to understand the process before attempting it. Before starting, make sure to have the right tools for the job. A shovel or spade, a bucket or container for moving the plants, and gloves are all necessary items.
When you are ready to move the plant, start by digging around the base of the plant with your shovel or spade. Make sure to dig deep enough so that you can get all of the roots without damaging them. Once you have removed all of the dirt from around the base of the plant, carefully scoop up its root system with your hands or a bucket and move it to its new location.
It is important to remember that when transferring a strawberry plant, keep as much soil around its roots as possible. This will help keep it hydrated until it has time to get established in its new location. After transferring your strawberry plant, give it plenty of water and add fertilizer if needed. Keep an eye on it for a few weeks after transplanting to ensure that it is getting enough water and nutrients so that it can thrive in its new home!

Setting Up the New Planting Hole for Transplantation
When transplanting a plant, the new planting hole is an important part of the process. It must be carefully prepared to ensure that the plant is able to take root and grow in its new environment. The size and shape of the planting hole will depend on the type of plant being transplanted.
The first step in setting up a new planting hole is to determine its size. Generally speaking, the planting hole should be two times the width and twice as deep as the root ball of the existing plant. This will allow for plenty of room for roots to grow and spread out, while also ensuring that there is enough soil to keep them healthy.
The next step is to prepare the soil in and around the planting hole. If possible, it is best to use a quality potting soil or compost mixture as this will provide extra nutrients for growth. Once this has been added, it should be mixed with existing soil from around the area so that it becomes well blended.
Finally, any rocks or debris should be removed from the planting area before transplanting begins. This will help prevent roots from becoming tangled or damaged during transplantation, while also helping to ensure that water can move freely through the soil and around roots once they have been planted.
Once these steps have been taken, it is important to water both the existing root ball and surrounding soil before transplanting begins. This will help ensure that plants are able to take root quickly once they have been relocated and give them a better chance of survival in their new environment. After all these steps have been completed, transplantation can begin!
Planting Your Strawberry Plant in the New Hole
Once you’ve prepared your new hole for your strawberry plant, it’s time to plant it. Planting your strawberry plant correctly is important for its overall health and for producing a good yield of strawberries. Here are some tips for planting your strawberry plant:
• Make sure the hole is deep enough to accommodate the roots of the plant. If it’s too shallow, the roots won’t be able to spread out properly and the plant won’t thrive.
• Fill the bottom of the hole with a handful of compost or aged manure. This will provide extra nutrients to help your strawberry plant grow strong and healthy.
• Place your strawberry plant in the center of the hole, making sure that its roots are spread out evenly.
• Fill in around the roots with soil until all of them are covered. Gently press down on the soil to remove any air pockets and ensure that there is good contact between the roots and soil.
• Water well after planting. This will help settle any loose or airy soil around the roots, ensuring that they have direct contact with moist soil for optimal growth.
Following these steps will ensure that you have planted your strawberry plant correctly so that it can thrive and produce an abundant harvest of delicious strawberries!
Watering the New Plant Immediately After Transplantation
When you are transplanting a new plant into your garden, it is important to water it immediately after the process is complete. This helps to ensure that the plant has enough water to get established in its new environment. Proper watering is essential for the successful growth and establishment of any transplanted plant.
When transplanting a new plant, it is important to give it enough water right away. This helps to make sure that the root system of the plant is well-hydrated and able to take up nutrients from the soil. It also helps to reduce any transplant shock caused by moving a plant from one location to another.
It is best to water your newly transplanted plants with lukewarm water, as this will help them adjust more quickly and easily to their new environment. Make sure that you are not over-watering your plants, as this can cause root rot and other issues. You should also avoid using chlorinated water on your plants, as this can be harmful to them.
If the weather is particularly hot or dry at the time of transplantation, you may need to water your newly planted plants more frequently than usual during their first few weeks in their new home. This extra attention will help them establish themselves more quickly and with fewer problems.
The amount of water needed for newly transplanted plants will depend on many factors, including the size and type of plant, as well as its current environmental conditions. It is best to monitor your plants closely during their first few weeks in their new home so that you can adjust your watering schedule accordingly if needed.
Conclusion
Transplanting strawberry plants is a simple process that can be done with minimal effort. Once the plants have been transplanted, they can begin to produce fruit in as little as two weeks. Proper care of the plants after transplanting will ensure they continue to put out delicious strawberries for years to come.
The steps to transplanting strawberry plants are straightforward and easy to follow. With good soil, proper watering and fertilization, and adequate sunlight, your strawberry plants will thrive in their new home.
By following these instructions for how to transplant strawberry plants, you can successfully move your strawberry patch from one spot to another without sacrificing any of the flavor or production of the berries. So go ahead and get started today!

