
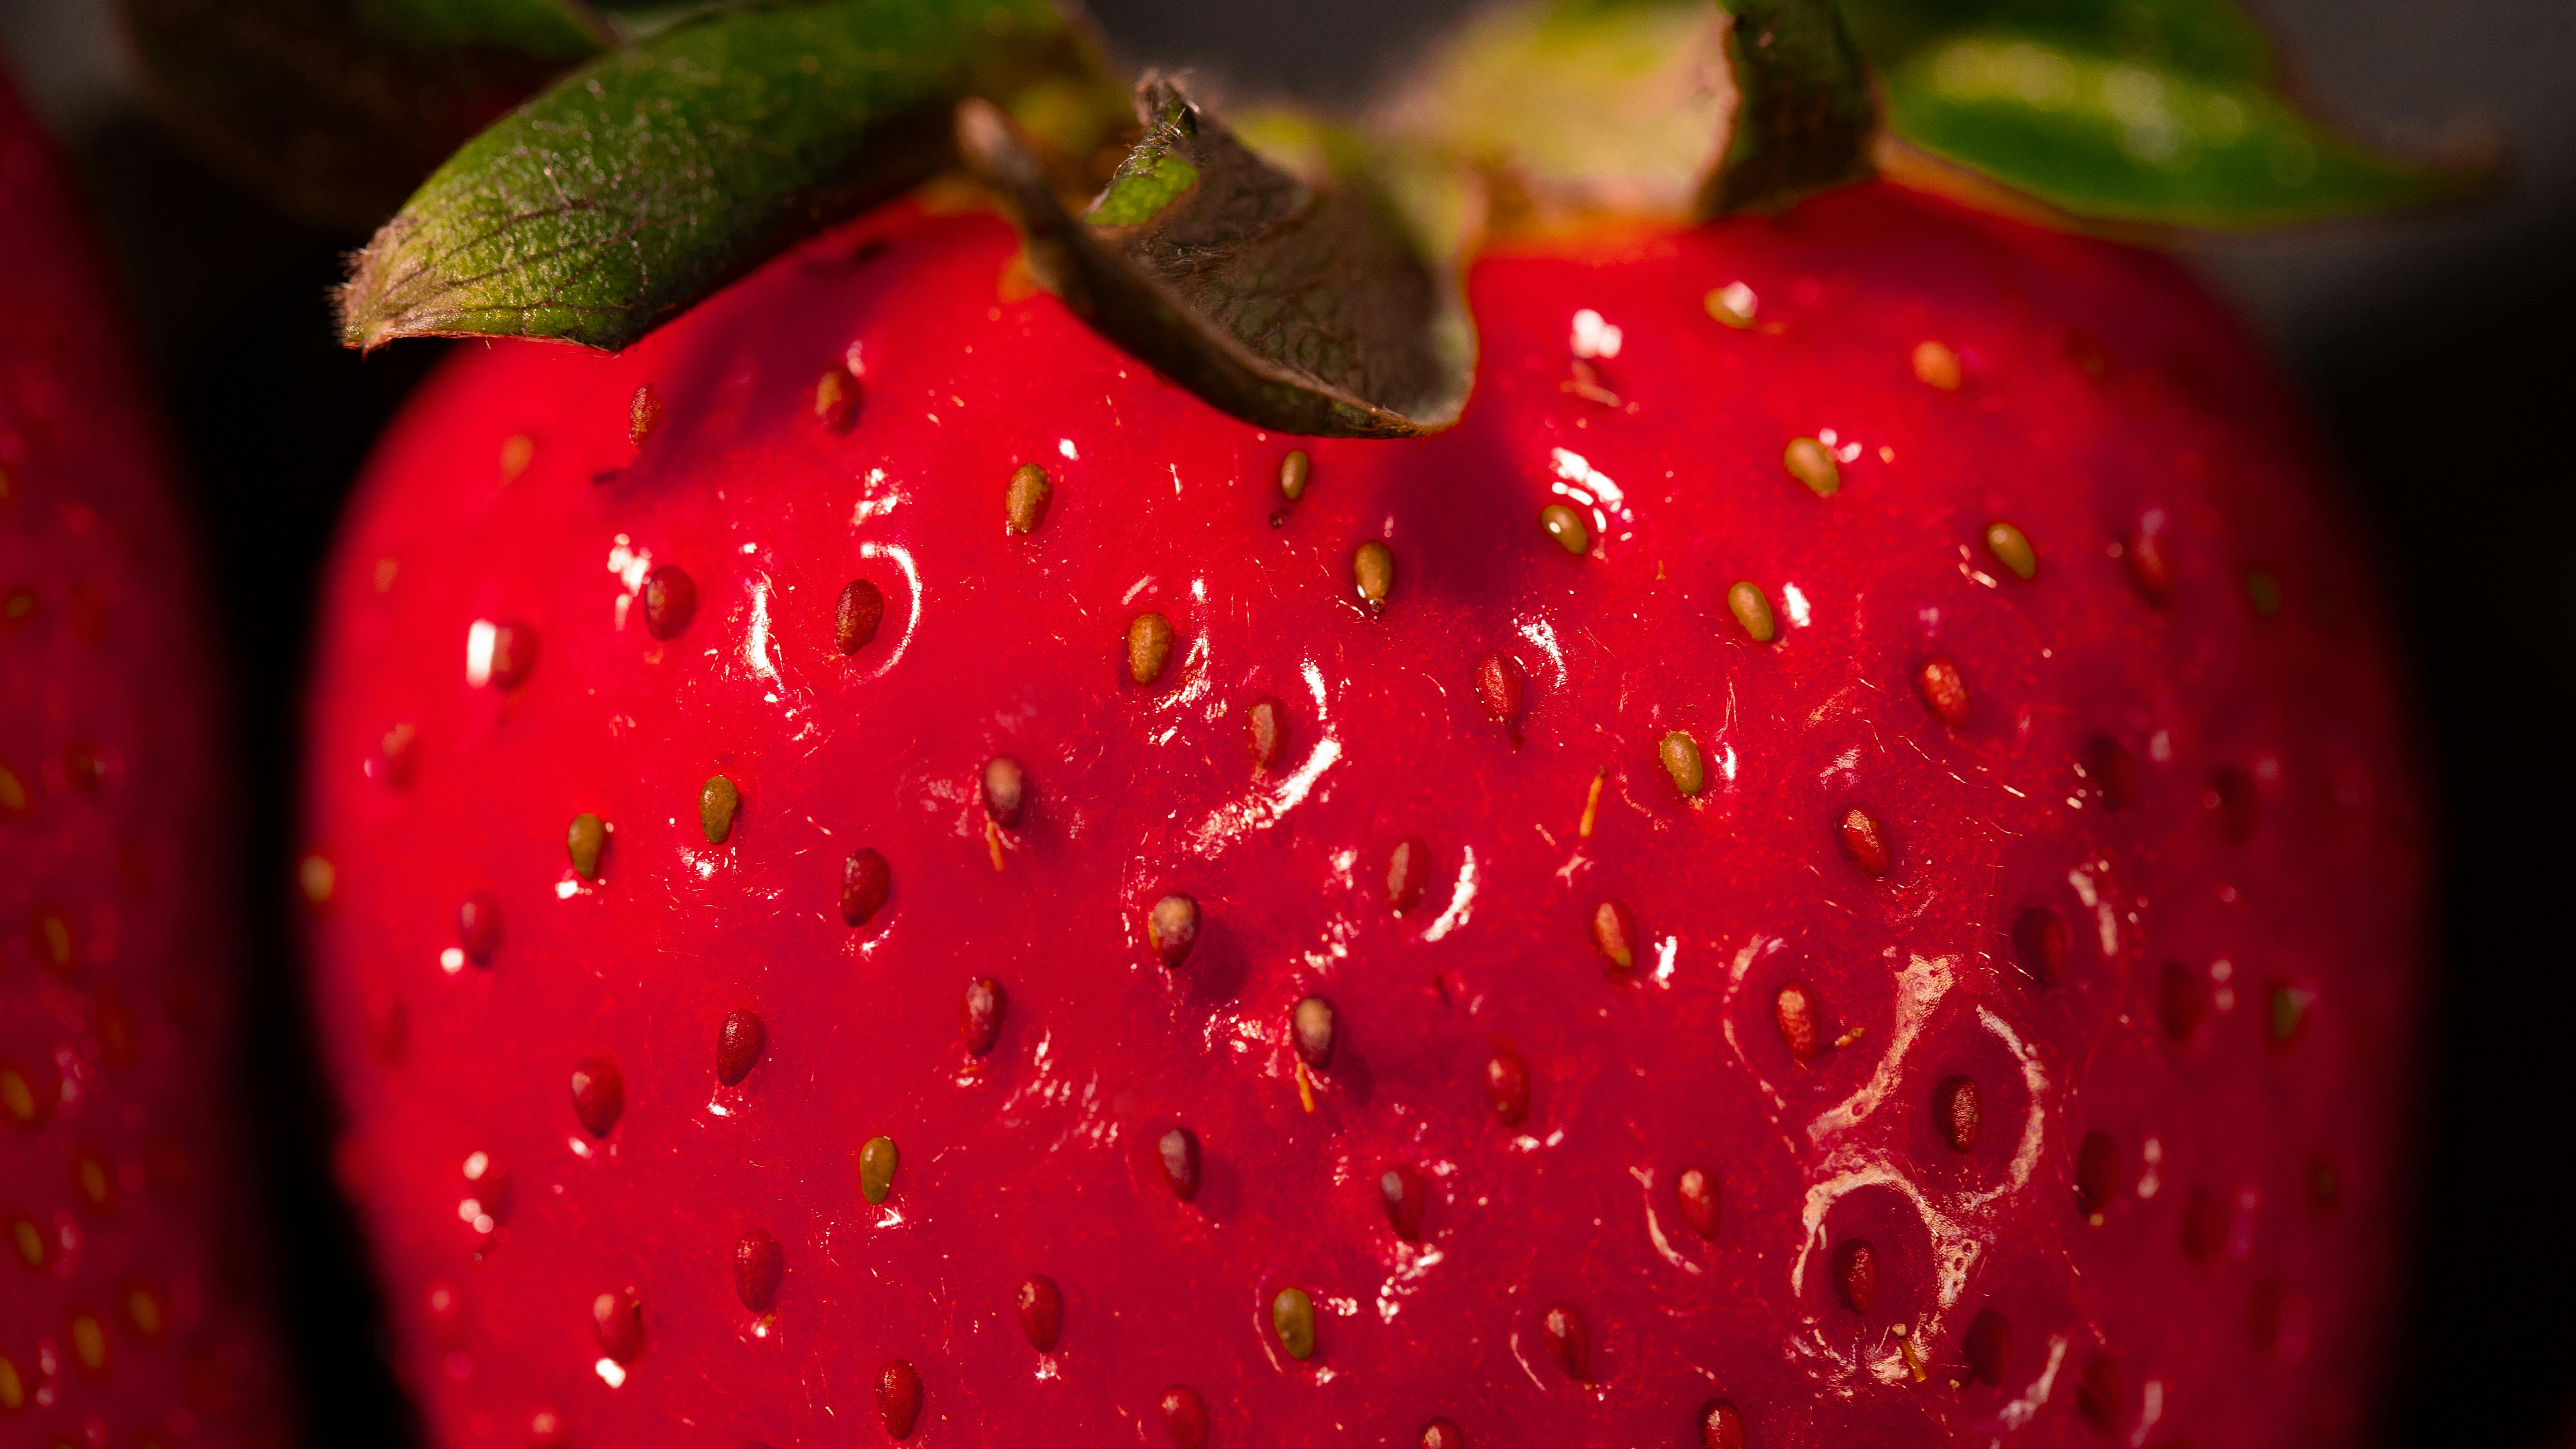
Strawberries are a delicious and nutritious treat that can easily be grown in the home garden. Saving strawberry seeds allows you to save money on buying new plants and gives you the opportunity to grow different varieties of strawberries. This article will provide detailed instructions on how to properly save strawberry seeds.1. Select ripe strawberries for seed collection. Ripe strawberries will have a bright red color and a sweet aroma.
2. Cut the strawberry in half and scoop out the seeds with a spoon or another small utensil.
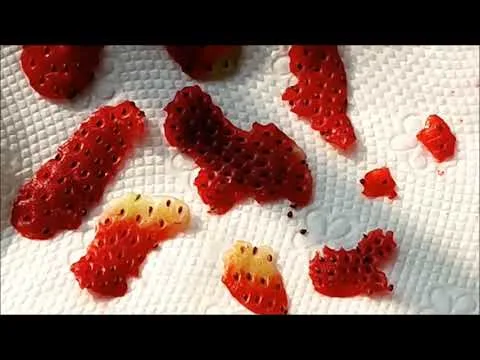
3. Place the seeds on a paper towel and allow them to dry for several days. The seeds should be completely dry before storing them.
4. Place the dried seeds in an airtight container or envelope and store in a cool, dry place away from direct sunlight until ready to plant.
The Benefits of Saving Strawberry Seeds
Saving strawberry seeds is a great way to ensure access to fresh strawberries for your home garden. Not only can you save money on purchasing new seedlings or plants, but you can also benefit from the genetic diversity that comes with saving your own seeds. When you save the seeds from your own crops, you are able to choose the best plants for your climate and soil type, as well as select for traits such as flavor and sweetness. By selecting the best plants for your environment and growing conditions, you can ensure that you have a reliable crop of strawberries each season.
In addition to gaining access to genetically diverse plants, there are other advantages to saving strawberry seeds. One such benefit is that seed-saving is an environmentally friendly practice. This is because it eliminates the need for chemical fertilizers and pesticides that could otherwise contaminate the soil and water supply. By selecting and saving only the healthiest plants, you are also promoting biodiversity in your garden. This means that more beneficial insects will be attracted to pollinate your crops, helping to improve their yield.
Finally, saving strawberry seeds allows you to save money in the long run. Purchasing new seedlings or plants each year can become costly over time. By collecting and storing your own seeds, you will be able to replant them when necessary without having to buy new ones each season. This can help save both money and time in the long run!
Preparing the Strawberries for Seed Saving
Strawberry plants are easy to grow and propagate. However, if you want to save their seeds, there are a few steps you must take to ensure the seeds are viable. First, you must select the healthiest and most ripe fruit from your plants. Ripe fruit will have a deep red color with a glossy finish. Unripe or overripe fruit should be discarded.
Next, you need to remove the seeds from the fruit. To do this, cut off the tops of the strawberries and scoop out the seeds with a spoon. Place the seeds in a bowl of water and gently rub them between your fingers to remove any pulp or flesh still clinging to them. The good seeds will sink to the bottom while any debris will float to the top. Discard any material that is floating on top of the water before straining the remaining seeds through a fine mesh sieve or coffee filter.
Once you have separated out all of your viable seed, it’s time to dry them out. Spread out your collected strawberry seeds on a paper towel or other absorbent material and let them air dry for several days in an area that has low humidity and good air circulation until they are completely dry. Once they have dried completely, store them in an airtight container in a cool, dark place until you’re ready to plant them next season!
Saving strawberry seeds is an easy way to propagate these delicious fruits year after year without having to purchase new plants each season! With just a few simple steps, you can ensure that your strawberry plants will produce healthy berries for years to come!
Choosing Appropriate Containers for Storing Seeds
When it comes to storing seeds, choosing the right container makes a huge difference. It is important to pick the right material and size for optimal seed preservation. The most common types of containers used to store seeds are plastic bags, paper envelopes, glass jars, and metal tins. Each of these materials has its own benefits and drawbacks when it comes to storing seeds.
Plastic bags are lightweight and easy to transport, making them a great option for long-term storage. However, they can be easily punctured or ripped, so they should only be used if you have an airtight sealable bag that can be tightly sealed. Paper envelopes are also lightweight but more prone to moisture damage than plastic bags. They should not be used for long-term storage as they may become brittle over time and cause the seeds inside to deteriorate.
Glass jars are a great choice for short-term storage as they provide an airtight environment for seeds. However, they can be heavy and difficult to transport if the jar is large or full of seeds. Metal tins are another option that provides an airtight seal but can corrode over time if not kept in a dry environment.
When choosing a container for your seed storage needs, consider how long you will need them stored and what type of environment you plan on storing them in. If you plan on storing your seeds for a long period of time, glass jars or metal tins may be your best option since they provide the most protection from moisture damage or corrosion. If you plan on transporting your stored seeds frequently, then plastic bags may be the best choice as they are lightweight and smaller than other containers. No matter which type of container you choose, it is important that it is kept in an area away from extreme temperatures and excessive moisture in order to keep your seeds viable for future use.
Cleaning and Drying the Strawberry Seeds
Cleaning and drying strawberry seeds is an important step in ensuring the health of your plants. It is important to remove any debris or mold from the seeds before planting them. To do this, simply rinse the seeds in a strainer with cold water. This will help to remove any dirt or debris that may be clinging to the seeds. Once the seeds are clean, you can spread them out on a paper towel and let them dry for a few hours. Make sure to turn them occasionally so that they dry evenly. Once the seeds are completely dry, you can store them in an airtight container until you are ready to plant them.
It is also important to note that some strawberry varieties have very small seeds, which may require extra cleaning. If you are having trouble removing dirt or debris from these small seeds, try using a soft brush or toothbrush to gently scrub away any residue. It is also important to take care when handling these small seeds as they can be easily damaged. Once again, make sure that all of your strawberry seeds are completely dry before putting them away for storage.
Cleaning and drying your strawberry seeds correctly will help ensure that your plants have a healthy start when it comes time for planting. Taking the time to properly prepare your strawberry seed will pay off in the long run with higher yields of delicious berries!
Storing Strawberry Seeds Properly
Strawberry seeds are an essential part of any gardener’s toolkit. Properly stored, they can last for several years and provide delicious fruit for years to come. To ensure that your strawberry seeds remain viable for a long time, there are a few key steps you should take to store them properly.
First, it’s important to make sure the strawberry seeds are completely dry before storing them. If the seeds have been freshly picked from the plant, spread them out on a paper towel and let them sit in a warm, dry place for a day or two until they are completely dry. Once the seeds are dry, you will need to package them in an airtight container. This could be anything from a small plastic bag or glass jar to a vacuum-sealed container.
Next, place your container of strawberry seeds in the refrigerator or freezer — whichever is more convenient for you. The cold temperature will help preserve the seed’s viability and keep them dormant until you’re ready to use them. When you’re ready to plant your strawberry seeds, simply take out the container and allow it to reach room temperature before planting.
Finally, be sure to label each container with the date, variety of strawberry seed and any other pertinent information such as when it was harvested or when it was stored. This will help you keep track of which batches of seed were stored at what time and will make it easier for you to determine when they should be planted for optimal germination rates.
By following these simple steps, you can ensure that your strawberry seeds remain viable and ready-to-plant when needed. With proper storage techniques your strawberry plants can provide sweet fruits for many years to come!
Test Viability of Stored Strawberry Seeds
Testing the viability of stored strawberry seeds is an important step for those looking to grow their own strawberries. The viability of a seed, or its potential to germinate and produce a healthy plant, is dependent upon the quality and storage conditions of the seed. To test the viability of stored strawberry seeds, you will need to perform a simple germination test. This test will allow you to determine which seeds are viable and which are not, so that you can focus your planting efforts on only those seeds that have the best chance of success.
The first step in testing the viability of stored strawberry seeds is to prepare a sample group of seeds for testing. Take 10-20 seeds from your store and place them on a damp paper towel. Cover with another damp paper towel and place in a warm location, such as near a window or on top of an appliance. The temperature should be kept at around 70-75 F (21-24 C). Allow them to remain undisturbed for 5-7 days or until germination has occurred.
After 5-7 days, examine your sample group for signs of germination. If there are visible signs that some or all of the seeds have begun to sprout, then they are considered viable and ready for planting. If none of the seeds have sprouted after 7 days, then it is likely that they are not viable and should be discarded.
It is important to remember that some varieties of strawberry plants may take longer than others to germinate, so if none have sprouted after 7 days it may be worth waiting another few days before discarding them altogether. Once you have determined which seeds are viable, they can be planted directly into soil or placed in starter trays for later transplanting into larger pots or garden beds when they have grown sufficiently large enough to survive outside conditions.
Testing the viability of stored strawberry seeds is an essential part of preparing for successful strawberry growing season. By performing this simple test, you can ensure that only those strawberries with the highest chance of success are planted in your garden or containers giving you better odds at having a successful harvest come springtime!
Planting Saved Strawberry Seeds
Growing strawberries from saved seeds is a great way to get a head start on the growing season. It is also a cost-effective alternative to purchasing seedlings or plants from a store. To ensure successful germination, it is important to properly prepare the soil, select the right variety of strawberry for your climate, and know the best time to plant. With the right preparation and care, you can have a bountiful harvest of delicious strawberries in no time!
The first step in planting saved strawberry seeds is to choose an area with well-drained soil with a pH between 6.0 and 7.0. If possible, select an area that receives at least six hours of direct sunlight each day. Once you have selected your planting site, it is important to prepare the soil for planting. This includes removing any weeds or debris and tilling or digging down several inches into the soil.
Next, select a variety of strawberry that will do well in your climate zone. Some popular varieties include ‘Chandler’, ‘Seascape’, and ‘Albion’. Once you have chosen your variety, it is time to plant the seeds. Plant them about 1/4 inch deep and 2-3 inches apart in rows that are spaced at least 18 inches apart. Water your seeds lightly after planting and keep them moist until germination occurs.
Finally, be sure to water your strawberry plants regularly during their growing season but avoid overwatering as this can lead to root rot or other problems. Fertilize them every two weeks with an organic fertilizer such as fish emulsion or compost tea during their active growth period for optimal health and fruit production. With proper care and attention, you can enjoy sweet strawberries from your own garden in no time!
Conclusion
Strawberry seeds can be collected and saved for future planting and growing. Collecting the seeds is a simple process that requires no special equipment or knowledge. First, pick a ripe strawberry and cut it in half. Then use a spoon or your fingers to remove the seeds from the center. Rinse the seeds in water, then spread them out on a paper towel to dry. Once dry, store the seeds in an airtight container and keep them in a cool, dark place until you’re ready to plant them. With a little bit of work, you can save your own strawberry seeds for next season’s crop.
Saving strawberry seeds is an eco-friendly way to ensure that you have access to fresh strawberries each year. Not only is it economical but it’s also fun! There’s nothing quite like being able to grow your own fruits from your own stored seed collection. Plus, if you’re lucky enough to have access to multiple varieties of strawberries, you can even experiment with new flavors and textures by planting different types of strawberry plants.
Whether you’re looking for an economical way to save money on produce or just want to enjoy homegrown fruit straight from your garden, learning how to save strawberry seeds is an easy and rewarding task that anyone can do!

