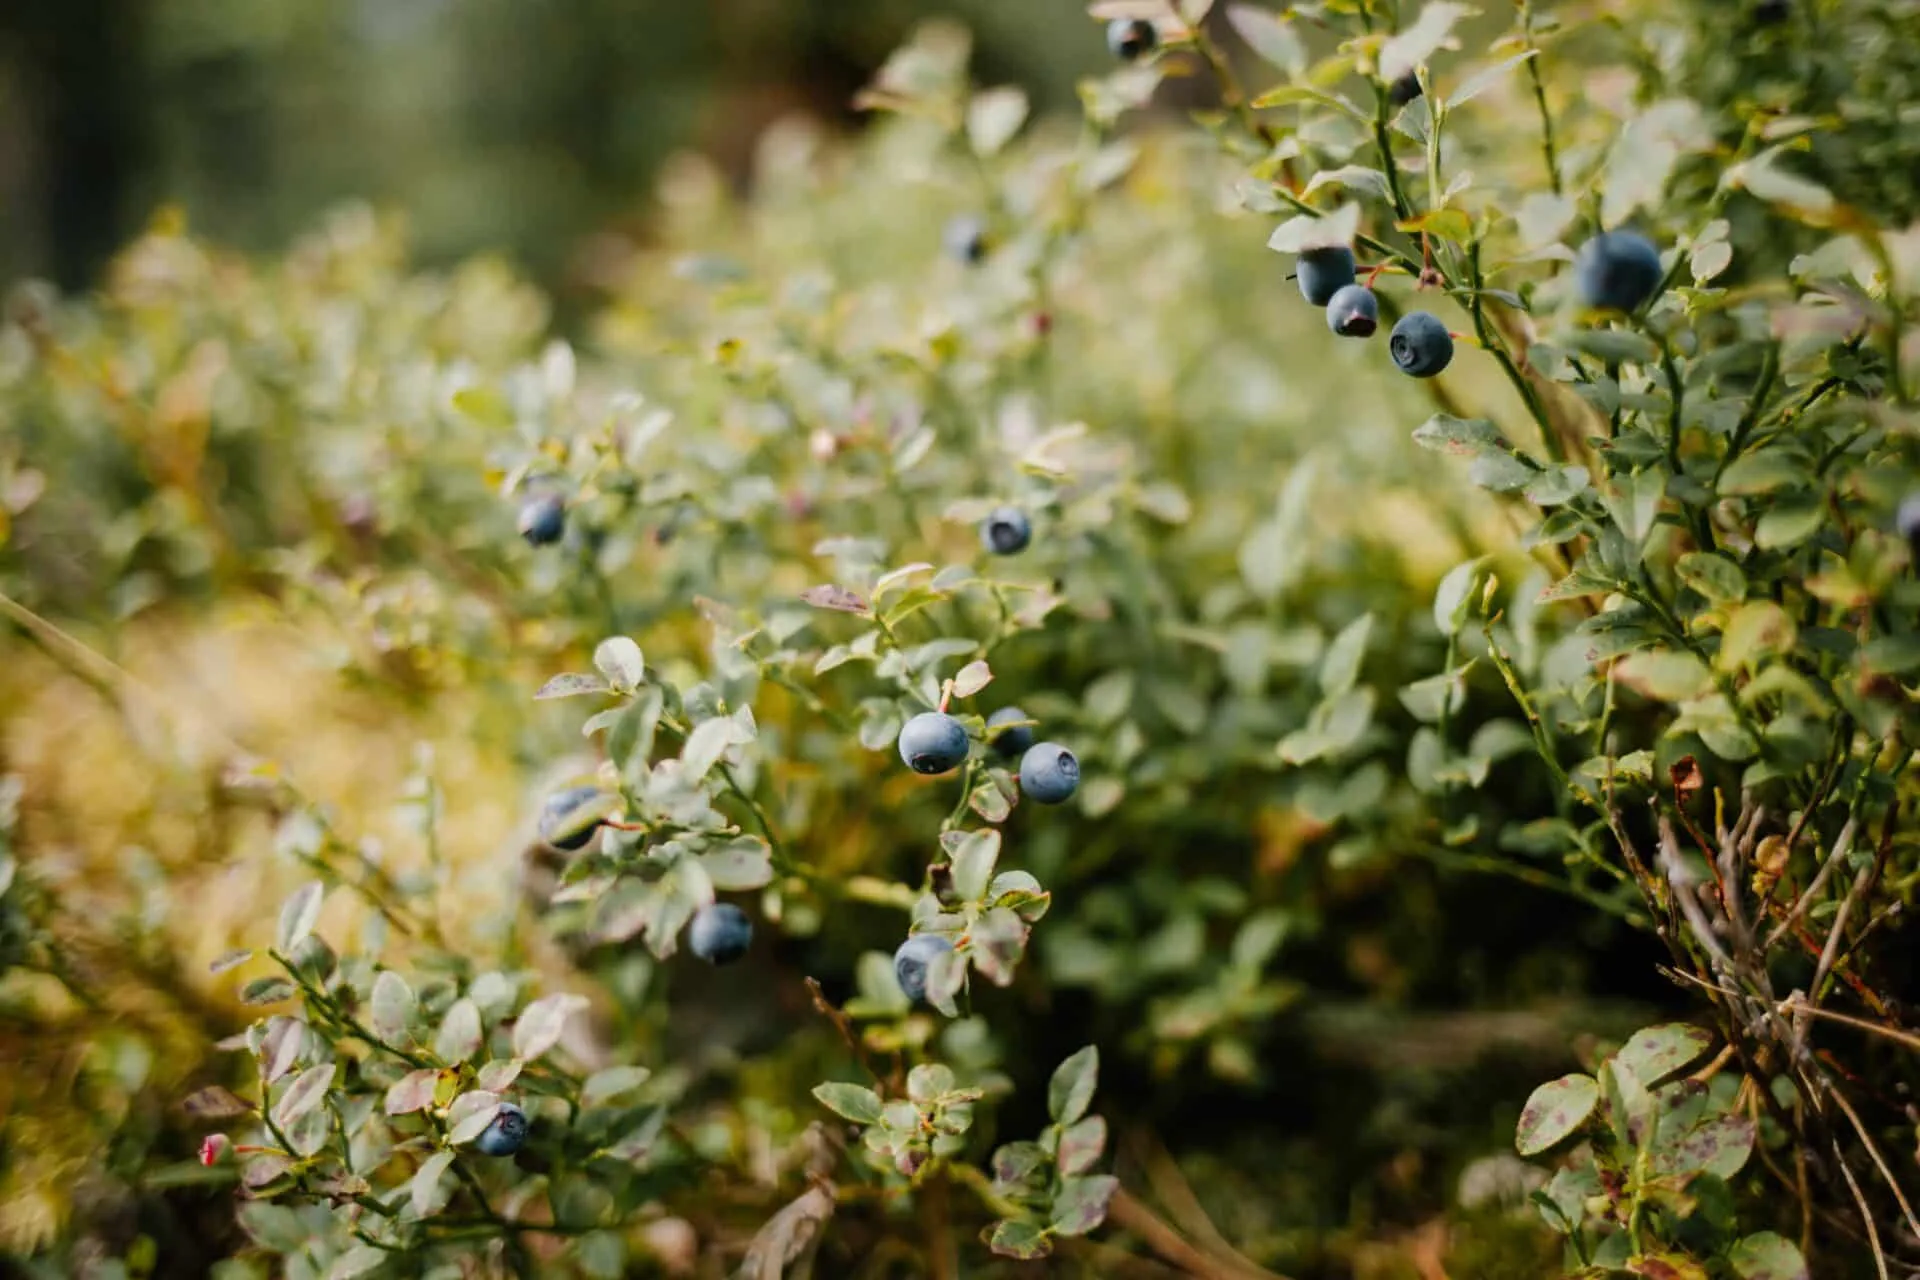
Propagating blueberry bushes is an easy and rewarding way to increase the number of plants in your garden. It requires minimal effort and provides a great opportunity to produce healthy, productive blueberry bushes without having to purchase new plants. With the right care and attention, you can successfully propagate blueberry bushes and enjoy a plentiful harvest season after season! In this guide, we will provide you with step-by-step instructions on how to propagate blueberry bushes from both cuttings and seeds.To prepare blueberry bushes for propagation, start by selecting healthy, disease-free canes. Then, prune the canes to remove any damaged or diseased growth. Next, cut the canes into sections that measure 10 to 12 inches in length and have three to five buds each. Once the cuttings are taken, dip them in a rooting hormone powder or dip them in a rooting hormone solution. Finally, place the cuttings in a moist growing medium such as perlite and peat moss. Cover the cuttings with plastic to keep them from drying out and place them in an area with bright, indirect light.
Choosing Healthy Shoots for Propagation
Propagation is the process of producing new plants from existing ones. When selecting shoots for propagation, it is important to choose healthy, vigorous shoots that have not been damaged by pests or diseases. To ensure this, it is best to look for shoots that are thick and strong with good color and texture. Additionally, these shoots should have leaves that are deep green and free of spots or other signs of disease.
It is also important to inspect the shoot base for any signs of rot or discoloration as these may indicate a disease or pest infestation that can spread to other plants. When selecting a shoot, it should be cut at an angle just below the leaf node and done with a clean blade to reduce the risk of transmitting disease. Once selected, the shoot should be placed in a potting mix suitable for the type of plant being propagated and watered thoroughly.
In addition to choosing healthy shoots, there are several other factors to consider when propagating plants. Temperature, light levels, humidity levels, and water requirements should all be taken into account in order to ensure successful propagation. It is also important to monitor any new growth closely and provide additional care if necessary in order to promote healthy growth and development of the new plant.
Steps to Take Before Planting Blueberry Cuttings
Before planting blueberry cuttings, it is important to take a few steps in order to ensure that the cuttings will take root and grow successfully. The first step is to choose healthy, disease-free cuttings. It is recommended to select cuttings that are green in color and are firm and pliable. Cuttings should be taken from the current season’s growth and should be about 4-6 inches in length. These cuttings should be placed in a plastic bag and stored in a cool, dark place until ready for use.
The next step is to prepare the soil where the blueberry cuttings will be planted. The soil should be well-draining and amended with organic compost or peat moss for added nutrients. The soil pH should also be tested as blueberry plants require acidic soils with a pH of 4.5-5.5 for optimal growth.
The final step before planting blueberry cuttings is to ensure that they are properly treated before they are put into the soil. This can be done by dipping the ends of the cuttings in a rooting hormone solution or powder which helps encourage root development as well as protect against any diseases or fungi that may be present in the soil. Once these steps have been taken, the cuttings can then be planted into their new home!
Vegetative Propagation
Vegetative propagation is one of the most common methods of propagating blueberry bushes. It involves taking a cutting from an existing bush and planting it in soil. The cutting will then form its own root system and begin to grow as an individual plant. This method is especially beneficial for blueberries because it ensures that the genetic makeup of the original bush is preserved in the new plant.
Grafting
Grafting is another method of propagating blueberry bushes. This process involves removing a bud or shoot from one bush and attaching it to another bush. The bud or shoot will take root on the new plant and begin to grow as an individual plant, with the same genetic makeup as the original one. Grafting can also be used to combine two different varieties of blueberries in order to create a hybrid variety with more desirable characteristics than either parent variety had on its own.
Air-Layering
Air-layering is a slightly less common method of propagating blueberry bushes, but it is still widely used for this purpose. This process involves taking a branch from an existing bush and partially burying it in soil while leaving some of it exposed to air. The branch will then form roots at the point where it was buried, and can then be cut off and planted as an individual plant with its own root system intact. Air-layering is often used when a gardener wishes to propagate difficult-to-root varieties of blueberries, since this method eliminates the need for rooting hormones or other chemical treatments.
Propagating Cuttings in Soil
Taking cuttings from a healthy plant is a great way to propagate new plants. While propagating with cuttings in water can be easy and successful, propagating cuttings in soil can increase the success rate and also help you grow larger, healthier plants. Here are the steps for taking and growing cuttings in soil.
The first step is to take cutting from a healthy plant. Take a cutting that is at least three inches long and has several sets of leaves on it. Make sure the cutting has some nodes, as these will be the points from which roots will grow.
Once you have taken your cutting, prepare the soil for planting. Fill a container with potting mix or another type of well-draining soil and dampen it slightly with water. Use a pencil or skewer to make a hole in the soil for your cutting, then insert the cutting into the hole so that at least one set of leaves is above the soil line and two sets are below it.
After planting your cutting, give it plenty of light but not too much direct sunlight as this can dry out your soil quickly. Water your plant regularly but don’t over water as this can cause root rot. Make sure to monitor the moisture level of your soil and adjust accordingly.
You should see new growth on your cuttings within several weeks or months depending on the type of plant you are propagating. Once your plant has become established, you can transplant it into a larger pot or even outdoors if desired. With proper care and attention, propagating cuttings in soil can be an easy and rewarding way to grow new plants!

Propagating Cuttings in Water
Taking cuttings from existing plants offers a great way to propagate new plants for free. One of the most popular methods of propagating cuttings is rooting them in water. This method is easy and requires minimal supplies and effort compared to other propagation methods. To get started, you will need a container that is large enough to hold the cutting and enough water to cover the stem up to the leaves. You can use any type of container, such as a mason jar or glass vase, just make sure it is clean before use.
Once you have your container ready, you can start preparing your cutting. Start by selecting healthy stems with several sets of leaves on them that are free from disease or pests. Make sure the stems are at least 4-6 inches long and snip them off with sharp pruners or scissors at an angle just below a node – the spot where a leaf attaches to the stem. Remove any lower leaves that would be submerged in water, as these will rot quickly and compromise the health of your cutting.
Next, place your cutting in the container with enough water to cover up to the lowest set of leaves. You may want to add a bit of rooting hormone powder or liquid solution to promote root growth if desired, but this isn’t necessary for many types of plants. Place your container in an area out of direct sunlight and away from heat sources such as vents or radiators, as these can cause excess evaporation and decrease success rate.
Finally, check on your plant periodically for signs of root growth – usually within 2-4 weeks depending on variety – and change out the water every few days if it starts to look cloudy or murky. Once roots have formed, plant cuttings into soil-filled containers and keep soil moist until established before gradually transitioning them into normal care regimen. With these simple steps you should have success in propagating new plants from cuttings grown in water!
Ensuring Adequate Moisture for Cuttings to Root
Making sure that your cuttings have enough moisture is essential to successful rooting. You can provide this moisture by misting the cuttings, misting the container, or soaking the cuttings in water prior to planting. It is also important to keep the cuttings moist after planting by providing adequate humidity and covering them with plastic.
Misting the cuttings prior to planting can help keep them hydrated and prevent wilting during the rooting process. You should also mist the container where you will be planting your cuttings. This helps to maintain a moist environment for the roots to develop.
Soaking your cuttings in water before planting can also help ensure that they stay hydrated and have adequate moisture for successful rooting. Soaking your cuttings in water increases their absorption of oxygen and nutrients, which improves their chances of survival once they are planted.
Once you’ve planted your cuttings, keeping them moist is essential for successful rooting. You can do this by providing adequate humidity by misting or covering them with plastic wrap or a humidity dome. Misting will help keep the soil around your cuttings from drying out too quickly, while covering them with plastic helps create a humid environment that keeps the soil moist longer.
Ensuring adequate moisture is essential for successful rooting of plant cuttings. Misting both the container and cuttings prior to planting, as well as soaking them in water before planting, can help ensure that they stay hydrated during the rooting process. After planting, providing adequate humidity and covering them with plastic will help keep them moist until they take root and start growing on their own.
Fertilizing Newly Planted Blueberries
Fertilizing newly planted blueberries is an important part of ensuring their growth and health. The best time to fertilize is in early spring, around the time of bud break. A balanced fertilizer with a ratio of 10-10-10, or a fertilizer specifically designed for blueberry shrubs, is recommended. Always follow the package instructions and do not over-fertilize, as doing so can result in too much foliage and not enough fruit. Also, avoid fertilizing late in the season as this can lead to new growth that will not be able to harden off before winter.
Pruning Newly Planted Blueberries
Pruning is also an important part of keeping newly planted blueberries healthy and productive. Pruning should begin soon after planting, as this helps to shape the plant and encourages strong branching. Dead or damaged branches should be removed first, followed by any branches that are crossing over each other or growing too close together. Pruning should be done annually in late winter or early spring before the plant starts to bloom. This ensures that only healthy wood remains on the plant and encourages new growth for the upcoming season.

Conclusion
Propagating blueberry bushes is a great way to increase your garden’s yield and save money. While it can be a bit difficult to get started, it’s not impossible. With a little patience and care, you’ll soon have an abundance of blueberry bushes in your garden. The key is to prepare the soil correctly, use the right propagation technique for your particular type of plant, and watch out for pests and diseases. With these tips in mind, you’ll be able to successfully propagate blueberry bushes!
In conclusion, propagating blueberry bushes requires some effort but is well worth it in the end. By following the steps outlined above, you can easily grow healthy and productive blueberry bushes that will reward you with delicious fruit year after year.


