

Vinegar is a versatile ingredient that can be used in a variety of dishes. It can also be made from a variety of fruits and vegetables. One of the more unique ways to make vinegar is from pineapple. With just a few simple steps, you can create your own homemade pineapple vinegar with relative ease. This article will explain how to make vinegar from pineapple in an easy-to-follow guide.To make vinegar from pineapple, you will need fresh pineapple, a glass jar or crock, sugar, a cheesecloth, and an airtight container. Begin by cutting the pineapple into small pieces and placing them into the glass jar or crock. Add sugar to the jar until it is completely covered. Cover the jar with cheesecloth and secure it with a rubber band or string. Place the jar in a warm area for around two weeks and stir daily. After two weeks, strain out the pineapple pieces and put the liquid in an airtight container. Store in a cool place for up to three months until it has fermented into vinegar.
Choosing a Pineapple
When choosing a pineapple, look for one that is bright yellow-green in color and free of soft spots and bruises. A ripe pineapple will have a sweet, fruity aroma. Avoid green or overly ripe pineapples as these are signs of an overripe fruit. For the best flavor, choose a pineapple that is slightly soft to the touch.
Cleaning the Pineapple
Before preparing the pineapple, it is important to clean it thoroughly. Start by rinsing the pineapple under cool running water, using your hands to rub off any dirt or debris that may be attached to its skin. Use a vegetable brush if needed to scrub off any tough debris. Once rinsed, dry the pineapple with a paper towel.
Cutting the Pineapple
Once clean, cut off both ends of the pineapple with a sharp knife and discard them. Stand up the pineapple on its end and carefully slice off its skin from top to bottom in strips. Make sure you remove all of the eyes (dark spots) from each strip before moving onto the next one. When finished, cut away any remaining eyes from between each strip.
Slicing and Dicing
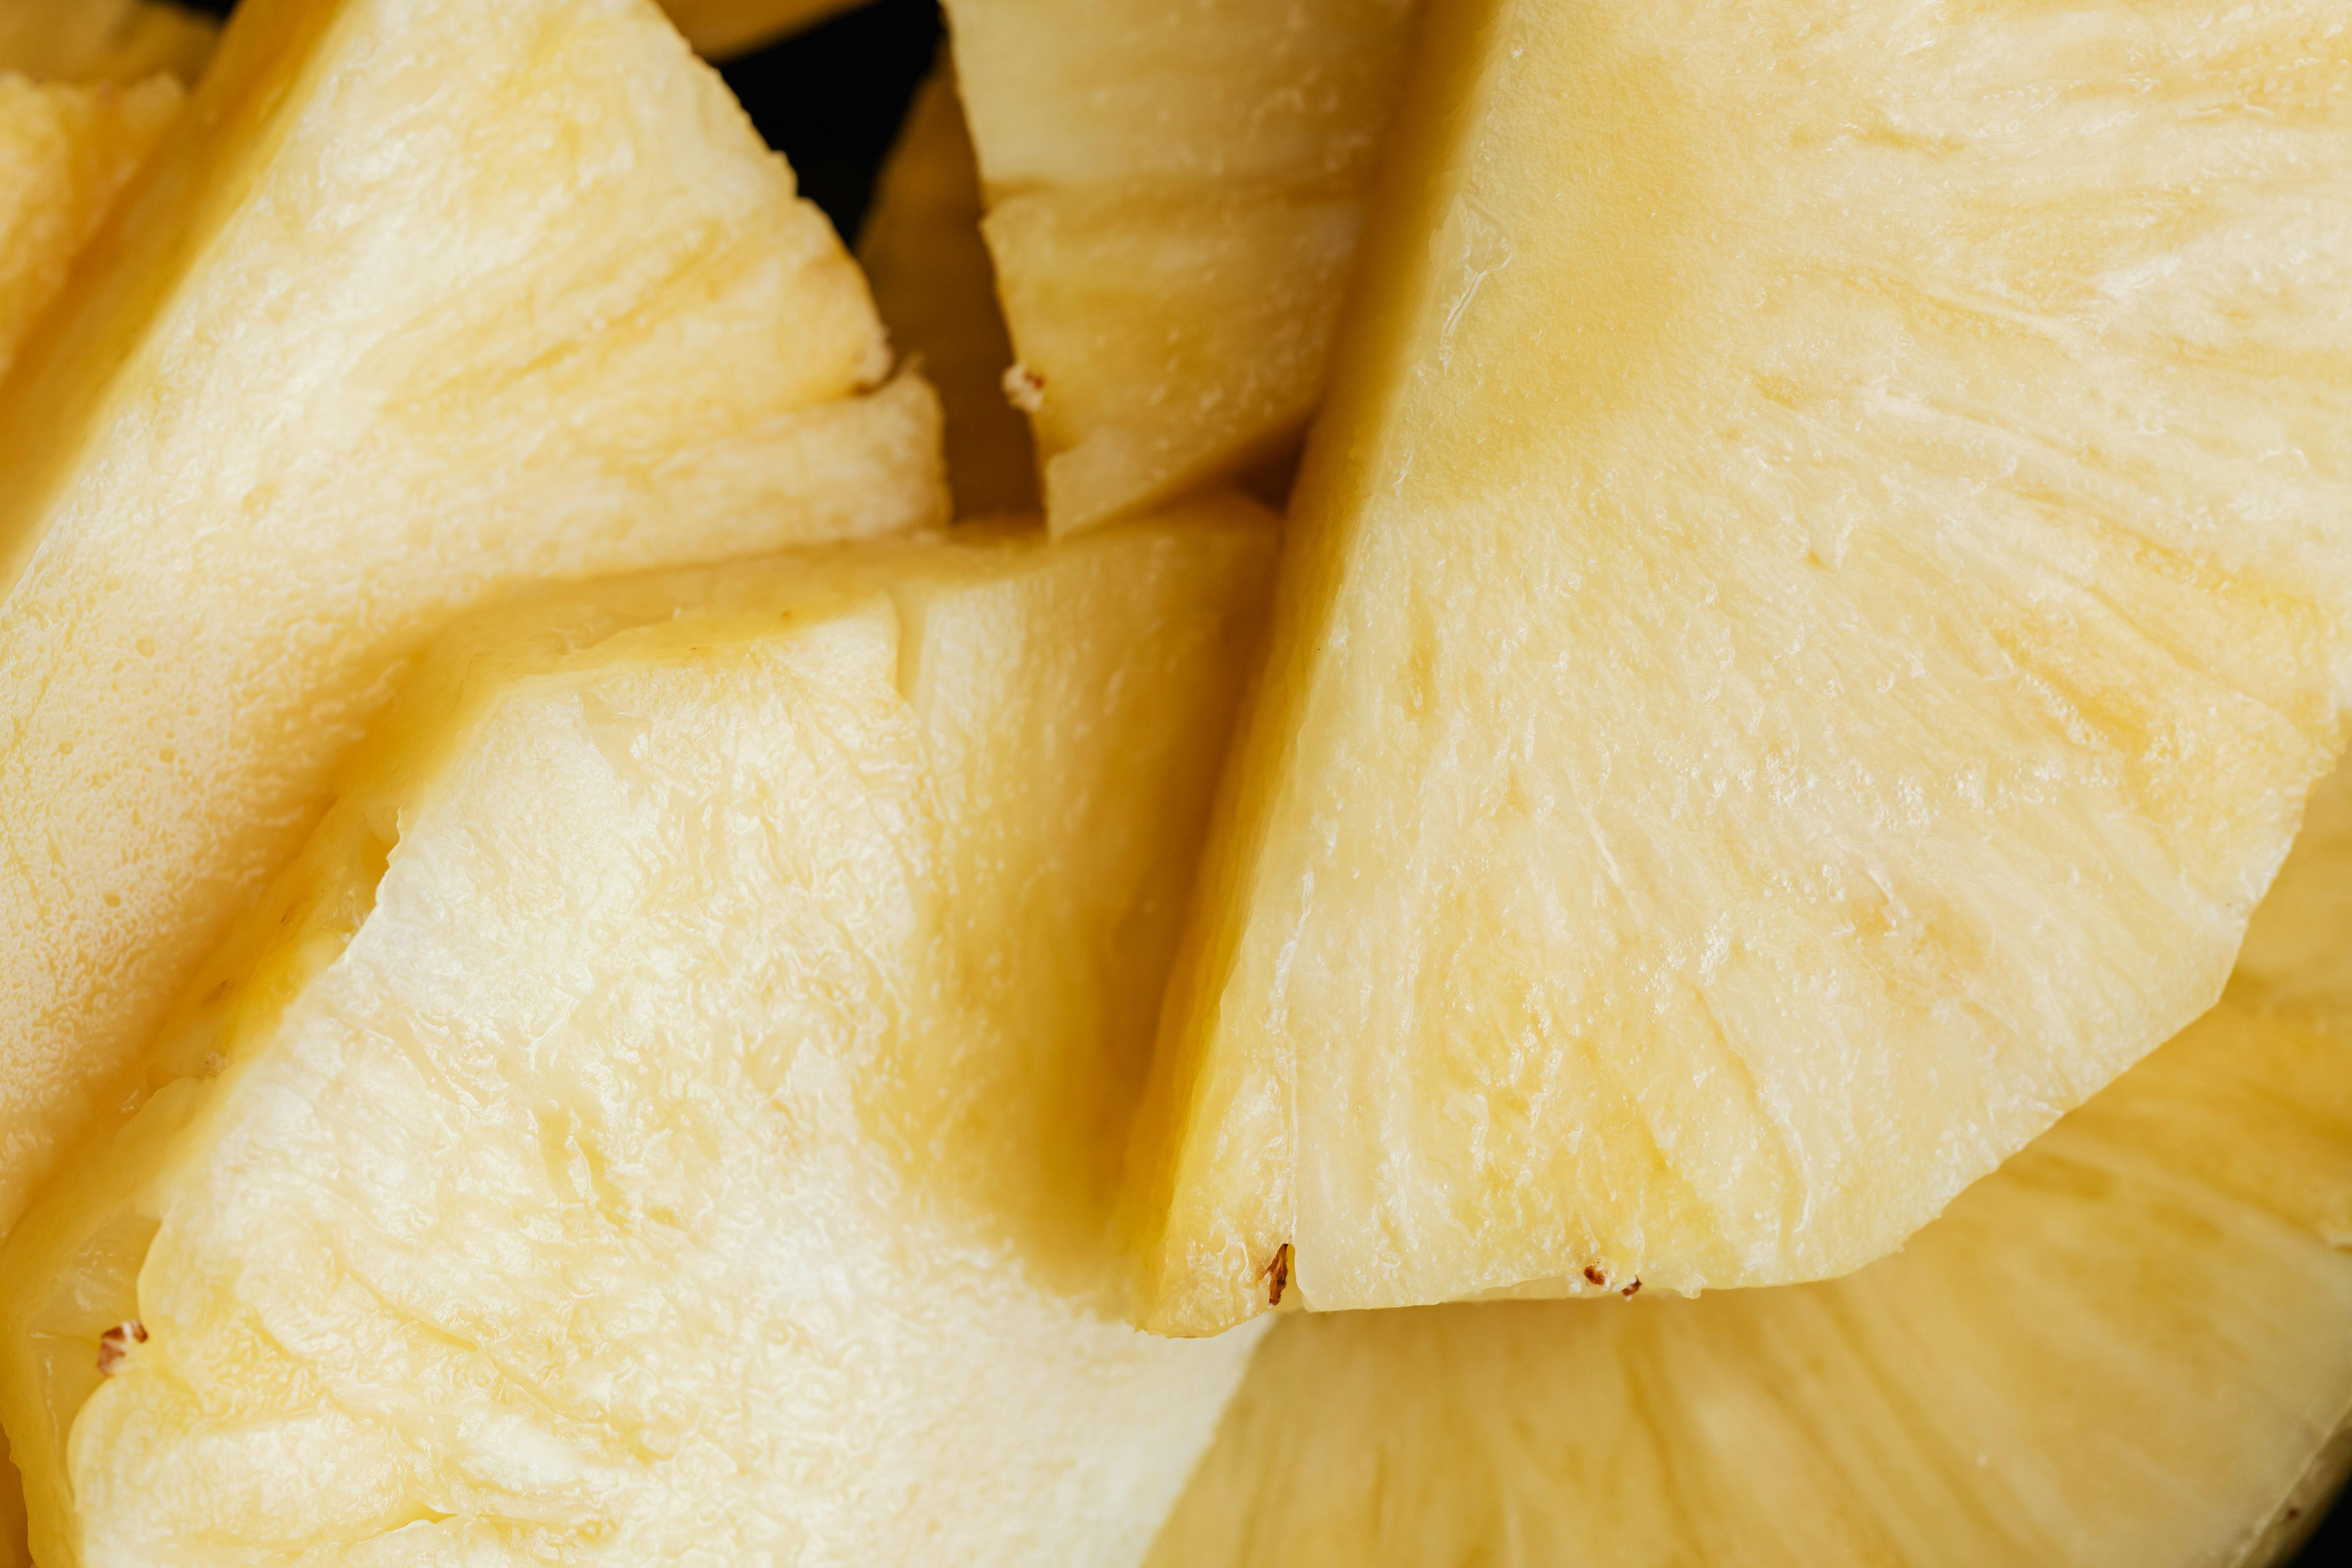
Once you have removed the peel from your pineapple, cut it in half lengthwise then cut each half into quarters (or thirds if desired). Cut out and discard the fibrous core from each quarter then slice or dice according to your desired recipe needs. Alternatively, you can also use a melon baller or an apple corer to easily remove and discard the core.
Storing Prepared Pineapple
Any prepared pineapple can be stored in an airtight container in your refrigerator for up to three days or frozen for up to two months. Thawed frozen pineapple should be used within two days of thawing for best quality and flavor.
Starting the Fermentation Process
Fermentation is a process used to create a wide range of products, ranging from alcoholic beverages and breads to yogurt and cheese. It’s an age-old technique that has been used for centuries and is still used today in many cultures. The fermentation process involves the conversion of organic compounds to alcohol or acids by microorganisms, such as yeast or bacteria. Starting the fermentation process requires careful preparation and attention to detail in order for it to be successful. Here are some tips on how to start the fermentation process:
1. Gather all necessary ingredients and equipment – Before beginning the fermentation process, make sure you have gathered all of the necessary ingredients and equipment needed for your recipe. This could include yeast, sugar, water, hops, malt extract, containers, thermometers, hydrometers, airlocks, stirring paddles and more.
2. Prepare your ingredients – Before adding any of the ingredients into your fermenter or container, it is important to prepare them properly. This includes sanitizing all equipment and containers that will come into contact with your ingredients as well as measuring out all of the required amounts of each ingredient accurately.
3. Activate your yeast – Once you have prepared all of your ingredients, it is time to activate your yeast by adding it into warm water (around 95°F). This will give the yeast an opportunity to start feeding on the sugars present in the liquid before being added to your fermenter or container.
4. Add ingredients into fermenter – Once you have activated your yeast you can then add all of your prepared ingredients into your fermenter or container and mix everything together until it is completely combined.
5 . Monitor temperature – It is important to monitor temperature throughout the fermentation process as this can greatly affect its outcome. Depending on what type of product you are making (e.g., beer or wine) temperatures can range from around 55°F-75°F (13°C-24°C). Most recipes will give specific temperatures for each stage so be sure to keep track of these when monitoring.
6 . Monitor gravity levels – Gravity levels should also be monitored during fermentation using a hydrometer or refractometer depending on what type of product you are making (e.g., beer or wine). This will allow you to measure how much sugar has been converted into alcohol as well as how much alcohol is present in the finished product.
7 . Monitor progress daily – Lastly, it is important to monitor progress daily throughout the fermentation process in order ensure that everything is going according to plan and that no problems arise that could potentially ruin your batch! Checking on progress every day will allow you to catch any issues early on before they become too large of a problem.
By following these steps carefully you should be able to successfully start and complete a successful fermentation process!
Transferring Pineapple Juice into a Jar for Fermentation
Fermenting pineapple juice is a great way to create an interesting, unique flavor for your homemade beverages. The process of transferring the juice into a jar is fairly simple, and can be done in just a few steps. First, gather your supplies – you’ll need a jar with a lid that fits tightly, pineapple juice, and any additional ingredients you’d like to add (such as sugar or herbs). Next, pour the pineapple juice into the jar until it’s about three-quarters full. Secure the lid tightly to prevent any air from entering. Finally, place the jar in an area where it will remain undisturbed, such as a cool, dry cupboard or pantry. The fermentation process should take about two weeks before the pineapple juice is ready to drink.
Once fermentation is complete, you can store the pineapple juice in the refrigerator for up to two months before it begins to lose its flavor and quality. Be sure to give your homemade beverage a taste before drinking it – if it tastes too sour or bitter, you may need to add some sugar or other flavorings to balance out the flavor. Enjoy!
Monitoring the Fermentation Process
Fermentation is an important process in the production of beer, wine, and other alcoholic beverages. It is a complex biochemical process that requires careful monitoring to ensure the best possible results. To properly monitor the fermentation process, it is important to understand how it works and which parameters need to be monitored. The most important parameter to monitor is the temperature of the fermentation vessel, as this will affect both the rate and quality of fermentation. Additionally, it is important to measure the amount of CO2 being produced, as this will indicate how active the fermentation process is. Finally, measuring gravity readings can provide insight into how far along in the fermentation process a batch has progressed.
To accurately measure these parameters during fermentation, brewers and winemakers typically use thermometers, CO2 detectors, and hydrometers or refractometers. Thermometers are used to measure the temperature of the fermentation vessel and should be placed close to where yeast activity is likely to occur in order to get an accurate reading. CO2 detectors measure levels of carbon dioxide in a given environment and should be placed near the headspace (top) of a fermenter in order for them to work properly. Finally, hydrometers or refractometers measure gravity readings, which indicate how much sugar has been converted into alcohol by measuring relative density changes between wort/wine before and after fermentation. These devices provide valuable information about how far along a batch of beer or wine is in its respective fermentation process as well as other important metrics such as alcohol content.
By monitoring these parameters during fermentation, brewers and winemakers can ensure that their batches turn out just as they intended them to be. This will help them produce high-quality beers and wines that meet their customers’ expectations every time!
Fermentation Process
Fermentation is a process that converts sugar into acids, gases, or alcohol. It occurs in yeast and bacteria, and also in oxygen-starved muscle cells, as in the case of lactic acid fermentation. During fermentation, enzymes break down the sugars and convert them into ethanol or lactic acid. This process releases energy which can be used by the cells to produce ATP. The products of fermentation vary depending on the type of sugar being fermented and the microorganism performing the fermentation.
The first step of fermentation is for a microorganism to ingest sugar molecules from its environment. The microorganisms then break down these sugars into simpler molecules such as glucose. These molecules are then further broken down by enzymes into even simpler molecules such as pyruvate or acetyl CoA. The end products of this breakdown depend on the type of organism performing it and the type of sugar molecule being broken down. For example, some organisms produce ethanol while others produce lactic acid when breaking down glucose molecules.
Once these simple molecules have been produced, they are metabolized by the microorganism to produce energy in the form of ATP (adenosine triphosphate). This process involves several stages including glycolysis, Krebs cycle and electron transport chain (ETC). The end result is that energy is released which can be used to power cellular processes such as protein synthesis or biosynthesis reactions. The energy produced during fermentation also helps to maintain homeostasis within a cell.
The final stage of fermentation is for waste products such as carbon dioxide or ethanol to be released from the cell into its environment. This allows for further metabolism of these compounds by other organisms in an ecosystem or for them to be removed from a system altogether via respiration or evaporation respectively. The waste products produced during fermentation also give fermented foods their characteristic flavors and aromas.
How to Make Sure You Have an Active Vinegar Culture
Having an active vinegar culture is essential for making a quality vinegar product. An active culture will allow you to start the fermentation process quickly and ensure that your vinegar will have a good flavor and aroma. Here are some tips on how to make sure your vinegar culture is active:
1. Start with high-quality ingredients. To ensure that your vinegar culture stays active, you need to start with the best ingredients available. Choose organic, locally sourced fruits, vegetables, and grains whenever possible.
2. Keep the environment clean. Make sure that the area where you are fermenting your vinegar is clean and free from contaminants like dust or dirt. This will help keep your culture healthy and active.
3. Store the culture correctly. Store the culture in a cool, dark place away from direct sunlight or heat sources. This will help keep the bacteria alive and active.
4. Feed your culture regularly. Feeding your culture regularly with a mixture of sugar, water, and oxygen will help keep it alive and healthy so it can produce quality vinegar.
5. Monitor pH levels regularly. Monitoring pH levels of your vinegar regularly is important for ensuring that it stays within the optimal range for fermentation (4-6). If levels get too high or too low, take corrective action immediately.
Following these tips will help ensure that you have an active vinegar culture that produces high-quality vinegar every time!
How Long Does it Take for Pineapple Vinegar to Be Ready?
Pineapple vinegar is a popular condiment and is made using fresh pineapple, sugar and water. The process for making this delicious vinegar can take anywhere from two to four weeks, depending on the method used.
The most common method for making pineapple vinegar is to combine fresh pineapple juice with white or apple cider vinegar. This mixture is then left to ferment in an air-tight container at room temperature for up to two weeks. During this time, the mixture will slowly turn into a thick syrup that tastes like a mix of sweet and sour flavors. After two weeks, the syrup can be strained and bottled for use as pineapple vinegar.
Another method of making pineapple vinegar involves combining sliced fresh pineapple with sugar and allowing it to ferment in an air-tight container at room temperature for up to four weeks. During this time, the mixture will slowly turn into a thick syrup that tastes like a mix of sweet and sour flavors. After four weeks, the syrup can be strained and bottled for use as pineapple vinegar.
Whichever method you choose, it’s important to keep an eye on your pineapple vinegar while it’s fermenting so that you don’t miss the desired flavor profile or end up with too much acidity in your final product. Also, be sure not to leave it fermenting too long as this can lead to spoilage or off flavors. Once your pineapple vinegar is ready, store it in a cool dark place or in the refrigerator where it should last up to six months before losing its flavor or going bad.
Making your own homemade pineapple vinegar is an easy way to enjoy the sweet and tangy taste of this condiment without having to buy store-bought versions which can often contain additives or preservatives. With just a few simple steps, you’ll have your own delicious homemade pineapple vinegar ready in no time!
Conclusion
Making your own vinegar from pineapple is a rewarding experience. Not only are you able to create a tasty condiment to add to your dishes, but you can also feel good about supporting local farmers and reducing the amount of waste going into landfills. It is also a great way to get creative with different flavor combinations.
It is important to remember that the process takes some time and patience, as it can take several weeks for the vinegar to fully form. However, once it does, you will be rewarded with a delicious and unique flavor profile that cannot be found in store-bought varieties.
Making vinegar from pineapple is an easy and enjoyable process that anyone can do. With just a few simple steps and ingredients, you too can enjoy this tasty condiment in no time. So why not give it a try?

