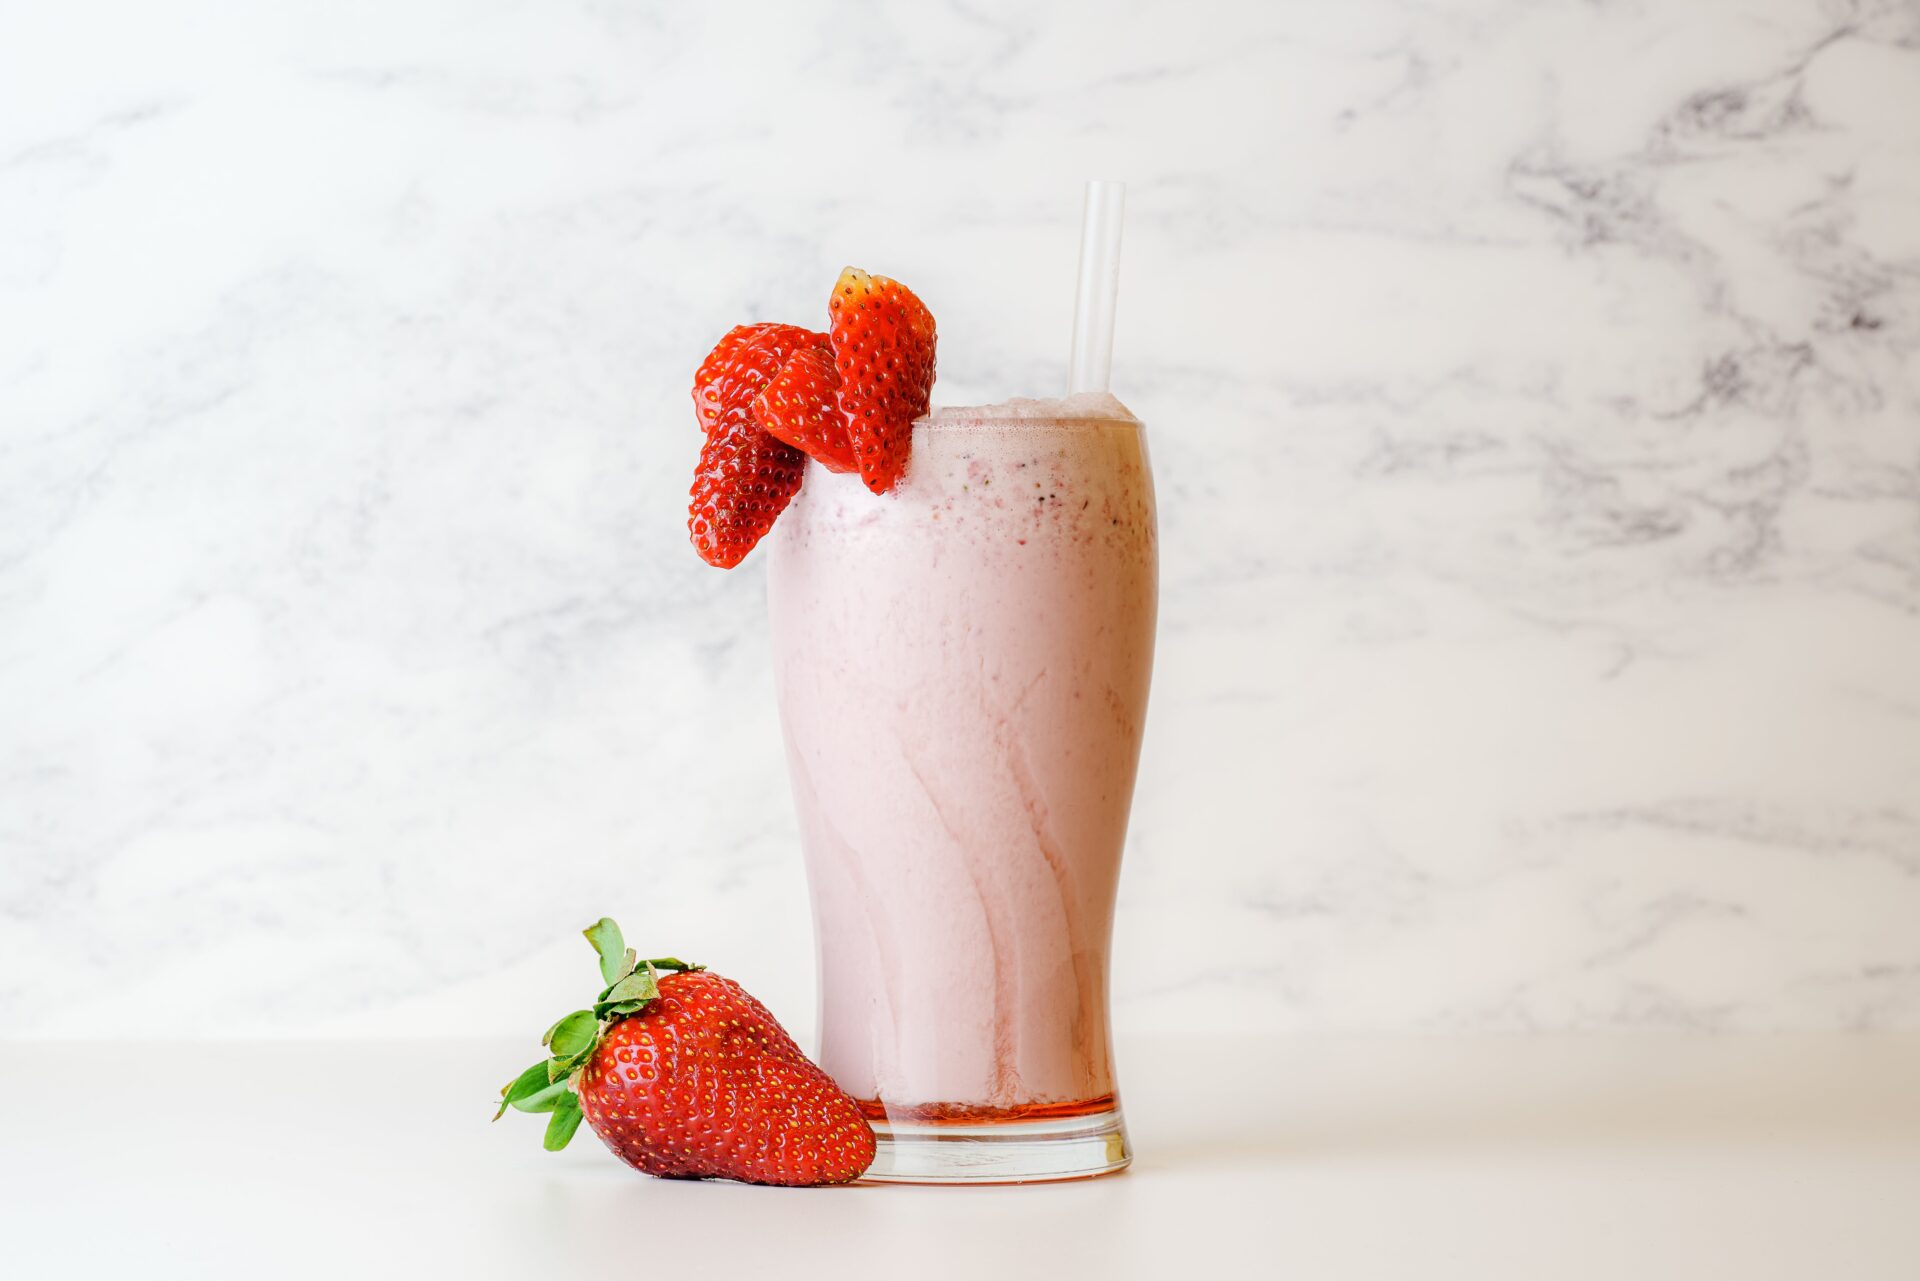
Welcome to this guide on how to make the Starbucks Strawberry Acai Refresher. If you’ve been wanting to make this delicious drink at home, you’re in the right place! In this guide, we’ll walk you through the steps of making a refreshing and flavorful Starbucks Strawberry Acai Refresher right in your own kitchen. So get ready for a sweet and tart treat that’s sure to satisfy your thirst!Ingredients:
-1/2 cup brewed Passion Tango Tea (or any hibiscus-flavored tea)
-1/2 cup frozen strawberries
-1/2 cup acai juice
-1 tablespoon honey
-Ice cubes
Instructions:
1. In a blender, combine brewed Passion Tango Tea, frozen strawberries, acai juice and honey. Blend until smooth.
2. Fill a glass with ice cubes and pour the blended mixture over the ice.
3. Stir well and serve immediately. Enjoy your Starbucks Strawberry Acai Refresher!
Gathering The Ingredients
Gathering the ingredients is one of the most important steps in cooking. It is important to make sure you have all of the necessary ingredients and that they are fresh and of good quality. To do this, it is helpful to make a list of all the ingredients you need before going shopping. This will help you avoid unnecessary trips back to the store and ensure that you have everything you need for the recipe. When shopping, try to buy organic when possible, as this will ensure that your food is free of pesticides and other chemicals. Also, if possible, buy your ingredients from local farmers or markets as this can help support your local community while also providing fresher food than what is available in supermarkets.
Once you have all of your ingredients, it is important to prepare them correctly. Take time to wash vegetables and fruits with cold water, cut them into desired sizes and shapes, peel and core them when needed, measure out spices, etc. Taking care in preparation can make a big difference in the end result of your dish.
Gathering the Supplies
The first step in preparing a delicious meal is to gather all of the necessary items. This means gathering all of the ingredients and kitchen supplies needed for the recipe. Make sure to check that you have all of the ingredients before starting cooking. It is also important to have all of the necessary kitchen supplies like pots, pans, utensils, and measuring cups. Once you are sure you have everything you need, it’s time to begin prepping your meal!
Measuring Ingredients
The next step in prepping a meal is measuring out each ingredient. Depending on the recipe, this can be a bit tedious but it is very important for ensuring your dish turns out correctly. Make sure to measure each ingredient precisely and accurately according to what is indicated in the recipe. Once all of the ingredients are measured out, they can be added into the pot or pan.
Chopping Vegetables
Another important step in prepping a meal is chopping vegetables. Depending on what type of vegetable needs to be chopped, you may need to use a cutting board and knife or use a food processor for finer pieces. Either way, make sure that each piece is cut uniformly so that they cook evenly and thoroughly during cooking.
Mixing Ingredients
Once all of the ingredients are prepared and ready to go it’s time to mix them together. Make sure that everything is thoroughly mixed before adding it into whatever pot or pan will be used for cooking. Mixing ensures even distribution of flavors throughout the dish.
Preparing the Ingredients
The last step in preparing a meal before cooking is making sure all of the ingredients are ready for cooking. This can mean precooking certain items such as rice or pasta or simply making sure that everything is chopped up correctly and ready to go into whatever pot or pan will be used for cooking. Once everything is ready it’s time to start cooking!
Making The Refresher Base
Making the refresher base is an essential step in making a variety of refreshing drinks. A refresher base can be used to make iced tea, lemonade, and other drinks that are light and refreshing. The base is a combination of ingredients which have been blended together to create a liquid that can be used for mixing with other liquids or ingredients. It typically contains sugar, lemon juice, and a small amount of water. The ingredients are then mixed together in a blender until they are completely homogenized.
Once the base is made, it can be stored in an airtight container for up to three days and used as needed. When using the refresher base for drinks, it’s important to remember to adjust the amount of sugar and lemon juice according to taste. For instance, if you’re making iced tea with the refresher base, you may want to add more sugar than what is called for in the recipe.
In addition, if you’re making other types of drinks such as lemonade or fruit-flavored beverages, it’s important to adjust the amount of water according to how strong or sweet you want your drink to be. For example, if you’re making a less sweet drink such as lemonade or iced tea with the refresher base, you would use less water than what is called for in the recipe. On the other hand, if you’re making a sweeter drink such as fruit-flavored beverages with the refresher base, you would use more water than what is called for in the recipe.
The final step in making a refresher base is adding any additional flavors or herbs that you’d like your drink to have. For instance, if you’re making a fruit-flavored beverage with your refresher base, you may want to add some additional fruits such as strawberries or raspberries for more flavor and sweetness. Additionally, if you’re making an herb-infused drink such as an herbal tea with your refresher base, then adding some fresh herbs such as mint leaves or rosemary can give your drink an extra kick of flavor.
Overall, making a refresher base is an easy process that only requires combining a few simple ingredients together and adjusting them according to taste preference before using them for drinks. Once made correctly and stored properly in an airtight container, this type of liquid can last up to three days and provide delicious refreshment any time!
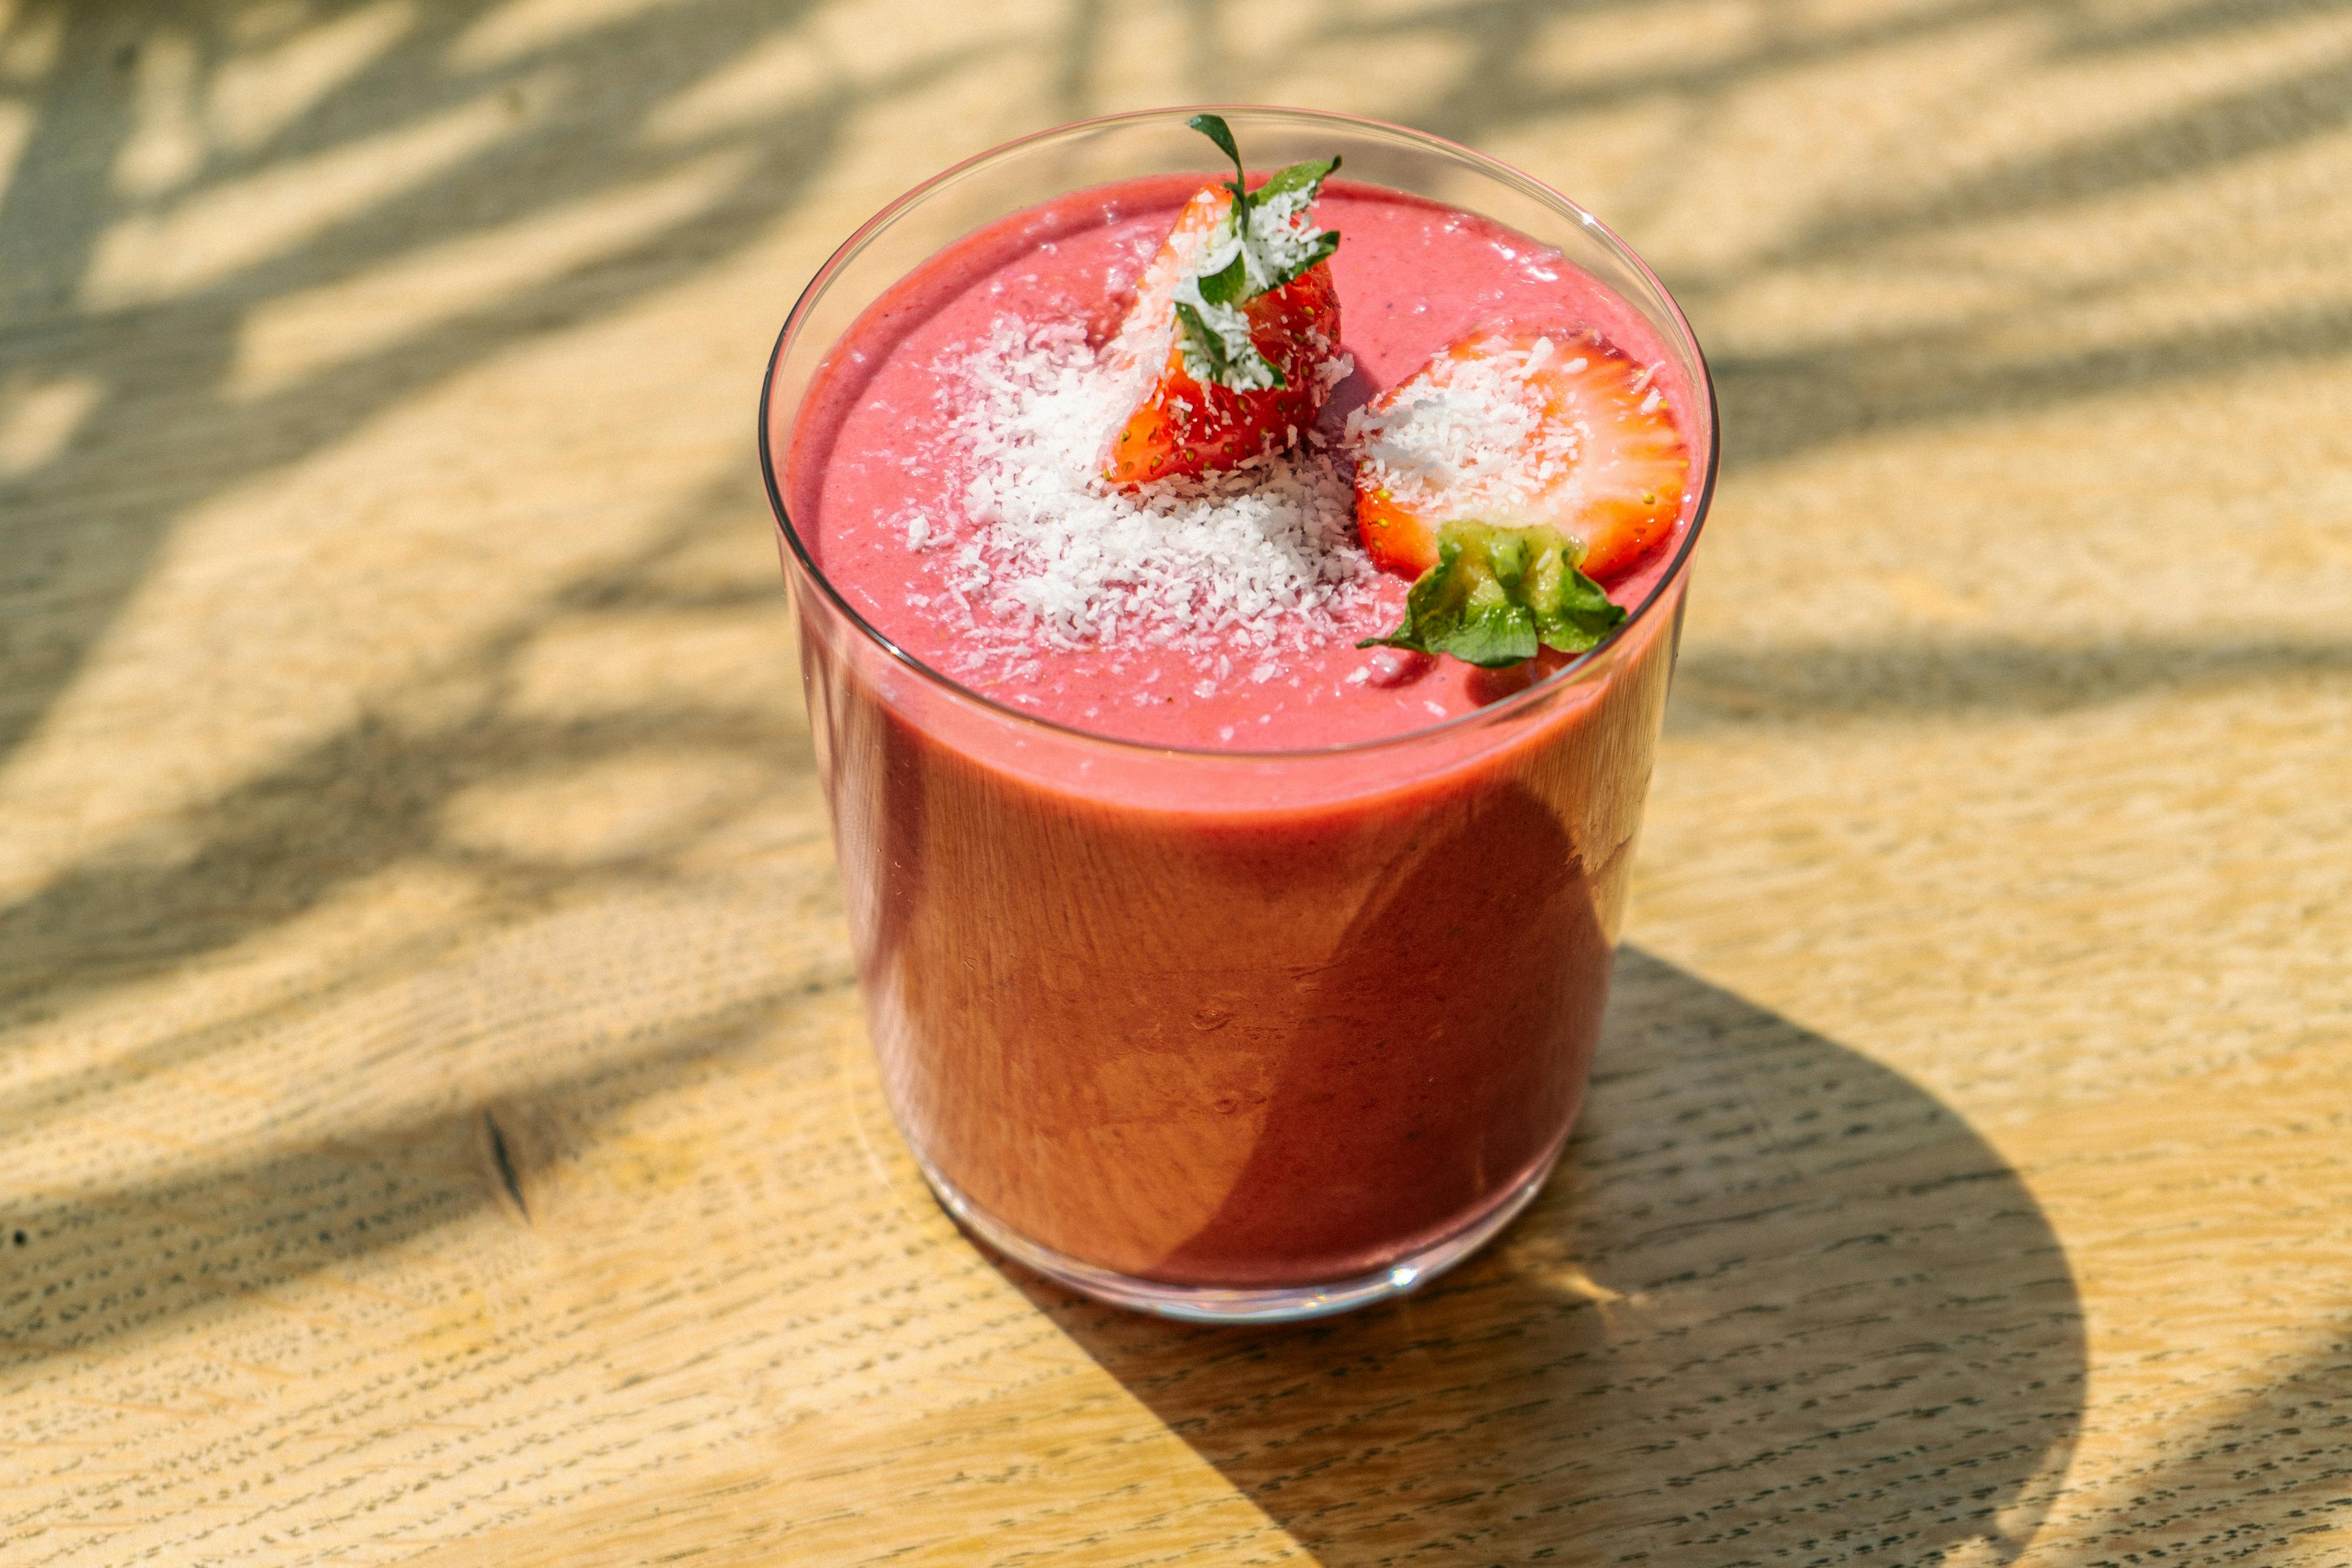
Combining the Strawberry Acai Syrup and Refresher Base
Creating a delicious strawberry acai refresher is easy when you know what ingredients to combine. Start by combining the strawberry acai syrup and refresher base. The syrup will add a sweet flavor and the refresher base will give it a light and refreshing taste. When combined, you’ll have a perfect balance of flavors that can be enjoyed by everyone.
Adding other ingredients to the mixture can help enhance the flavor profile of your drink. Some popular options include fresh fruit, such as strawberries, raspberries, or blueberries; herbs and spices like mint or ginger; and even flavored syrups like caramel or chocolate. Experiment with different ingredients to find the perfect combination for your own unique strawberry acai refresher.
Once you have all of your ingredients ready, it’s time to start assembling your drink. Begin by filling a glass with ice cubes and then pour in the strawberry acai syrup and refresher base. Stir the mixture together until combined and then add in any additional ingredients you’d like to include in your drink. Finally, top off with a splash of soda water or lemonade for an extra touch of sweetness.
Your delicious strawberry acai refresher is now ready to be enjoyed! This refreshing beverage is perfect for any occasion – from summer barbecues to lazy afternoons spent relaxing on the patio – so make sure you always have plenty of ingredients on hand for whenever cravings strike!
Adding Ice and Water
Adding ice and water to your refrigerator is an important part of the setup process. To begin, make sure the refrigerator is completely empty. Then, check the water line connection on the back of the unit and ensure it is correctly connected to a cold water supply. Next, fill up a container with cold water and add it to the reservoir in the refrigerator. Finally, add some ice cubes to create an icy effect. Once finished, you should have a fully functioning fridge!
It is important to note that if your refrigerator does not come with an icemaker, you will need to manually fill up the ice cube trays with cold water. Additionally, you should be careful not to overfill the ice cube trays as this can cause them to overflow when they freeze. Furthermore, if your fridge has an ice dispenser, make sure it is properly connected and functioning before using it.
Finally, if you are having trouble connecting or setting up your refrigerator correctly, consult your user manual for instructions or contact a professional technician for help. With these few simple steps, you can easily get your refrigerator ready for use!
Polishing the Details
Adding those special touches to any room can make all the difference. Take time to really consider how to bring the entire space together. Adding pillows, throws, rugs or wall art can add texture, color and personality to the room. Just be sure to keep it balanced and clutter-free. Artwork not only adds color but can also be an eye-catching focal point of the room. Don’t forget about lighting either! Lighting helps set the mood for any room and can also add a touch of glamour or sophistication.
Organization
Organizing any room is key when it comes to a successful refresher. Decluttering is a great first step in adding a sense of cleanliness and organization. If there are items that don’t fit within the decor or theme, it’s best to donate them or store them away. Make sure everything has a place in your home so that it looks organized and inviting.
Finishing Touches
The finishing touches are what really bring a space together! Try changing up small accents such as knickknacks, decorative boxes or vases throughout different rooms in your home for more impactful results. Adding plants is another great way to add life and natural beauty into your space. Plants are known for improving air quality while adding some natural elements into your home.
With these simple tips, you can successfully pull off any refresher for any room in your home! Start by focusing on one area at a time and gradually work up from there. The key is to take your time and really play around with different ideas until you find something that fits perfectly with your desired look!
Flavoring Options for the Refresher
Refreshers are a great way to stay cool and refreshed during the summer months. There are a variety of flavors that you can choose from to make your own special refresher. From fruity and sweet to tangy and tart, there is something for everyone. Some popular flavors include lemon, lime, pineapple, raspberry, strawberry, blueberry, mango, peach, lychee, and even watermelon. You can also add spices like ginger or mint to give your refresher an extra kick.
Some people prefer to mix two or more flavors together to create their own unique blend. You can also experiment with different combinations of juices and syrups to create something totally unique. For a more exotic twist, try adding tropical fruits like papaya or passion fruit. If you really want to go all out then why not try adding some coconut cream or coconut milk for an island-inspired refresher?
No matter which flavor combination you choose, it’s always important to keep in mind that the quality of the ingredients is key when making a delicious refresher. If you’re using store-bought juices or syrups then make sure they are fresh and not too sugary so that your refresher isn’t too sweet. You can also opt for freshly squeezed juices or even homemade syrups for added flavor and nutrition. With so many options available you’re sure to find the perfect flavor combination for your next summer refresher!

Conclusion
The Starbucks Strawberry Acai Refresher is a great way to make a delicious and refreshing beverage at home. The combination of tart strawberries, sweet acai, and lemonade is sure to please any palate. By using the simple instructions in this article, you can make your own Starbucks Refresher in just minutes. All you need is a few simple ingredients and a blender and you can enjoy the same amazing drink from the comfort of your own home. So go ahead, give it a try – you won’t regret it!
Thanks for reading!

