Making strawberry jam is a great way to preserve the sweet flavour of strawberries for much longer. If you’re looking for a healthier alternative to traditional jam recipes, making sugar free strawberry jam is an ideal solution. This guide will walk you through the process of creating this delicious and nutritious jam, so you can enjoy it all year round.To make sugar free strawberry jam, you will need the following:
– 4 cups fresh or frozen strawberries
– 1/4 cup honey
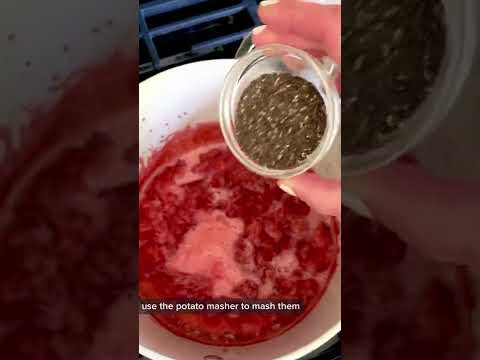
– 2 tablespoons chia seeds
– 1/4 teaspoon ground cinnamon
– Pinch of salt
Preparing the Strawberries
Preparing the strawberries is a simple but important step when making a strawberry-based recipe. The first step is to make sure that all of the stems are removed from the strawberries. This can be done by using a small pairing knife or by using a strawberry huller. Once all of the stems have been removed, rinse the strawberries in cold water and place them onto paper towels to dry. The next step is to slice the strawberries into pieces; this can be done either by hand or with a knife. Finally, if desired, sprinkle some sugar on top of the sliced strawberries and mix them gently together for added sweetness.
Once all of these steps have been completed, you can begin to prepare your recipe. Strawberries can be used in many different recipes such as cakes, pies, jams, sauces, smoothies and more! Have fun experimenting with different recipes and don’t forget to enjoy your delicious strawberry creations!
Choosing a Sweetener
Choosing the right sweetener can be a difficult process. With so many different types of sweeteners on the market, it can be hard to know which one is best for you. There are several things to consider when choosing a sweetener, such as taste, health benefits, cost and availability.
Taste is an important factor in choosing a sweetener. Different sweeteners have different flavors and textures, so it’s important to find one that you like. Some people prefer natural sweeteners like honey or maple syrup, while others might prefer artificial sweeteners like aspartame or sucralose.
In addition to taste, health benefits should also be taken into consideration when selecting a sweetener. Many natural sweeteners like honey and maple syrup have added nutritional benefits that other artificial sweeteners lack. However, it’s important to read labels carefully and understand how much sugar each type of sweetener contains before making a decision.
Cost is another factor that should be considered when choosing a sweetener. Natural alternatives are often more expensive than artificial ones, so it’s important to find the right balance between cost and health benefits. Some artificial sweeteners may also contain additives or preservatives that can affect your overall health if consumed in large amounts.
Finally, availability is another important factor when selecting a sweetener. Depending on where you live, certain types of sweeteners may not be available at your local grocery store or health food store. It’s always best to research what options are available in your area before making a purchase decision.
All these factors should be taken into account when selecting the right type of sweetener for your needs. Be sure to do your research and read labels carefully before deciding which type of sweetener is best for you and your family!
Heating the Mixture
Heating the mixture is essential to many chemical reactions. This process involves adding heat to the materials being mixed, often through the use of a hot plate or Bunsen burner. The temperature and rate at which the heat is added affects the outcome of the reaction, so it is important to control these factors carefully. Heating can cause changes in physical properties such as melting point and viscosity, while also allowing for molecules to move faster and react more readily with one another.
It is important to use appropriate safety precautions when heating a mixture. The materials should always be handled with protective gloves and goggles, and any open flames should be kept away from flammable materials. Additionally, it is important to be aware of any potential hazards associated with certain chemicals in the mixture. For example, volatile organic compounds (VOCs) can be released into the air when heated, posing a risk of inhalation injury or other health risks.
When adding heat to a chemical reaction, it is important to do so gradually and ensure that all components are evenly heated. By controlling the rate at which heat is added, it is possible to achieve more consistent results and minimize any potential side effects of rapid heating. Additionally, it may be necessary to mix or stir the components during heating in order to ensure even distribution of heat throughout the mixture. Once completed, allow the mixture to cool before disposing of any remaining material safely.
Adding Pectin and Lemon Juice
Adding pectin and lemon juice to jams, jellies, and other preserves helps to create a thicker texture. Pectin is a natural substance found in many fruits and vegetables that thickens when heated. Adding lemon juice helps to activate the pectin and gives the preserves a more solid texture. The amount of pectin and lemon juice needed will depend on the type of preserves you are making. For instance, more pectin may be needed for jams than for jellies.
Pectin can be purchased in liquid, powder, or gel form at most grocery stores or online. To make sure the preserves have the right consistency, you should always follow the instructions on the package. When adding the pectin and lemon juice to your recipe, it is important to do so before bringing your mixture to a boil. This will ensure that all of the ingredients are evenly distributed throughout your mixture.
When adding lemon juice to your preserves, it is best to use freshly squeezed juice from lemons or limes. This will provide the most flavor and nutritional benefits as compared to store-bought juices which may contain added sugar or preservatives. Depending on how much flavor you would like in your preserve, you can adjust the amount of lemon juice used accordingly.
Once all of your ingredients are added and mixed together, bring your mixture to a rolling boil over medium-high heat while stirring constantly. Boil for one minute before reducing heat and allowing your preserves to simmer until they have reached desired consistency. If needed, add additional pectin or lemon juice while simmering until desired thickness is achieved. Remove from heat once desired consistency is obtained and transfer finished preserves into sterilized jars for storage or immediate consumption!
Testing for Doneness
Knowing when to take your food off the heat is just as important as knowing how to cook it. To test for doneness, use a thermometer and check that the food has reached the minimum internal temperature according to the USDA guidelines. If you’re cooking poultry, make sure there is no pink remaining in the meat and that the juices run clear. For hamburgers, insert a thermometer into the side of a patty and make sure it reads 160°F (71°C). Similarly, if you’re roasting meat, insert a thermometer into the thickest part of the meat and make sure it reads at least 145°F (63°C).
For fish or seafood, insert a fork or paring knife into its thickest part and twist gently. If it flakes easily, then it’s done. If you’re baking something like cakes or muffins, insert a toothpick or skewer into them and see if it comes out clean. If not, let them bake for another few minutes until they’re ready. Finally, when steaming vegetables, they should be tender but still have some crunch to them when done.
By following these tips you can ensure that your food is cooked to perfection every time!
Filling the Jars
Filling the jars is one of the most important steps in canning. It’s important to make sure all the jars are completely filled with whatever it is you’re canning, whether it be fruits, vegetables, jams, jellies, or sauces. The key to successful canning is making sure that all of your jars are filled evenly and completely. This ensures that all of your jars have an even temperature during processing and will be free from any contamination. To do this, you should use a jar funnel to help fill your jars quickly and accurately. You’ll also need a ladle or spoon to scoop out the contents into each jar. Make sure that each jar is carefully packed down so that air bubbles don’t form inside the jar. Finally, make sure to leave about 1/4-1/2 inch of headspace at the top of each jar before sealing it shut.
Processing
Processing is another important step in canning as it helps ensure that your food will remain safe for consumption for months on end. There are two different types of processing methods – water bath canning and pressure canning. With water bath canning, you’ll place all your sealed jars into a large pot filled with boiling water and simmer them for a certain amount of time depending on what type of food you’re canning. With pressure canning, you’ll place all your sealed jars into a pressure cooker and maintain a certain level of pressure for a certain amount of time depending on what type of food you’re canning. Once processing is complete, remove the jars from either the pot or pressure cooker and let them cool before storing them away in a cool dark place for safekeeping until ready to consume!
How to Store Sugar Free Strawberry Jam
Storing sugar free strawberry jam is not difficult if the right steps are taken. It is important to remember that, due to its lack of preservatives, sugar free jam will have a shorter shelf life than jam with added sugar. To keep it fresh for as long as possible, store the jam in an airtight container in a cool, dark place like the refrigerator or pantry. Make sure the lid is tightly sealed so no air can get in and spoil the jam. For best results, store it away from direct sunlight or heat sources like radiators or stoves. Additionally, it’s best to store the jam in small batches as larger batches can lead to spoilage more quickly.
If you plan on freezing your sugar free strawberry jam, it’s important to use a freezer-safe container that is both airtight and moisture-proof. Additionally, you should label and date the containers so you know how long they’ve been stored for and when they need to be consumed by. Freezing will help preserve the flavor and texture of your jam for up to one year. When you are ready to use your frozen jam, thaw it overnight in the refrigerator before consuming it.
By following these simple tips and storing your sugar free strawberry jam properly, you’ll be able to enjoy its deliciousness for much longer!
Conclusion
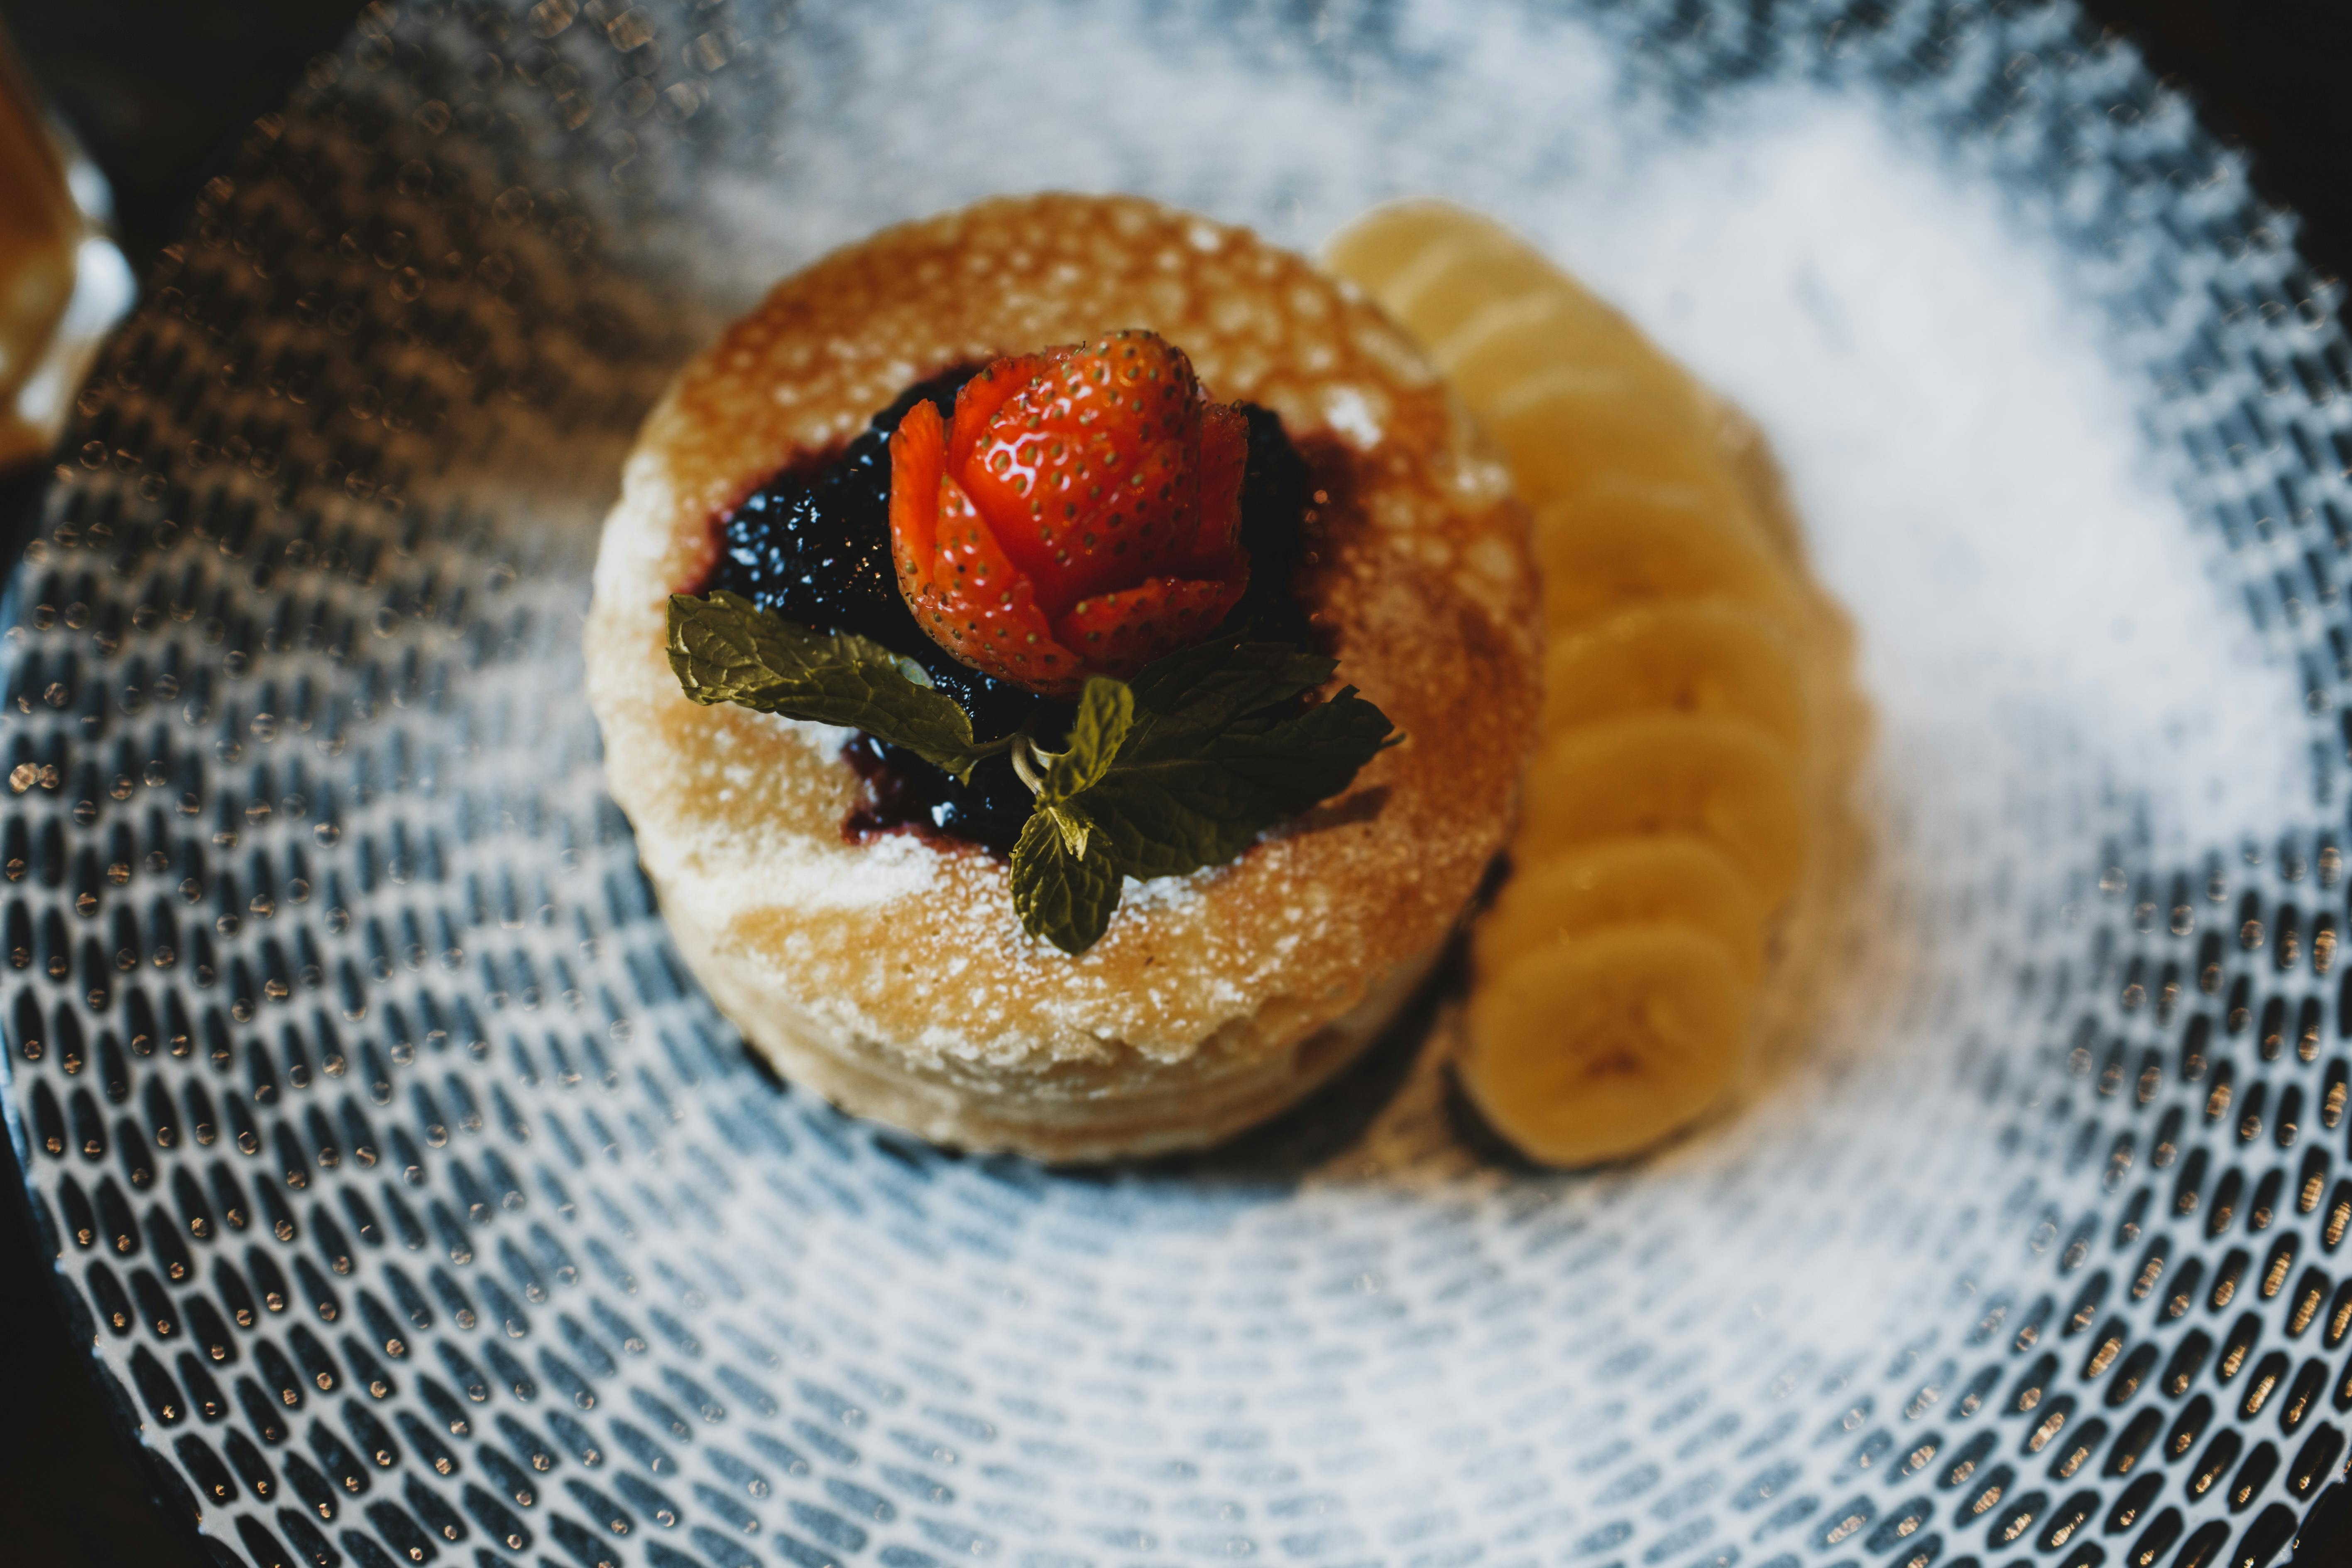
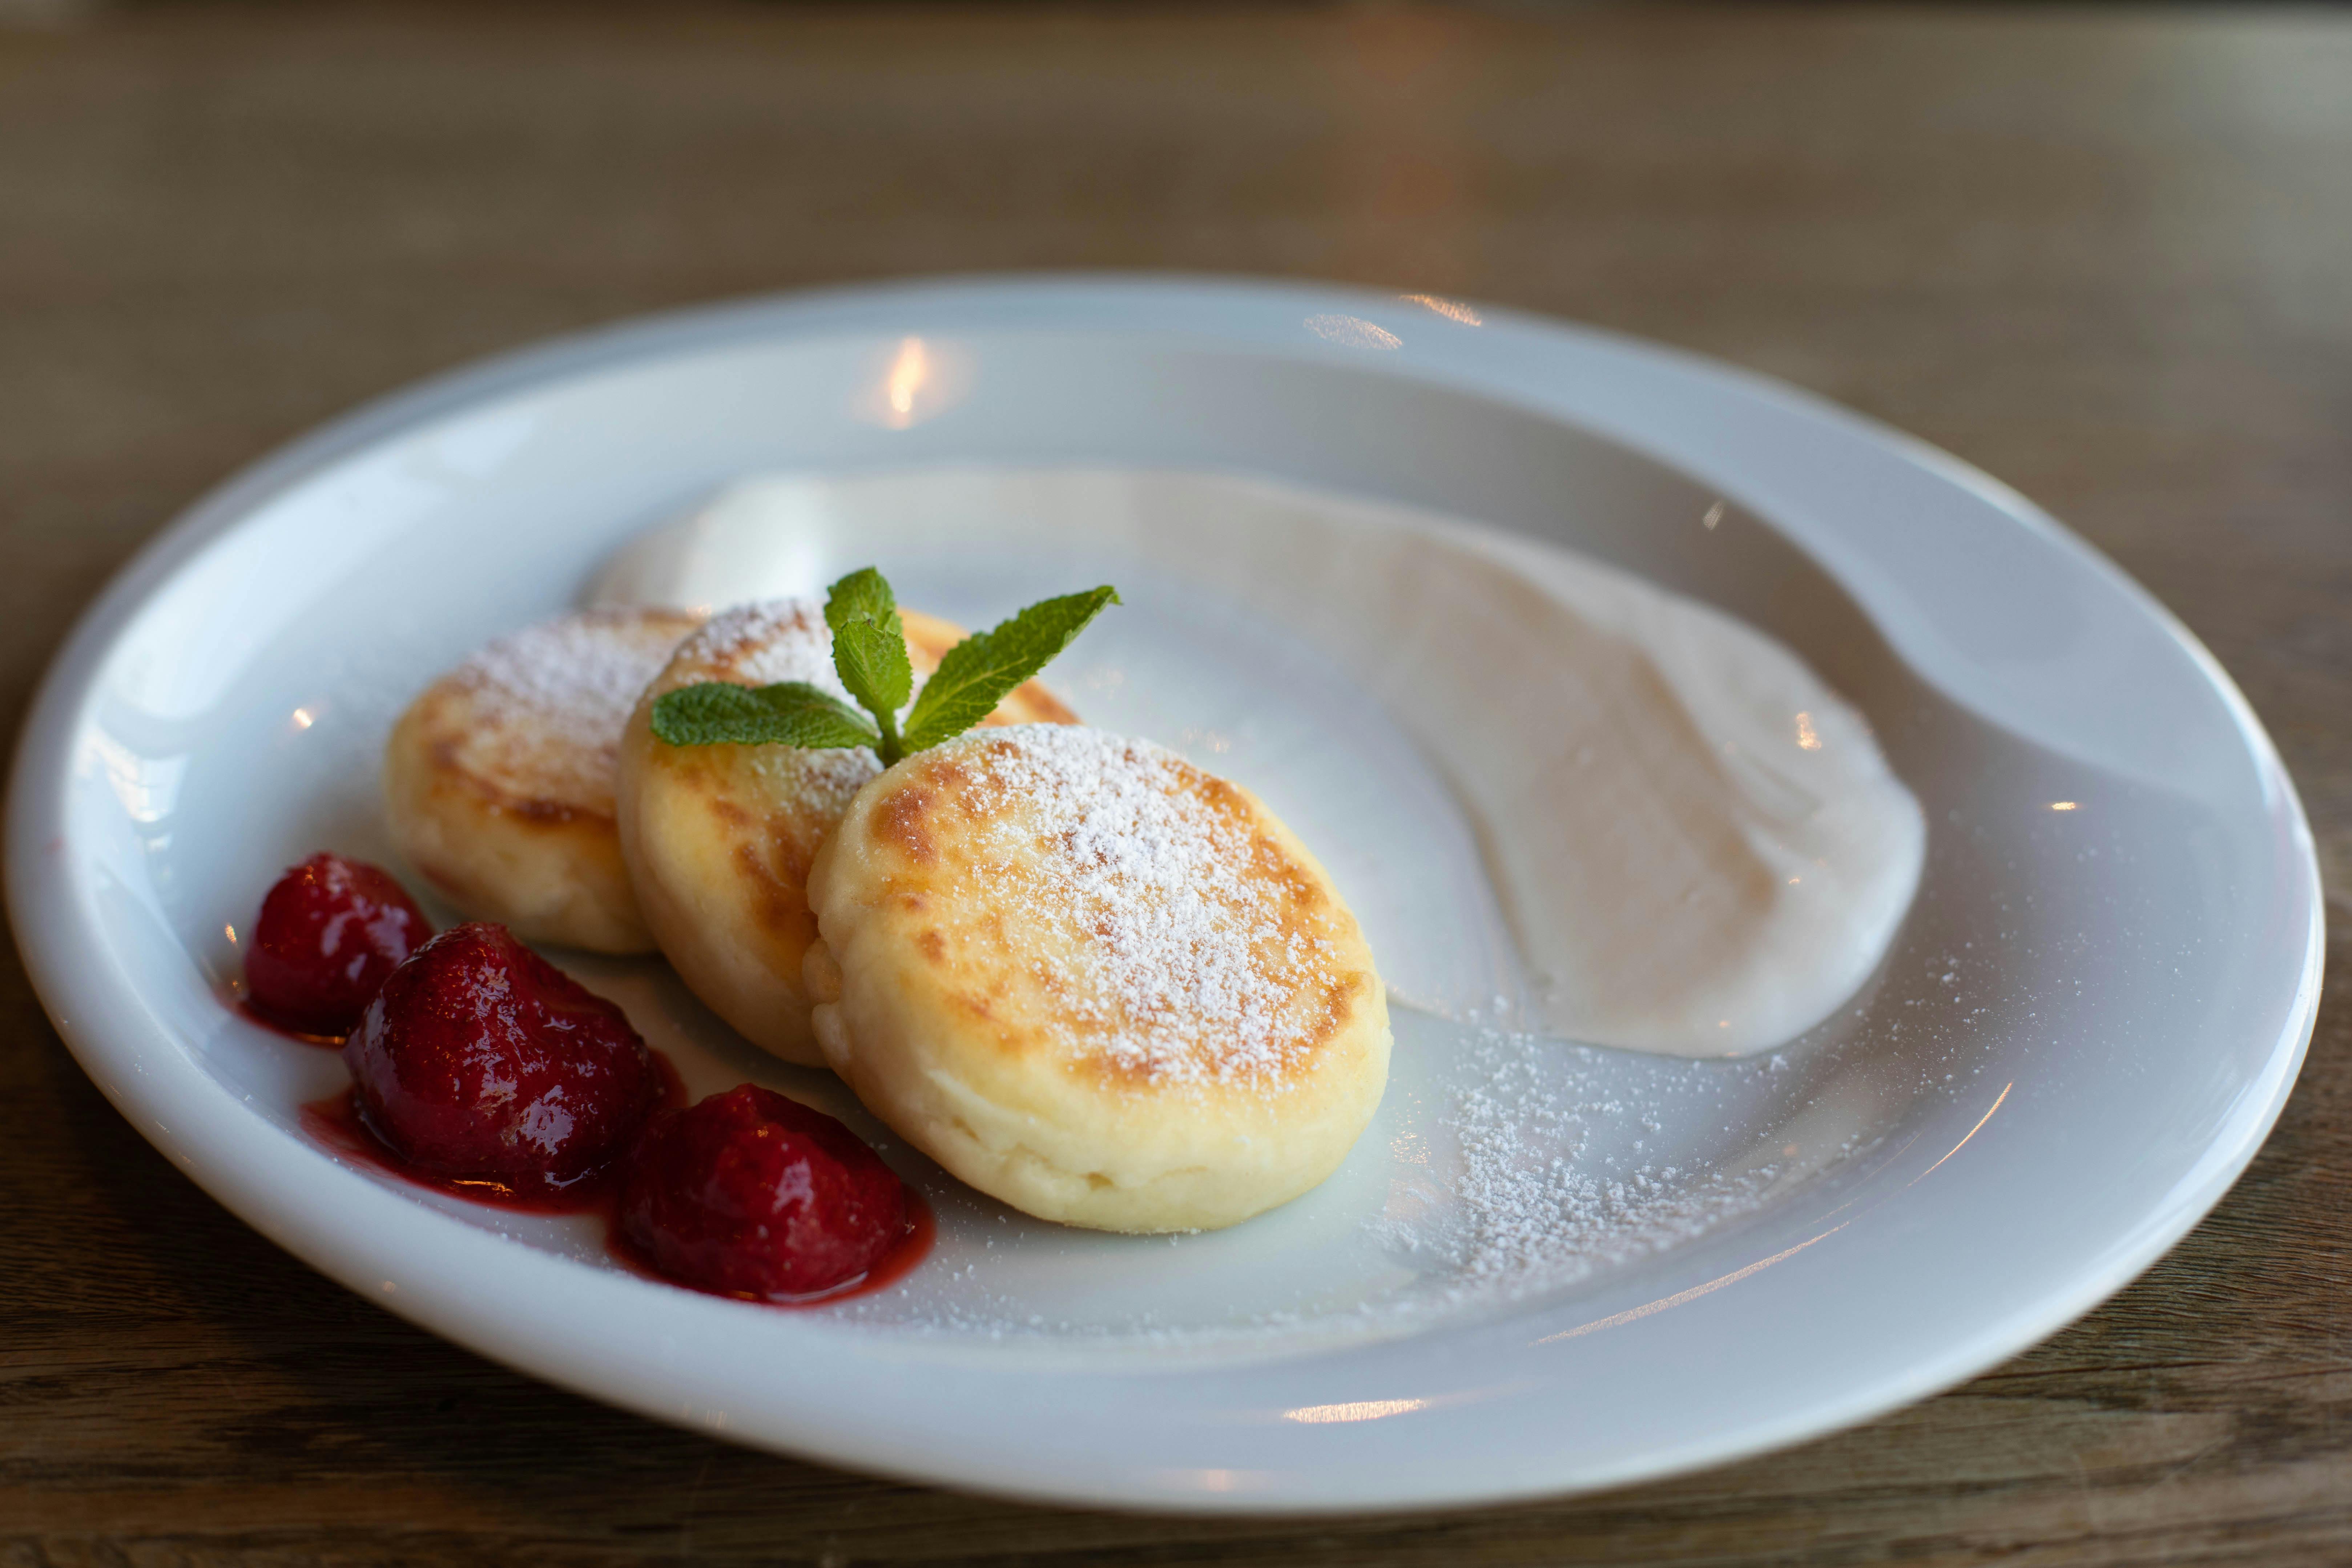
Making sugar free strawberry jam is a simple process that doesn’t require much effort but yields a delicious and healthy result. It’s a great way to enjoy the flavor of fresh strawberries while keeping your sugar intake to a minimum. The jam can be used as a topping for desserts, toast, or eaten by itself as an easy and healthy snack. With only four ingredients, it’s easy to make while still being nutritious and delicious.
This recipe is also very versatile, allowing you to experiment with different fruits and flavors. You can also add spices or herbs for extra flavor, or use honey or agave nectar instead of maple syrup for a slightly sweeter taste. Making your own sugar free strawberry jam is an easy way to make sure you are eating healthy and controlling your sugar intake.
So why not give it a try? With just four ingredients and minimal effort, you can have your own homemade sugar free strawberry jam in no time!

