
Making your own strawberry jelly with pectin is a great way to enjoy a delicious treat. With just a few simple ingredients and steps, you can create a homemade jelly that is sure to be a hit with the family. This recipe requires the use of pectin, which is an important ingredient for making jams and jellies. Pectin helps the mixture thicken and sets the jam or jelly so that it can be cut into slices without being too runny. In this guide, we’ll walk you through each step of how to make strawberry jelly with pectin.To make strawberry jelly with pectin, you will need the following ingredients: 4 cups of crushed strawberries, 4 1/2 cups of white sugar, 1 pouch of liquid pectin, and 1/2 teaspoon of butter. Additionally, you will need a large saucepan and a stirring spoon.
Preparing the Strawberries
Strawberries are a delicious and versatile fruit that can be used in many recipes. They are an excellent source of Vitamin C, antioxidants, and dietary fiber. To prepare strawberries for recipes, they should be washed with cold water to remove any dirt and debris. Then, the stems should be removed and discarded. The berries should then be sliced or diced as needed for the recipe. If you plan to serve the strawberries raw, it is best to wait until just before serving to cut them so that they retain their freshness and flavor.
For recipes that require cooked strawberries, such as pies or jams, the berries should be hulled before cooking. Hulling removes the green cap from the berry and exposes more of the flesh for cooking. The hulled berries can then be cooked in a variety of ways depending on what type of recipe you are making. For jams and jellies, you will need to cook them in sugar with lemon juice until they reach a jam-like consistency. For pies or tarts, you can either bake them in a pre-made crust or use a stovetop method with sugar and butter to create a thick syrup before adding it to the crust.
No matter how you decide to prepare your strawberries for your recipe, you will want to make sure that they are fresh and ripe for optimal flavor. If needed, store them in an airtight container in the refrigerator until ready to use. Enjoy!
Choosing the Fruit
Juicing is a great way to get your daily dose of fresh fruits and vegetables. The first step in making fresh juice is to choose the right type of fruit or vegetable. When selecting produce for juicing, it’s important to consider the flavor, texture, and nutritional benefits each type of fruit or vegetable provides. Depending on your preferences, you may want to select a combination of sweet and tart fruits or vegetables for a unique flavor. You may also want to select produce with high levels of vitamins and minerals for maximum health benefits. Ultimately, you should pick the fruits and vegetables that you enjoy drinking in order to make drinking your juice a pleasant experience.
Preparing the Fruits and Vegetables
Once you’ve chosen your fruits and vegetables, it’s time to prepare them for juicing. Start by washing the produce thoroughly with cold water to remove dirt or bacteria that may be present. Then cut away any bruises or blemishes from the fruit before slicing it into smaller pieces. Once everything is cut up, place the pieces into a juicer according to the instructions in your juicer’s manual.
Using a Blender
If you don’t have a juicer, you can still make juice with a blender. To do this, first blend up all of your chosen fruits and vegetables separately until they’re completely pureed. Then combine all of the puree together in a large bowl and stir until they are well-mixed together. Finally, strain the mixture through cheesecloth or a fine-mesh strainer into another bowl. This will separate out any remaining pulp from the liquid so that you are left with a smooth juice.
Adding Flavorings
Once you’ve made your juice, it’s time to add some flavorings! Depending on what type of juice you’re making, there are many different types of additives that can enhance its taste. If you’re making citrus juices like orange juice or lemonade, consider adding some sugar or honey for sweetness. If you’re making vegetable juices like carrot or beetroot juice, try adding some herbs like parsley or basil for additional flavor.
Storing Your Juice
Once your juice is made, it’s important to store it properly so that it tastes its best when consumed later on. Freshly-made juices should be kept refrigerated in an airtight container such as a Mason jar for up to three days before drinking them. If you plan on storing them longer than that, consider freezing them in ice cube trays so that they can be thawed out later when needed.
Making fresh juices at home is an easy way to get more vitamins and minerals into your diet while also having an enjoyable drink! With these tips on choosing produce, preparing it correctly, adding flavorings as desired, and storing properly – now anyone can make delicious homemade juices!
Straining the Juice
Straining juice is an important step in many of your favorite juice recipes. This process helps to remove any unwanted particles, such as pulp, seeds, or even ice crystals. Straining can also help to create a smoother and more consistent texture in your finished product. To ensure that you get the best results, it is important to use the right equipment and technique when straining your juice.
The most common way to strain juice is by using a fine mesh strainer or sieve. This type of strainer works best for removing larger particles from the juice. When using a mesh strainer, make sure to place it over a bowl or container so that you can capture the strained liquid. It is important to use light pressure when pushing the liquid through the mesh, as too much force can result in a cloudy and bitter-tasting juice.
For finer particulates, such as pulp or ice crystals, you may want to consider using a cheesecloth or coffee filter instead of a mesh strainer. These materials are much more effective at removing smaller particles from your juice without sacrificing too much flavor or texture. When using this method, it is best to place the cheesecloth or filter over a bowl and gently pour the liquid through it in order to capture all of the strained liquid in one container.
Finally, if you are looking for an even finer strain on your juices, you may want to consider investing in a centrifugal juicer. This type of juicer uses centrifugal force to separate out solids from liquids quickly and efficiently while still preserving flavor and texture. Centrifugal juicers are often more expensive than traditional methods but they will allow you to achieve professional results with minimal effort.
No matter what type of juicing equipment you choose to use for straining your juices, it is important to remember that proper technique will help ensure that you get the best results possible each time you make juice. With patience and practice, anyone can learn how to strain their juices like a pro!
Measuring Ingredients
Accurately measuring ingredients is an essential part of cooking. Measuring accurately will help you achieve the desired texture and flavor of your dish. If you are not sure how to measure ingredients, here are some tips to help you.
The first thing to do is get the right tools for measuring. Measuring cups and spoons come in different sizes, so make sure you have the correct size for the ingredient you are measuring. It is also helpful to have a kitchen scale on hand, as some recipes require weighing ingredients rather than measuring them by volume.
When measuring dry ingredients, spoon the ingredient into the cup or spoon and level it off with a straight edge. Do not pack it down or scoop it out with your hands; this will give an inaccurate measurement. For wet ingredients, use a liquid measuring cup and make sure the liquid reaches up to the marked line before adding it to your recipe.
Finally, be sure to read through your recipe carefully before starting so that you know what measurements are being used (teaspoon, tablespoon, cup etc.). This will help ensure that you get the most accurate measurement possible and that your dish turns out just as intended!
Boiling the Mixture
Boiling the mixture is a simple process that involves heating the mixture to its boiling point. This is done by using a stove top burner or any other heat source. Once the boiling point is reached, the mixture should be kept at this temperature for a few minutes in order to allow the ingredients to fully dissolve and mix together. It is important to make sure that all of the ingredients are fully mixed together before removing it from heat, as some ingredients may not dissolve completely if left in for too long. It is also important to stir constantly while boiling in order to prevent burning or scorching of any of the ingredients. After boiling, it is important to reduce the heat and allow the mixture to cool before transferring it into another container for storage.
The boiling process helps to break down any solid particles and mix all of the ingredients together into one homogeneous solution that can then be used for further processing such as distillation or filtration. Boiling also helps to increase both shelf life and safety of mixtures by killing any bacteria or other microorganisms that may be present in the mixture. Finally, boiling also helps with concentration of certain components within a mixture, making them more easily accessible for further processing.
In conclusion, boiling mixtures is an important process that should be done carefully and correctly in order to get desired results. By following these guidelines you can ensure that your mixtures are properly heated and mixed together without any burning or scorching occurring.
Adding Pectin to the Mixture
Pectin is a type of carbohydrate found in many fruits and vegetables. It can be used as a thickening agent in jams, jellies, and other dishes, and it helps to create a gel-like consistency. Adding pectin to a mixture helps to bind the ingredients together and provide structure. The amount of pectin needed for a recipe will depend on the type of fruit or vegetable being used, as different fruits contain varying amounts of natural pectin.
When adding pectin to a mixture, it is important to be aware of the recommended measurements for the specific recipe being made. Too much pectin can create an overly thick product that will not spread properly or have the desired texture. Additionally, if not enough pectin is added, the mixture may not set properly or will not hold its shape after cooling.
Pectin is typically sold in powder form and can be found at most grocery stores or online retailers. To use it in a recipe, it should be mixed with water before adding it to the mixture. Additionally, some recipes may call for sugar or other ingredients to help activate the pectin and ensure that it binds properly with the other ingredients. Once all of these components are combined in a pot on low heat, stirring occasionally until they reach boiling point should result in a thickened mixture that has been successfully bound by pectin.
Testing for Gel Point
Gel point testing is an important process used by many industries to assess the stability of a product. It is commonly used to measure the viscosity, or thickness, of a substance such as a lubricant or a surfactant. It is also used to measure the gel strength and the melting point of a product. The test results help manufacturers determine the best application for their products and ensure that they are safe and effective.
The gel point test involves heating a sample of the product until it reaches its gel point temperature. This temperature can vary depending on the type of product being tested, but it generally ranges from 60-90°C. Once the sample has reached its gel point temperature, it is then cooled quickly to observe how it changes in consistency. If it remains liquid after cooling, then it has passed the test and is considered stable; if it forms a gel-like consistency, then it has failed, indicating that further testing or reformulation may be needed.
The gel point test can be performed in several different ways depending on what information needs to be obtained from the results. For example, some tests involve measuring how long it takes for the sample to reach its gel point temperature while others measure how much force is required to break apart a sample that has already reached its gel point temperature. Additionally, some tests are performed in combination with other tests such as rheology or thermal analysis in order to obtain more detailed data about the product’s properties.
Overall, testing for gel point is an important process that helps manufacturers ensure that their products are safe and effective before they are used commercially. By understanding how products change in consistency when heated or cooled, manufacturers can better predict how their products will perform in different environments and conditions.

Conclusion
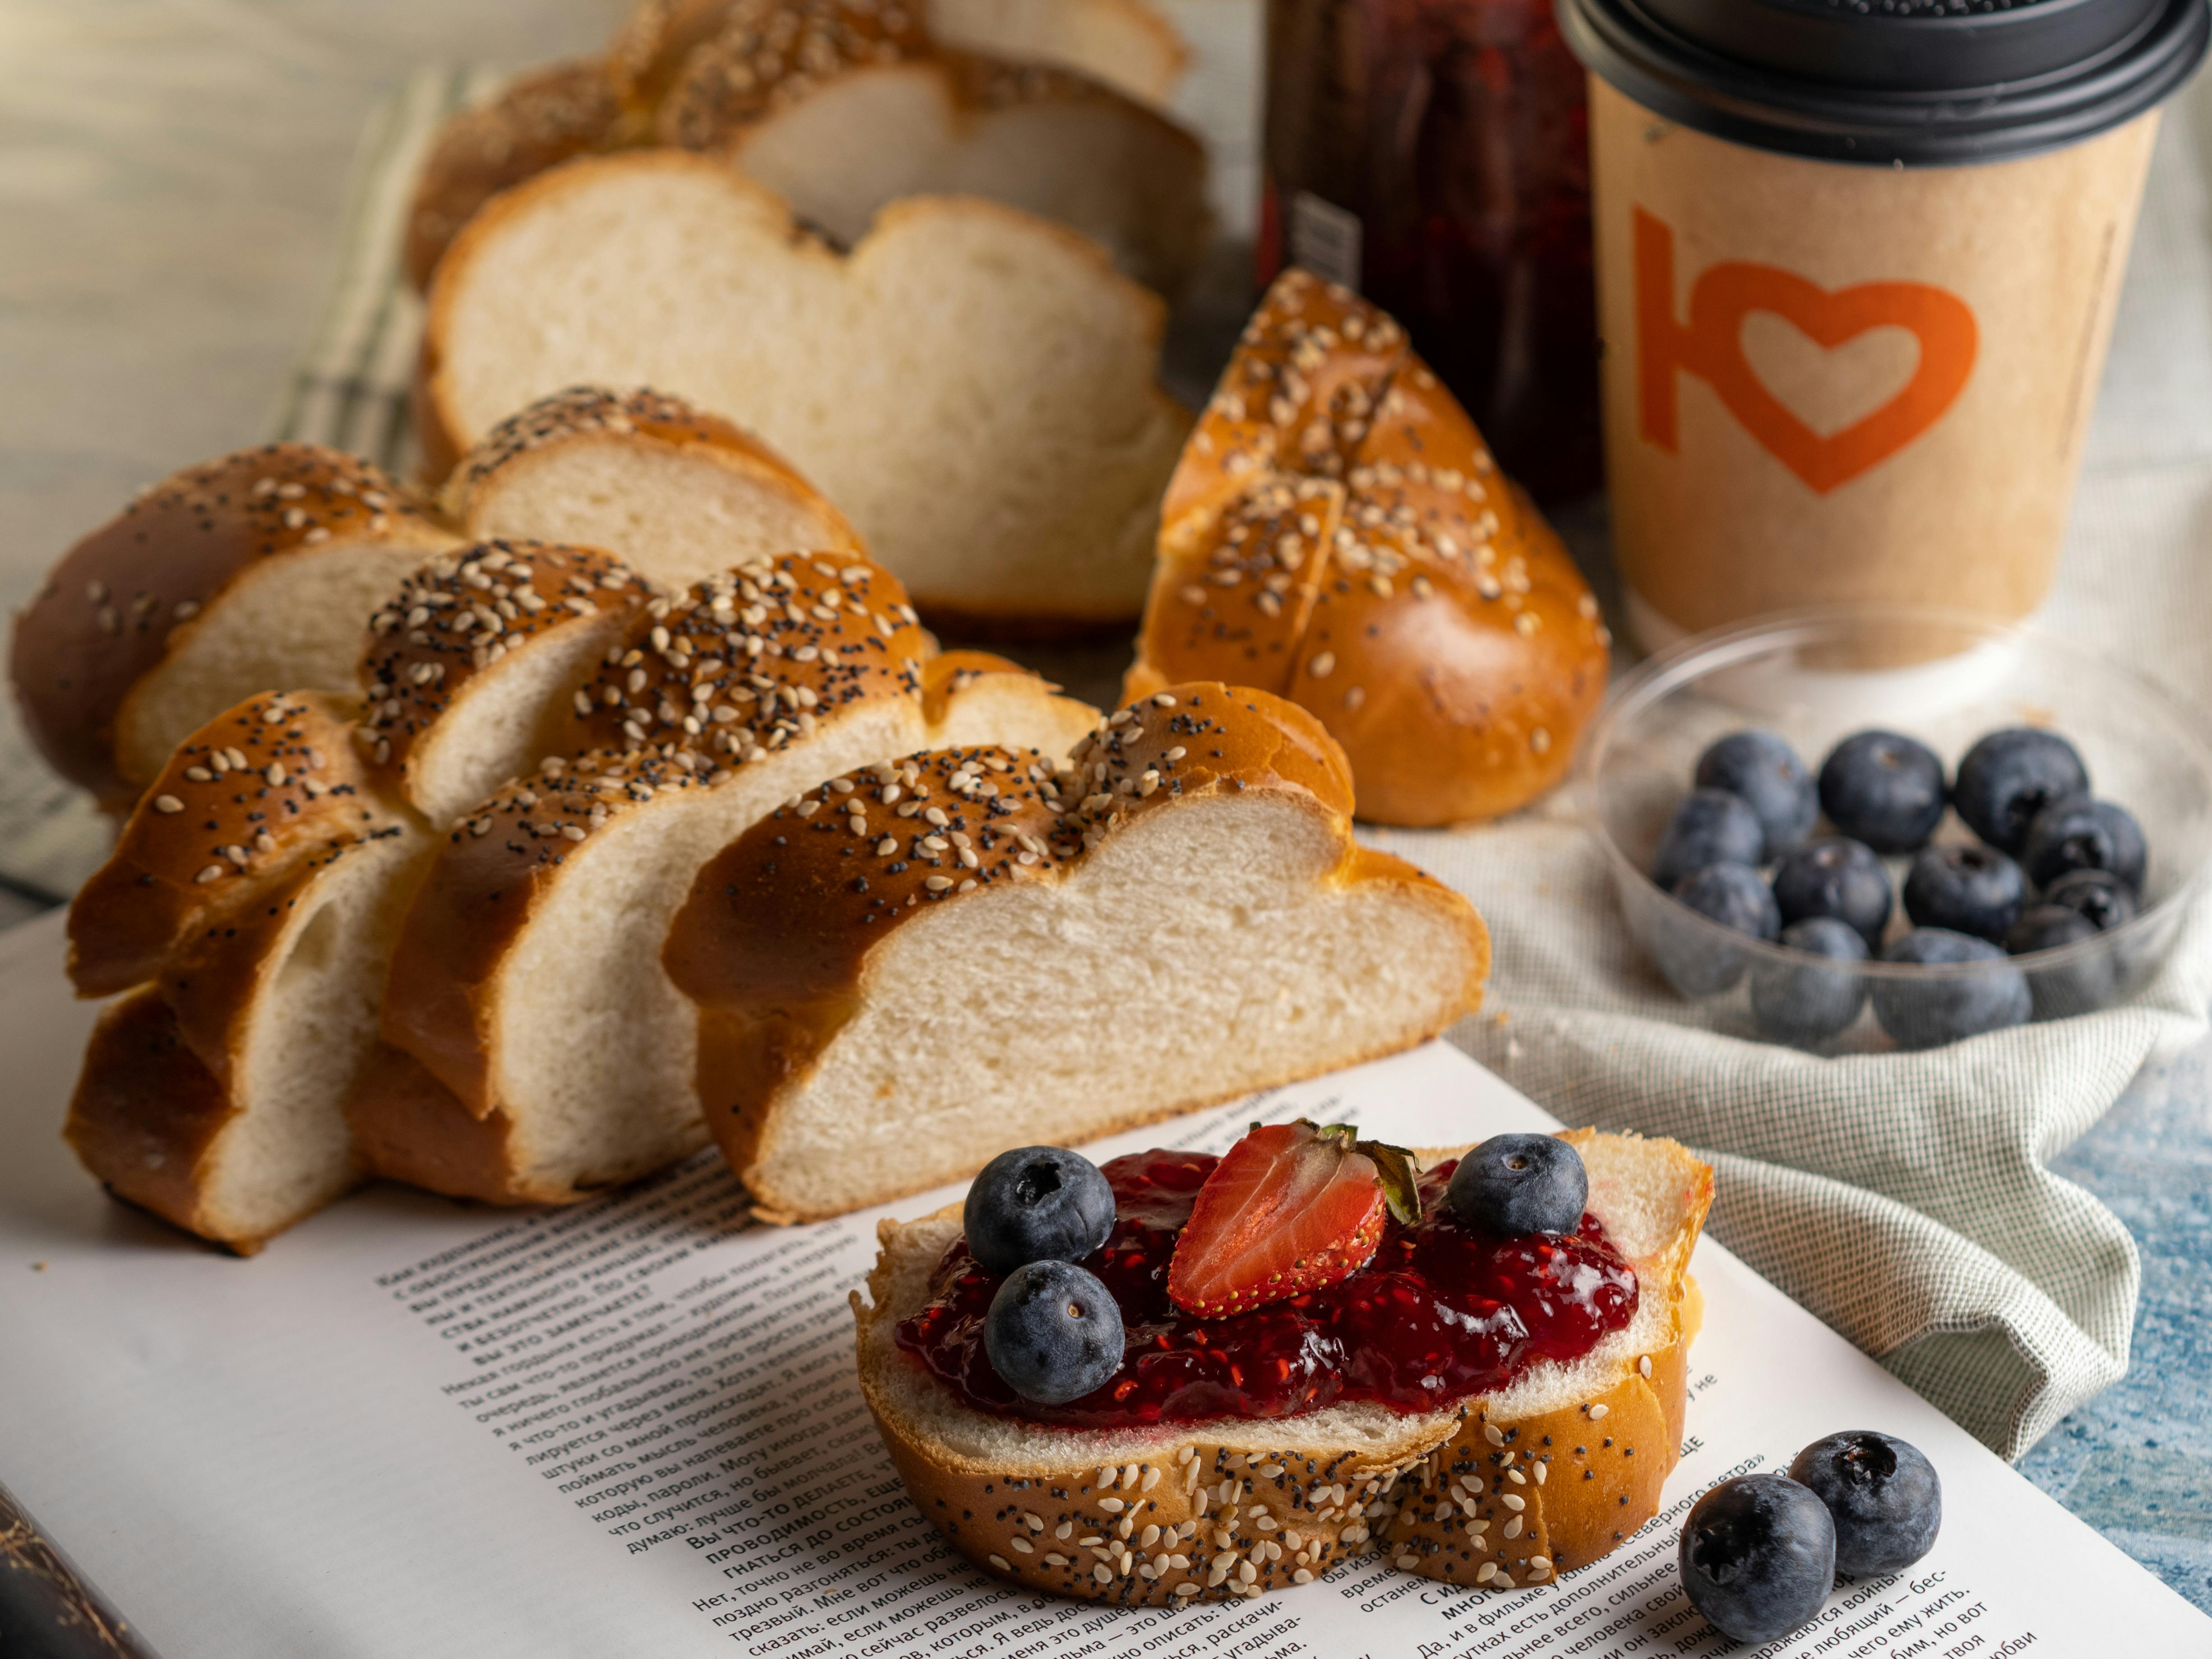
Making strawberry jelly with pectin is a fun and easy activity for all ages. With the right ingredients and tools, you can make delicious jelly in no time. Start by preparing the berries and pectin, then cook the mixture until it reaches a thick consistency. Once it’s ready, pour it into a jar and let it cool. Finally, you can enjoy your homemade jelly on toast, crackers, or whatever you like!
Making jelly with pectin is an enjoyable way to use up fresh strawberries and create something delicious. Give it a try today and get creative with your flavors!

