

Making a delicious and easy strawberry jam with frozen strawberries and pectin is a great way to use those frozen berries! You can easily make a batch of your own homemade jam without having to worry about the hassle of picking and prepping fresh strawberries. With a few simple steps, you can create a delicious jam that you can use for toast, scones, or whatever else your heart desires. Follow this guide to learn how to make a tasty strawberry jam with frozen strawberries and pectin.To make strawberry jam with frozen strawberries and pectin, you will need: 5 cups of frozen strawberries, 1 teaspoon of lemon juice, 4 cups of sugar, 1 box of pectin, and 1/2 teaspoon of butter.
Preparing the Ingredients for Strawberry Jam
Making homemade strawberry jam is a rewarding and delicious experience. To begin, you will need to gather all of the necessary ingredients. The most important ingredient is fresh strawberries. Choose firm, ripe fruit that is free of blemishes and defects. You will also need sugar, lemon juice and pectin. Pectin is a natural thickening agent found in many fruits and vegetables that helps the jam set properly.
Once you’ve gathered your ingredients, begin by washing the strawberries in cold water and removing their stems and leaves. Cut the berries into small pieces or mash them with a potato masher or fork until they reach a consistency of your liking. Measure out the desired amount of sugar and add it to the mashed fruit before stirring until combined. At this point, add in the lemon juice to help balance out the sweetness of the sugar and act as a preservative for your jam. The lemon juice should be freshly squeezed for maximum flavor.
Finally, add your pectin to the mixture and stir until completely dissolved. Let sit for 10-15 minutes before transferring to jars or containers for storage in a cool place or refrigerator. Your homemade strawberry jam is now ready to enjoy!
Boiling the Frozen Strawberries
Boiling frozen strawberries is an easy way to make homemade jam or jelly. Before you begin, make sure you have enough frozen strawberries to fill the pot. If not, you may need to add more water to help the fruit cook down. Once you have enough frozen strawberries in the pot, add just enough water to cover them and bring it to a boil. Boil the strawberries until they are soft and cooked through, about 10 minutes. Stir occasionally and reduce heat if needed. Once the strawberries are cooked through, strain them into a bowl or other container, reserving the liquid for use in your recipe.
Adding Pectin
Once your cooked strawberries are strained, it’s time to add pectin. Pectin is a natural thickener that helps give jams and jellies their desired consistency. It can be bought in powder or liquid form at most grocery stores. If using powder pectin, mix it with sugar before adding it to your cooked berries so that it can dissolve properly. For every cup of cooked berries, use one tablespoon of pectin and one cup of sugar. If using liquid pectin, mix one-fourth cup of liquid pectin with one cup of sugar before adding it to the cooking pot with your berries.
Once your pectin is added to the mixture, bring it back up to a boil and let it simmer for 10 minutes stirring constantly so that everything is evenly combined. This will help ensure that your jam or jelly has a smooth texture without any lumps or chunks. After 10 minutes, turn off the heat and let cool before pouring into jars or other containers for storage in the refrigerator or freezer until ready to use.
Adding Sugar to the Mixture
Sugar can be added to many mixtures, such as cake batter, cookie dough, and frosting. Adding sugar to a mixture makes it sweeter and can also add texture and volume. When adding sugar to a mixture, it is important to measure the amount of sugar accurately. Too much or too little sugar can have an adverse effect on the end result of the recipe.
When adding sugar to a recipe, use measuring cups or spoons that are specifically designed for measuring dry ingredients. It is also important to know which type of sugar is being used in the recipe. Granulated white sugar, brown sugar, confectioners’ sugar, and honey all have different consistencies and measurements when added as an ingredient in a recipe.
When combining different types of sugar in a recipe, measure each one separately and then combine them together before adding them to the mixture. This will ensure that all of the sugars are added in the correct proportion for the desired flavor. Additionally, if more than one type of sweetener is being used in a recipe, it is important to adjust any other liquid ingredients accordingly.
When baking with granulated white sugar or brown sugars, it is best to mix them into other ingredients until they are fully incorporated into the mixture before baking. This will ensure that they dissolve completely and don’t leave any grainy texture in the finished product. On the other hand, confectioners’ sugar should be added at the end of mixing so as not to cause it to clump up or become lumpy when mixed with other ingredients.
Overall, when adding sugars to any mixtures it is important to measure accurately and know which type of sweetener you are using so that you can adjust your other ingredients accordingly for optimal results.
Cooling the Mixture
Cooling the mixture is an important step in many chemical processes. The process of cooling the mixture involves reducing the temperature of the reactants, resulting in a lower energy state. This can be done through a variety of methods, ranging from using a cooling bath to using a cold plate. The choice of cooling method will depend on the nature of the reaction and its reactants.
A cooling bath is one of the most common methods used to cool a reaction mixture. This involves immersing the reaction vessel into a coolant such as water or ice. The temperature of the coolant is carefully maintained to ensure that it is low enough to reduce the energy state of the reactants without causing them to solidify or become unstable.
A cold plate may also be used to cool a reaction mixture. A cold plate is essentially an insulated container containing a refrigerant, such as liquid nitrogen or carbon dioxide, which can be maintained at very low temperatures. This refrigerant is then circulated around the outside of the reaction vessel, reducing its temperature and thus cooling down its contents. This method requires careful monitoring and control in order to ensure that it does not cause any chemical instability in the reaction mixture.
Another method for cooling a reaction mixture involves using an external heat exchanger, which transfers heat away from the reaction vessel and dissipates it into another medium such as air or water. This method can be used when temperatures are too high for a cooling bath or cold plate to be effective, and is often used for reactions that require very high temperatures for completion.
No matter which method is chosen for cooling a reaction mixture, it should always be done carefully and with due consideration for safety protocols so that no harm comes to personnel or equipment during this process.
Testing the Consistency of the Jam
The consistency of a jam is an important factor in the overall quality of the product. It determines how thick or thin it is, as well as whether it spreads easily on toast or not. To test the consistency of a jam, you should first try it on a spoon. Take a spoonful of jam and tilt it to one side. The jam should hold its shape and not be too runny or watery. If it runs off quickly, then it is too thin and needs to be cooked for longer to reduce the water content and thicken up. If it is too thick and clumpy, then you may need to add some more liquid such as water or juice to thin it out. Another way to test the consistency of a jam is by spreading it on toast. Take a teaspoonful of jam onto your finger and spread it across a piece of toast. It should spread evenly without pulling up large chunks or being too runny. If the jam looks lumpy, then you will need to stir and cook it for longer until it reaches an even texture.
Once you have tested the consistency of your jam, you can adjust accordingly by adding more liquid or cooking for longer if necessary. Doing this will ensure that your jams are always perfect every time!
Pouring The Strawberry Jam Into Jars
Making strawberry jam is a fun and rewarding process that can be done easily at home. The first step is to gather the necessary ingredients: strawberries, sugar, and lemon juice. Once you have these ingredients, you can begin the process of making the jam.
Start by washing the strawberries and removing any stems or leaves. Place the cleaned berries in a bowl and mash them with a potato masher until they are broken down into small pieces. Add the sugar and lemon juice and mix until everything is well incorporated.
Next, bring the mixture to a boil in a large pot on medium-high heat. Stir regularly to prevent sticking or burning. Reduce heat and allow the mixture to simmer for 10-15 minutes, stirring occasionally until it has thickened to your desired consistency.
Once ready, remove from heat and allow the jam to cool completely before pouring it into jars. Make sure that you use clean jars with tight fitting lids for storage. When filling your jars with jam, leave about 1/4 inch of headspace at the top so that there is room for expansion when sealing them shut. Tightly seal each jar with its lid and store in a cool place such as your refrigerator or pantry.
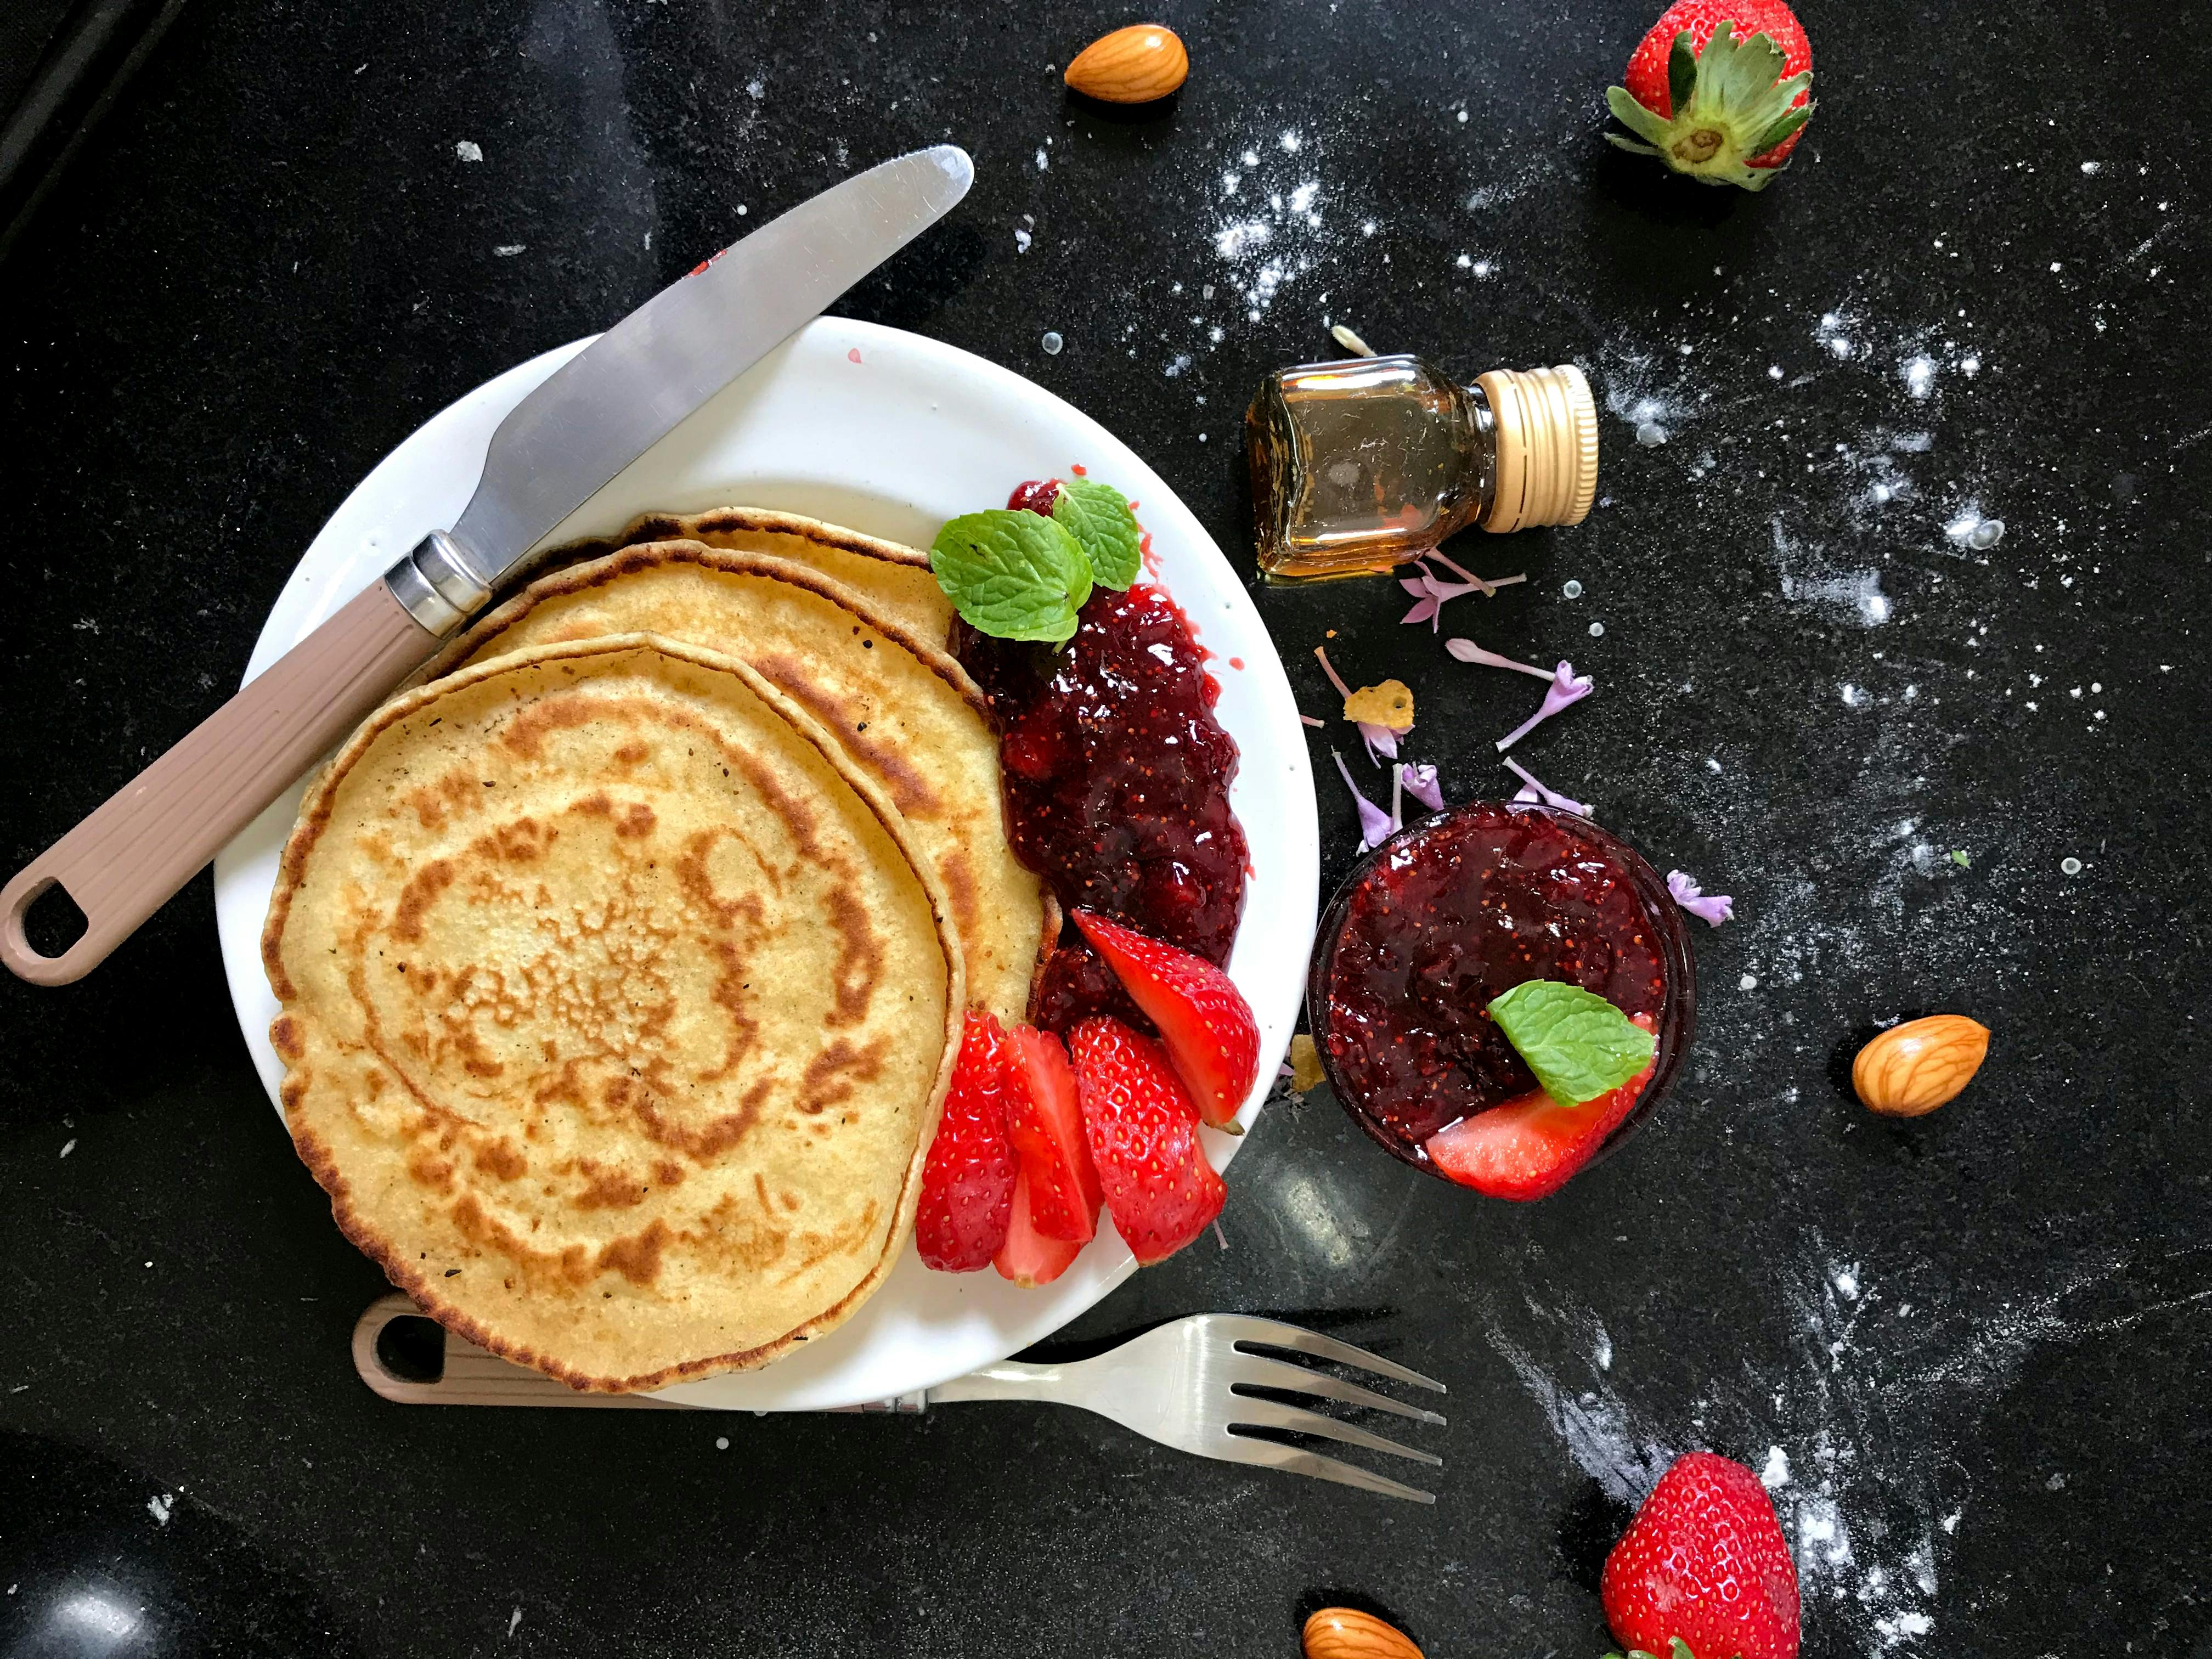
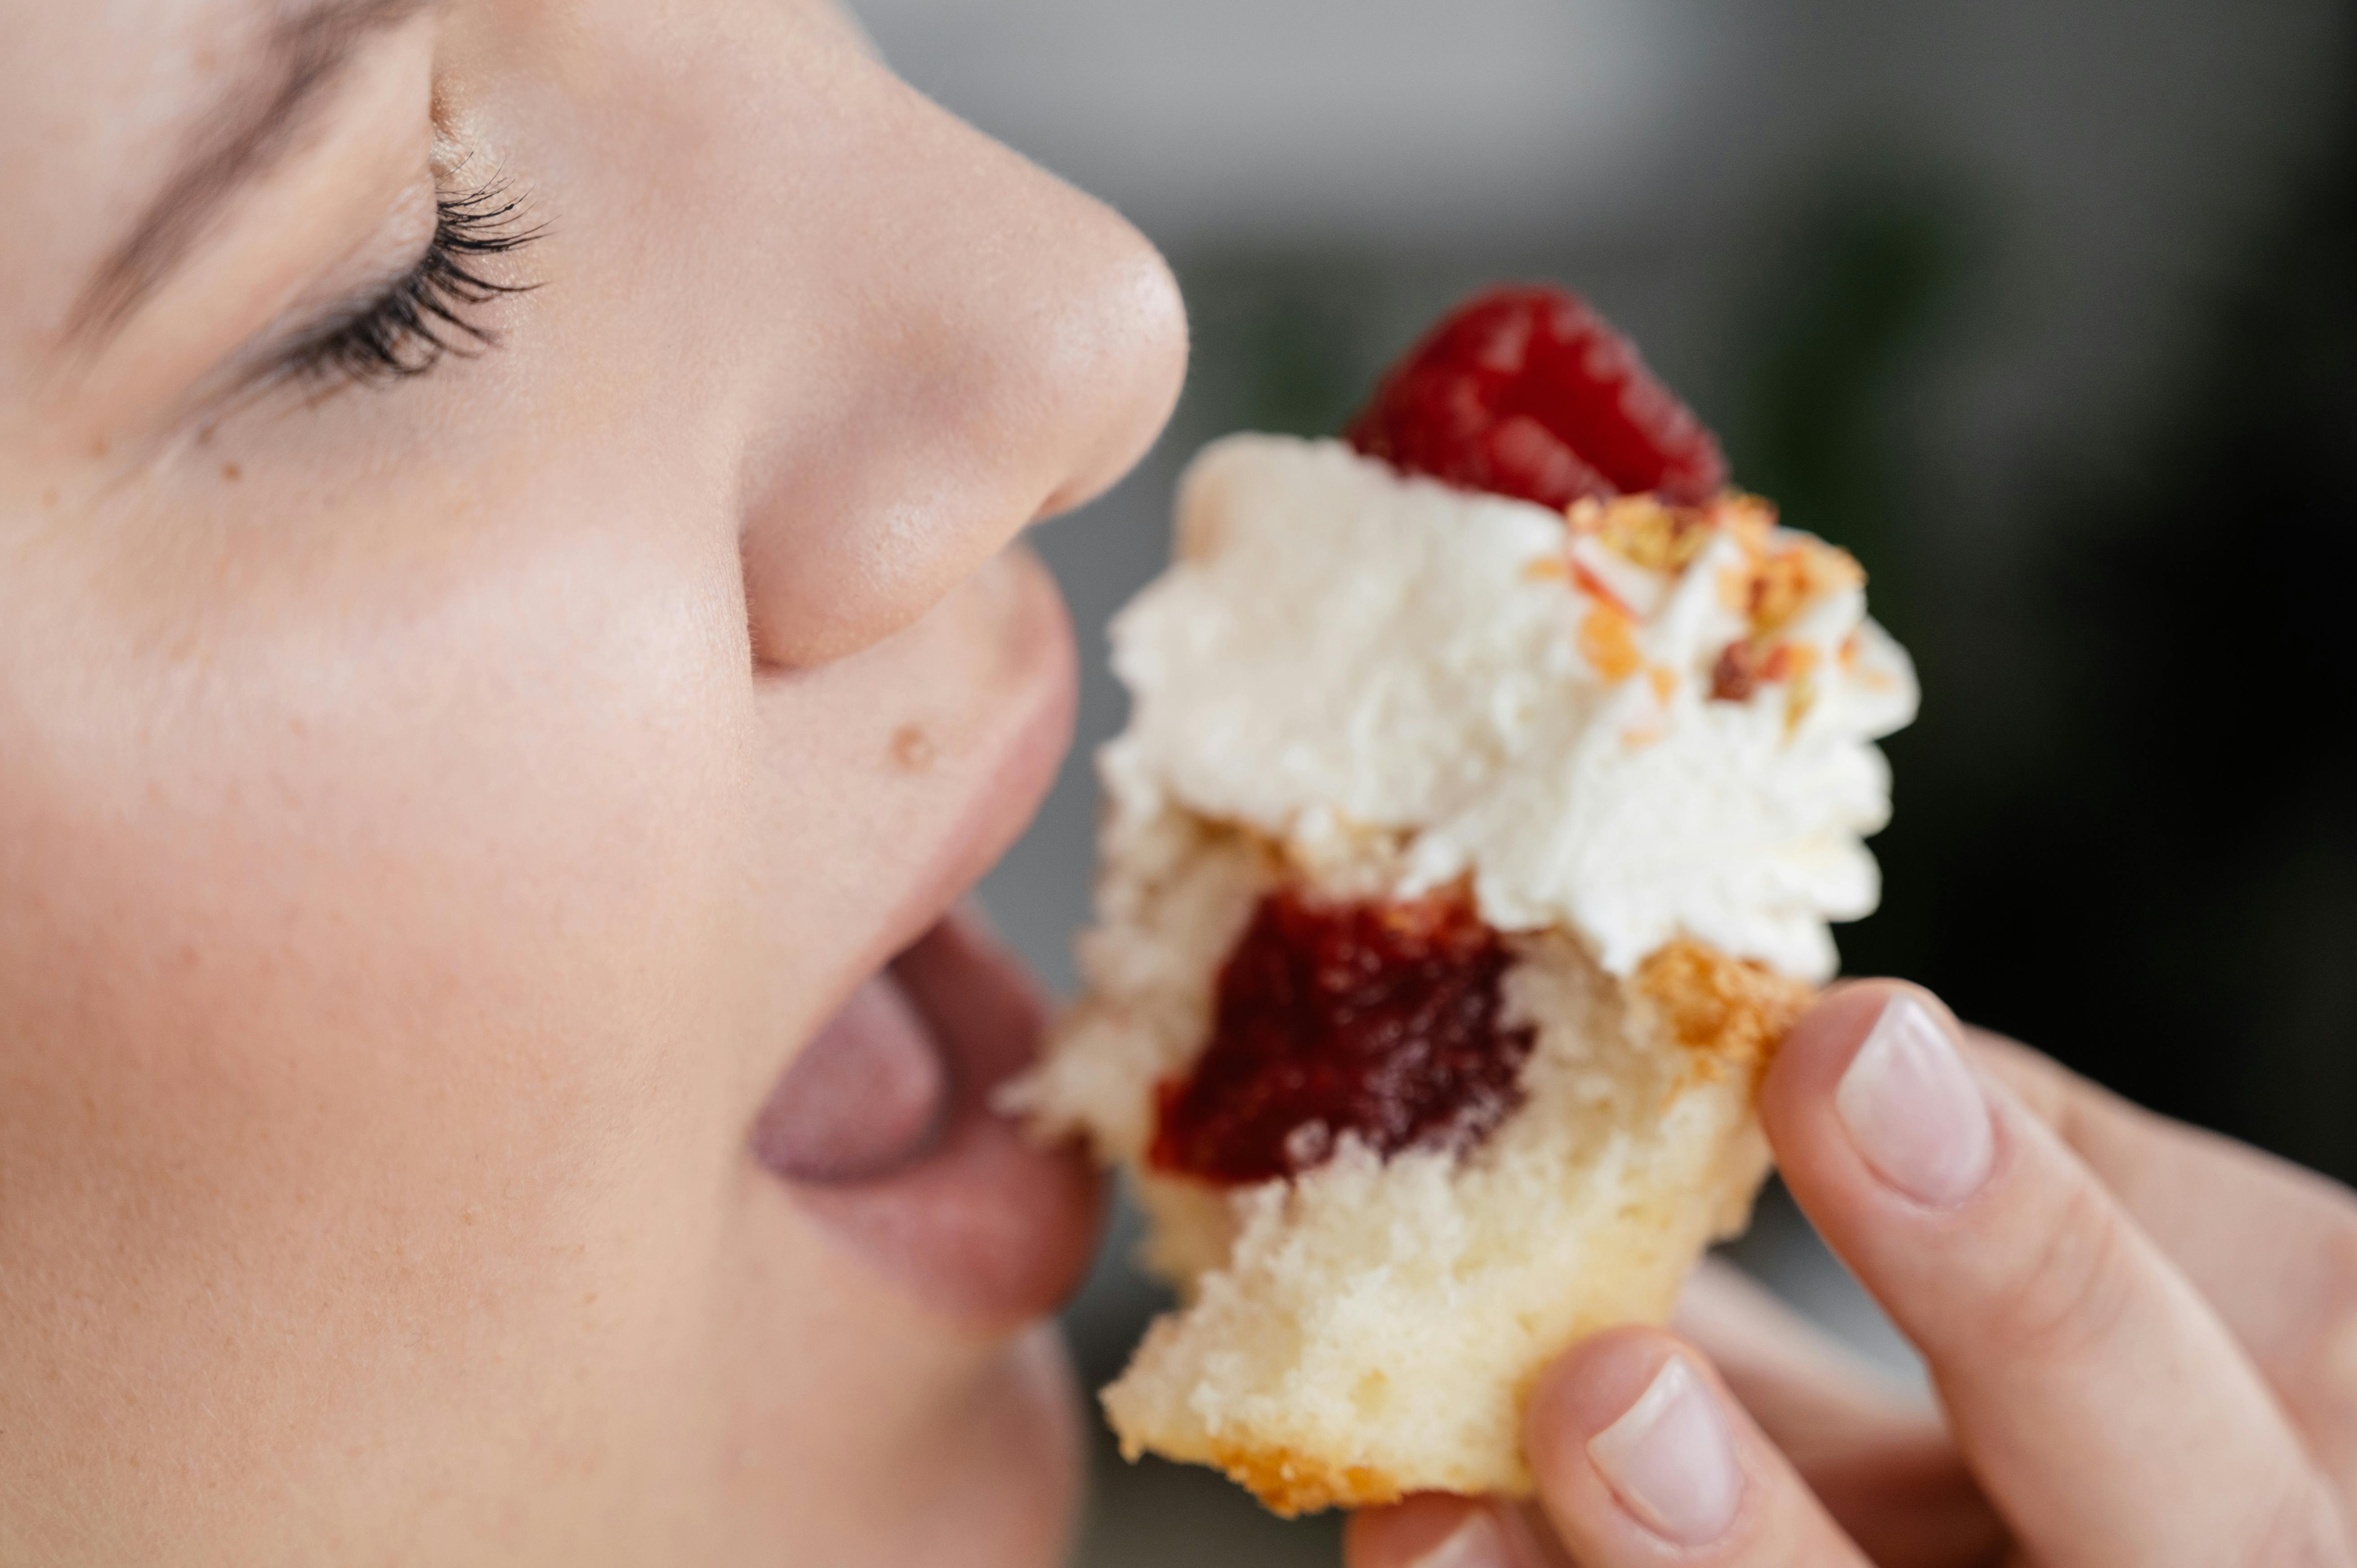
Your freshly-made strawberry jam is now ready to enjoy! Spread it on toast or English muffins for breakfast, use it as a filling in cakes or pies, or simply enjoy it right out of the jar with a spoon!
Sterilizing the Jars
Sterilizing the jars is an important step to ensure that your product stays safe and uncontaminated. This can be done by boiling the jars in hot water for 10-15 minutes. Alternatively, you can also sterilize the jars in a dishwasher or oven. Once the sterilization process is complete, allow the jars to cool before adding the product.
Filling and Closing the Jars
The next step is to fill and close the jars. Start by filling them with your product, making sure that there are no air pockets or gaps between products. Once filled, place a lid on top of each jar and seal it tightly with a lid ring. To ensure a good seal, tighten the ring firmly but not too tightly as this could cause cracking.
Heating and Sealing
Once all of the jars are filled and closed, they need to be heated and sealed. This can be done using a water bath method or a pressure canner. When using either method, make sure to follow all safety guidelines for proper heating and sealing. Once completed, allow the jars to cool before moving onto labeling.
Labeling The Jars
Finally, it’s time to label your jars! Labeling your products is essential for ensuring freshness while also providing customers with information about what’s inside each jar. Before labeling your product, make sure that you have all necessary information such as ingredients list and expiration date printed on each label.
Conclusion
Making strawberry jam with frozen strawberries and pectin is a simple process that requires few steps. Begin by defrosting the strawberries and then mashing them to release their juice. Combine the mashed strawberries with pectin and sugar, bring it to a boil, and stir until all the sugar has dissolved. Finally, ladle the jam into jars and seal them before storing in the refrigerator. With this easy recipe, you can enjoy delicious homemade jam any time of year!
Creating homemade jams is an enjoyable way to use fresh produce or frozen fruit. With this recipe for strawberry jam made with frozen strawberries and pectin, you can create a delicious spread that can be enjoyed all year round. Give it a try today and enjoy some fresh homemade strawberry jam!

