

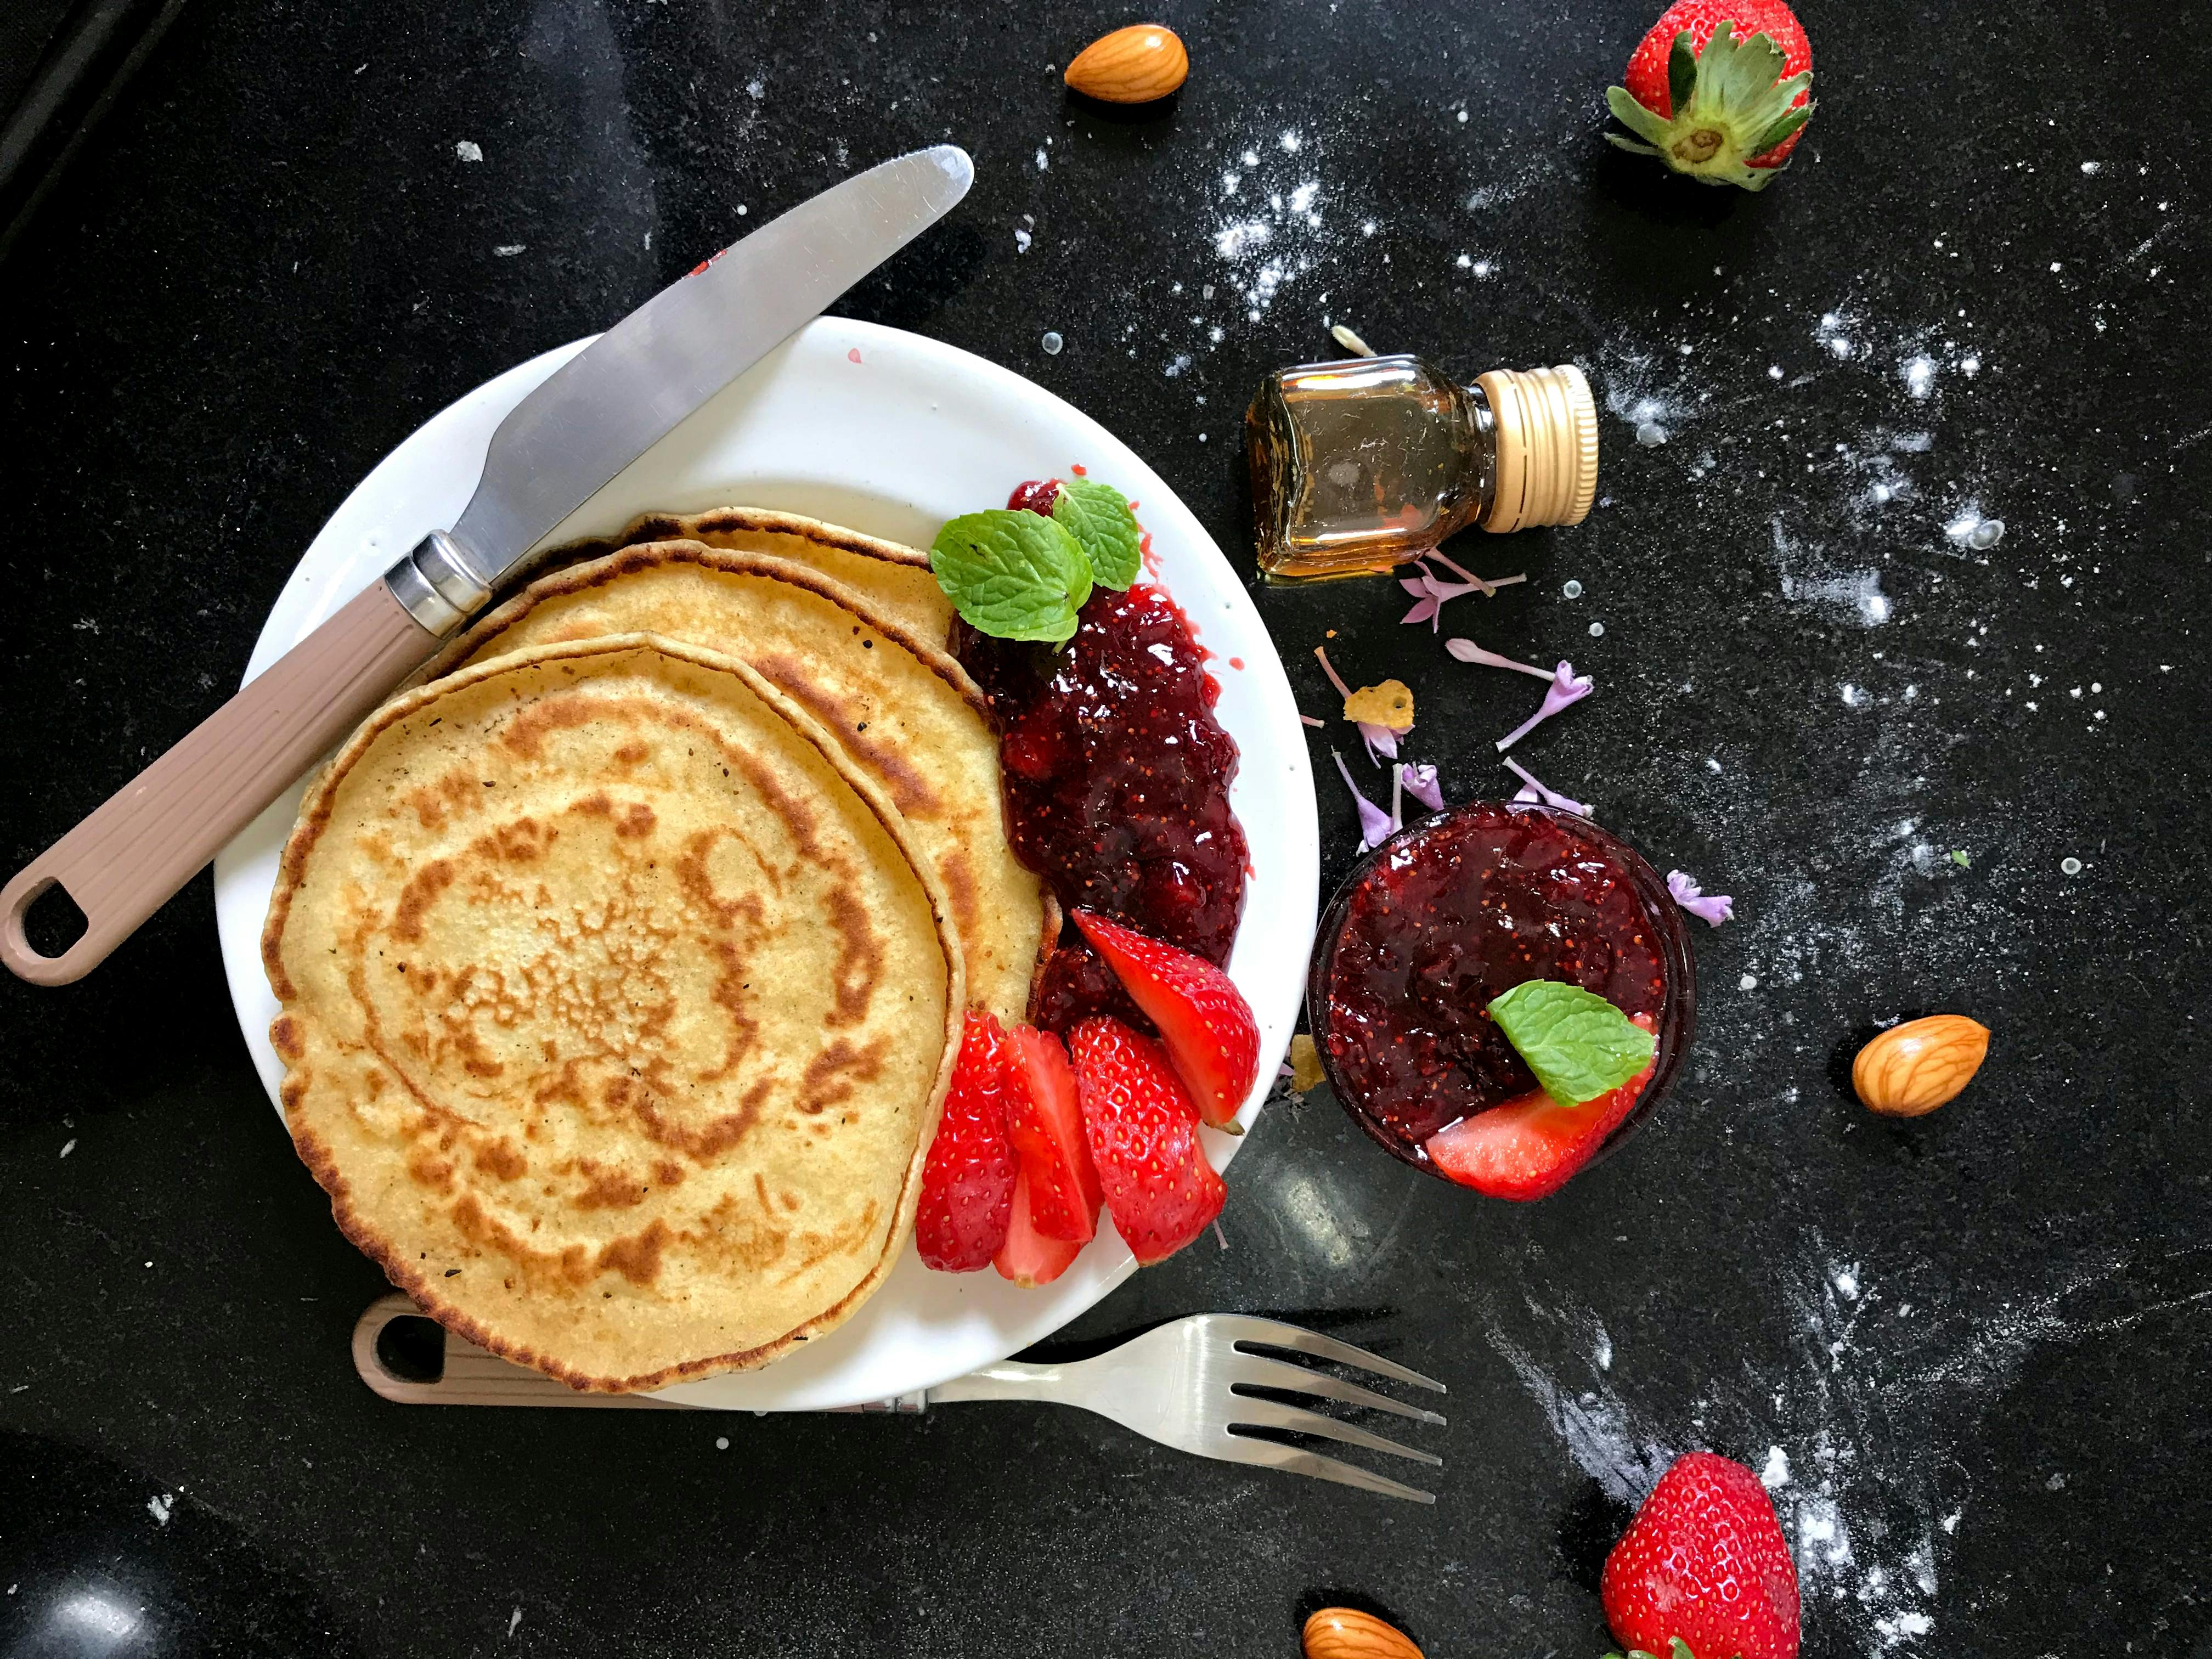
Making strawberry jam with frozen strawberries is an easy and delicious way to enjoy the sweet flavor of summer all year long. It’s a great way to use up those frozen strawberries that you have in your freezer, and you can make it with very few ingredients. With the help of a few simple steps, you can have homemade strawberry jam ready in no time.To make strawberry jam with frozen strawberries, you will need the following items:
– 4 cups of frozen strawberries
– 1/3 cup of lemon juice
– 4 cups of sugar
– 1/4 teaspoon of butter
– 2 tablespoons of liquid pectin
Preparing the Strawberries
Fresh strawberries should be washed just before using them. First, rinse the strawberries with cold water and drain off the excess liquid. Once they are drained, remove any leaves or stems with a paring knife. Cut off any soft spots and discard them. When cutting the strawberries, it is best to use a sharp knife so that they do not become mushy. After cutting, place the strawberries in a bowl of cold water and let sit for a few minutes before eating. This will help to remove any dirt or bacteria that may be present on the surface of the berries.
When serving fresh strawberries, it is important to make sure that they are completely ripe. Ripe berries will have a bright red color and be firm to the touch. If they are too soft, they may not provide as much flavor as desired. Additionally, if there are any green or white parts on the surface of the berry, these should also be removed before eating.
It is also important to store fresh strawberries properly in order to keep them from spoiling quickly. Strawberries should be placed in an airtight container in the refrigerator for up to three days. If freezing them, lay them out on a baking sheet and place in the freezer for up to two months. Once thawed, make sure to consume within two days as frozen berries can quickly lose their flavor and texture when stored for too long.
Heating the Strawberries
Heating strawberries is a simple process that can be done with a variety of methods. The most common way to heat strawberries is in the microwave, which will be discussed in detail. Another popular method is to use an oven or stovetop, although these methods can take longer and require more attention. In addition, there are a variety of ways to add flavor and enhance the sweetness of heated strawberries.
Heating strawberries in the microwave is a quick and easy process. Begin by washing the strawberries and removing any stems. Place them on a microwave-safe dish and heat for 30 seconds at a time, stirring in between each interval. It’s important to watch carefully so that they don’t overcook. Once they are heated through, they can be enjoyed as-is or used as an ingredient in other recipes.
Ovens or stovetops can also be used to heat strawberries, although this method requires more attention than microwaving does. Start by preheating the oven or stovetop to 350°F (177°C). Spread the washed strawberries on a baking sheet lined with parchment paper or foil and bake for 15-20 minutes until they are heated through. Stirring occasionally will help ensure even cooking. When finished, let the berries cool before serving or using them in other recipes.
Finally, there are many ways to add flavor when heating strawberries. Adding spices like cinnamon and nutmeg will give them an extra kick of flavor while also bringing out their natural sweetness. For those who prefer their berries on the sweeter side, adding sugar or honey can do wonders for enhancing their flavor profile. There are also several types of syrups that can be used for added sweetness and flavor complexity such as agave nectar or maple syrup.
Adding Sugar and Pectin
When making jams and jellies, it is important to add the correct amount of sugar and pectin. This helps to ensure that the jam or jelly will set properly and have the right consistency. Sugar helps to create a thicker texture and also acts as a preservative, while pectin helps to thicken the mixture and give it a gel-like consistency. When making jams or jellies, it is important to measure out the proper amount of sugar and pectin in order to achieve a good result.
The amount of sugar that should be added depends on the type of fruit being used. Generally speaking, tart fruits like apples and cranberries require more sugar than sweet fruits like strawberries or raspberries. The amount of pectin needed also depends on the type of fruit being used. Fruits that contain natural pectin – such as tart apples – require less added pectin than those with low natural pectin content, such as strawberries.
It is also important to note that different types of sugars and pectins can affect the final product. For example, granulated white sugar is often used for jams and jellies because it dissolves more quickly than other forms of sugar. Liquid pectins are preferred by many because they dissolve quickly in cold liquids, while powdered pectins usually work better in hot liquids. It is important to follow the instructions on the package when using either type of sugar or pectin in order to achieve the desired results.
In summary, adding the correct amount of sugar and pectin is essential when making jams and jellies. Different types of fruits require different amounts of sugar and pectin, so it is important to measure these ingredients carefully for best results. Different forms of sugars and pectins can also affect how well they dissolve in cold or hot liquids, so it is important to follow package instructions when using them.
Ingredients
Making jam at home requires few ingredients. The most common ingredients are fruits, sugar, and lemon juice. The quantity of the ingredients depends on the desired quantity of the jam. You can use any type of fruit for making jam. However, it is important to use ripe fruits for making a delicious jam. Other than the above-mentioned ingredients, you can also add some spices such as cinnamon or cardamom to make your jam unique and flavorful.
Preparing the Fruits
After gathering all the required ingredients, it is time to prepare the fruits for making jam. Start by washing the fruits with cold water and removing any dirt or debris from them. Then, cut them into small pieces and discard any seeds or unwanted sections of the fruit. Once done, add all the cut fruit pieces into a pot along with some water.
Cooking The Jam
Now it is time to cook the jam. Start by bringing all the ingredients to a boil on medium heat and then reduce heat to low and let it simmer for 15-20 minutes or until all of the fruit pieces have softened up completely. Now add sugar and lemon juice according to your taste preference and let it cook until you get a thick consistency. Once done, turn off heat and let cool before transferring into jars for storage.
Skimming Off the Foam
Skimming off the foam is a process of removing the top layer of foam that forms on top of liquids. This process is used in many industries, from food and beverage production to chemical manufacturing. The process involves using a skimmer to remove the foam layer from the surface of a liquid, usually water. This process helps prevent contamination and also helps maintain the quality of the product. Foam can be formed due to agitation or chemical reactions and can be highly flammable. Skimming off the foam removes any potential fire hazards and helps maintain safety in industrial settings where combustible materials are present. Skimming also helps reduce the amount of waste produced by removing any unwanted material from the surface of a liquid before it is processed further.
The skimming process itself involves passing a skimmer through the liquid, usually with a rotary motion, to remove any foam from its surface. The skimmer may be made from different materials depending on what type of liquid is being skimmed and which industry it is being used in. Generally, stainless steel or plastic skimmers are suitable for most applications but in some cases more specialized materials may be required such as copper or brass for more corrosive liquids or plastic-coated metal for food products. The size and shape of the skimmer will depend on the size and shape of the tank or vessel that contains the liquid being skimmed. The speed at which it is passed through also varies depending on how much foam needs to be removed.
Once all the foam has been removed, it must be disposed of safely and appropriately according to local regulations as some foams may contain hazardous chemicals or other materials that could cause environmental damage if not disposed of correctly. There are also other considerations when it comes to skimming off foam such as making sure that no solids are accidentally removed during this process as this could lead to contamination or product spoilage if left unchecked.
Skimming off foam is an important step in many industrial processes and should not be overlooked when it comes to safety and quality control measures. By taking care during this step, potential risks can be minimized significantly and help ensure that all products are safe for use by consumers.
Testing for Doneness
Cooking is a process, which requires patience and practice. To ensure that your dish is cooked to perfection, the best way is to test for its doneness. This can be done in various ways, depending on the type of food you are cooking. For example, if you are baking a cake, you can insert a skewer or toothpick into the center of the cake and if it comes out clean, then your cake is done. If you are roasting vegetables or meat, then the best way to test for doneness is to use a meat thermometer. Insert the thermometer into the thickest part of your meat or vegetable and wait until it reads the desired temperature.
Another way to test for doneness is by using a knife or fork to cut into the food to check its texture and color. If it looks cooked through and has no pinkish hue in case of meat or fish, then it’s done. You can also poke it with your finger and check if it’s firm yet tender enough. This method works best for softer foods like vegetables and fruits.
Testing for doneness may require some trial and error before you get perfect results every time. However with practice and experience you will be able to tell when your food is perfectly cooked without actually having to cut into it or measure its temperature every time!
Filling the Jars with Jam
Making jam is a fun and rewarding experience. Not only does it taste delicious, but it’s also an activity that brings the whole family together. Filling jars with jam is an important step in the process, but it can also be a bit tricky. Here are some tips for successfully filling jars with jam.
The first step is to make sure that your jars are clean and sterilized before you begin filling them. This will help ensure that your jam will stay fresh and last longer. Once your jars are ready, start by adding the jam to each one. It’s important to be careful not to overfill the jar; you want to leave enough room for sealing the lid tightly.
Once you’ve filled all of your jars with jam, it’s time for sealing them up. Start by wiping down each jar’s lip to make sure there isn’t any residue from the filling process that could interfere with lid sealing. Then place lids on top of each jar and gently press down until they’re secure. Finally, use a canning tool or rubber band to tighten the lids further and ensure a good seal on each one.
Making sure that your jars are properly filled and sealed is key to a successful jam-making experience. Follow these tips for filling and sealing jars with jam, and you’ll have delicious homemade preserves in no time!
Conclusion
Making strawberry jam with frozen strawberries is a great way to use up your frozen fruit and make something delicious. If you’ve never made jam before, don’t worry – it’s easy to do! Just follow the simple recipe we provided and you’ll be able to create a tasty strawberry jam that your family and friends will love.
Once your jam is finished, you can store it in an airtight jar in the refrigerator for up to two months. It can also be frozen for extended shelf life. Making your own homemade jam is a great way to preserve summer fruit for later enjoyment. Enjoy!

