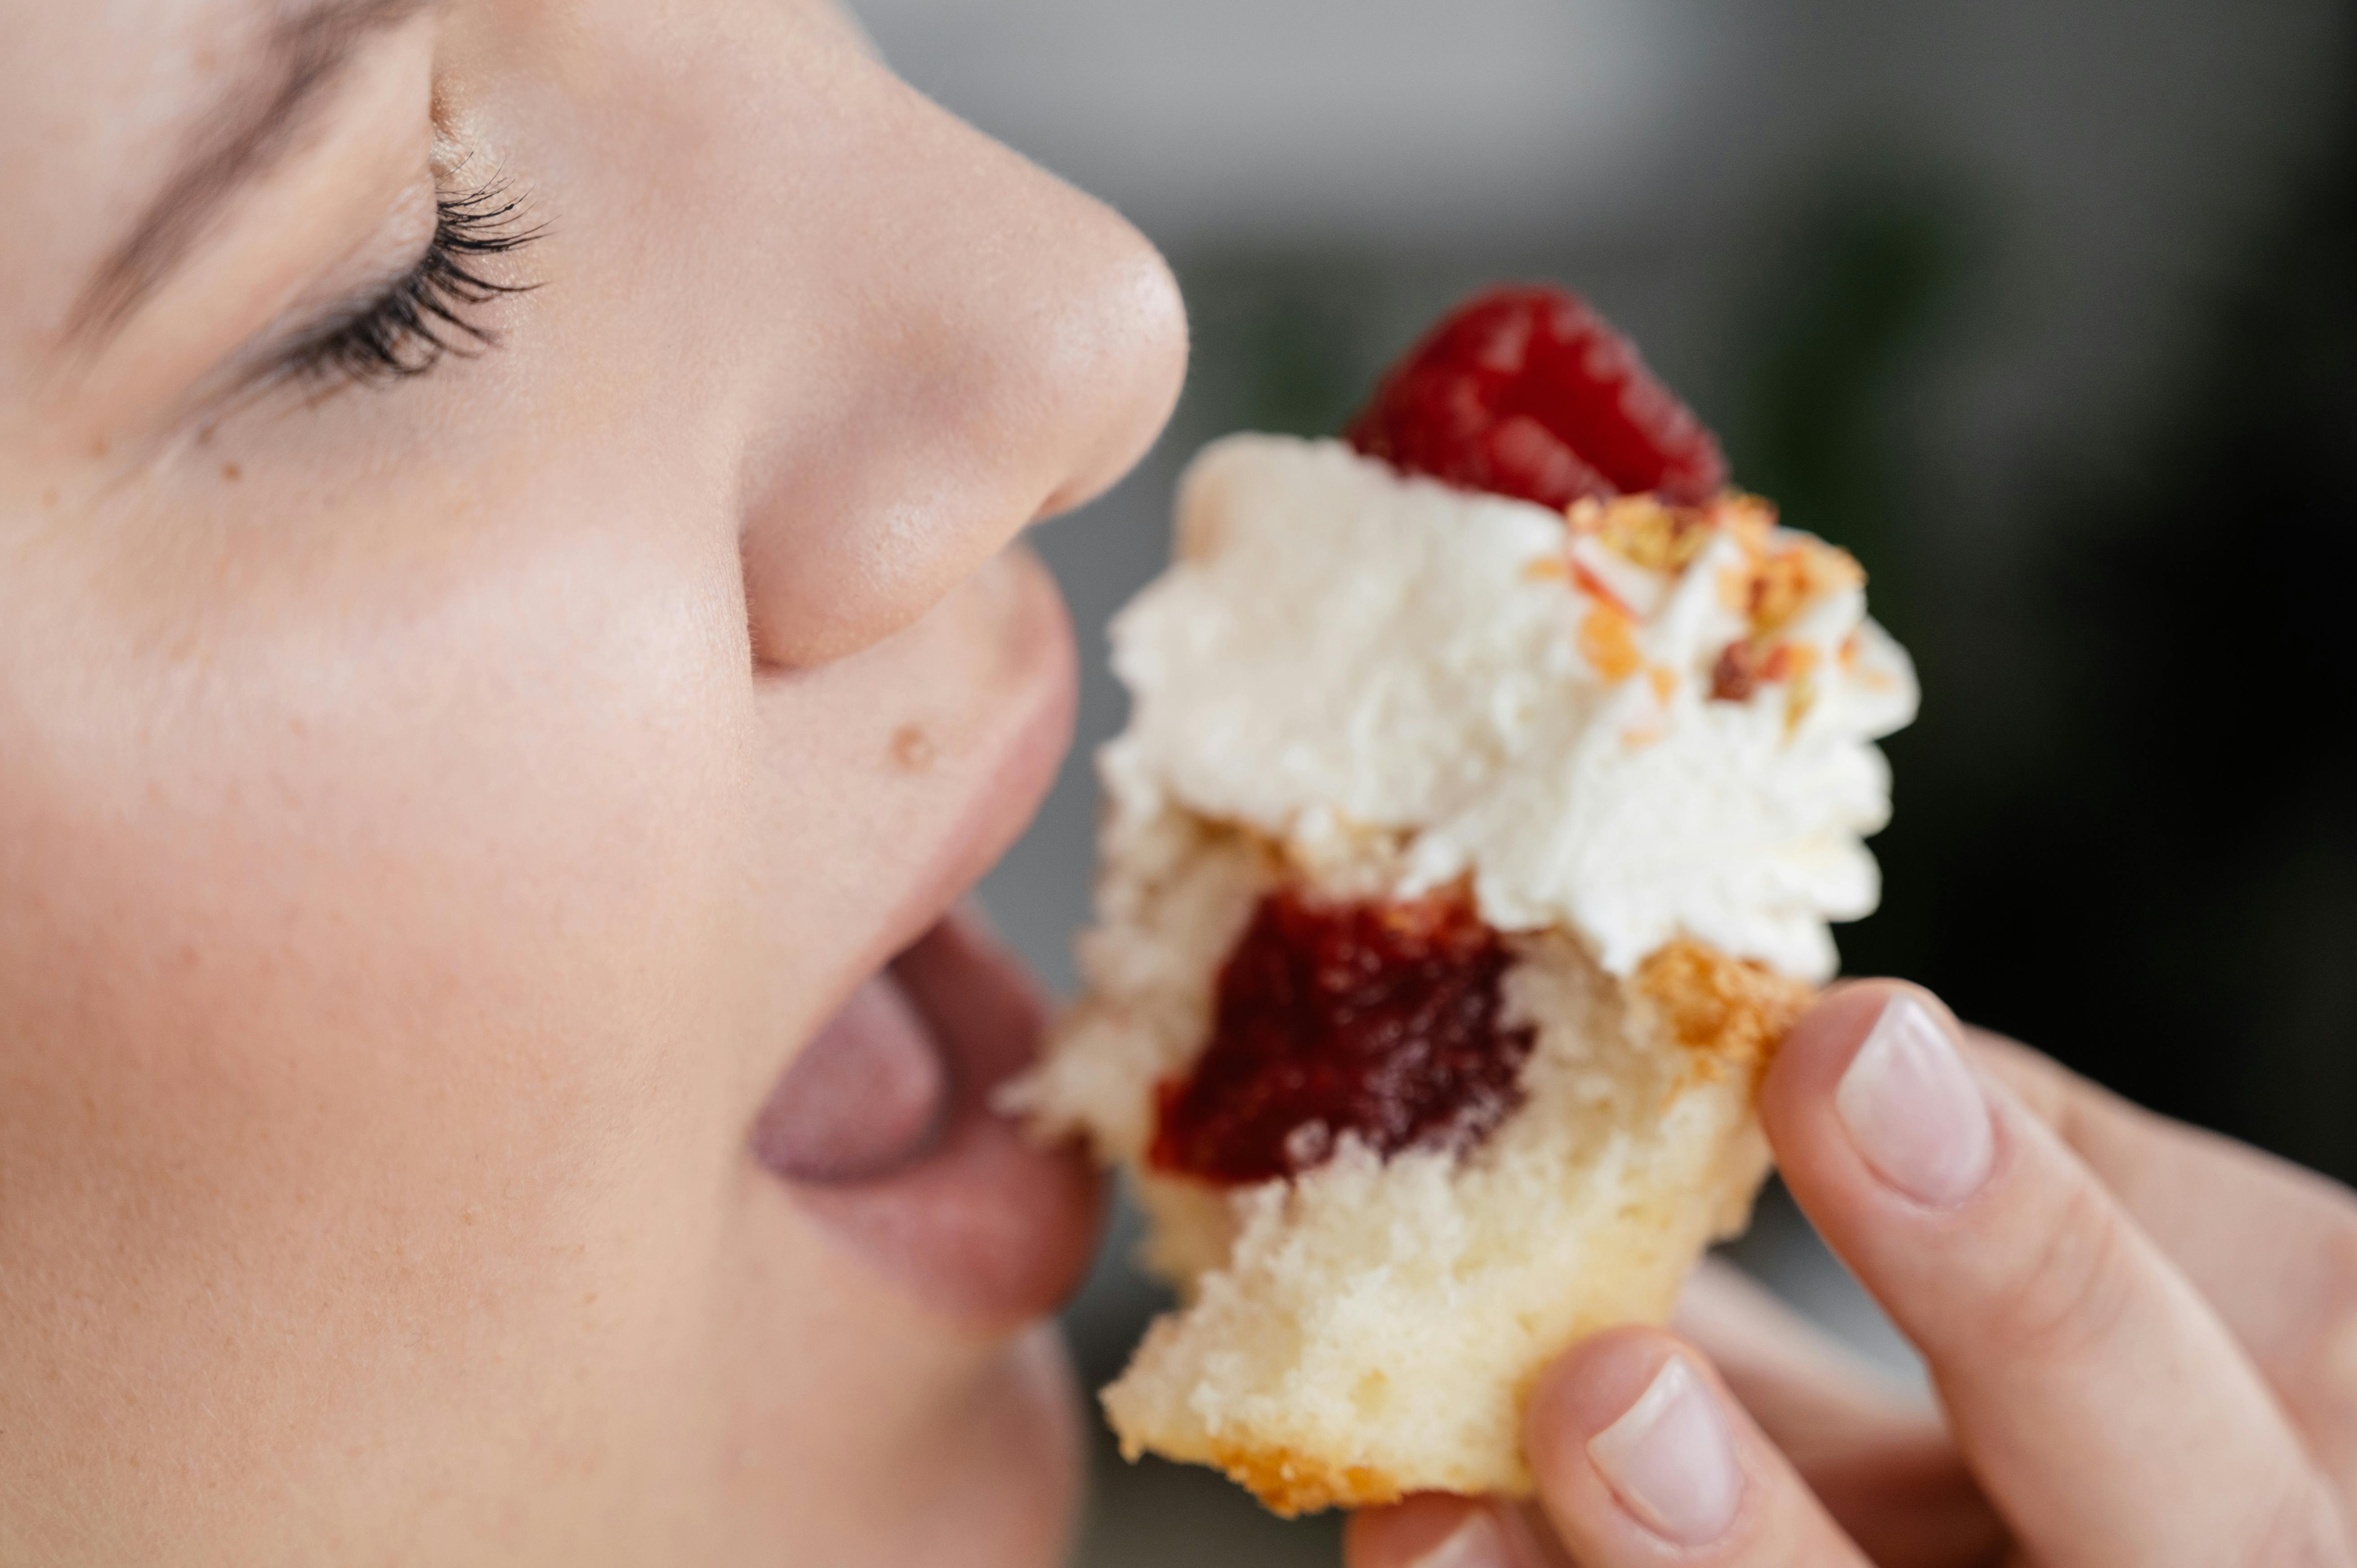
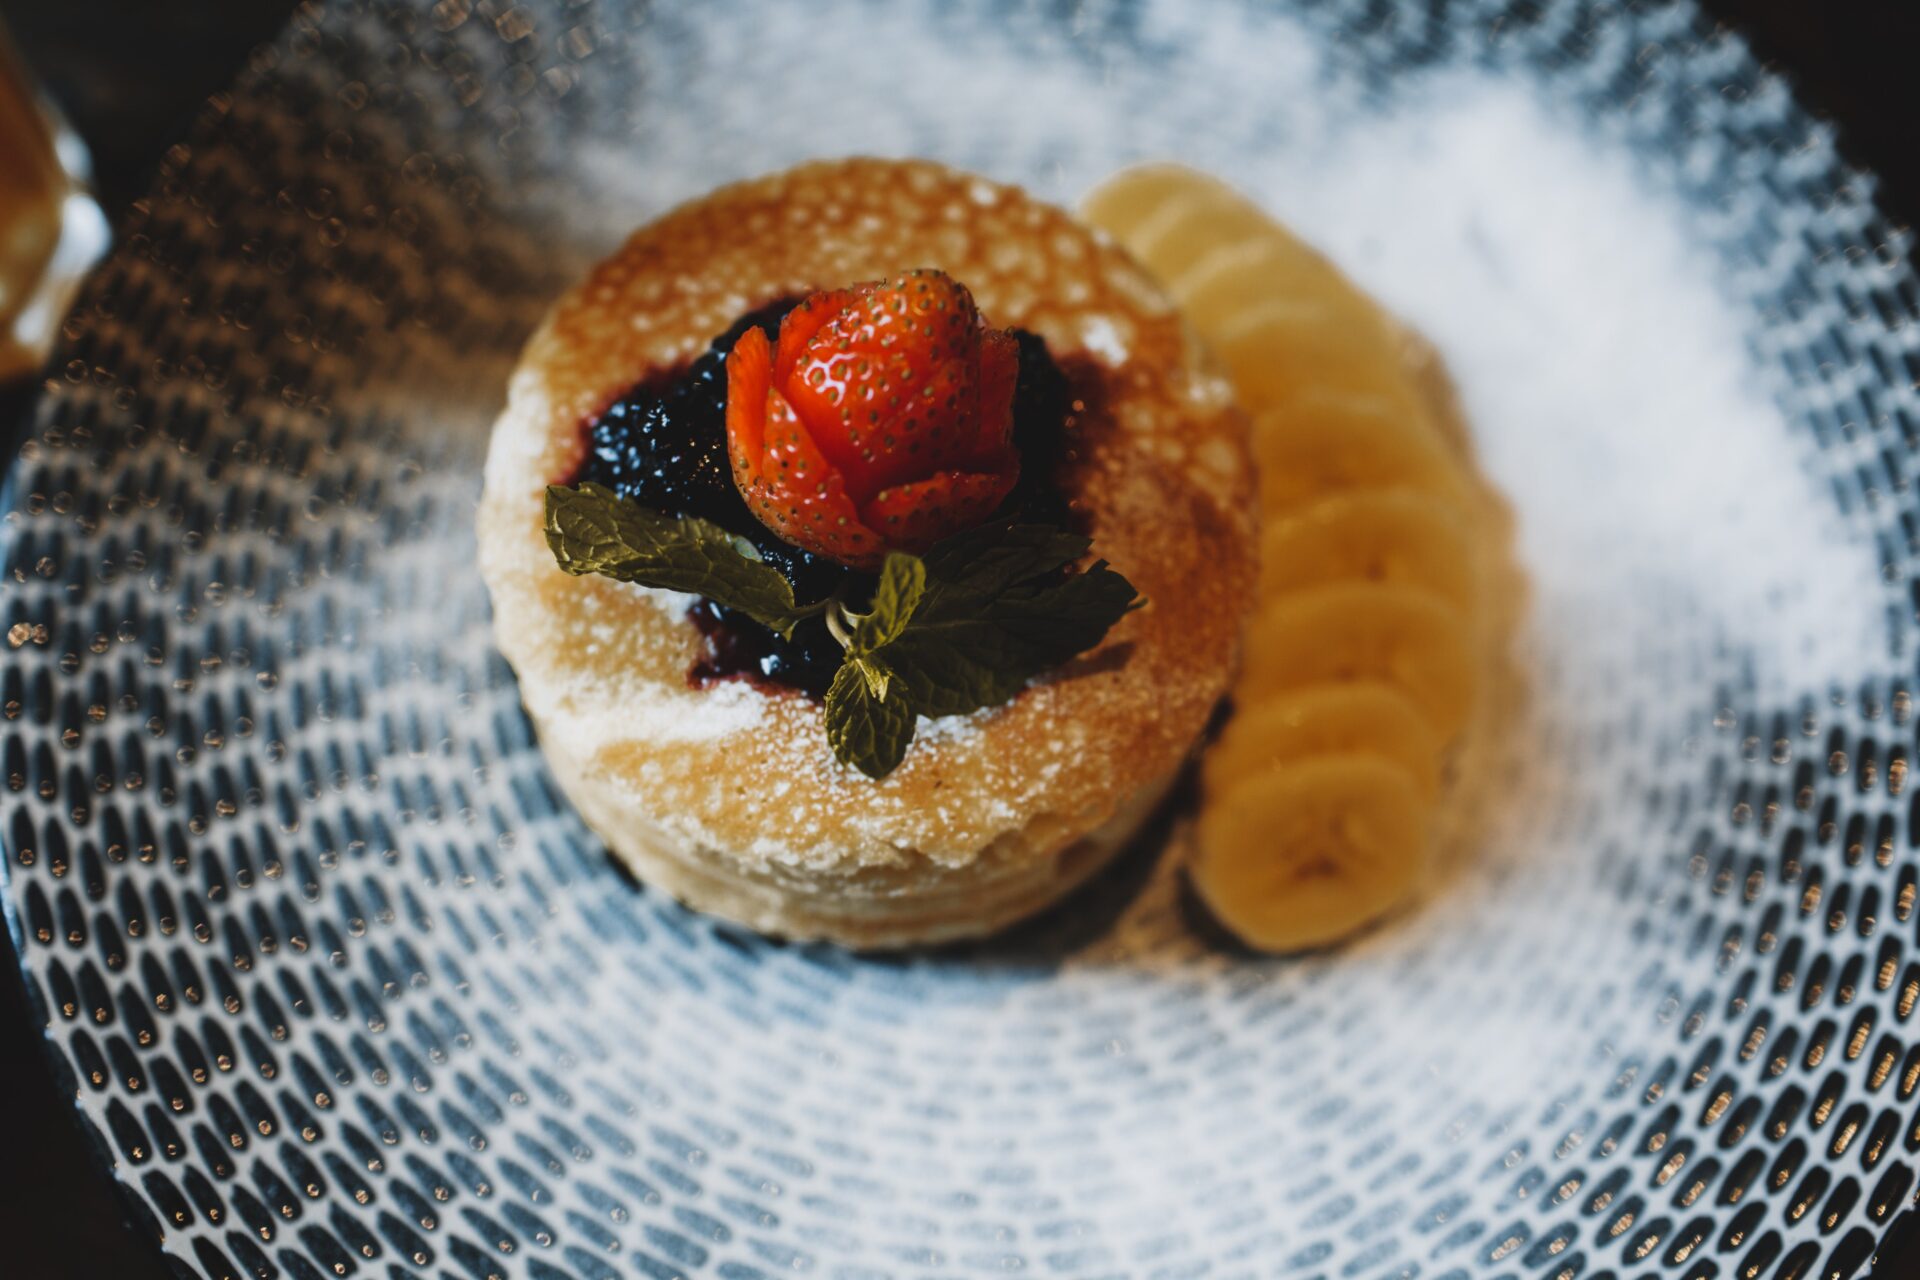
Making strawberry jam for cake is a great way to add a delicious sweetness to your desserts. With just a few ingredients, you can make your own delicious homemade jam that you can use as a filling or topping for your favorite cakes. This guide will walk you through the simple steps of making strawberry jam from scratch. With this recipe, you’ll be able to make an easy and delicious strawberry jam that will make all of your cakes taste even better.To make strawberry jam for cake, you will need the following ingredients: 1 cup of fresh strawberries, 1/4 cup of sugar, 2 tablespoons of fresh lemon juice, and 1/2 teaspoon of vanilla extract.
First, wash and hull the strawberries. Cut them into small pieces and place them in a saucepan. Add the sugar and lemon juice to the pan and stir until all the ingredients are combined. Bring the mixture to a boil over medium heat, stirring constantly until it thickens.
Once it has reached a thick consistency, remove it from heat and add in the vanilla extract. Stir until fully incorporated. Allow the mixture to cool before transferring it to an airtight container. Refrigerate for up to two weeks or freeze for up to three months.
When you’re ready to use the jam for your cake, spread it over freshly baked cake layers before frosting or layer it between cake layers for added flavor when serving. Enjoy!
Gathering The Ingredients
Gathering the ingredients for a recipe is the first step in creating a delicious meal. It is important to ensure that you have all of the necessary items before beginning to cook. When gathering ingredients, it is important to read through the recipe and make sure that you have all of the items listed. If an item is not available, it is best to substitute it with another similar item that will still give your meal the same great taste. Taking note of any substitutions or alterations made to a recipe can help ensure that each time you make it, it turns out just as good as the first time. Additionally, double-check measurements and any preparation instructions listed in the recipe. Making sure all of these details are taken care of before you begin to cook will help ensure that your meal turns out just right.
Once you have made sure all of your ingredients are present and accounted for, it is time to take the next step in preparing a great meal. Make sure each ingredient is properly measured and prepped before beginning to cook. Properly preparing each ingredient can help make cooking go more smoothly and result in a better-tasting dish in the end. Gathering all of your ingredients before beginning to cook will also help keep things organized throughout the cooking process, which can save time and energy when making meals at home.
Preparing The Strawberries
Strawberries are one of the most popular fruits in the world and can be used in a variety of recipes. Preparing strawberries is a relatively simple process that requires just a few steps. First, you should thoroughly rinse the strawberries with cold water and then remove the stems and any leaves or other debris. If you plan on using the strawberries immediately, you can leave them whole; however, if you plan on freezing them or using them in other recipes, they should be cut into smaller pieces. Once cut, place the pieces onto a clean towel or paper towel to dry before adding them to your recipe. Finally, if you are using frozen strawberries for your recipe, make sure to allow them to defrost before use.
When buying fresh strawberries, look for those that have bright red color with no signs of bruising or mushiness. It is best to avoid pre-cut strawberries as they tend to be less flavorful than their uncut counterparts. When storing fresh strawberries, keep them refrigerated until ready for use. If stored properly, they should last up to five days.
Preparing strawberries doesn’t have to be difficult or time consuming. With just a few simple steps and some careful selection when shopping for fresh produce, you can enjoy the sweet flavor of these delicious berries in your favorite recipes!
Equipment Needed
Before starting to make jam, it is important to have all the right equipment. The basic things you will need are a large pot, measuring cups and spoons, a wooden spoon for stirring, airtight jars or containers for storing the jam, and a funnel (optional). You may also want to use a thermometer that can measure up to 220 degrees Fahrenheit.
Ingredients
The main ingredients for making jam are fruit, sugar and pectin. You can use fresh or frozen fruit for your jam. The amount of sugar you use will depend on the type of fruit and how sweet you want your jam to be. Pectin helps the jam thicken and helps it set properly when cooled. Other optional ingredients include lemon juice or other citrus fruits, spices like cinnamon or nutmeg, honey, or other flavorings.
Preparing the Fruit
Once you have all of your ingredients ready, it’s time to prepare the fruit. Start by washing the fruit thoroughly and then cut it into small pieces if necessary. If using frozen fruit, let it thaw completely before using.
Once the fruit is prepared, place it in a large pot with enough water to cover the bottom of the pot. Simmer over medium-low heat until most of the liquid has evaporated and the fruit is soft enough to mash easily with a spoon.
Making the Jam
Once your fruit is ready, start making your jam by adding sugar and pectin to the pot. Stir continuously until both ingredients are completely dissolved in the mixture. Add any other optional ingredients such as lemon juice or spices at this time as well.
Bring your mixture to a boil over medium heat while stirring continuously so that it does not burn at the bottom of your pot. Once boiling point is reached, reduce heat and simmer for 15-20 minutes while stirring occasionally.
Testing Consistency
To test if your jam is ready, take out a spoonful of jam from your pot and place on a cold plate – if it gels up when cooled down then it’s ready! If not simmer for another few minutes until desired consistency is achieved.
Storing The Jam
Once finished cooking let cool before transferring into airtight containers or jars – store in refrigerator for up to three weeks or freeze for longer shelf life!
Adding Sweetener
Adding sweeteners to your food can be a great way to enjoy the sweet taste of your favorite foods without adding extra calories or fat. Sweeteners come in many forms and can be either natural or artificial. Natural sweeteners include honey, maple syrup, agave nectar, and date syrup. Artificial sweeteners are usually made from sugar alcohols and can range from low-calorie to no-calorie options. They provide a sweet flavor without the additional calories of sugar.
When adding a sweetener to your food it is important to consider the amount you are adding as well as the type of sweetener that you are using. Too much of any type of sweetener can lead to health problems such as weight gain, diabetes, and other illnesses. It is also important to note that some artificial sweeteners have been linked to cancer and other diseases so it is best to avoid them when possible.
When choosing a natural sweetener for your food it is best to opt for those that have lower glycemic index numbers such as honey or maple syrup as they will not cause your blood sugar levels to spike like some other types of sugars may do. Additionally, natural sweeteners are usually richer in flavor than processed artificial ones so they may be more enjoyable for those with a sweeter tooth.
No matter which type of sweetener you choose, it is important to remember that moderation is key when it comes to enjoying them in your diet. Too much of any type of sugar can lead to health issues such as obesity and diabetes so always be mindful when adding these ingredients into your meals.

Adding Pectin
Pectin is a natural gelling agent used in jams, jellies, and other thickened fruit products. It is derived from the cell walls of plants and is commonly added to fruit preserves to help them set. Pectin helps give jams and jellies their desired texture, as well as helping to preserve them for longer periods of time. Adding pectin to your preserves can be a simple process that will help you achieve the results you are looking for.
When making jam or jelly, the first step is to prepare your fruit by washing it and cutting it into small pieces. Once your fruit is prepared, add pectin to the mixture according to the recipe instructions. You can find pectin in either powdered or liquid form, so choose whichever one works best for you. Make sure you stir the pectin thoroughly into the mixture before heating it on the stovetop.
Once your mixture has come to a boil, reduce the heat and let it simmer for about 10 minutes. This will allow the pectin to do its work and thicken up the mixture. Once it has reached your desired consistency, turn off the heat and let your jam or jelly cool completely before transferring it into jars or containers for storage.
Adding pectin can help ensure that your jams and jellies will set correctly and have a nice texture when cooled down. If you find that your preserves are not setting as desired after cooking them with pectin, try adding more of it next time around until you achieve the desired results.
Testing For Doneness
When preparing food, it is important to test for doneness to ensure that the food is cooked properly and safely. There are several ways that you can test for doneness, depending on the type of food you are cooking.
For meats, the most common way to test for doneness is by using a meat thermometer. Insert the thermometer into the center of the meat and wait until it reaches a certain temperature. The internal temperature of the meat should reach at least 165°F (74°C) before it is considered done.
When baking cakes or other baked goods, you can use a toothpick to test for doneness. Insert a toothpick into the center of the cake and remove it carefully. If there is no wet batter on the toothpick, then your cake is done baking.
When cooking eggs, you can tell when they are done by checking their color and texture. Hard-boiled eggs should be cooked until they turn white and have a firm texture all over. Soft-boiled eggs should be cooked until they reach a semi-firm texture with some softness in the center.
These are just a few examples of how you can test for doneness when preparing food. Remember to always follow instructions on recipes closely when testing for doneness and make sure your food is cooked properly before consuming it to avoid any illness or foodborne bacteria from eating undercooked food.
Filling Jars With Jam
Making your own jar of jam is a great way to enjoy a sweet treat without having to buy it from the store. It’s also a fun way to get creative in the kitchen. The process of filling jars with jam might seem intimidating at first, but it’s actually quite simple. All you need are a few supplies and some patience!
To begin, you’ll need to gather some supplies. You’ll need jars with lids, a pot or saucepan, sugar, pectin, a spoon or ladle for stirring, and whatever type of fruit you’d like to use for your jam. Once you have all your supplies, it’s time to start making your jam!
Start by combining the fruit and sugar in the pot or saucepan. The amount of sugar and fruit needed will depend on how much jam you’re making. Bring this mixture to a boil over medium-high heat while stirring occasionally. Once the mixture is boiling, reduce the heat and let it simmer for about 10 minutes. This will help thicken up the mixture and make sure all of the sugar is dissolved.
Now add in your pectin and stir it into the mixture until it’s completely dissolved. Then bring the mixture back up to a boil and let it boil for another minute or two before turning off the heat. At this point, you can add any additional flavorings such as spices or extracts if desired.
Once your jam is finished cooking it’s time to get started filling those jars! Start by spooning or ladling the hot jam into each jar until they’re full but leave about an inch of space at the top of each jar so that air can escape during processing. After each jar is filled, clean off any excess jam from around its rim with a damp cloth before putting on its lid and screwing on its band tightly.
Finally, place each filled jar in boiling water for 10 minutes in order to help seal them properly before allowing them to cool down completely before storing them away in a cool dry place away from direct sunlight until ready to enjoy!

Conclusion
Making a strawberry jam for cake is a fairly simple process that requires few ingredients and a bit of patience. You can make the jam with fresh or frozen strawberries, and it can be stored in the refrigerator for several weeks. The best part about making your own jam is that you can be sure it doesn’t contain any artificial preservatives or additives. Home-made jams are also a great way to experiment with different flavors and textures.
You can use strawberry jam to fill cakes, make glazes, or just enjoy it on toast! With just a few simple steps, you’ll be able to make your own delicious homemade strawberry jam for cake in no time at all. So gather your ingredients and get started on this delicious treat today!


