
Making strawberry ice is a fun and simple activity that can be enjoyed by the whole family. With just a few ingredients and some basic kitchen equipment, you can whip up a delicious batch of strawberry ice in no time. This guide will provide you with all the steps needed to make your own delicious strawberry ice.To make strawberry ice cream, you will need: 2 cups of heavy cream, 1 cup of whole milk, 3/4 cup granulated sugar, 1 teaspoon vanilla extract, 1/8 teaspoon salt, and 1 1/2 cup of chopped fresh strawberries.
First, in a medium bowl combine the heavy cream, milk, sugar, vanilla extract and salt. Whisk together until all ingredients are combined and the sugar is dissolved.
Next, pour the mixture into an ice cream maker and churn according to manufacturer’s instructions.
When the ice cream is almost finished churning (about 10 minutes before it’s done), add the chopped strawberries to the mixture and continue churning until finished.
When done churning transfer the strawberry ice cream to an airtight container and freeze for at least 4 hours before serving. Enjoy!
Gather the Ingredients for Strawberry Ice Cream
Gathering the ingredients for making strawberry ice cream is an easy task. You will need one and a half cups of heavy cream, one cup of whole milk, three-quarters of a cup of granulated sugar, a pinch of salt, two tablespoons of cornstarch, one teaspoon of pure vanilla extract and two cups of fresh strawberries.
Start by washing the strawberries and removing their stems and leaves. Cut them into small pieces and set them aside in a bowl. In a separate bowl, mix together the heavy cream, whole milk, sugar, salt and cornstarch until everything is dissolved.
In a saucepan over medium heat, pour in the cream mixture and whisk continuously until it thickens slightly. Once it has thickened, remove from heat then stir in the vanilla extract. Allow it to cool down before adding in the chopped strawberries.
Mix everything together until all the ingredients are well combined then transfer into an airtight container or ice cream maker. Refrigerate for at least four hours before churning in your ice cream maker according to manufacturer’s instructions or transfer into shallow container and freeze overnight for a homemade version of strawberry ice cream!
Set Up Your Ice Cream Maker
Setting up your ice cream maker is a relatively simple process. First, you will need to prepare the ingredients according to the recipe you are using. Once the ingredients are prepped, place them in the fridge for at least 30 minutes so they can cool down. This ensures that the ice cream mixture won’t melt too quickly when it is added to your ice cream maker.
Next, you need to assemble the ice cream maker according to the manufacturer’s instructions. These instructions will vary depending on the type of ice cream maker you have, but typically involve attaching a motor and a paddle or blade to a chilled bowl. Make sure all parts are securely attached and that no liquid has seeped into any of the connections.
Once your machine is assembled, pour in your prepared ingredients and turn on the machine. You should then set a timer for how long your machine should be running according to manufacturer’s instructions. Once this time has elapsed, turn off the machine and check if your ice cream is ready by scooping out a spoonful with an ice cream scoop or spoon and tasting it. If it still looks too soft or icy, let it churn for another minute or two before checking again.
Once your ice cream is ready, scoop it into an airtight container and place it in the freezer for at least four hours before serving. Enjoy!
Softening the Ice Cream Base
Ice cream bases are typically quite hard when they come out of the freezer. Before you can begin to mix in your favorite ingredients, you need to soften the ice cream base so it is easier to work with. To do this, simply place the container of ice cream in a warm room for about 10 minutes. This will allow the ice cream to thaw slightly, making it easier to scoop and mix. If you are in a hurry, you can also place the container in a bowl of warm water for a few minutes. Once the ice cream has softened, be sure to stir it well before adding any other ingredients.
You should also be aware that too much time spent softening your ice cream can cause it to become too runny and unworkable. For this reason, it is important to keep an eye on the process and stop when the ice cream reaches just the right consistency. If it begins to melt too much, simply return it to the freezer for a few minutes before trying again.
Softening your ice cream is an important step when making homemade ice cream. By taking a few minutes to allow your base to soften properly, you will be able create delicious and creamy treats that everyone is sure to love!
Prepare the Simple Syrup
Simple syrup is an essential ingredient for many cocktails, and it’s easy to make. To prepare the simple syrup, start by combining equal parts water and sugar in a small saucepan. Put the saucepan on medium heat and stir until all of the sugar is dissolved. Once all the sugar is dissolved, increase the heat to high and bring it to a boil. Once boiling, reduce the heat to low and simmer for two minutes. After two minutes, remove the pan from heat and let cool. Once cooled, transfer simple syrup to an airtight container and store in refrigerator for up to one month.
Mixing the Ice Cream Base and Syrup
Mixing the ice cream base and syrup is one of the most important steps in making homemade ice cream. Before adding any additional ingredients, it is important to mix together the two main components of an ice cream: the base and syrup. The syrup is typically a combination of sugar and other flavors, such as vanilla, chocolate, or fruit. The base is usually a mixture of milk, cream, and other ingredients that give the ice cream its smooth texture.
When combining these two components, it’s important to mix them together thoroughly. This will ensure that all of the flavorings are evenly distributed throughout the ice cream. To do this, you can either use a hand mixer or a stand mixer. If you’re using a hand mixer, start by stirring together the syrup and base in a bowl until they are completely blended. Once everything is combined, slowly add in any additional ingredients like fruit or chocolate chips while continuing to mix until everything is fully incorporated into the mixture.
If you’re using a stand mixer instead of a hand mixer, start by pouring both the syrup and base into the bowl along with any other ingredients. Then turn on your mixer to low speed and gradually increase it as you mix everything together until all of the ingredients are incorporated into one homogenous mixture. Once everything has been mixed together carefully, your ice cream base should be ready to pour into an ice cream maker or freezer-safe dish for freezing!
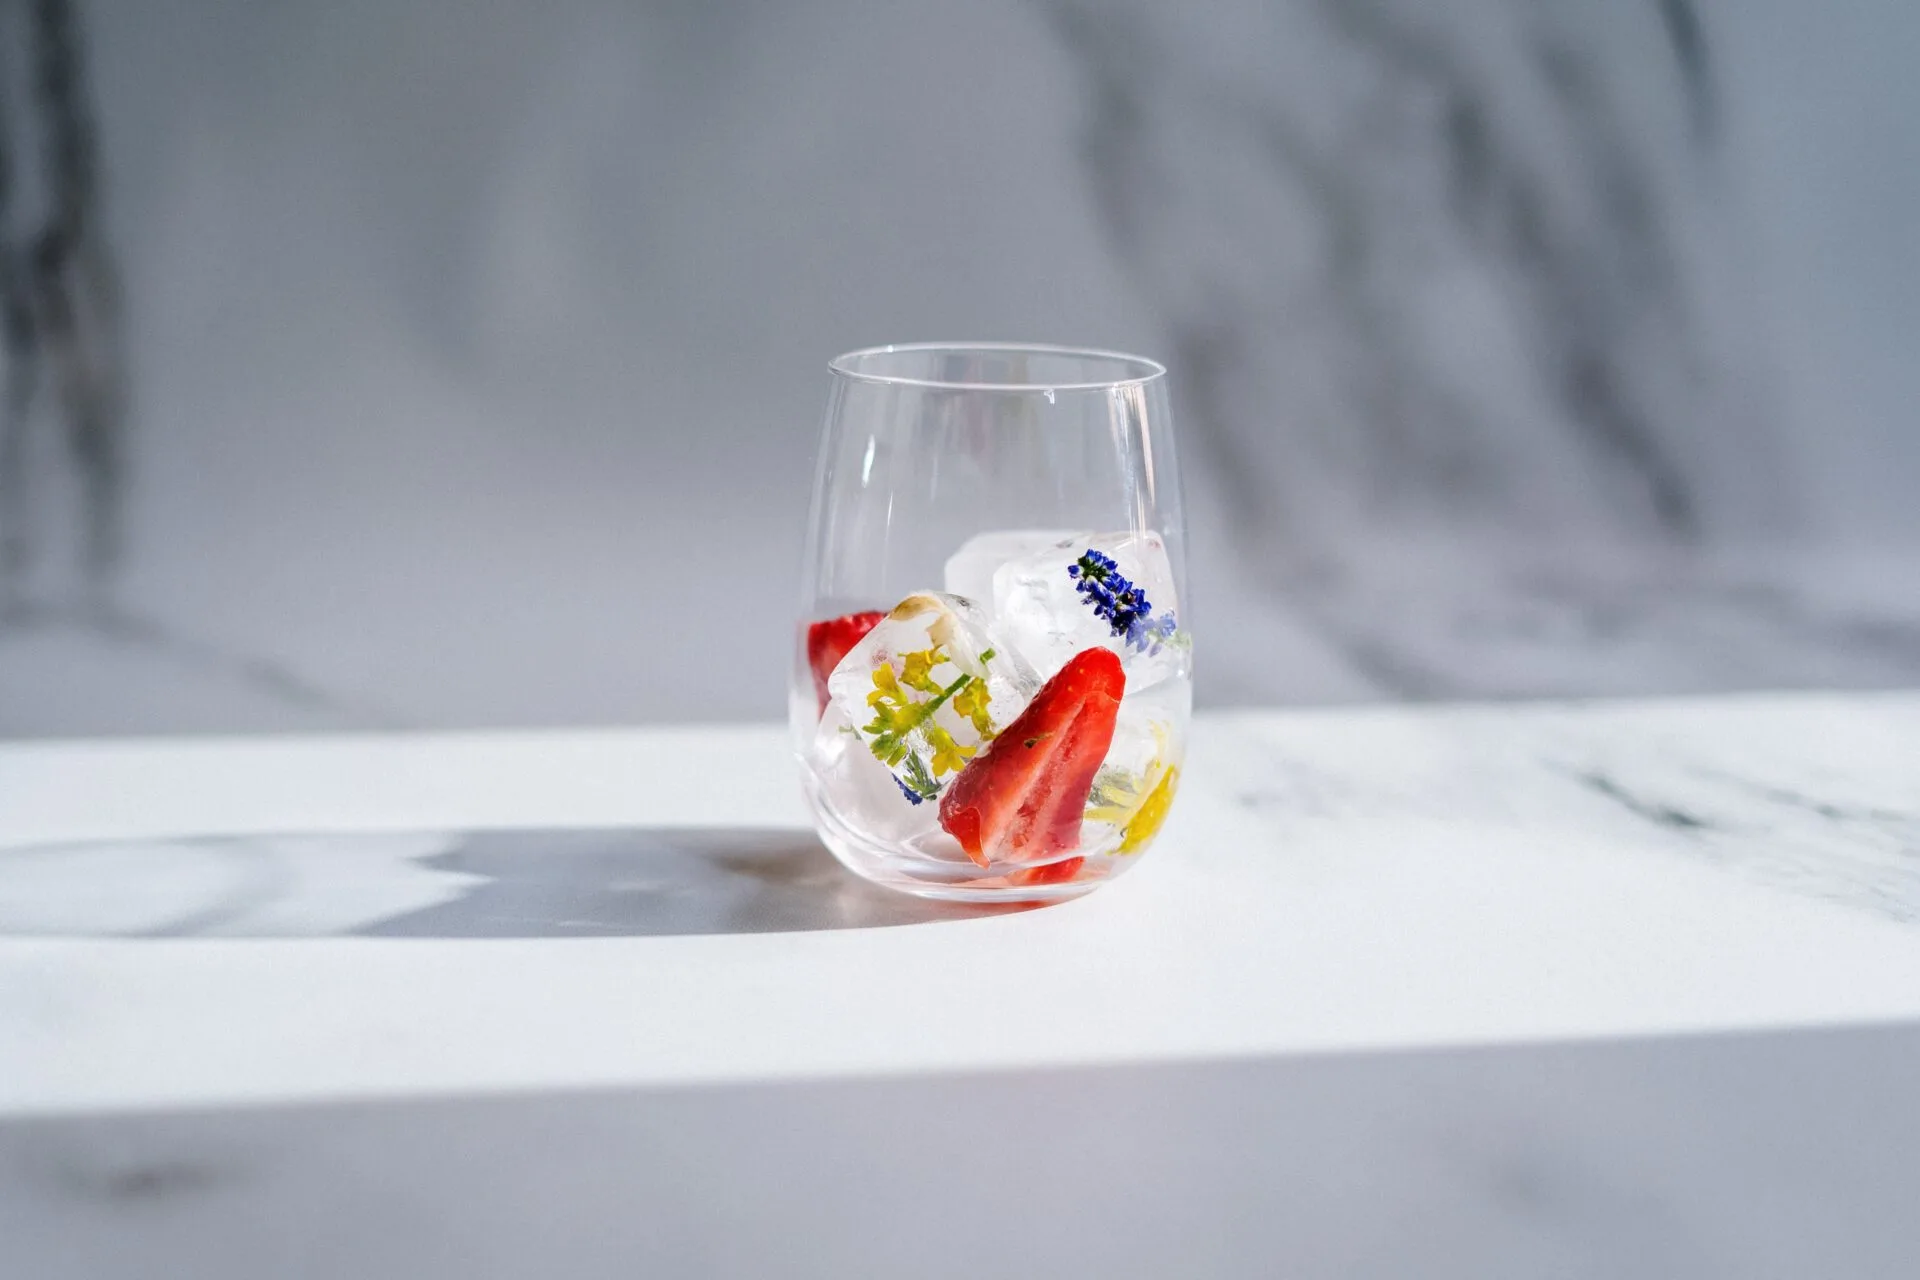
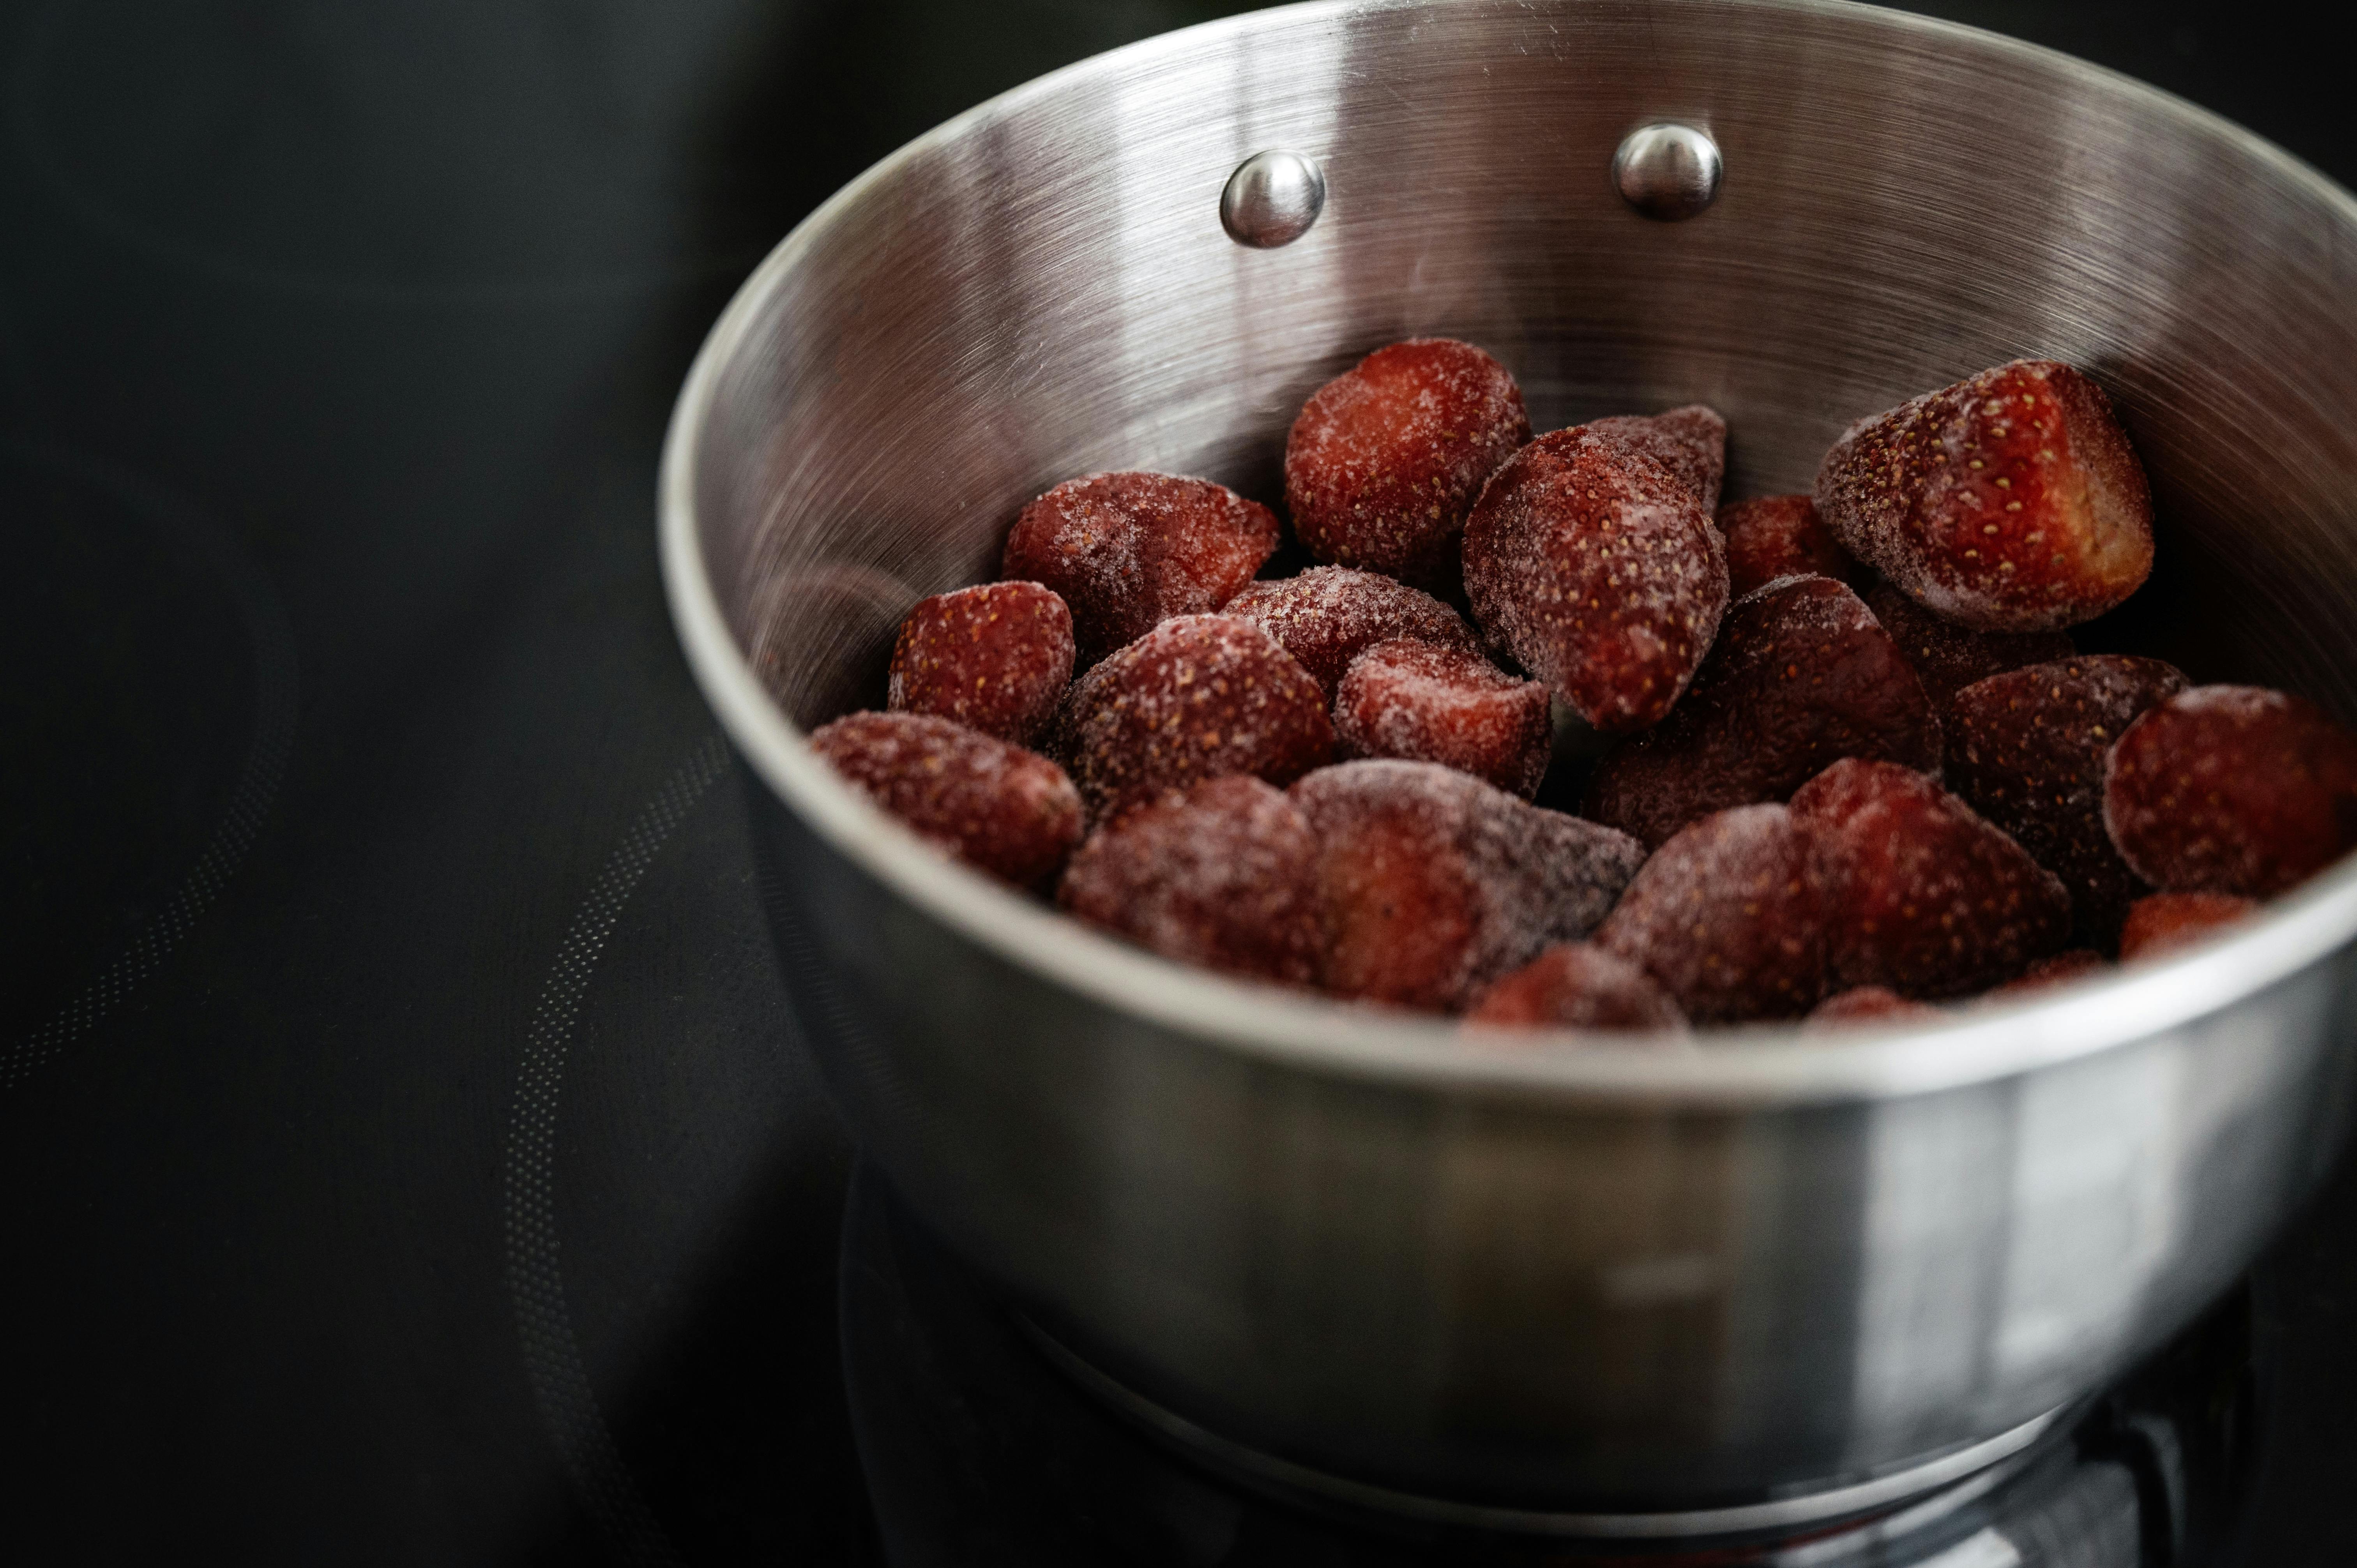
Adding Strawberries to the Mixture
Adding strawberries to your mixture can add a unique flavor and texture that will be sure to tantalize your taste buds. Strawberries are chock full of antioxidants and vitamins, making them a great addition to any recipe. Whether you’re making a smoothie, cake, or ice cream, adding strawberries can make it even more delicious.
To add strawberries to your mixture, start by washing and hulling the fruit. You may also need to slice or dice the strawberries depending on what you’re making. Once the fruit is prepared, simply fold it into your mixture until it’s evenly distributed. You may need to adjust the sweetness or texture of the recipe based on how much strawberry you added.
If you’re not sure how much strawberry you should add, start with a small amount and adjust accordingly. Taste test as you go until you reach your desired flavor. Adding strawberries can bring extra moisture and sweetness that will enhance the overall flavor of whatever you’re making. Incorporating this delicious fruit into your recipes is sure to be a hit!
Churn the Ice Cream in Your Maker
Making your own ice cream at home can be a fun and rewarding experience. With the right ice cream maker, you can make delicious ice cream from the comfort of your own kitchen. But before you can enjoy your homemade creation, you first need to churn the ice cream in your maker. Churning is an important step in the process of making ice cream, and it helps to combine all of the ingredients, while also aerating the mixture for a smoother and creamier texture.
The churning process will vary depending on the type of machine that you use. For electric models, all you need to do is add your ingredients to the bowl and turn it on. The machine will then mix and churn all of the ingredients together until a thick, creamy consistency is reached. If you are using a manual model you may need to turn a crank or move some other part of the machine by hand in order to get everything mixed up properly.
It is important to note that over-churning can ruin your ice cream because it will become too thick and hard. Most machines have an automatic shutoff once it reaches its desired consistency setting, but if yours does not have this feature then make sure to keep an eye on it so that it doesn’t get over-churned.
Once the churning process is complete, you are ready to move on to either freezing or eating your freshly made ice cream! Enjoy your delicious homemade treat!
Conclusion
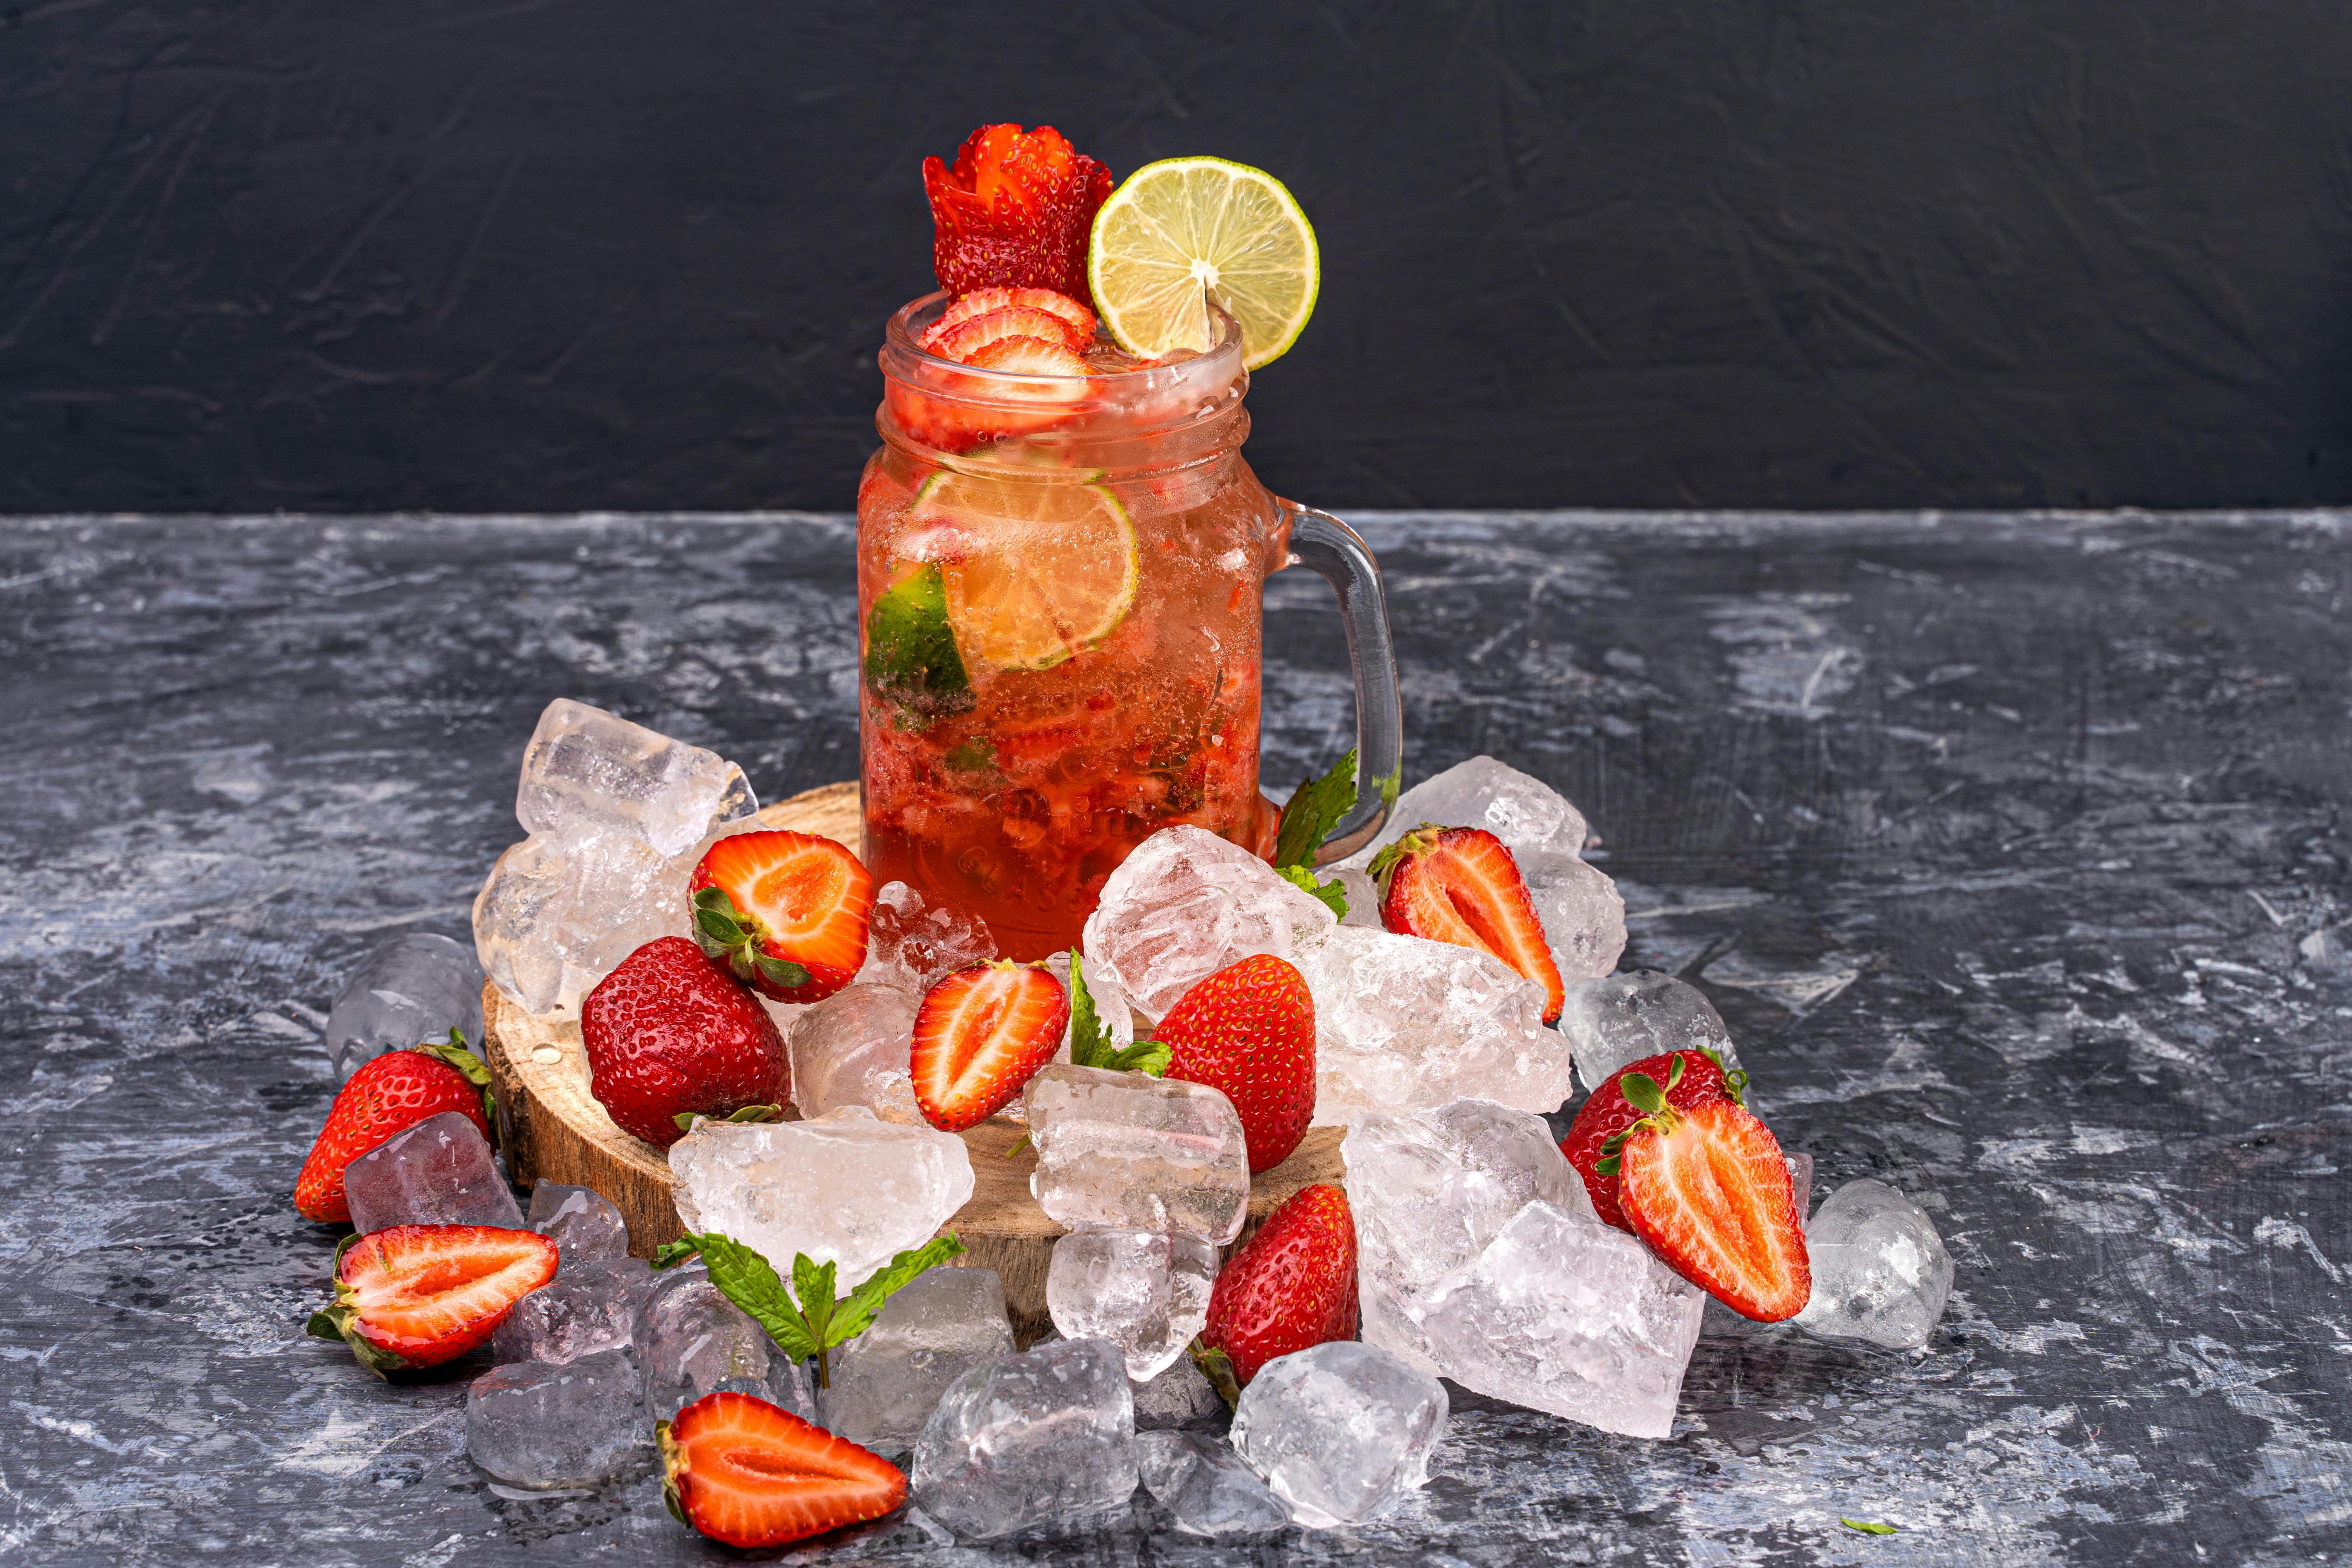
Making a refreshing and delicious strawberry ice is a great way to cool off on hot days. The preparation is simple and requires only a few ingredients. Whether you like your strawberry ice with a splash of lemon juice or some honey, you can easily customize it to suit your taste. Preparing the ice can take up to an hour, but it will be worth it!
Creating this sweet treat doesn’t have to be complicated. All you need are the right ingredients and some patience. With this guide, you can learn how to make strawberry ice in no time. Enjoy the summer with an icy cold treat that will keep you cool all day long!

