Making a delicious strawberry glaze with fresh strawberries is a great way to add flavor and sweetness to a variety of desserts. It is also an easy and simple recipe to make that just requires a few ingredients. With this tutorial, you will learn how to make strawberry glaze with fresh strawberries in just a few easy steps. All you need is some fresh strawberries, sugar, and water to get started!To make a strawberry glaze with fresh strawberries, you will need the following ingredients: 2 cups of fresh strawberries, 1/2 cup of white sugar, 2 tablespoons of cornstarch, and 3 tablespoons of cold water. You will also need a blender or food processor and a medium saucepan.
Preparing the Strawberries
Washing the strawberries is the first step in preparing them for eating. Before washing, remove any stem or leaves that remain attached to the berry. Rinse the strawberries under cold, running water and gently scrub them with your fingers or a soft brush to remove any dirt. Do not soak them in water as this could cause them to become soggy. Pat dry with a paper towel and set aside.
Once you have washed the strawberries, you can prepare them for eating by either slicing or dicing them, depending on your preference. To slice, use a sharp knife and cut each strawberry into thin slices of even thickness. If dicing, cut off the top of each strawberry and then cut it into small cubes.
If using the strawberries in a recipe such as a strawberry pie or smoothie, you may need to macerate them before adding to your dish. To do this, place the sliced or diced berries in a bowl along with some sugar and mix gently until combined. Allow them to sit for 10-15 minutes before using in your recipe. This will help soften the berries and sweeten their flavor for an even more delicious result!
Blending The Strawberries
Blending strawberries is a great way to make a delicious and healthy smoothie. This process is relatively simple, but there are some important steps to follow to ensure that the smoothie will turn out great. First, you’ll need to rinse the strawberries and remove any leaves or stems. Once the strawberries have been cleaned, you’ll need to cut them into small pieces and place them in a blender. Add some liquid such as water or juice to the blender as well. Then blend the ingredients for about one minute until they are fully blended and creamy. You may need to add more liquid if necessary in order for the mixture to blend properly. If you’re looking for a thicker consistency, add some ice cubes or frozen fruit instead of liquid. Once everything is blended together, your strawberry smoothie is ready to enjoy!
In addition to making smoothies, blending strawberries can also be used in other recipes such as sauces, jams, and even cakes. You can also use blended strawberries as an ingredient in many other dishes such as salads or oatmeal. With so many versatile uses for blending strawberries, it’s easy to see why it’s such an essential part of any kitchen arsenal!
Straining The Strawberry Puree
Straining the strawberry puree is an important step in making delicious desserts. This process removes the seeds and other solids from the puree, resulting in a smooth, creamy consistency. It also helps to prevent any lumps or clumps from forming in the final product. To strain strawberry puree, you’ll need some cheesecloth or a fine mesh strainer. Start by placing the cheesecloth or strainer over a large bowl and pouring your puree into it. Then use a spoon or spatula to press down on the solids, forcing them through the cloth or strainer and into the bowl below. Discard the solids that remain in the cloth or strainer, then pour the strained puree into whatever recipe you’re making.
The process of straining strawberry puree is relatively simple but can be time-consuming depending on how much puree you’re working with. If you don’t have cheesecloth or a fine mesh strainer on hand, you can also use a sieve or even paper towels to strain your puree. It’s important to note that this process should only be used for small batches of puree – if you’re working with larger amounts, it’s best to use an electric juicer or food processor instead.
Strain your strawberry puree for best results when making desserts like cakes, pies, tarts, sauces and more. Straining will help ensure that your finished product is free of lumps and clumps, resulting in a smooth texture that is sure to please all of your guests!
Adding Sweetener To The Puree
Adding sweetener to the puree is a great way to enhance the flavor of your dish. Whether you’re making a dessert or a savory sauce, adding a bit of sweetness can really bring out the flavor. There are several different types of sweeteners you can use, including sugar, honey, and agave nectar. Each has its own unique flavor and texture, so it’s important to choose one that works best with your dish.
When adding sweetener to the puree, it’s important to start with just a small amount and gradually increase until you get the desired sweetness level. This will ensure that the sweetness doesn’t overpower the other flavors in your dish. Additionally, it’s important to take into account any other sweet ingredients that may already be in your recipe before adding more sweetener.
It’s also important to consider how much sweetness you want in your puree before adding any sugar or other sweeteners. If you prefer a milder flavor, start with just a small amount and add more as needed. If you’re looking for a sweeter puree, add more of the sweetener until you achieve the desired level of sweetness.
When using honey or agave nectar in your puree, keep in mind that these are thicker liquids than sugar and can affect the consistency of your dish. If possible, try to find recipes specifically designed for using these types of sweeteners so you get the best results possible.
Adding sweetener to the puree is an easy way to enhance the flavor of any dish without overpowering it with too much sweetness. It’s important to find the right balance between sweetness and other flavors so that each bite is perfectly balanced. With a few adjustments, you’ll be able to create delicious dishes with just enough sweetness without ruining their taste!

Ingredients for the Glaze
Making a delicious glaze for your food dishes is easy with the right ingredients. The most common ingredients used to make a glaze are sugar, butter, and cornstarch. You may also need other ingredients such as cream of tartar or lemon juice depending on the type of glaze you are making. When gathering your ingredients, make sure to measure them accurately for the best results.
Preparing the Glaze
Once you have all of your ingredients together, it’s time to prepare the glaze. Begin by combining all of the ingredients in a saucepan and heating them over medium heat. Stir constantly until all of the ingredients are dissolved and the mixture thickens. Once this is done, remove from heat and allow it to cool completely before using it as a glaze.
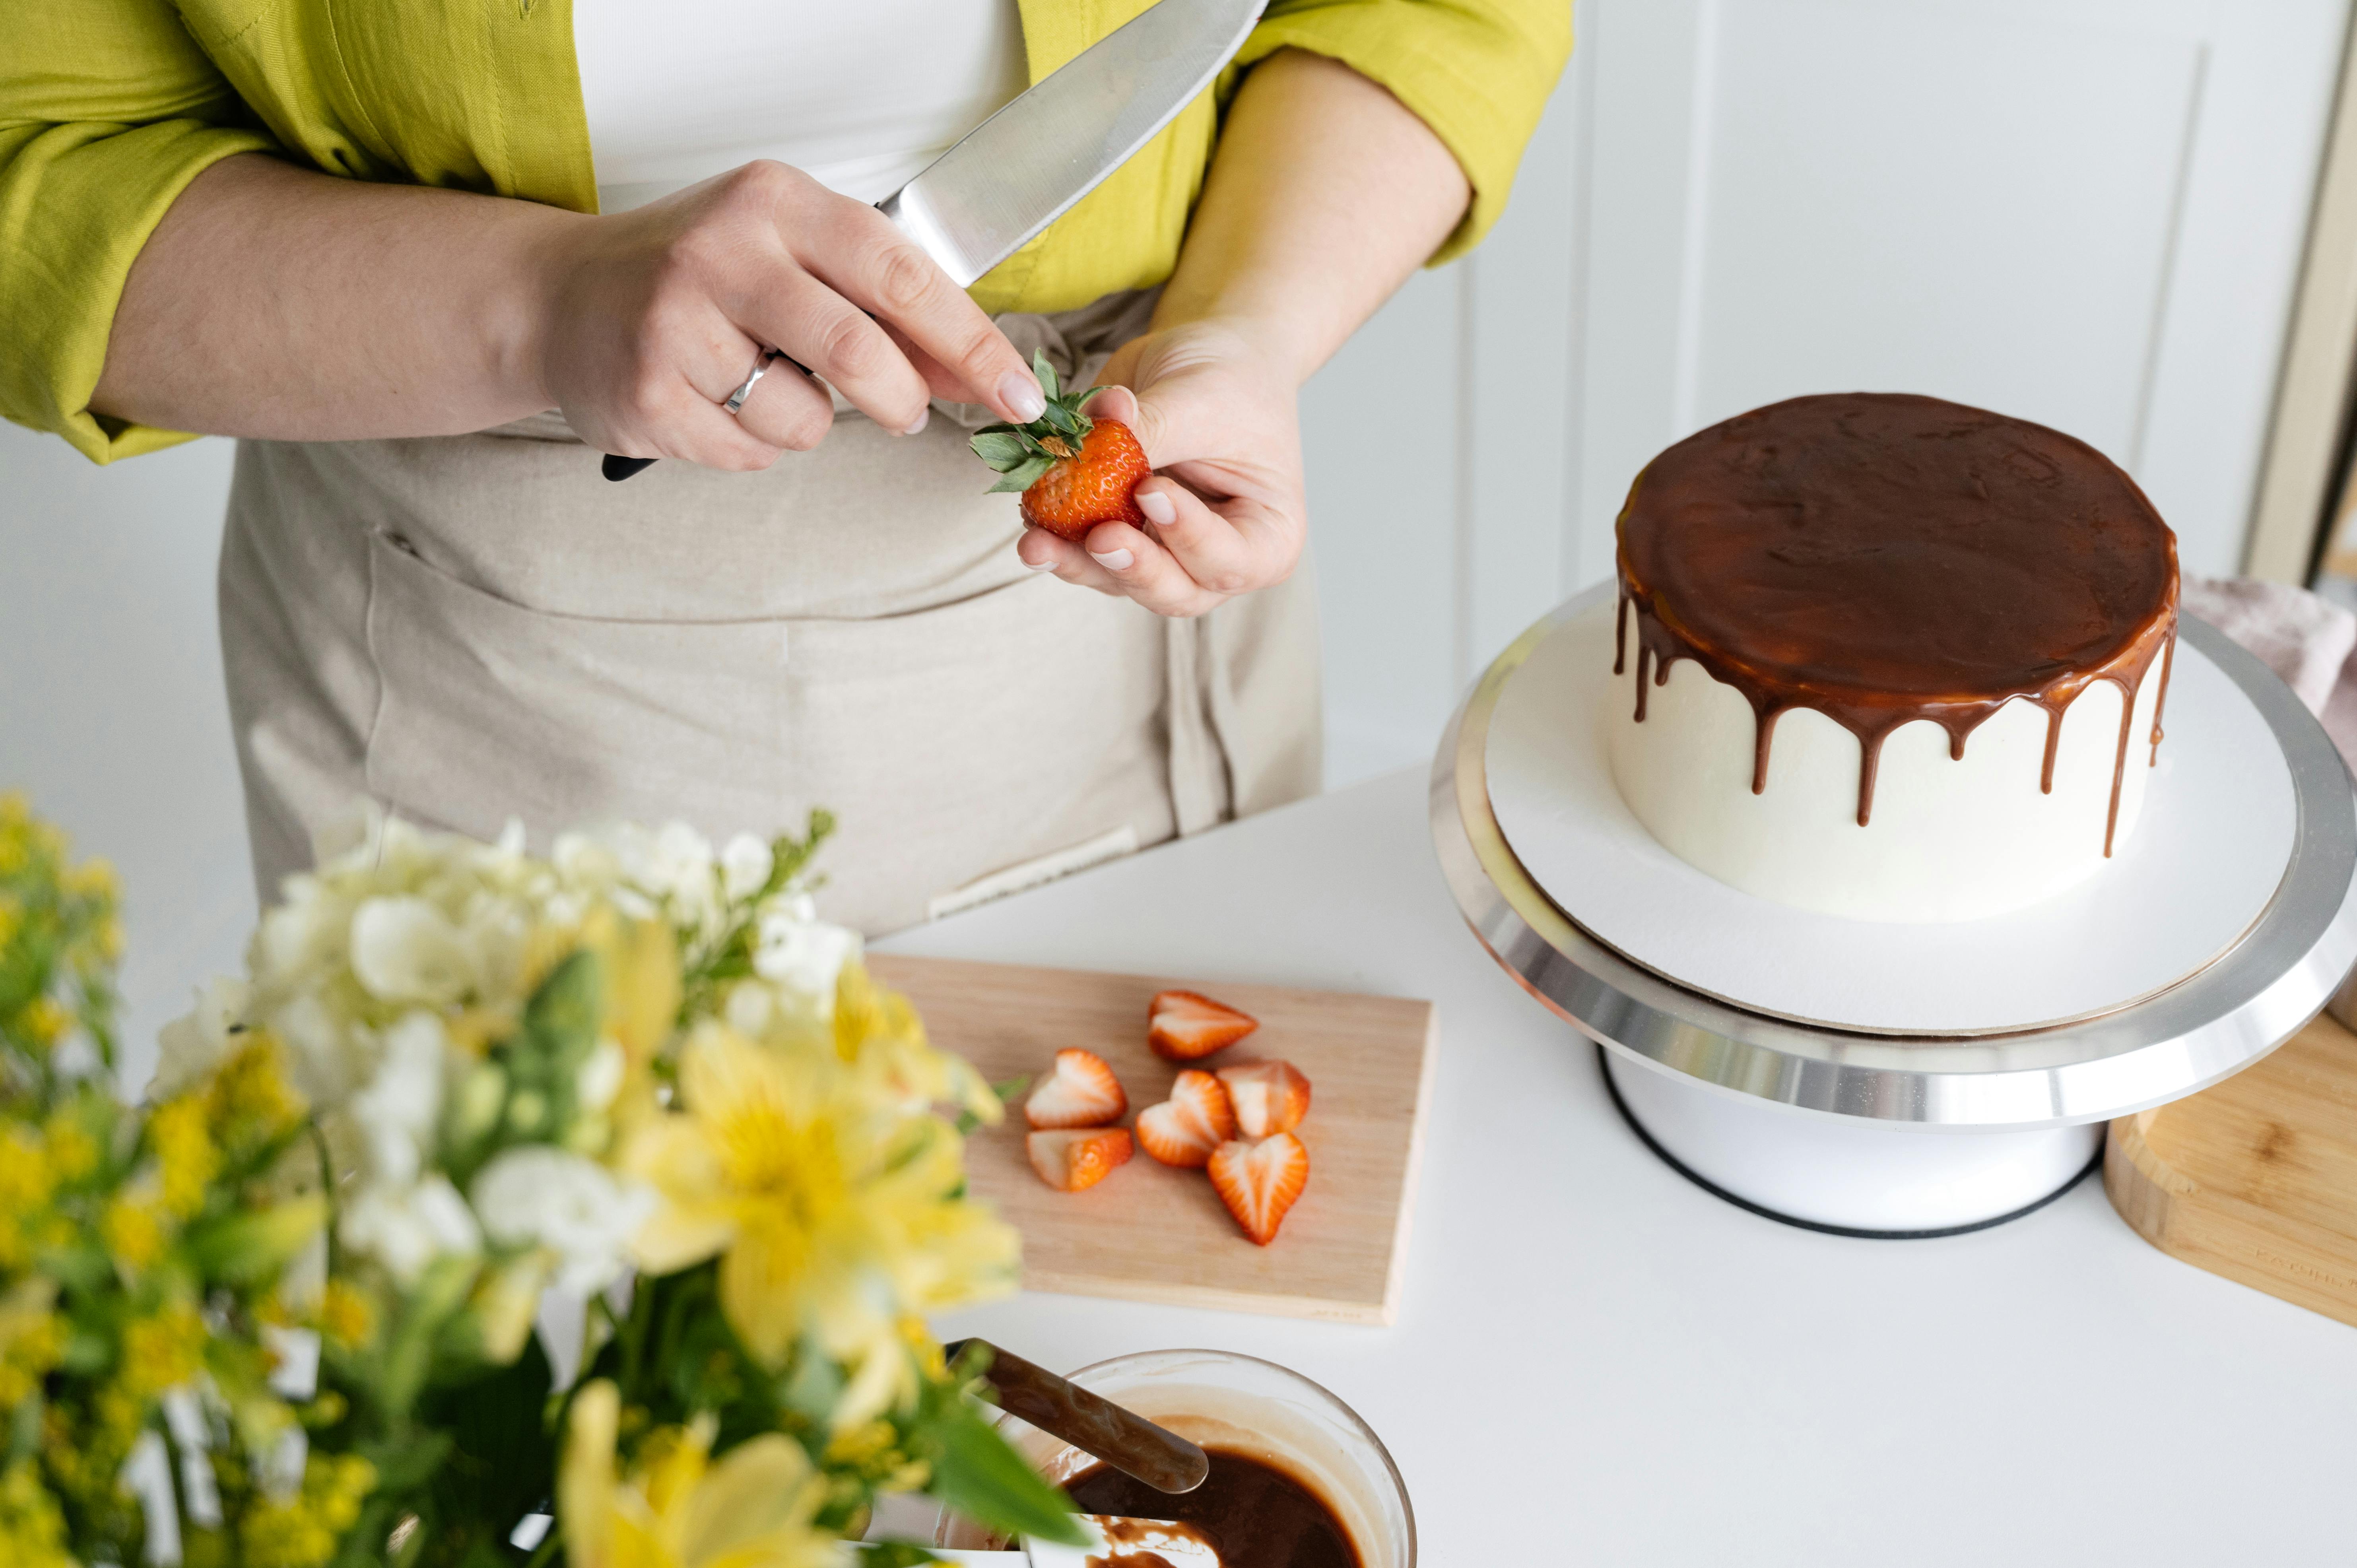
Cooking The Glaze
Once your glaze is prepared and cooled, it’s time to cook it. Depending on what type of dish you are making, you may need to adjust the cooking temperature and time accordingly. For most dishes, cooking at low to medium heat for 10-15 minutes should do the trick. Keep an eye on your glaze while it’s cooking, stirring occasionally so that it doesn’t burn or stick to the pan. When finished cooking, allow it to cool before serving or using as a topping for other dishes.
Testing For Thickness Of Glaze
Glazing is an important process of ceramic manufacturing which involves coating the surface of the clay body with a layer of liquid glass material. The thickness of the glaze layer is important as it affects the strength and durability of the finished product. To ensure that the glaze layer is applied to the correct thickness, it needs to be tested regularly. There are several methods for testing glaze thickness, such as using a micrometer, caliper or other measuring devices.
The most common method of testing glaze thickness is using a micrometer or caliper. This involves measuring two points on either side of the glaze layer and calculating the difference in their thicknesses. The micrometer can measure up to a very small level of accuracy, and can be used to accurately measure even very thin layers. Calipers are also useful for measuring glazes, as they can measure both flat surfaces as well as curved ones.
Another method for testing glaze thickness is known as ‘porosity testing’. This involves immersing an object in water and then checking its porosity (how much water it absorbs). If there are any voids or air bubbles on its surface, then this suggests that there are flaws in the glazing process and that the glaze has not been applied correctly or evenly.
Glazing should also be tested visually before being fired, to check for any defects or flaws in its appearance. This can help identify any problems with uneven application or incorrect ingredients used during manufacture which could cause issues with firing or strength later on down the line.
Testing for thickness of glaze is an important part of manufacturing ceramics and should be done regularly to ensure that all products meet quality requirements. With the right equipment and procedures in place, manufacturers can ensure that all products are produced to high standards and will last for many years to come.
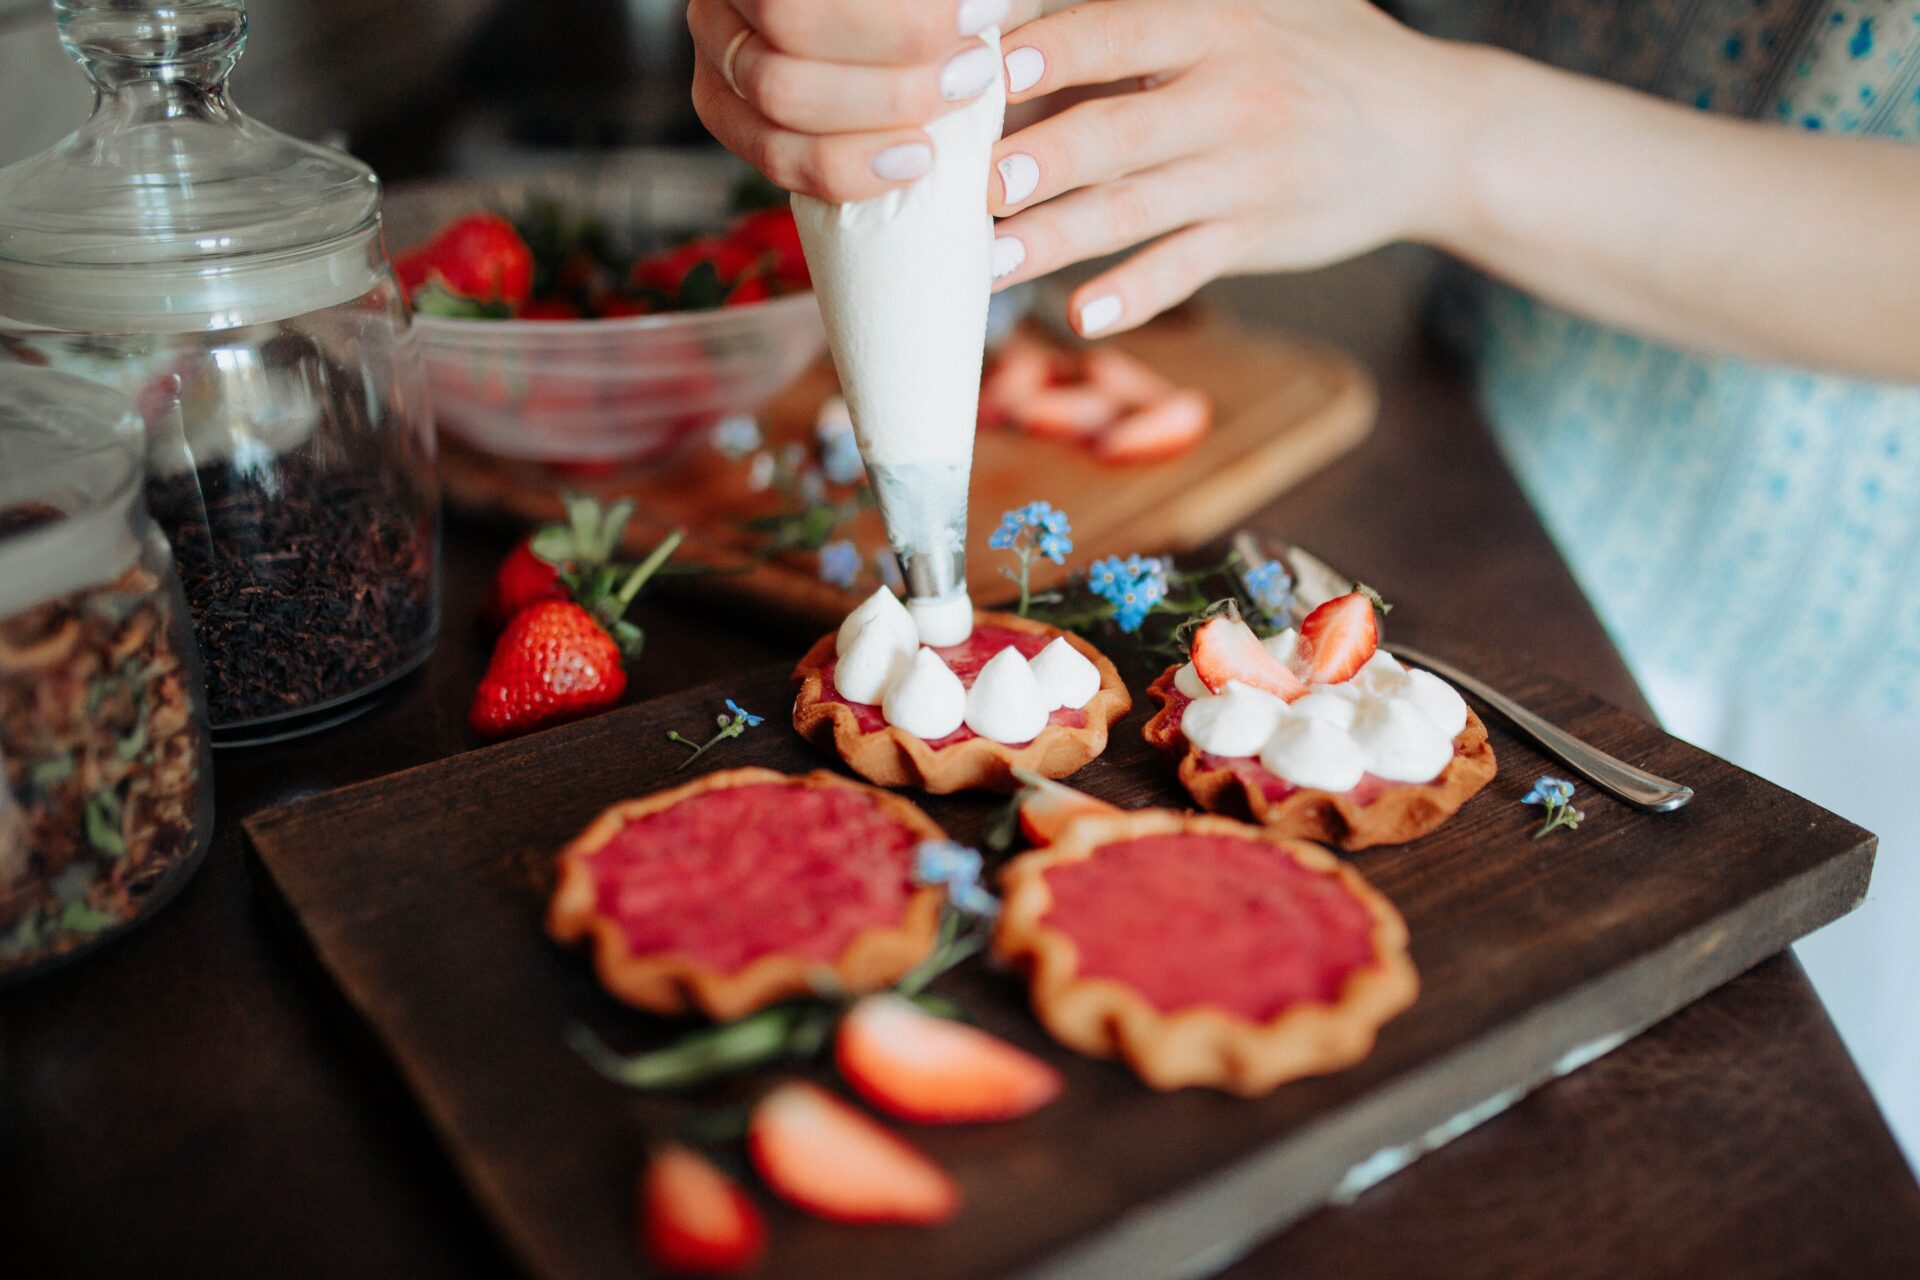
Flavoring The Glaze
The glaze is a very important component of any recipe, and it’s important to make sure that it has the right flavor. There are a few different ways to flavor the glaze, depending on what your recipe calls for. One way is to add a flavoring extract such as vanilla, almond, or lemon. These extracts can be added directly to the glaze before it is applied to the cake or other baked good. Another way to flavor the glaze is by infusing it with herbs and spices like cinnamon, nutmeg, or ginger. Finally, you can also use fruit juices or zests to add an extra layer of flavor.
No matter what type of flavoring you choose for your glaze, make sure that you don’t overdo it. Too much flavoring can make your glaze overpowering and unpleasant. If you’re unsure of how much flavoring to use, start with a small amount and then adjust as needed.
When adding extract or other flavors to your glaze, be sure to mix them in thoroughly so that they are evenly distributed throughout the glaze. If you are using fruit juices or zests, strain them before adding them so that any large pieces are removed from the mixture.
Finally, remember that you can always adjust the flavor of your glaze after it has been applied to the cake or other baked goods. If you find that your glaze doesn’t have enough flavor after baking, try adding a bit more extract or juice before serving. This will ensure that your dessert tastes just right!
Conclusion
Making a strawberry glaze with fresh strawberries is a simple and easy way to add flavor and sweetness to your favorite desserts. As you can see, the process is quick and requires few ingredients. The results are sure to be delicious! With this recipe, you can whip up a rich and sweet strawberry glaze in no time. Serve your desserts with this delightful strawberry glaze that will surely become everyone’s favorite. Enjoy!

