

Do you want to make a delicious strawberry filling for your cake? This guide will show you how to make the perfect strawberry filling for your cake. All you need are some fresh, ripe strawberries, sugar, cornstarch and a few other ingredients and you’ll have a delicious filling in no time! Follow these easy steps and you’ll have the perfect strawberry filling for your cake.To make strawberry filling for cake, you will need the following ingredients: 1 cup of sliced strawberries, 3 tablespoons of sugar, 2 teaspoons of cornstarch, 1/2 teaspoon of lemon juice, and a pinch of salt.
Begin by combining the strawberries and sugar in a saucepan over medium heat. Cook for 5 minutes until the strawberries are soft and starting to release their juices. Then add the cornstarch, lemon juice, and salt. Stir to combine and cook for an additional 5 minutes until the mixture thickens. Remove from heat and allow to cool before using as a cake filling. Enjoy!
Gather the Ingredients
When it comes to baking a cake, one of the most important steps is gathering the ingredients. Before you start baking, make sure you have all of the necessary ingredients on hand. This includes butter, sugar, eggs, flour, baking powder, and any other ingredients that are required for your particular recipe. You should also have measuring tools such as cups and spoons.
Once you have all of the needed ingredients gathered, you will need to measure them out. Depending on your recipe, this may require using both dry and liquid measuring cups and spoons. Be sure to accurately measure each ingredient in order to ensure that your cake turns out exactly as it should!
Finally, make sure that all of your ingredients are at room temperature before mixing them together. This helps ensure a fluffy and moist cake that bakes evenly in the oven. Now that you’ve gathered all of your ingredients, you’re ready to move on to the next step: mixing everything together.
Preparing the Strawberries
Preparing strawberries is a fairly simple process that only takes a few minutes. First, you’ll need to rinse the strawberries under cold running water to remove any dirt or debris. Then, use a kitchen towel or paper towel to pat them dry. Next, cut off the green leaves and stems from the top of each strawberry and discard them. Finally, slice each strawberry in half lengthwise and enjoy!
If you’re planning to freeze some of your strawberries for later use, you’ll need to take a few extra steps. Begin by rinsing and drying your strawberries as described above. Then, cut off the green leaves and stems from the top of each strawberry before slicing them in half lengthwise. Finally, spread the strawberry halves out on a baking sheet lined with parchment paper and place it in the freezer for at least 2 hours before transferring them to an airtight container or freezer bag for longer-term storage.
Making a Simple Syrup
Simple syrup is a staple for many cocktails and other beverages. It is quick and easy to make, and can be used to add sweetness, texture, and flavor to drinks. To make simple syrup, you’ll need granulated sugar, water, and a heat source. Start by bringing 1 cup of water to a boil in a saucepan over medium-high heat. Once the water is boiling, reduce the heat and slowly add 1 cup of granulated sugar while stirring constantly. Keep stirring until the sugar has completely dissolved into the hot water. Once all of the sugar has dissolved, remove the saucepan from the heat and let the syrup cool for about 5 minutes before transferring it to an airtight container for storage. The simple syrup can then be used in various recipes or stored in the refrigerator for up to 1 month.
When using simple syrup in drinks or other recipes, you can adjust its sweetness by increasing or decreasing the amount of sugar that is added when making it. For example, adding more sugar will result in a sweeter syrup while less sugar will produce a less sweet syrup. Additionally, you can infuse flavors into your simple syrup by adding ingredients like vanilla beans or herbs while it cooks on the stovetop. This will give your simple syrup an extra element of flavor that can be used to add complexity to any cocktail or recipe.
Once you have made your simple syrup, you can store it in an airtight container at room temperature for up to two weeks. If you would like it to last longer than two weeks, store it in an airtight container in your refrigerator for up to one month. Additionally, if you use flavored syrups when making cocktails at home, try experimenting with different flavors like rosemary or lavender!
Blending the Mixture
The process of blending the mixture is an important step in the production of any food product. It ensures that all the ingredients are evenly distributed and that any impurities have been removed. The first step in this process is to mix all the ingredients together in a bowl or container. This can be done either by hand or using a mixer, depending on the size and complexity of the recipe. Once mixed, the mixture should then be blended until it is smooth and creamy. This can be done by hand using a whisk or spatula, or using an electric mixer if necessary. The final stage in this process is to add any additional ingredients such as spices, herbs, eggs, etc., and blend once more to ensure everything is fully incorporated.
It is important to note that not all mixtures require blending; some may simply need stirring or whisking to combine all of the ingredients into a homogeneous mix. However, when blending is necessary it should be done carefully and with attention given to even distribution of all components. Over-mixing can result in undesirable texture or flavor changes in the finished product, so it must be done carefully.
Finally, once all of the ingredients have been blended together into a single mixture and any additional flavorings added, it is ready for use in production or further processing as required. Blending plays an essential role in food production and must be completed with care for optimal results.
Cooling the Filling
The process of cooling a filling is essential in many recipes. This is necessary for several reasons, including preventing foodborne illnesses and ensuring that the filling tastes as intended. In order to cool a filling effectively, it is important to know the best techniques and methods. The most common way to cool a filling is to place it in the refrigerator or freezer. This allows the temperature of the mixture to be reduced gradually, preventing any drastic changes that could affect flavor or texture. If you are in a hurry, you can also place the pan in an ice bath. This will cool down the contents quickly but should be done with caution as too much cooling can affect texture and flavor. Additionally, stirring regularly will help disperse heat more evenly throughout the mixture and speed up cooling time. Once cooled, transfer the mixture into an airtight container and store in the refrigerator until ready to use.
Adding Color and Flavorings
Adding color and flavorings to your recipes can make them look more attractive and appealing. Colorful ingredients can make a dish stand out, while flavorful additions can give it an extra special touch. Here are some tips for adding color and flavorings to your recipes.
When adding color to a dish, try to choose ingredients that will complement the other flavors in the dish. For example, if you’re making a beef stew, you may want to add some carrots or bell peppers for a bright yellow or red hue. Or if you’re making a seafood dish, try adding some herbs or lemon zest for a bright green or yellow hue.
When it comes to flavoring your dishes, there are many options available. Herbs like basil, oregano, thyme and sage are great for adding depth and complexity of flavor to soups, stews and sauces. Spices like cumin, turmeric and ginger can be used to add warmth and depth of flavor to dishes like curries or stir-fries. Adding citrus fruits like lemons or limes gives dishes a bright tangy burst of flavor that really brings out the other flavors in the dish.
You can also add sweetness with ingredients like honey, maple syrup or agave nectar. These ingredients are not only sweet but also have complex flavors that really enhance the taste of your dishes. If you want something with more of an intense sweetness, consider using dark chocolate chips or dried fruits like raisins or dates in your recipes.
Finally, don’t forget about savory ingredients like Parmesan cheese, bacon bits or nuts that can take your recipes from ordinary to extraordinary in no time at all! Adding color and flavorings to your recipes is an easy way to make them stand out from the crowd – so get creative and have fun experimenting!
Testing for Thickness
Testing for thickness is an important part of quality control when producing goods. It helps to ensure the consistency and durability of products. Thickness testing involves measuring the thickness of a product or component at different points along its length, width, or depth. This can be done manually with a ruler, caliper, or other measuring tool, or with automated machines such as ultrasonic thickness gauges.
When testing for thickness, it’s important to consider the material being tested and the type of application in which it will be used. Different materials require different tests in order to accurately measure their thickness. For example, metals and plastics may require different methods of testing in order to get accurate results due to their varying physical properties.
The type of application can also affect the type of test used for measuring thickness. For instance, components that will be used in highly pressurized environments require more stringent tests than those intended for lower stress applications. It is important to ensure that the chosen test method is suitable for the task at hand and meets the required standards and regulations set by governing bodies such as ASTM International (formerly known as American Society for Testing Materials).
In addition to manual and automated methods of testing, there are also several sophisticated techniques that can be employed when measuring thickness. These include X-ray diffraction (XRD), infrared spectroscopy (IRS), Raman spectroscopy (RS), Fourier transform infrared spectroscopy (FTIR), scanning electron microscopy (SEM) and nuclear magnetic resonance spectroscopy (NMR). Each method has its own advantages and disadvantages depending on the application, so it’s important to choose the right one for each task.
Testing for thickness is an essential aspect of quality control in many industries and should not be overlooked when producing goods. The right test method must be chosen based on the material being tested and its intended use in order to ensure that components meet safety standards and regulations set forth by governing bodies such as ASTM International.
Conclusion
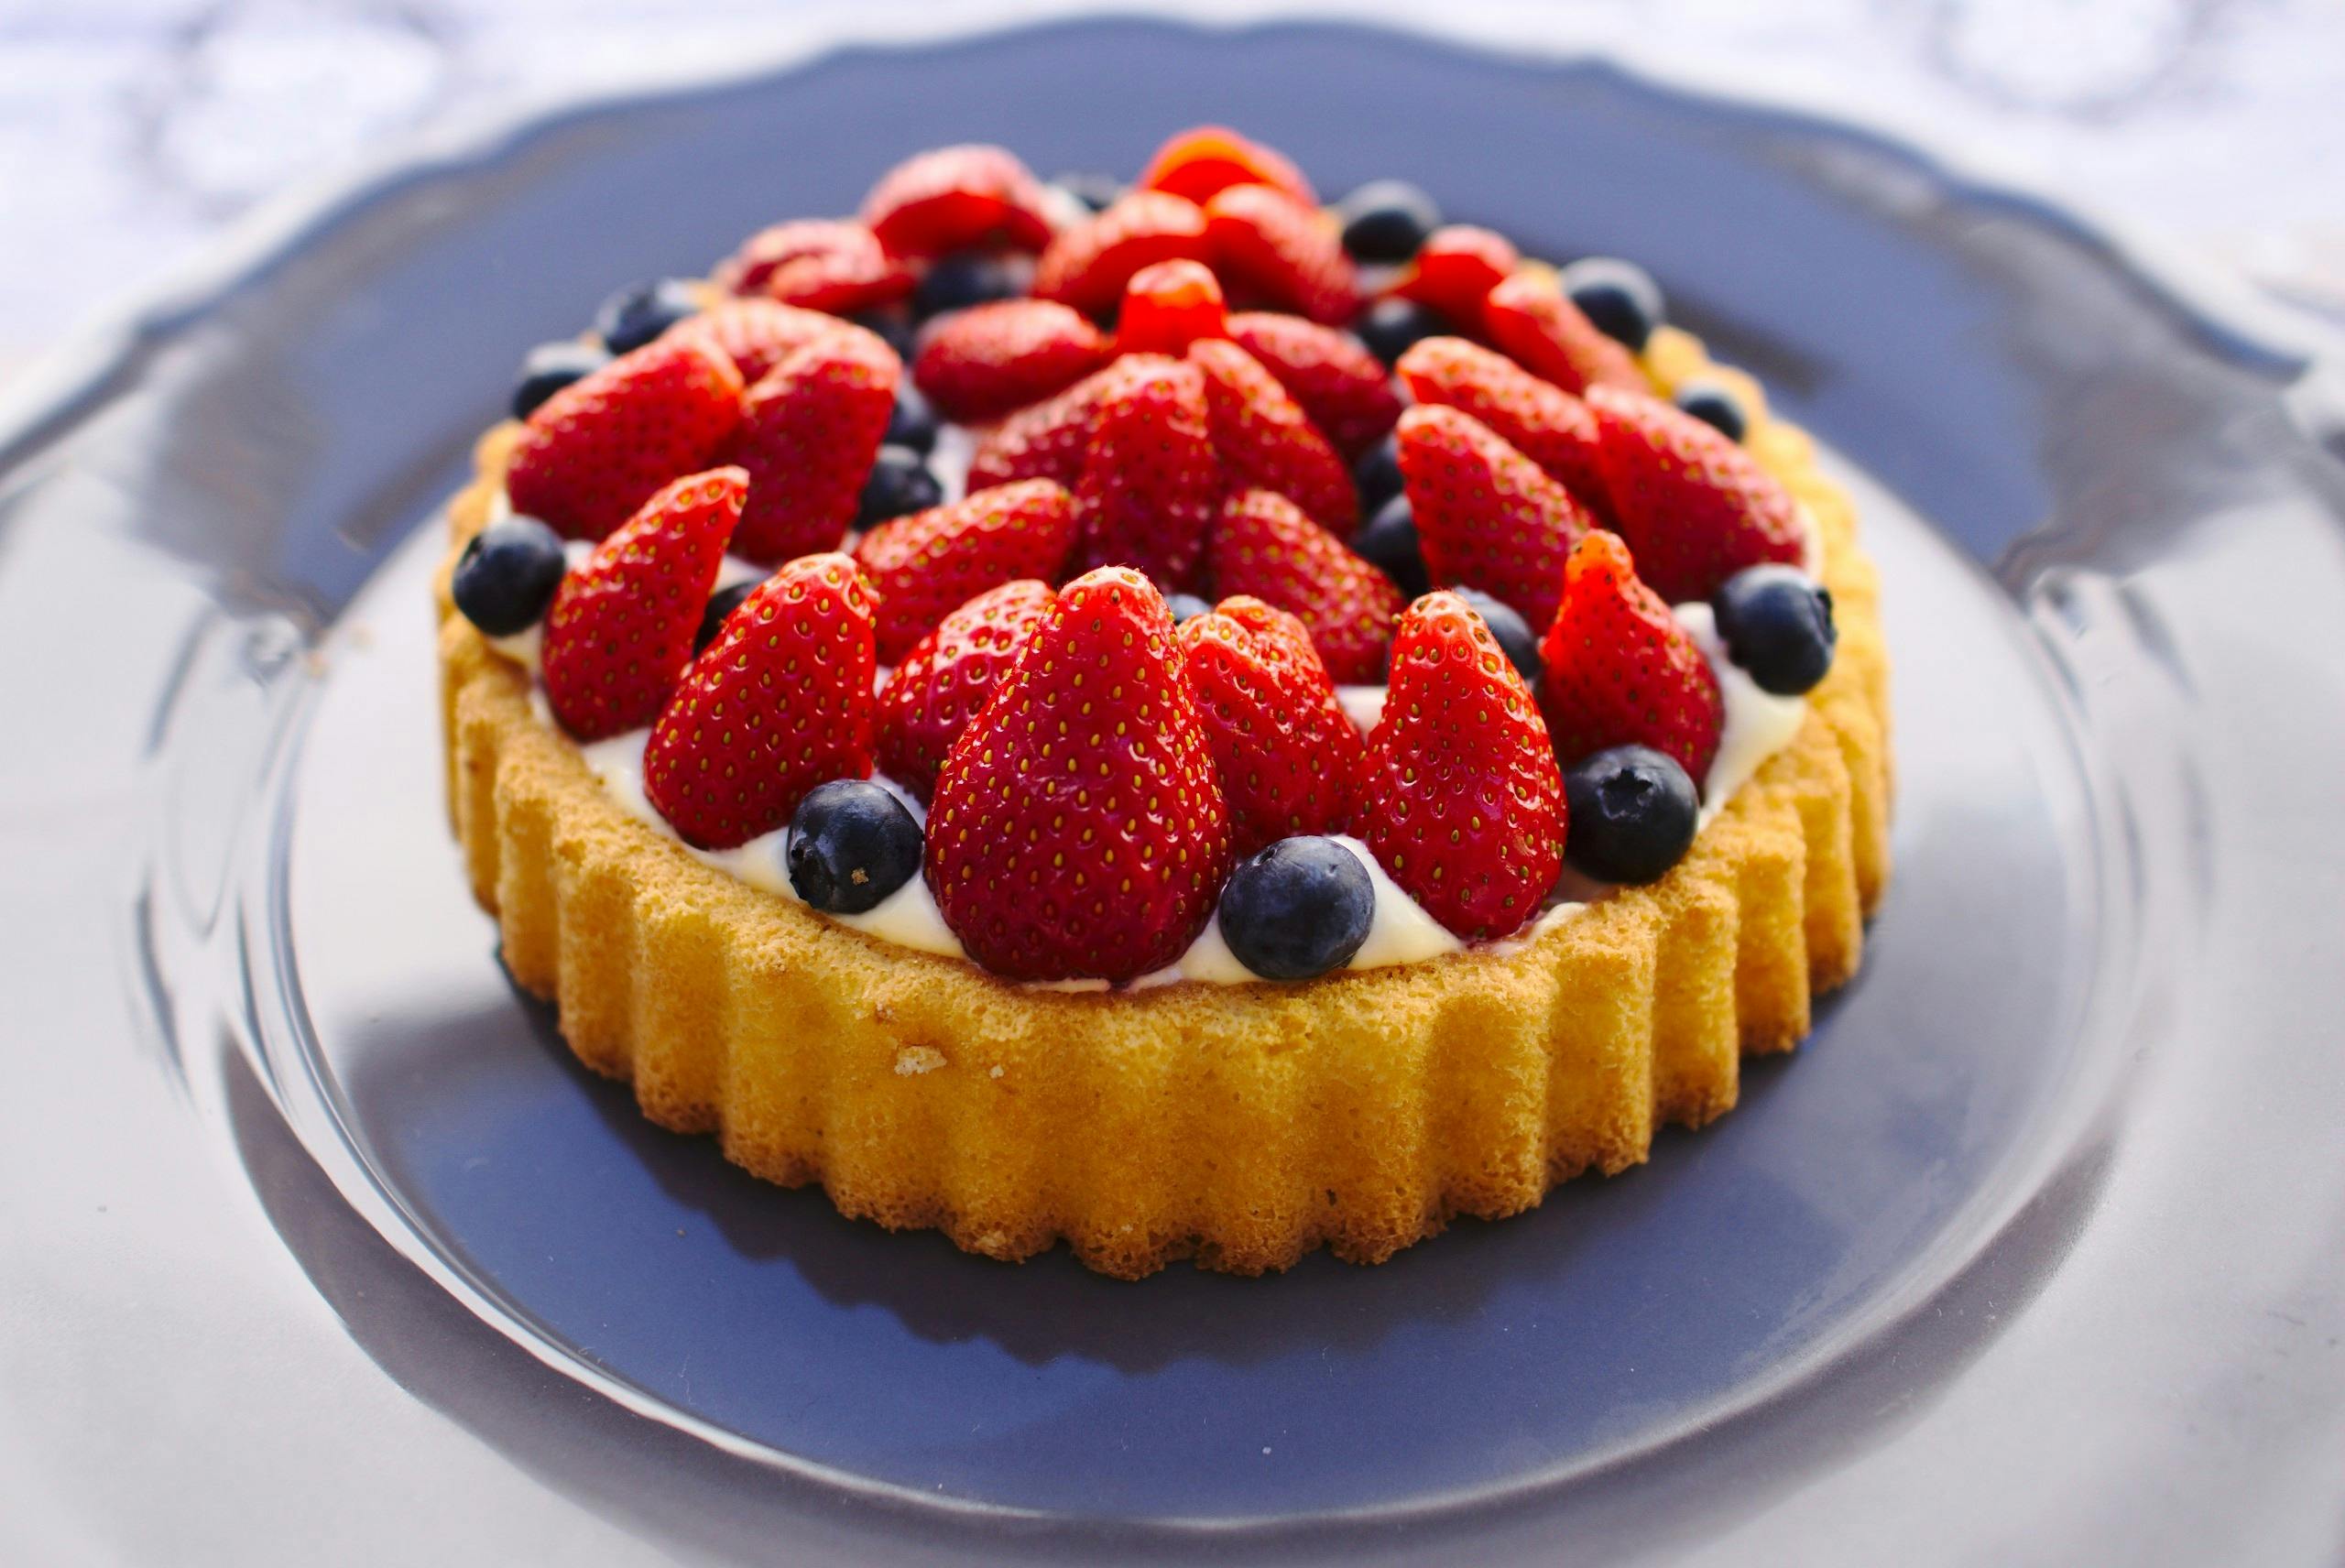
Making a delicious strawberry filling for your cake is easy and fun! You only need to gather a few ingredients and you have all you need for a delicious cake. With a few simple steps, you can create an amazing strawberry filling that will make your cake stand out from the rest.
By following these instructions, you can make a luscious strawberry filling that will add an extra special touch to your cake. The combination of fresh strawberries, sugar, and cornstarch will create a rich, creamy filling that will have everyone asking for seconds. Enjoy!
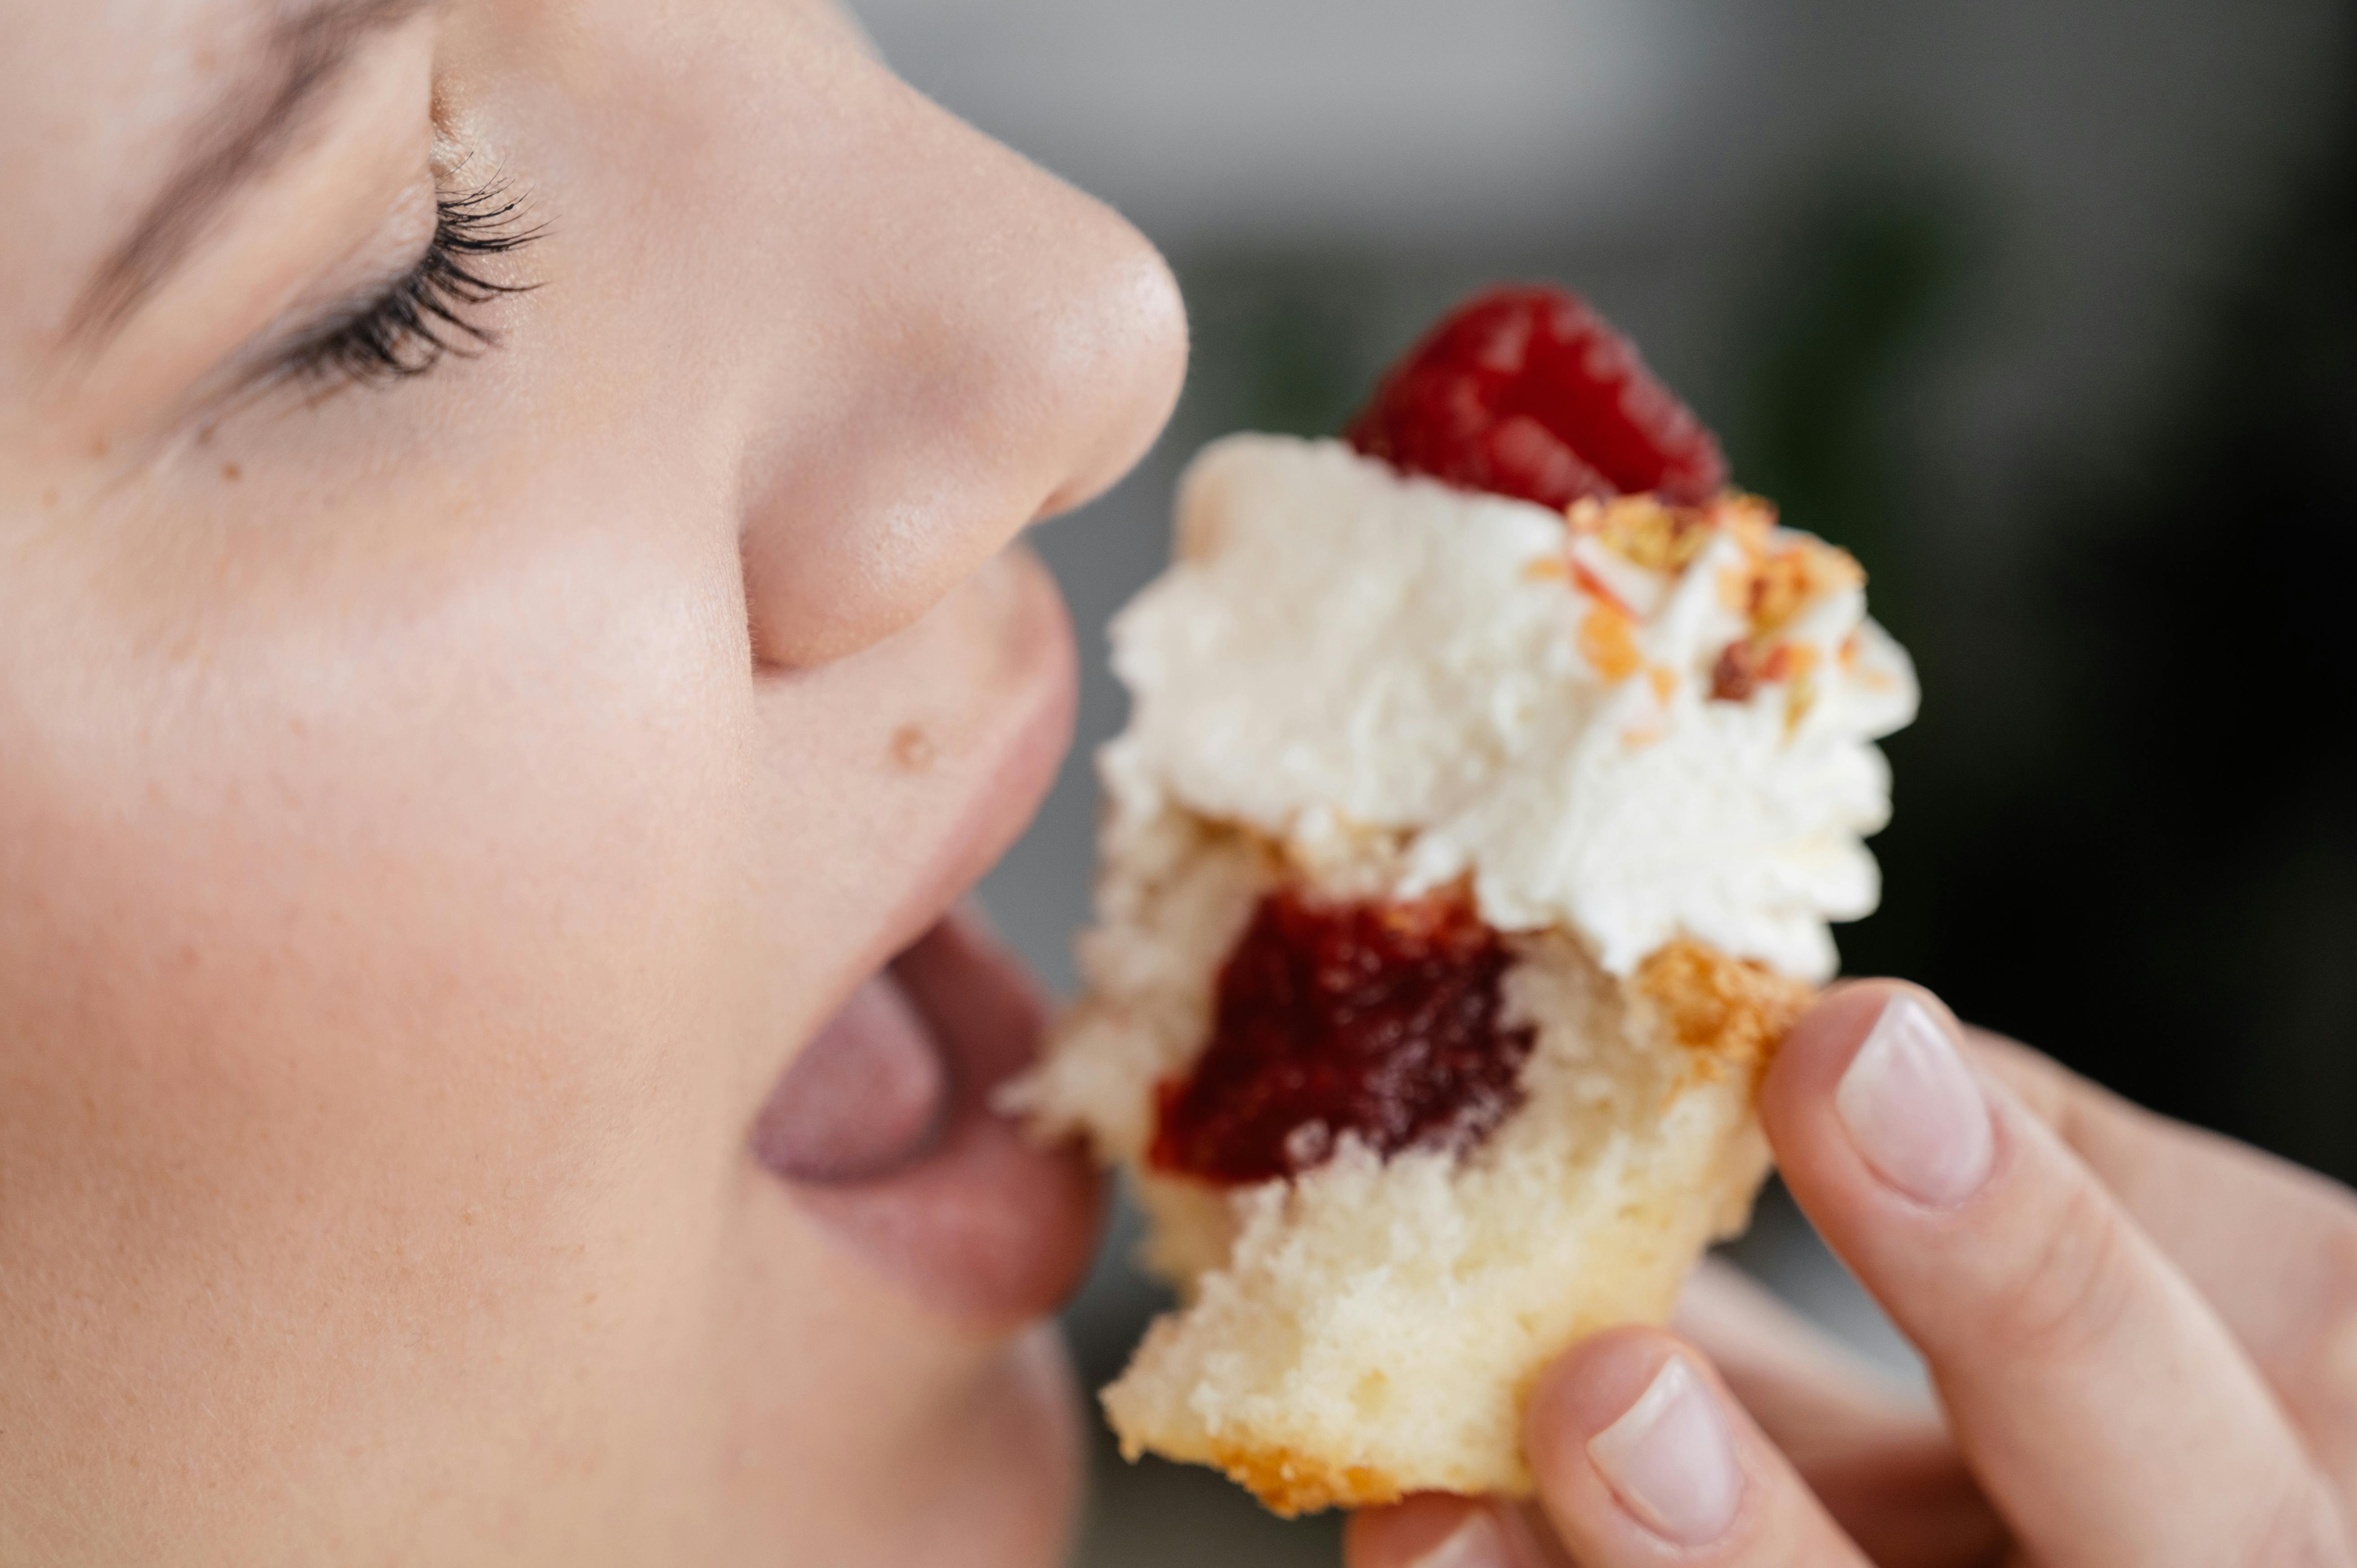
Making this strawberry filling is the perfect way to add a bit of sweetness and flavor to any cake. You can also use it as a topping for other desserts such as cupcakes or ice cream. There are so many possibilities with this amazing recipe! So don’t be afraid to get creative and enjoy making something delicious with this easy-to-follow recipe.

