

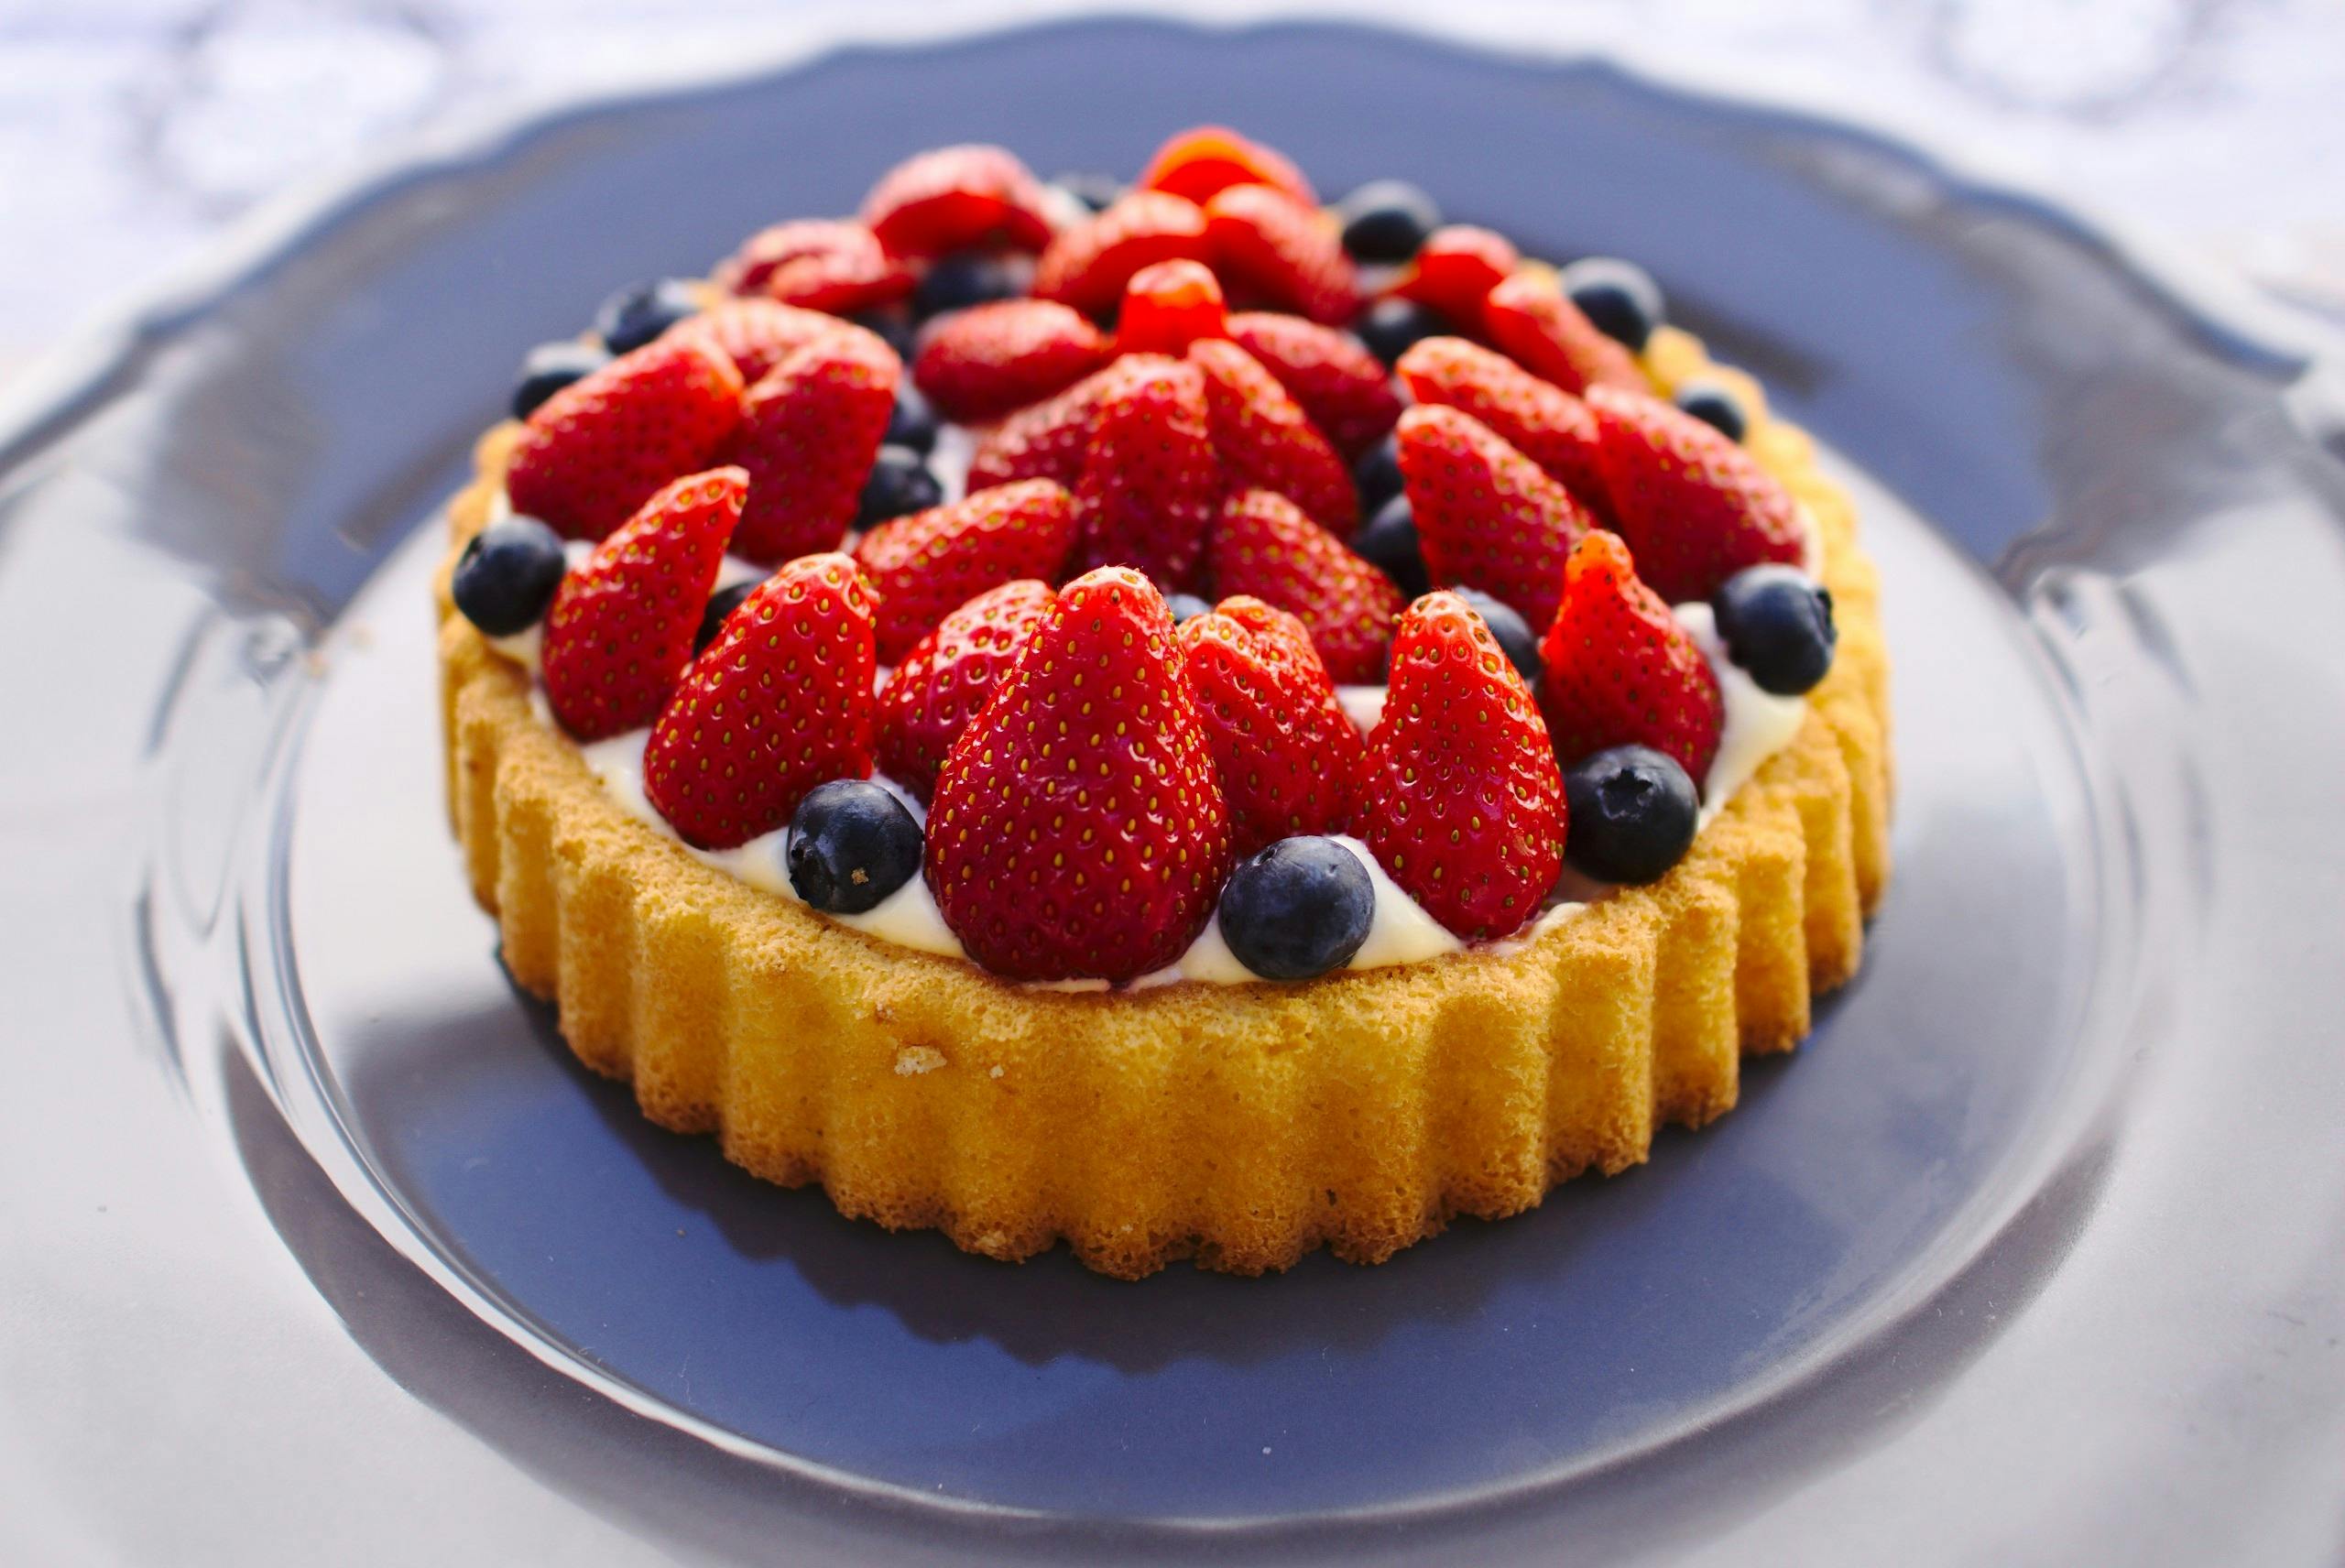
Making strawberry cake pops is a great way to show off your baking skills and impress your family and friends. It’s a fun and creative way to enjoy a delicious dessert that looks like it came from a professional bakery. Whether you’re an experienced baker or just starting out, this recipe is easy to follow and produces amazing results. With just a few ingredients and some simple steps, you can have strawberry cake pops that will be the hit of any party.To make strawberry cake pops, you will need the following ingredients and supplies:
– 1 box of white cake mix
– 1/2 cup vegetable oil
– 2 eggs
– 3/4 cup strawberry puree (either fresh or from a can)
– 1/4 cup granulated sugar
– 1 tub of strawberry frosting
– Pink candy melts
– White sprinkles
– Lollipop sticks
– A baking sheet lined with parchment paper
Ingredients
When baking a cake, it is important to have all the necessary ingredients on hand. The most common ingredients used in baking cakes include flour, sugar, baking powder, eggs, milk, butter or margarine, and salt. Depending on the type of cake you are making, additional ingredients may be required such as cocoa powder or flavored extracts like vanilla or almond. Additionally, decorations such as frosting and sprinkles will also be needed. Make sure you have all the ingredients that your recipe calls for before beginning to bake your cake.
Tools
In addition to having all the necessary ingredients for your cake recipe, you will also need to ensure that you have the right tools for baking. You will need items such as a mixing bowl, measuring cups and spoons, a whisk or electric mixer, a spatula or wooden spoon for stirring and mixing, a greased cake pan (or two if making two-layered cakes), an oven mitt or kitchen towel for handling hot pans out of the oven. Having these items ready before beginning to bake can make the process easier and more efficient.
Instructions
Once you have all of your ingredients and tools ready to go it’s time to start baking! Begin by preheating your oven to the temperature specified in your recipe instructions. While it is heating up you can begin preparing the batter by combining all of your dry ingredients in a bowl (flour, sugar, baking powder and salt). Then add any wet ingredients (eggs, milk and butter) to another bowl and mix until smooth. Add these wet ingredients into the dry mixture until they are fully incorporated into one homogenous mixture.
Once everything is combined it’s time to pour your batter into greased pans. Be sure not to overfill them as this will cause them to overflow when baked in the oven. Place them in the oven for about 30 minutes or until a toothpick inserted into them comes out clean. After they are finished baking allow them cool completely before adding frosting or decorations.
Finally enjoy your freshly baked cake!
How to Make the Cake Pop Dough
Making cake pop dough is a very easy and fun process. All you need are a few simple ingredients and you’ll be able to create delicious cake pops in no time. The first step is to gather your ingredients. You will need one box of white or yellow cake mix, 1/3 cup of vegetable oil, 2 eggs, and a few tablespoons of water. Once you have all of your ingredients together, it’s time to get started.
The first step is to combine all of your dry ingredients in a large bowl. This includes the cake mix, oil, eggs, and water. Use a whisk or an electric mixer to combine the ingredients until they are completely blended together. Once your dough is ready, it’s time to roll it out on a lightly floured surface. Roll out the dough until it’s about ¼ inch thick.
Next, use cookie cutters or a knife to cut out shapes from the dough. Place the cutouts on a baking sheet lined with parchment paper and bake them in preheated oven at 350 degrees for 12-15 minutes or until golden brown. Allow them to cool before assembling into cake pops using lollipop sticks or dowels.
Finally, dip the cooled cake pops into melted chocolate of your choice and decorate as desired with sprinkles or other decorations before serving. That’s all there is to making delicious homemade cake pop dough! Enjoy!
Gathering the Materials
Before you can start to make your cake pops, you’ll need to gather the materials. You’ll need cake mix, frosting, chocolate chips or candy melts, lollipop sticks, and any decorations you’d like to use. Make sure to have enough of each item so that you can make enough cake pops for everyone in your party.
Making the Cake
Once you have your materials ready, it’s time to make the cake. Follow the instructions on the box for making a cake in a 9×13 inch pan. Once it’s done baking, let it cool completely before you continue with the next step.
Crumbling the Cake
Once the cake is cool, crumble it into a large bowl. Make sure that there are no large chunks of cake left and that everything is evenly crumbled. Once it’s all crumbled up, add a few spoonfuls of frosting into the bowl and mix everything together until all of the crumbs are evenly coated with frosting.
Forming the Cake Pops
Now that your cake mixture is ready, it’s time to form the cake pops. Take a small amount of mixture in your hands and roll it into a ball shape. Then place each ball onto a baking sheet lined with parchment paper or wax paper. Make sure that each ball is about one inch in size so they will cook evenly and not burn during baking.
Adding Sticks
Once all of your balls are formed and placed on the baking sheet, add lollipop sticks into each one by pushing them halfway into each ball until they are secure. Place them back on to the baking sheet once they’re done.
Baking and Decorating
Now it’s time to bake your cake pops! Preheat oven to 350 degrees and bake for 8-12 minutes until they look golden brown on top. Once they’re done baking let them cool completely before decorating them with melted chocolate chips or candy melts and any other decorations you’d like!
Dipping the Cake Pops
Cake pops are a delicious treat that can be enjoyed by all. The first step in making cake pops is to dip them in melted chocolate or candy melts. Start by melting your desired chocolate or candy melts in the microwave according to the package instructions. Once melted, use a spoon to dip each cake pop into the melted chocolate until it is evenly coated. Gently tap off any excess chocolate and then place the dipped cake pop on a parchment-lined baking sheet. Allow the dipped cake pops to set and harden at room temperature before decorating.
Decorating the Cake Pops
Once your cake pops have hardened, you can start decorating them with sprinkles, icing, and other decorations of your choice. Use a spoon or piping bag to apply icing or other decorations onto the cake pops. You can also use melted chocolate as “glue” to attach decorations like sprinkles or small candies onto the cake pops. To finish off your decorated cake pops, add lollipop sticks and wrap them in cellophane bags for an extra special touch!
Making Perfect Cake Pops
Cake pops are a great way to add an extra special touch to any celebration or occasion. Whether you’re looking for a unique dessert for a birthday party, a creative centerpiece for a baby shower, or just want to impress your friends with something a little different, cake pops are the perfect option. But creating the perfect cake pop can be tricky. Here are some tips to help ensure your cake pops turn out perfectly every time.
Start with Quality Ingredients
Using quality ingredients is essential when making cake pops and will make all the difference in the final product. Start with good-quality cake mix and frosting and be sure to use fresh ingredients. Unsalted butter and real vanilla extract will give your cake pops an extra delicious flavor that can’t be achieved with store-bought options.
Roll Evenly-Sized Balls
Once you’ve made your cake mixture, roll it into evenly sized balls. To make sure each ball is perfectly round, use two teaspoons as scoopers; this will help create a consistent size for all the balls. Place each ball on wax paper until you’re ready to dip them in melted chocolate or candy coating.
Refrigerate Before Dipping
Before dipping your balls in melted chocolate or candy coating, refrigerate them for at least 30 minutes; this will help them keep their shape once they’re dipped in the melted coating. After dipping each ball, place it on wax paper and allow it to set before adding any decorations or toppings.
Decorate Carefully
Decorating your cake pops can be as simple or as elaborate as you want it to be; from sprinkles and edible glitter to intricate designs, there are endless possibilities when it comes to decorating your treats! Just remember that whatever decoration you choose, make sure it won’t melt when it comes in contact with the warm melted chocolate or candy coating.
Store Carefully
Finally, once your cake pops are decorated and ready to serve, store them carefully until they’re ready to be enjoyed! Place them in an airtight container on a single layer so they don’t stick together and keep them refrigerated if possible. Keeping these tips in mind will help ensure that your cake pops turn out perfectly every time!
Variations on Strawberry Cake Pops
Strawberry cake pops are the perfect treat for any occasion. They are light and fluffy, sweet and delicious, and just the right size for a quick snack. But if you’re looking to shake things up a bit, there are plenty of variations on this classic treat that will have everyone asking for more. From adding different flavors to rolling them in goodies, here are some creative ideas for making your strawberry cake pops even more special.
For an extra burst of flavor, try adding your favorite extract or flavoring to the batter before forming it into balls. A few drops of almond extract can give your cake pops an unexpected twist, while citrus extracts can add a zingy flavor. You can also try spicing up your cake pops by rolling them in shredded coconut or nuts before dipping them in chocolate. If you’re feeling adventurous, why not dip them in a flavored glaze or drizzle? Adding a bit of white chocolate or butterscotch sauce is sure to please even the pickiest of eaters.
Don’t be afraid to get creative with toppings either! Sprinkles and chopped nuts are always popular choices, but why not try something new? Crushed candy canes give your cake pops an extra festive touch, while chopped dried fruit adds a bit of sweetness and color. You can also add edible decorations like mini chocolate chips or crushed Oreos for a truly indulgent treat.
No matter how you choose to dress them up, strawberry cake pops are sure to be a hit at any gathering. With so many ways to customize this classic dessert, you can make each batch unique and special. So go ahead and get creative – your guests will thank you!
Not Using the Right Type of Cake
One of the most common mistakes when making strawberry cake pops is not using the right type of cake. Using a cake that is too dense or crumbly can make it difficult to form the cake pops and can lead to them falling apart. It’s best to use a light, fluffy cake that has a high moisture content. This will ensure that your cake pops hold their shape and don’t crumble when handled.
Using Too Much Glue
Another mistake is using too much glue when binding the crumbled cake together. While you want to make sure that the cake holds its shape, using too much glue can make your cake pops heavy and difficult to handle. When adding your glue, be sure to add just enough to bind the ingredients together without making them too heavy.
Not Allowing Enough Time for Drying
When making strawberry cake pops, you need to allow enough time for them to dry before dipping them in chocolate or other coatings. If you don’t allow enough time for them to dry, they will be too soft and won’t hold their shape when they are dipped. Be sure to give your cake pops plenty of time to dry before coating them with any type of topping.
Not Refrigerating Before Coating
It’s important to refrigerate your strawberry cake pops before coating them with chocolate or other toppings. This helps firm up the texture of the cakes and makes it easier for the coating to adhere properly. If you don’t refrigerate your cakes first, they may be too soft and won’t hold their shape when coated with a topping.
Making strawberry cake pops can be fun and easy if you follow these tips! By avoiding these common mistakes, you can ensure that your cake pops turn out perfect every time!
Conclusion
Making strawberry cake pops is a fun and creative way to enjoy a delicious treat. It takes some time to prepare the ingredients and assemble the cake pops, but the end result is worth the effort. With just a few simple ingredients, you can make a unique and tasty dessert that your family and friends will love.
The best part about making strawberry cake pops is that you can customize them to fit any occasion or event. Whether it’s for a birthday party, baby shower, or just an ordinary day, this sweet treat is sure to bring smiles to everyone’s faces.
So why not give it a try? With these instructions on how to make strawberry cake pops, you’ll have all the knowledge you need to create your own delicious treats in no time.
Happy baking!

