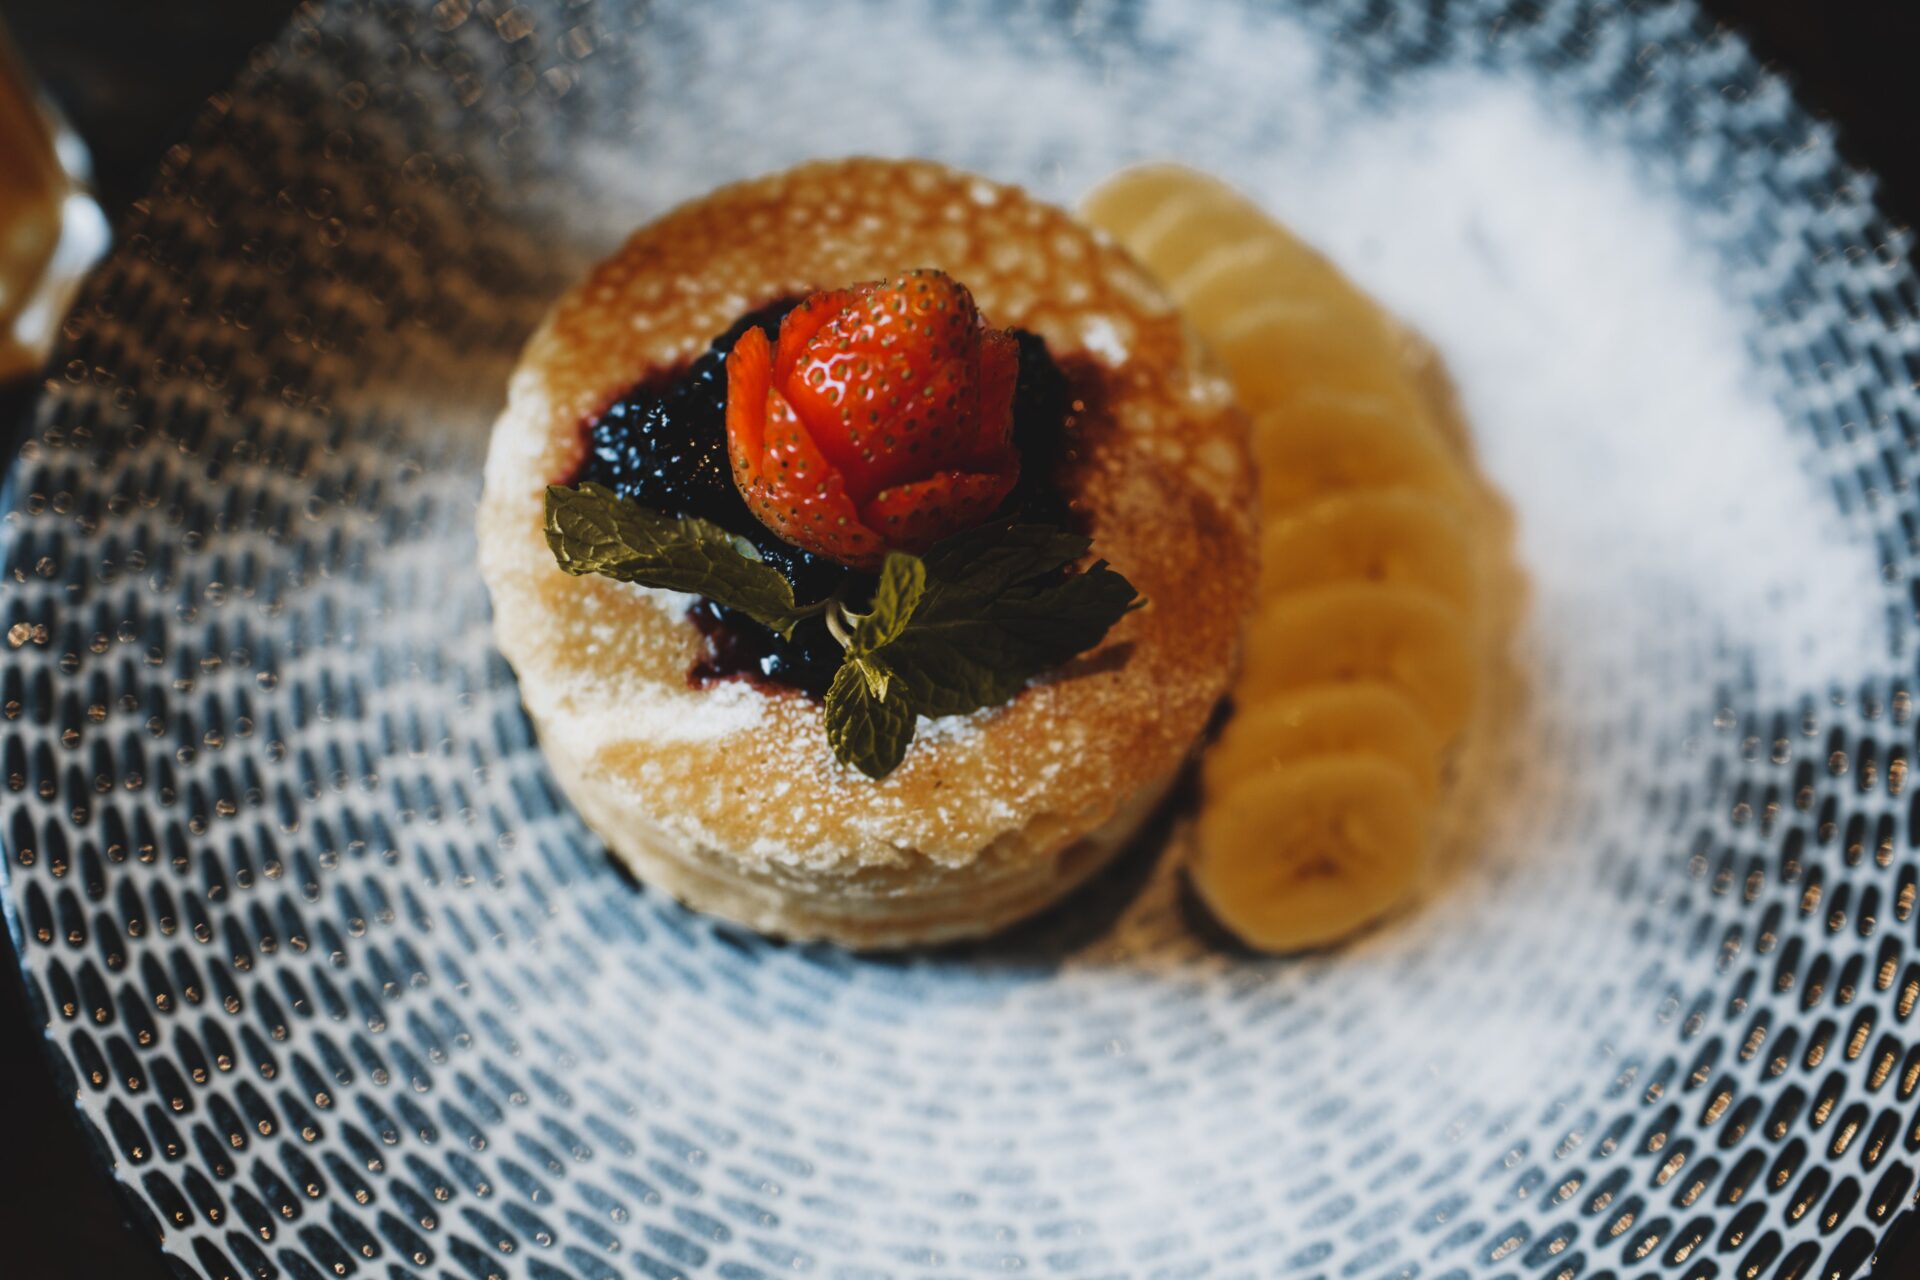
Strawberry jam is a delicious and versatile condiment that can be used in a variety of ways. It’s also incredibly easy to make, especially if you want to make seedless strawberry jam. In this guide, we’ll explain the simple steps needed to make your own seedless strawberry jam using just three ingredients: strawberries, sugar, and lemon juice. With these ingredients and a little bit of time, you’ll have a tasty homemade jam that’s perfect for spreading on toast or baking into pies and tarts.To make seedless strawberry jam, you will need the following: 4 cups of fresh, ripe strawberries; 4 cups of granulated sugar; 1/4 cup of freshly squeezed lemon juice; and 1/2 teaspoon of butter. Wash and hull the strawberries, then mash them with a potato masher or food processor until they reach a chunky consistency. Place the mashed strawberries in a large saucepan and add the sugar and lemon juice. Stir until the sugar dissolves completely. Bring the mixture to a full rolling boil over medium-high heat, stirring frequently. Once it reaches a full rolling boil, reduce heat to low and add in the butter. Simmer for 20-30 minutes, stirring occasionally, until it thickens to your desired consistency. Remove from heat and let cool before transferring into jars or containers for storage.
Preparing the Strawberries
Strawberries are a delicious and versatile fruit that can be enjoyed fresh, frozen, cooked, or dried. Preparing them for any recipe is easy and takes just a few steps. First, wash the strawberries under cold running water and dry them with a paper towel. Then, remove the stems and leaves with a paring knife. If you’re using large strawberries, it’s best to halve or quarter them before adding to your recipe. Finally, if you’re using frozen strawberries in a recipe such as a smoothie or pie filling, allow them to thaw before adding them to your dish.
It’s important to keep in mind that strawberries can be very delicate and will quickly become mushy if chopped too small or handled too roughly. When preparing strawberries for a salad or other recipes where they will remain raw, it’s best to leave them whole or cut into large pieces. If you’re adding strawberries to cooked dishes like jams and pies, you can dice the strawberries into smaller pieces for faster cooking time.
No matter how you plan on using them in your recipes, taking the time to properly prepare your strawberries beforehand is key to creating delicious dishes every time!
Ingredients for Jam
Making jam is an easy process if you have all the right ingredients. The main ingredients for jam are fruit, sugar, and pectin. Fruit can be any type of fresh or frozen fruit, such as strawberries, raspberries, blueberries, or blackberries. Sugar is added to help sweeten the jam and act as a preservative. Pectin helps thicken the jam and gives it structure. Other ingredients such as lemon juice or spices may be added to enhance flavor.
Preparing the Ingredients
Once you have gathered all of your ingredients, it’s time to prepare them for cooking. Fresh fruits should be washed and cut into small pieces before adding to the pot. Frozen fruits should be thawed completely before using them in the recipe. The sugar needs to be measured out carefully so that it can dissolve evenly in the jam mixture. Finally, the pectin needs to be dissolved in a little water before adding it to the pot. This will ensure that it will mix in smoothly with the other ingredients.
Cooking the Jam
Once all of your ingredients are prepared, it’s time to begin cooking your jam. Start by combining all of your ingredients in a large pot over medium-high heat and stirring until everything is well mixed together. Bring the mixture to a simmer then reduce heat and let cook for 10-15 minutes until thickened and bubbly. Once cooked through, remove from heat and let cool before transferring into jars or containers for storage.
Finally, seal your jars tightly with lids or caps and store in a cool dry place away from direct sunlight until ready to use! Enjoy your homemade jam on toast or with scones!
Testing the Jam for Doneness
Making jam is a great way to preserve seasonal fruits and enjoy them all year round. Knowing when the jam is cooked properly is essential in order to get a good result. To test the jam for doneness, you will need a spoon or a thermometer. Here are some tips on how to do it:
Testing with a Spoon
The simplest way to test if your jam is ready, is to take out a spoonful of the mixture and let it cool down on a plate. Once cooled, push your finger through it – if it wrinkles slightly and keeps its shape, your jam is done!
Testing with a Thermometer
If you would like to be more precise, you can use a thermometer. To do this, insert your thermometer into the center of the mixture and wait until it reads 104°C (220°F). If it does so, then your jam is cooked and ready to be bottled!
Remember that every type of fruit has different cooking times and temperatures. If you’re unsure about how long your jam should cook for, it’s best to stick to the instructions given in the recipe. With these tips in mind, you’ll be able to make delicious jams that will last for months!
Preparing the Fruits
Making your own jam is a rewarding experience and it starts by preparing the fruits. Make sure to pick ripe, juicy, and flavorful fruits as they will be the main ingredient in your jam. Wash them properly to get rid of dirt and debris then cut them into small pieces. If you are using fruits with stones like peaches or cherries, remove the stones before cutting them up. You can also use a food processor to make the job easier if you prefer.
Cooking the Fruits
When all your fruits are prepared, it’s time to cook them in a large pot. Put some water in the pot and add the cut fruits. Bring it to a boil over medium heat then reduce it to low heat and let it simmer until tender. You can add sugar or other sweeteners like honey or molasses at this stage according to your taste preference.
Blending the Jam
Once your cooked fruit is ready, you need to blend it into a smooth paste. You can use either a food processor or an immersion blender for this purpose. Blend until there are no lumps left and you have a thick jam-like consistency. If you want more texture in your jam, add some of the pieces of cooked fruit instead of blending everything together.
Finally, transfer your blended jam into sterilized jars and seal them tightly with lids before storing in a cool place. You can also freeze your homemade jam for later use if you don’t plan on eating it right away. Enjoy!
Sterilizing Jars and Lids
Sterilizing jars and lids is an important part of home canning. It helps to ensure that all bacteria, yeasts, and mold spores are destroyed before the food is sealed in the jar. Sterilizing jars and lids helps to prevent spoilage of canned food, as well as food-borne illnesses. To properly sterilize jars and lids for home canning, it’s important to follow these simple steps:
1. Start by washing all of the jars and lids thoroughly with hot, soapy water. This will help to remove dirt, debris, and any organic matter that could harbor bacteria or other microorganisms.
2. Rinse the jars and lids thoroughly with clean water to remove any remaining soap residue.
3. Place the clean jars and lids in a large pot or canner filled with hot water. Make sure the water covers the jars by at least 1-2 inches.
4. Bring the water to a boil over medium-high heat and let it boil for at least 10 minutes. This will help to ensure that all bacteria, yeasts, and mold spores are destroyed before sealing them in the jar.
5. Carefully remove the sterilized jars from the boiling water using tongs or a jar lifter. Place them on a clean towel or countertop to cool before filling them with food.
6. Once cool enough to handle, fill each jar with prepared food according to your recipe instructions.
7. To seal each jar, wipe off any spills on the rim of each jar with a damp cloth or paper towel before placing a lid on top of each one.
8. Securely place a lid on top of each jar until you hear it “pop” which indicates that it has been properly sealed.
9. Finally, label each jar with its contents and date so you know when they were canned for future reference.
Filling the Jars with Jam
Making jam is a fun and rewarding activity, but it can also be quite a task. Filling jars with jam requires careful attention to detail and time. The process can be broken down into several steps that will help you get the job done right.
The first step is to sterilize the jars that you are going to use. This will help ensure that your jam does not spoil and can last for a longer period of time. To do this, you can either use boiling water or purchase a specialty solution from the store. Once your jars are prepared, you are ready to start filling them with jam.
The next step is to measure out the amount of sugar that you need for your recipe. It is important to measure accurately so that the taste will be just right. You may want to consider using a kitchen scale or measuring cups and spoons for this step. Once your sugar is measured out, it’s time to begin adding the other ingredients such as fruit, pectin, and spices if desired.
Next, mix everything together in a large pot or bowl until it has reached an even consistency. Carefully ladle or pour the mixture into each of the jars until they are about two-thirds full. Use a clean cloth or paper towel to wipe off any spills on the outside of each jar before moving on to the next step.
Finally, seal each jar with lids and bands and place them in a large pot of boiling water for 10 minutes or according to your recipe instructions. Afterward, carefully remove each jar from the boiling water and let them cool on a clean kitchen towel or rack before storing them away in a cool dry place away from direct sunlight for up to one year when properly sealed and stored correctly!
Sterilizing the Jars
It is essential to sterilize the jars before using them for canning. This will help to ensure that no unwanted bacteria or other contaminants enter the sealed jar and ruin the food. To sterilize jars, wash them in hot soapy water and rinse well. Place the washed jars on a baking sheet and heat in an oven at 200°F for 10 minutes. Allow to cool before use.
Preparing the Lids
Lids should also be prepared for canning. Wash lids in hot soapy water and rinse well. Place lids in a saucepan and cover with water. Heat on low heat until lids are warm, but not boiling. Keep lids warm until ready to use.
Adding Food to Jars
Carefully fill each jar with prepared food, leaving enough headspace between the food and lid to allow for proper sealing of the jar. The specific amount of headspace varies depending on what type of food is being canned, so make sure you consult a reliable canning recipe before starting.
Removing Air from Jars
Once all of the jars are filled, use a plastic spatula or wooden chopstick to remove any air bubbles that may have formed inside the jars. This will help ensure that all of the food is sealed properly.
Sealing and Processing the Jars
Once all air bubbles have been removed from each jar, place a lid on top of each one and screw down tightly using a lid lifter or a rubber-tipped clamping tool. Place filled jars into a large pot filled with hot water (the pot should be deep enough to cover at least half of each jar) and bring to a boil over medium-high heat. Boil jars for 10 minutes (or follow instructions listed in individual recipes). Remove from heat and allow to cool completely before removing from pot.
Finally, check each jar lid after cooling has finished; it should be concave or slightly indented in the center if it is sealed properly. If not, reprocess or store in refrigerator for up to two weeks without reusing lid again!
Conclusion
Making your own seedless strawberry jam is a great way to enjoy the sweet flavor of strawberries without the hassle of dealing with seeds. It’s a fun, affordable, and rewarding project that can be done in just a few hours. With a few basic ingredients and a little bit of patience you can create a delicious homemade strawberry jam that you can store in jars or freeze for later use.
To make seedless strawberry jam, begin by washing and hulling the fruit. Then mash or blend the hulled strawberries until they are broken down into pulp. Next, add sugar and lemon juice to the fruit pulp and bring it to a boil in order to thicken it into a jam-like consistency. Finally, ladle the hot jam into sterile jars and seal them with lids for storage.
If you have access to fresh strawberries, there is no better way to enjoy their sweet flavor than by making your own seedless strawberry jam! With just a few simple steps you can create an amazing homemade treat that will last for months when stored properly. So don’t hesitate – give it a try today!

