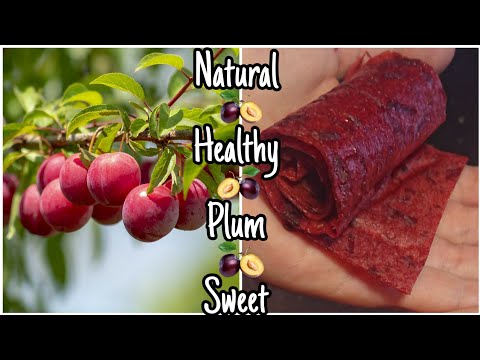
Making your own plum fruit leather is a fun and easy way to enjoy the delicious flavours of plums. This sweet and chewy snack is a great way to use up any extra plums you have, and it’s perfect for packing into lunch boxes or snacking on during long car trips. The best part is that you can make it with just two ingredients: plums and sugar! With just a bit of time in the oven, you can create a delicious fruit leather that will delight your taste buds.Plum fruit leather, also known as dried plums, is a delicious and healthy snack that can be enjoyed by both adults and children. It is made from fresh plums that have been dehydrated to remove the moisture and then rolled into sheets or strips. Plum fruit leather is a great source of vitamins, minerals, and fiber. It has a sweet, tart flavor that makes it a great alternative to other sweet treats. Additionally, it is very versatile and can be used in many recipes or eaten as-is. Not only is plum fruit leather delicious, but it’s also easy to make at home without any special equipment. With just a few simple steps you can make your own nutritious snack that’s sure to become a family favorite!
What Do You Need to Make Plum Fruit Leather?
Making plum fruit leather is an easy and tasty treat that requires minimal ingredients. All you need is fresh or frozen plums, sugar, lemon juice, and a pinch of salt. Start by blending the plums in a food processor until they become a smooth puree. Then add sugar, lemon juice, and salt to taste. Blend again until everything is combined. Once the mixture is ready, spread it evenly onto a parchment-lined baking sheet. Bake in preheated oven at 140°F (60°C) for 4 to 5 hours or until the top of the leather feels dry to the touch. Let cool completely before cutting into desired shapes and storing in an airtight container for up to two weeks. Enjoy your homemade plum fruit leather!
Making Plum Fruit Leather
Making plum fruit leather is a tasty way to enjoy the sweet flavor of plums without the mess of eating them. Fruit leather is a type of dried fruit that can be enjoyed as a snack or used as an ingredient in other recipes. The process of making plum fruit leather is simple and requires only a few ingredients. Here are step-by-step instructions for making your own delicious plum fruit leather.
First, you will need to gather the necessary ingredients for making your plum fruit leather. You will need about 2 pounds of fresh plums, 1/3 cup of sugar, 1 teaspoon of lemon juice, and 1 teaspoon of vanilla extract. Once you have all the ingredients assembled, start by washing the plums and removing any stems or bruises. Slice the plums into thin pieces and place them in a large saucepan.
Next, heat the pan over medium heat until all the slices become soft. After they have softened, add in your sugar, lemon juice, and vanilla extract and stir everything together until it is combined. Reduce the heat to low and simmer for about 10 minutes or until all the liquid has evaporated.
Once your mixture has cooled down completely, spoon it into a food processor or blender and puree until it reaches a smooth consistency. Line two baking sheets with parchment paper and spread out your pureed mixture onto them evenly using an offset spatula or spoon. Place both trays in an oven preheated to 140 degrees Fahrenheit for about 8 hours or overnight depending on how thick you want your fruit leather to be.
After 8 hours has passed (or longer if desired), remove both trays from the oven and allow them to cool completely before peeling off any parchment paper that may have stuck to them. Cut into strips or desired shape using scissors or a pizza cutter then roll up each piece individually in wax paper. Your homemade plum fruit leather is now ready to enjoy!
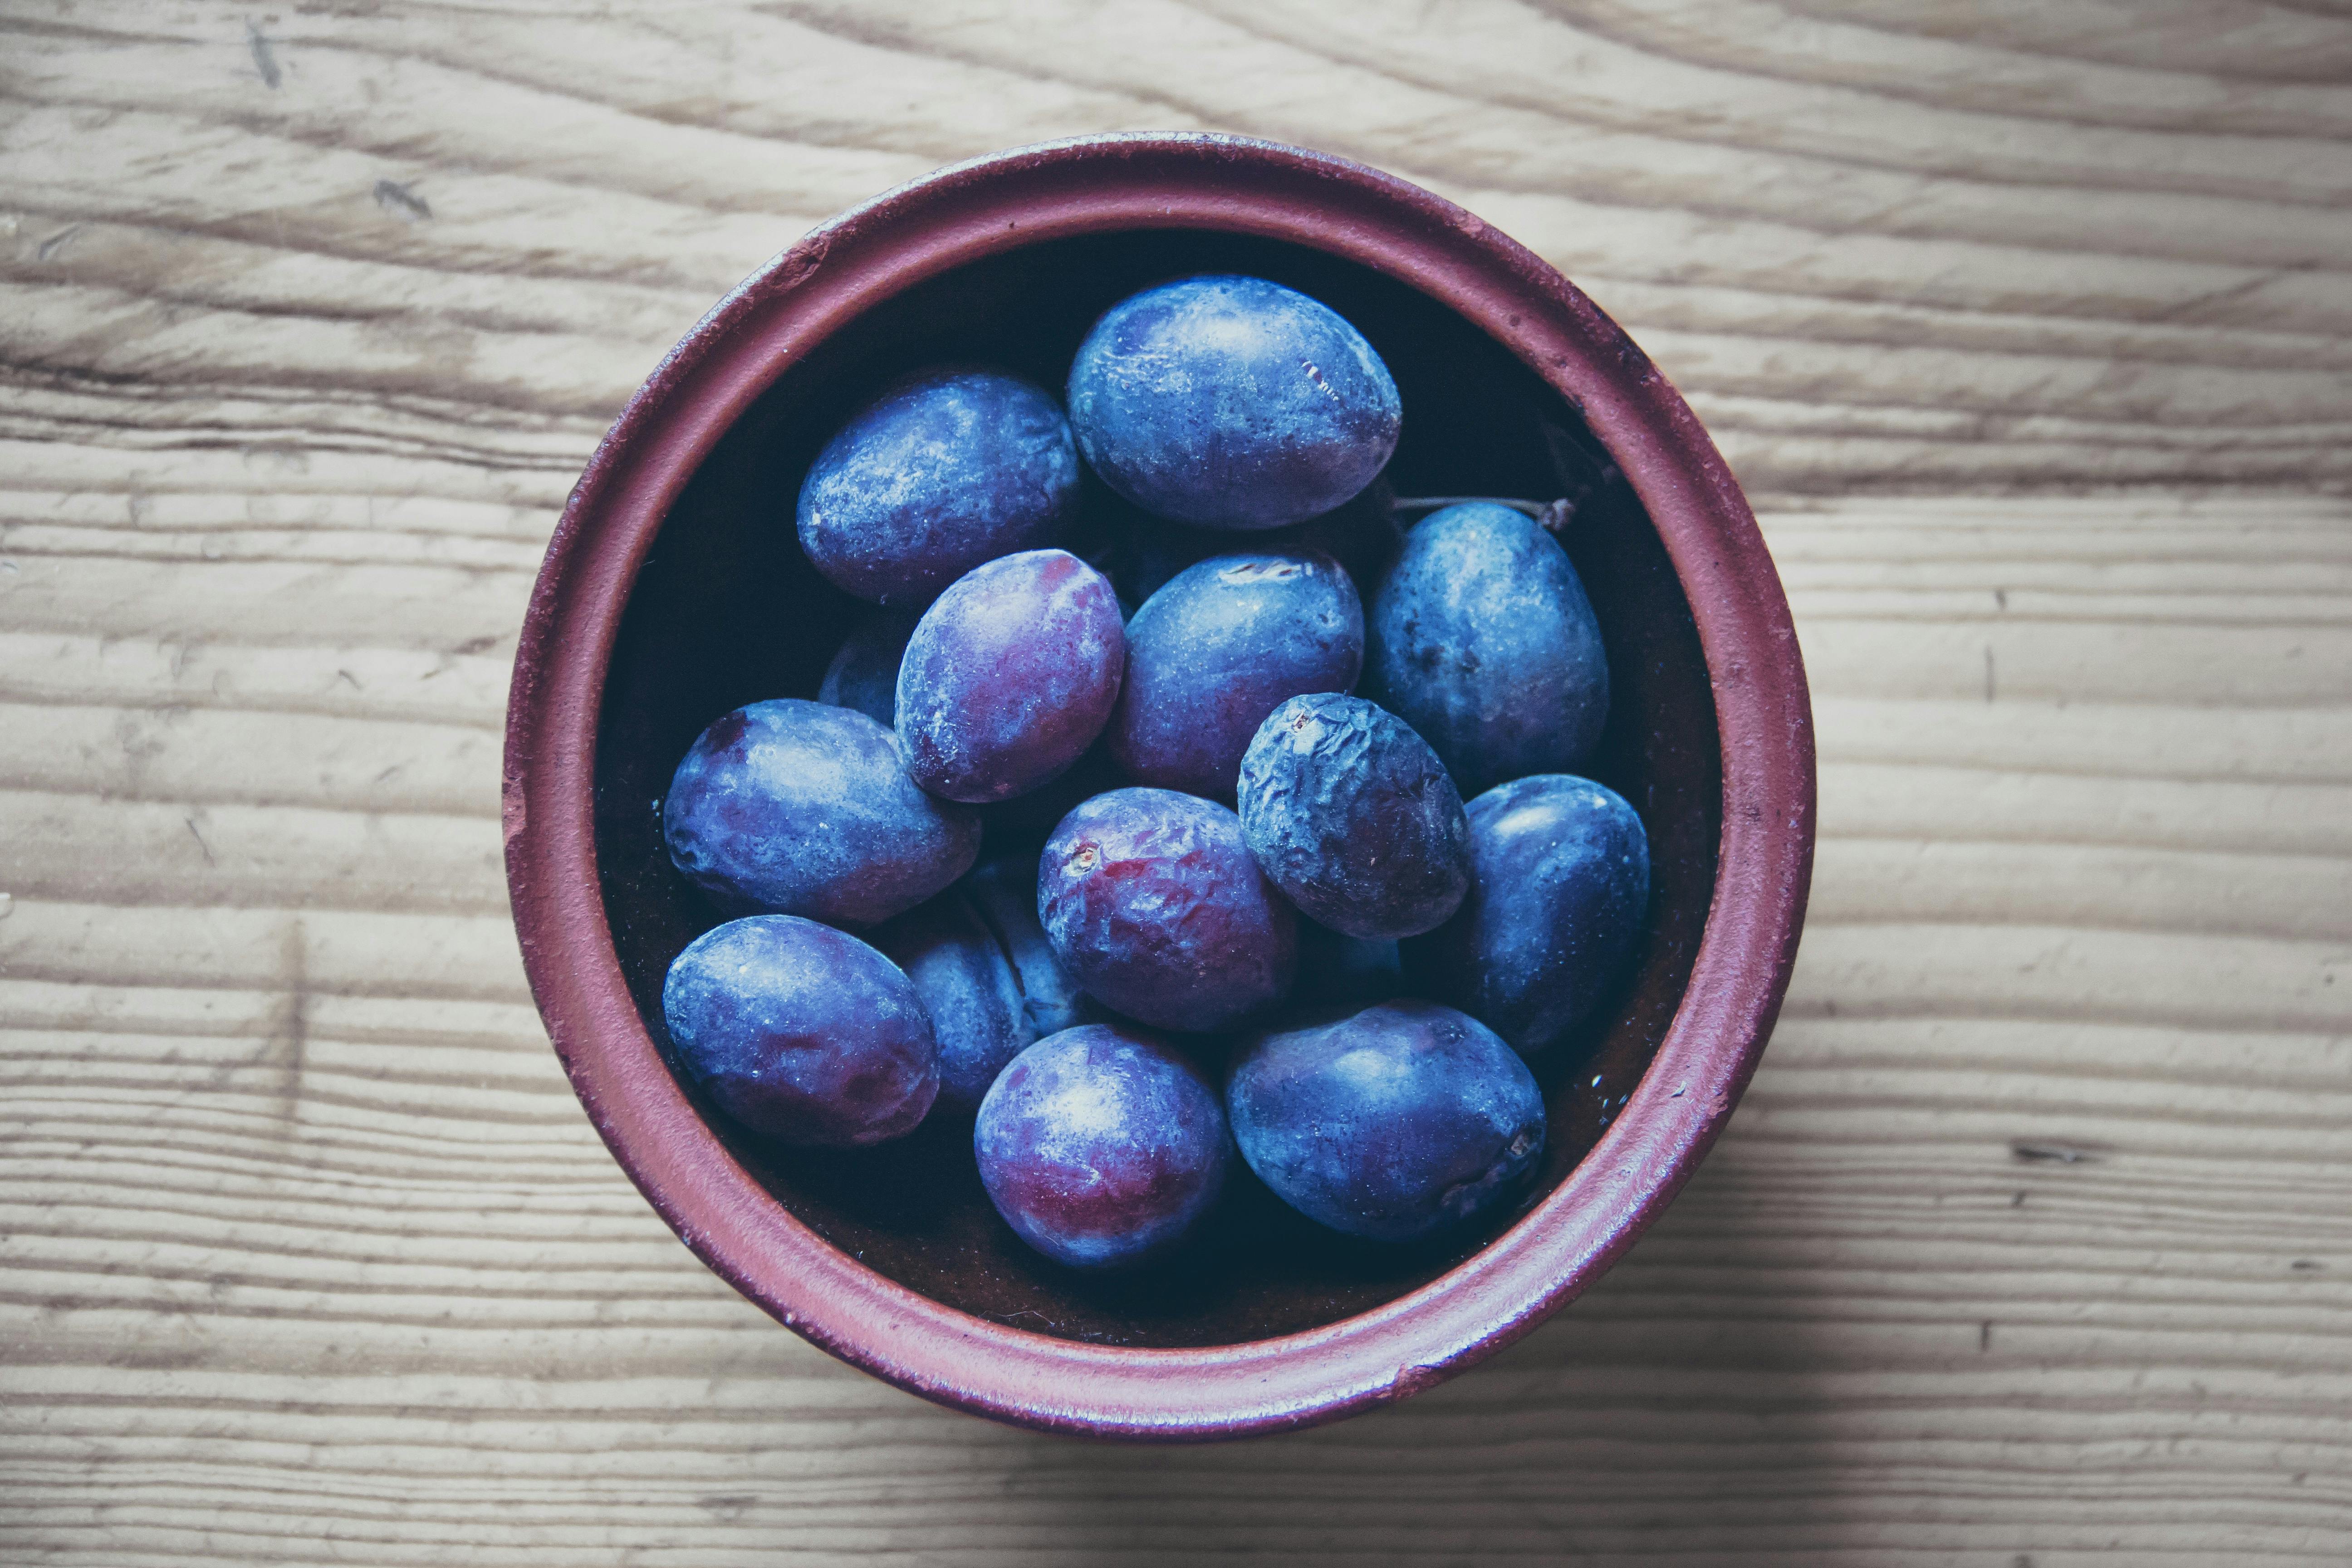
Prepping the Plums
Prepping plums for cooking or baking is easy. Start by washing the plums with cold water. After they are clean, cut out any blemishes or bad spots on the skin of the plum. Then, the plum can be cut into wedges, slices, or diced depending on the recipe. Make sure to remove any stones from within the fruit before proceeding with the recipe. If desired, a little lemon juice or vinegar can be added to help prevent discoloration of the exposed flesh.
Once prepped, plums can be used in a variety of sweet and savory dishes. They are delicious when added to fruit salads or baked goods such as pies and tarts. They also pair nicely with pork and chicken dishes, as well as salads and salsas. No matter what type of dish is being prepared, prepped plums will add wonderful flavor and texture to any meal!
Puréeing the Plums
Puréeing plums is an easy way to enjoy their sweet and juicy flavor without having to do too much work. It can be used in a variety of recipes, from sauces to jams and even smoothies. To purée plums, start by washing the fruit and removing any stems or bruises. Cut the plums into small pieces and place them in a blender or food processor. Add a few tablespoons of water to help the mixture blend smoothly. Blend on high speed until you achieve a smooth, thick purée. If the mixture is too thick, add a bit more water until it reaches the desired consistency. Once you have your perfect purée, you can use it in whatever recipe you desire!

Straining the Purée
Straining puréed food is an important step in many recipes. This process helps to remove large pieces of food that may not be fully blended, as well as any seeds or skins that have not been fully broken down. It also helps to create a smoother texture and consistency for the final product. The process of straining puréed food is relatively simple and can be done with either a fine mesh sieve or a cheesecloth.
When using a fine mesh sieve, pour the puréed food into the sieve and use a wooden spoon to press it through. This process can take some time and may require multiple batches if there is too much for one pass. After each pass, make sure to scrape the sides of the sieve with a rubber spatula or spoon to ensure nothing gets left behind.
A cheesecloth can also be used to strain puréed food, but it requires more attention than using a sieve. Place the cheesecloth over a bowl and pour the purée into it. Gather up the edges of the cloth and twist tightly so that none of the purée escapes. Then, use your hands to squeeze out all of the liquid from within until only small bits remain in your hands—these can then be discarded or added back into your recipe if desired.
Once you are finished straining your purée, make sure to discard any remaining solids in your sieve or cheesecloth before continuing with your recipe. Straining is an important step in many recipes as it helps create a smooth texture and consistency for your final product.
Adding Sweetener and Flavoring (Optional)
When making kombucha, adding sweetener and flavoring is optional but can enhance the flavor of your brew. You can add simple syrups like honey or agave, or sweeteners like stevia or monk fruit. You can also add fresh fruit juices, herbs, spices, or tea to create unique flavors. If you want a crisp and refreshing flavor, add some fresh citrus juice like lemon or lime. For a more complex flavor profile, try adding herbs like rosemary or mint. You can use pre-made tea blends to make flavored kombucha or even coffee for an interesting twist.
It’s important to remember that when adding sweeteners and flavors to your kombucha, you should only do so after the first fermentation is complete. Adding ingredients too early in the fermentation process can affect the taste of your brew as well as introduce potential contaminants that could disrupt the brewing process. Additionally, when adding sweeteners post-fermentation you should make sure they are pasteurized to ensure they don’t contain any bacteria that could interfere with the brewing process.
Preparing the Tray
Preparing the tray for baking is an important step. Before you begin, make sure to check the size of your oven and adjust the rack accordingly. Use a heavy-duty baking sheet or roasting pan that is slightly larger than your oven’s interior. Line the pan with aluminum foil or parchment paper to prevent sticking and make clean-up easier. Grease the foil or parchment paper lightly with cooking spray or butter for an even crispier crust. Arrange your ingredients in an even layer on the prepared baking sheet, leaving enough space between them for proper air circulation. Make sure not to overcrowd your ingredients, as this will result in uneven baking.
Oven Settings
When it comes to oven settings, there are a few factors to consider. Preheat your oven according to recipe instructions and check that it reaches the desired temperature before putting your ingredients in. Make sure to adjust the heat as necessary depending on what you’re baking – higher temperatures are better for cookies and other items that require a crispier crust, while lower temperatures are better suited for cakes and other items that need more time to bake through without burning on top. If you’re baking multiple items at once, consider staggering them so they don’t interfere with each other during cooking, as this could lead to uneven results. Lastly, be sure to keep an eye on your food as it bakes – many recipes call for timing as a guide but not all ovens cook at exactly the same rate so it’s important to keep an eye on things and adjust accordingly if needed.
Conclusion
Making plum fruit leather is an easy and fun way to preserve the deliciousness of plums. You can make it in your own kitchen using just a few simple ingredients. All you need to do is to simmer the plums until they are soft, then mash them and add sugar and spices. Once that’s done, spread the mixture onto a baking tray lined with parchment paper, and bake it in your oven at low heat for several hours. Once cooled, cut into strips or shapes of your choice and enjoy!
With this recipe, you’ll be able to make delicious fruit leathers that are bursting with flavor anytime you want. It’s a great way to get your daily dose of fruits while also enjoying some sweet snacks! So why not give it a try today?

