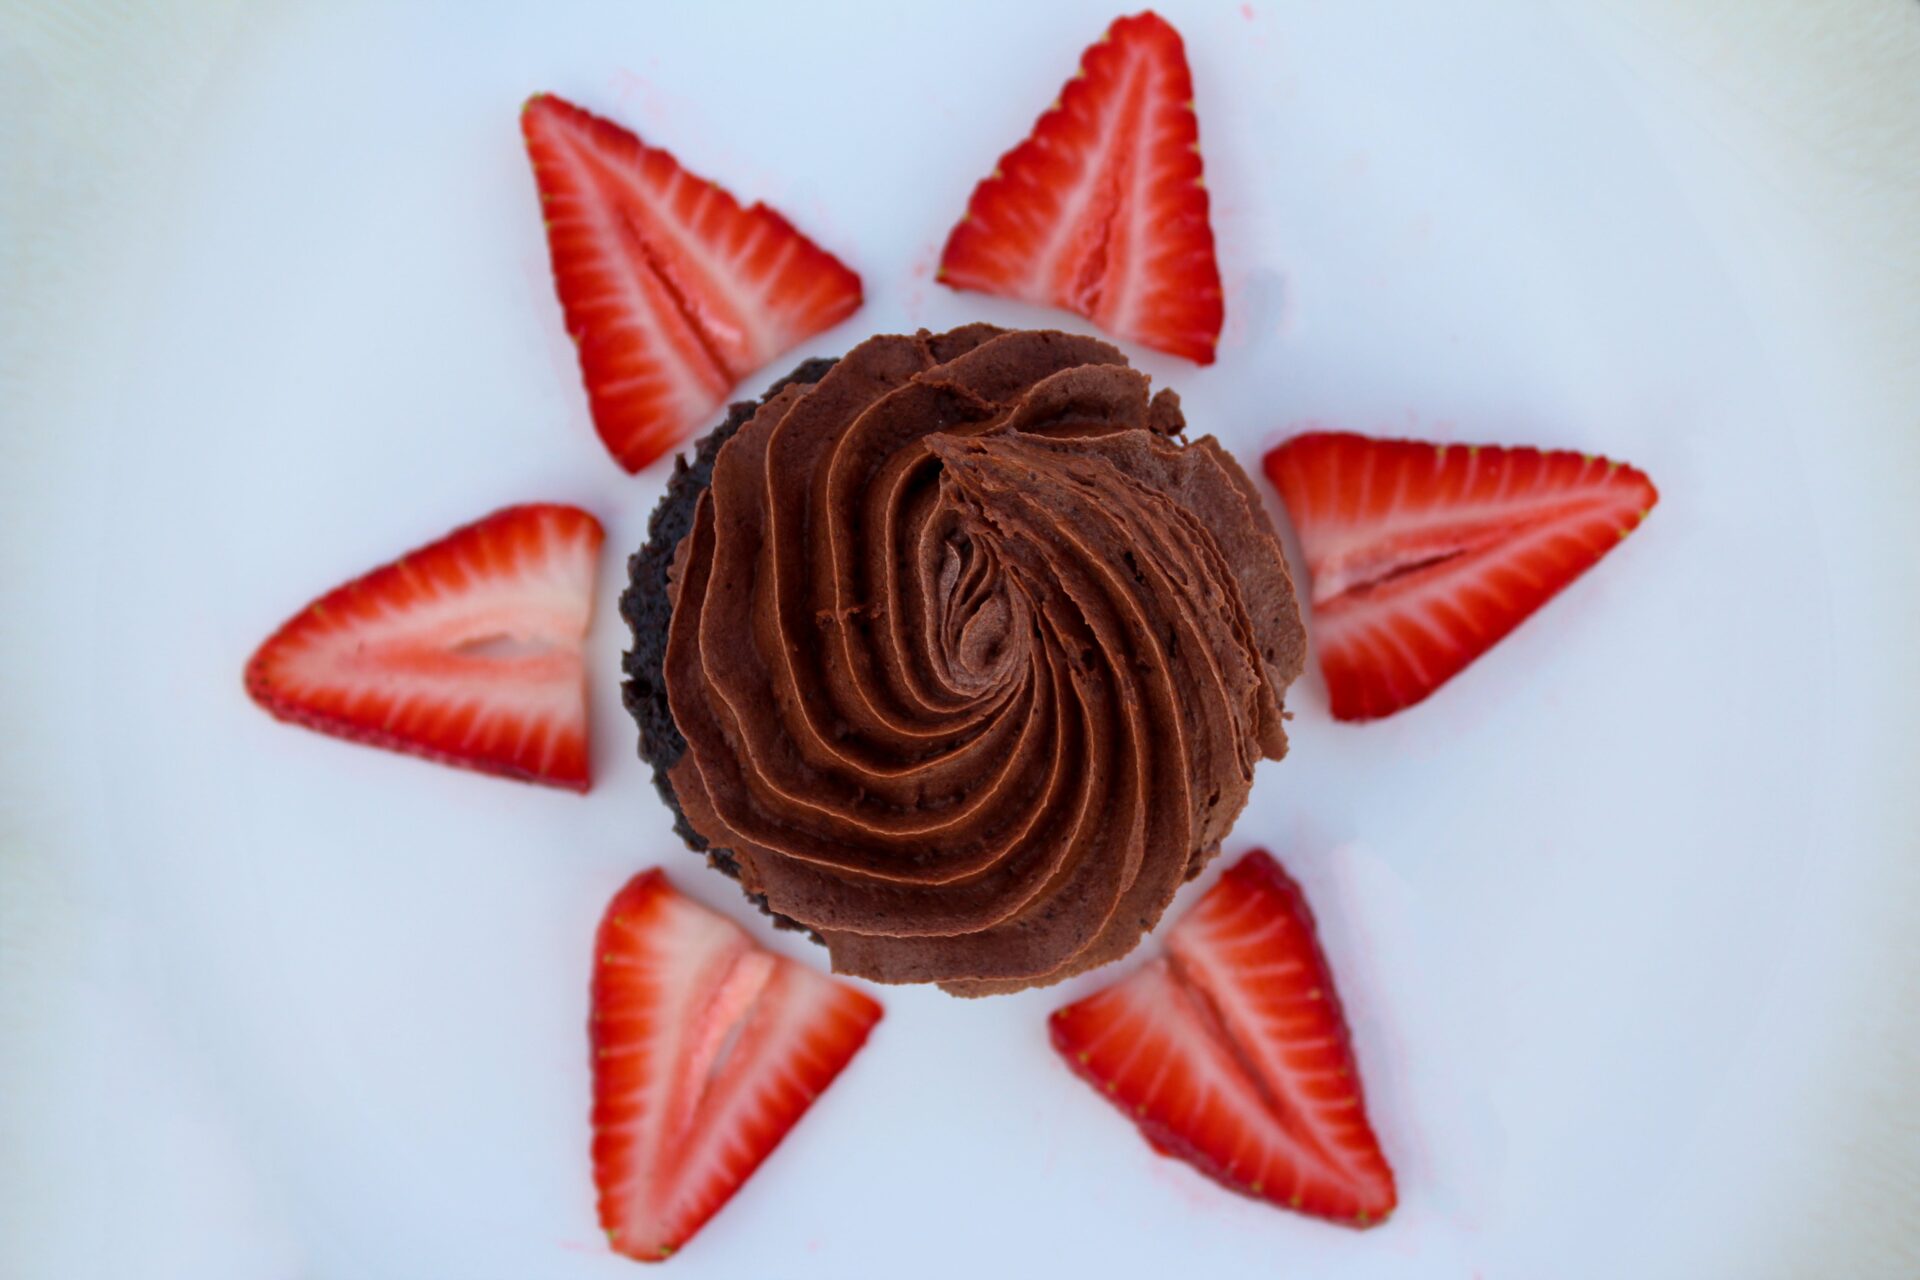
Marble chocolate covered strawberries are a delicious treat that is perfect for any occasion! This quick and easy recipe requires only a few ingredients and can be made in no time. With creamy white chocolate and rich dark chocolate, these strawberries are sure to be a hit with everyone. Follow this simple guide to learn how to make marble chocolate covered strawberries that will have your family and friends begging for more!To make marble chocolate covered strawberries you will need:
– 12 ounces of white chocolate chips
– 6 ounces of semi-sweet chocolate chips
– 1/4 teaspoon of vegetable shortening
– 3/4 cup of fresh strawberries
– Wax paper
Preparing the Strawberries
When preparing strawberries, the first step is to rinse them off. Gently rinse the berries under cold running water and remove any dirt or debris. Once they are rinsed, they should be dried off with a paper towel. To further clean them, you may want to use a soft brush to remove any remaining dirt or debris.
Once they have been thoroughly cleaned, it’s time to cut the stems off of the strawberries. Using a paring knife, cut off just the top of each stem, leaving the main part attached to the berry.
The next step is to hull the strawberries. Place a strawberry on its side on a cutting board and use your paring knife to cut around the green leafy top of the strawberry. Be careful not to cut too deep into the berry itself as this can damage it and cause it to become mushy.
Once all of your strawberries are hulled, you can either leave them whole or cut them into smaller pieces if desired. If you choose to cut them up, use a sharp knife and slice them in half or into quarters as desired. It’s important not to make them too small or they could overcook when added to recipes like pies or jams.
Once all of your strawberries are prepped, you can keep them in an airtight container in your refrigerator for up to three days before using them in recipes or eating them fresh!
Melting the Chocolate
Melting chocolate is an important step in many recipes that call for melted chocolate. Before melting chocolate, it is important to choose the right type of chocolate for the recipe and to properly prepare it for melting. The best way to melt chocolate is to use a double boiler, but if you do not have one, a microwave or a stovetop will also work. After melting the chocolate, it can be used for baking, dipping, or coating desserts.
When selecting a type of chocolate for melting, it is important to think about what you will be using it for. Dark and semi-sweet chocolates are best suited for baking because they possess a bold flavor that stands up well when baked into cakes and other desserts. Milk and white chocolates are better suited for coating or dipping because they are sweeter and more delicate than dark chocolates.
Once you have chosen your chocolate, it needs to be prepared properly before melting. Chocolate should be cut into small pieces and placed in a bowl or double boiler over low heat. If using a microwave, melt the pieces on medium heat in 20-second intervals until they are completely smooth. Stir the melted chocolate between each interval until all of the pieces have been melted down.
Once the desired consistency has been achieved with your melted chocolate, use it as directed in your recipe or store it for later use. Some recipes will require that you temper the melted chocolate before using it; however, this step is not always necessary unless specifically called for in the instructions.
Marbling the Chocolate
Marbling chocolate is a popular technique used to add unique visual interest to a variety of desserts. It is achieved by swirling melted chocolate into melted white chocolate or cocoa butter, which creates a beautiful marbled effect. Marbling can be done with any type of chocolate, from dark to white. This technique is relatively simple, and it adds an elegant touch to any dessert.
To marble the chocolate, you will need two types of chocolate: one for the primary color and one for the secondary color. Begin by melting each type of chocolate in separate double boilers over low heat. Once both chocolates are completely melted, transfer them both into a single bowl and mix together until they are fully combined.
Next, take two spoons and use them to gently swirl the chocolates together in a figure-eight pattern. Be sure not to overmix as this will result in an unappealing muddy color instead of distinct marbling. Finally, pour the marbled mixture into molds or onto parchment paper-lined baking sheets to set.
Allow the marbled chocolates to set completely before using them for decorations or adding them to your favorite desserts. The finished product will have a gorgeous marbled color that adds an extra touch of sophistication and elegance that can’t be achieved with regular solid-colored chocolates.
So if you’re looking for an easy way to add a unique visual element to your desserts, give marbling chocolate a try! With just two types of melted chocolate and some careful swirling, you can create stunning creations that will wow your guests every time!
Filling a Disposable Piping Bag
Filling a disposable piping bag is an essential skill for any baker or cake decorator. Before you can start decorating with icing, you need to be able to fill and use a disposable piping bag. There are several tips and tricks that can make the process easier and help your finished product look its best.
The first step is to select the right size of disposable piping bag for the job. If you’re using a thicker, stiffer icing, then you should opt for a larger size bag as it will be easier to work with and will help keep your hands clean. Once you’ve chosen the right size bag, cut off the tip of the bag so that it’s open wide enough for your nozzle.
Next, spoon your icing into the bag until it’s about three-quarters full. You want to make sure there’s enough room in the bag so that you don’t have any air pockets or bulges when you pipe. Once your icing is in the bag, fold down the top edge of the bag and twist it tightly closed. This will help keep your icing from spilling out when you start to pipe.
Finally, place your nozzle into the open end of the bag and start piping! You may find that it helps to hold onto both the nozzle and twisted top edge of the bag while you pipe in order to get better control over how much pressure you put on the tip while squeezing out icing. With practice, filling a disposable piping bag quickly becomes second nature!
Piping the Melted Chocolate onto the Strawberries
Piping melted chocolate onto strawberries is a great way to add a special touch to any dessert. To do this, you will need some melted chocolate, a pastry bag or plastic bag with the corner snipped off, and some fresh strawberries. First, melt your chocolate in the microwave or over a double boiler. Once it is melted, transfer it to a pastry bag or plastic bag with the corner snipped off. Then, gently squeeze the bag while moving it in an up-and-down motion over the strawberries. The chocolate should form thin lines on top of each strawberry. Once you have finished piping, allow your strawberries to cool and set completely before serving them. You can also refrigerate them for faster cooling and setting time. Enjoy your delicious chocolate-dipped strawberries!
Sprinkling Toppings on the Chocolates Covered Strawberries
Chocolate covered strawberries are a classic and delicious treat. Adding a sprinkle of topping can add an extra special touch to these scrumptious desserts. Topping them off with something sweet will take your chocolate covered strawberries to a whole new level.
There are many different types of toppings that you can use to dress up your chocolate covered strawberries. Chopped nuts, such as almonds, pecans, walnuts, or macadamia nuts, are a great way to add some crunch and texture to the treats. Sprinkles can also be used for some added color and sweetness. You can also get creative by rolling the dipped strawberry in shredded coconut or crushed candy pieces.
Adding toppings to your chocolate covered strawberries is easy and quick. Start by melting some high-quality chocolate in a double boiler or in the microwave on low power. Dip each berry into the melted chocolate and let any excess drip off before placing it on wax paper or parchment paper to dry. Then take your favorite topping and sprinkle it over the top of each strawberry before the chocolate sets completely. Allow them to cool for at least 30 minutes before serving or storing in an airtight container until you’re ready to enjoy them.
Sprinkling toppings on your chocolate covered strawberries is a simple way to dress up this classic treat and make it even more delicious! With so many different types of toppings available, you’ll be able to find something that fits perfectly with whatever flavor combination you’re going for – whether it’s salty-sweet, crunchy-smooth, or something else entirely!
Refrigerating the Marble Chocolate Covered Strawberries
Marble chocolate covered strawberries are a delicious treat that can be enjoyed any time of the year. Whether you’re celebrating a special occasion or just want to indulge in something sweet, these strawberries are an easy and tasty option. For best results, it’s important to store them properly so they retain their flavor and texture. Refrigerating marble chocolate covered strawberries is the ideal way to keep them fresh and delicious.
Storing the strawberries in the refrigerator will help to keep them from spoiling quickly. The cold temperature will slow down the ripening process, allowing you to enjoy your treats for longer. The cold also helps to preserve the flavor of the chocolate and keep it from melting too quickly. Additionally, refrigeration will help to prevent moisture from seeping into the chocolate layer, which can cause it to become soggy and lose its crunchy texture.
When refrigerating marble chocolate covered strawberries, it’s important to do so properly. The best way is to place them in an airtight container or wrap them in plastic wrap or aluminum foil. This will help protect them from absorbing odors from other foods in your fridge and prevent moisture from getting inside. It’s also a good idea to store them on a shelf away from other items so they stay as cool as possible.
Once stored properly, marble chocolate covered strawberries should last for several days in the refrigerator without losing their flavor or texture. For best results, make sure you take them out a few hours before serving so they have a chance to come up to room temperature before being served. Enjoying these delicious treats at their peak is sure to make any occasion even more special!
Conclusion
Making marble chocolate covered strawberries is a delicious and fun way to enjoy the classic treat. With only a few simple ingredients, you can create a stunning and tasty snack that is sure to impress your family and friends. Not only do they look great, but they are also incredibly easy to make. All you need is some melted chocolate, white chocolate melts, and some fresh strawberries. The key is to slowly dip each strawberry into the chocolate until it is completely covered. Then, use a toothpick or fork to swirl the melted white and dark chocolates together for a beautiful marble effect. With just a few steps, you can create an impressive treat that will have everyone asking for seconds!
So go ahead and try making your own marble chocolate covered strawberries today! You won’t be disappointed with the results!

