

Making Jello with canned fruit is an easy and delicious way to enjoy a sweet treat. Using canned fruit allows you to enjoy the flavor of fresh fruit without having to worry about it going bad. It also makes it much easier to prepare, as you don’t have to worry about cutting up or peeling the fruit. All you need is some Jello mix, canned fruit, and a few other ingredients. In this guide, we’ll walk you through the process of making Jello with canned fruit so that you can enjoy a tasty treat in no time.To make jello with canned fruit, you will need the following ingredients: 1 package of jello, 1 cup boiling water, 1 cup cold water, and 1 can of fruit.
Begin by pouring the boiling water into a bowl and then adding the jello mix. Stir until it is completely dissolved. Then add the cold water and stir again.
Open the can of fruit and drain away any excess liquid. Add the canned fruit to the jello mixture and stir to combine. Pour everything into a 9×13 pan or a bowl and place it in the refrigerator for 3-4 hours or until set.
Once set, cut into small cubes and enjoy!
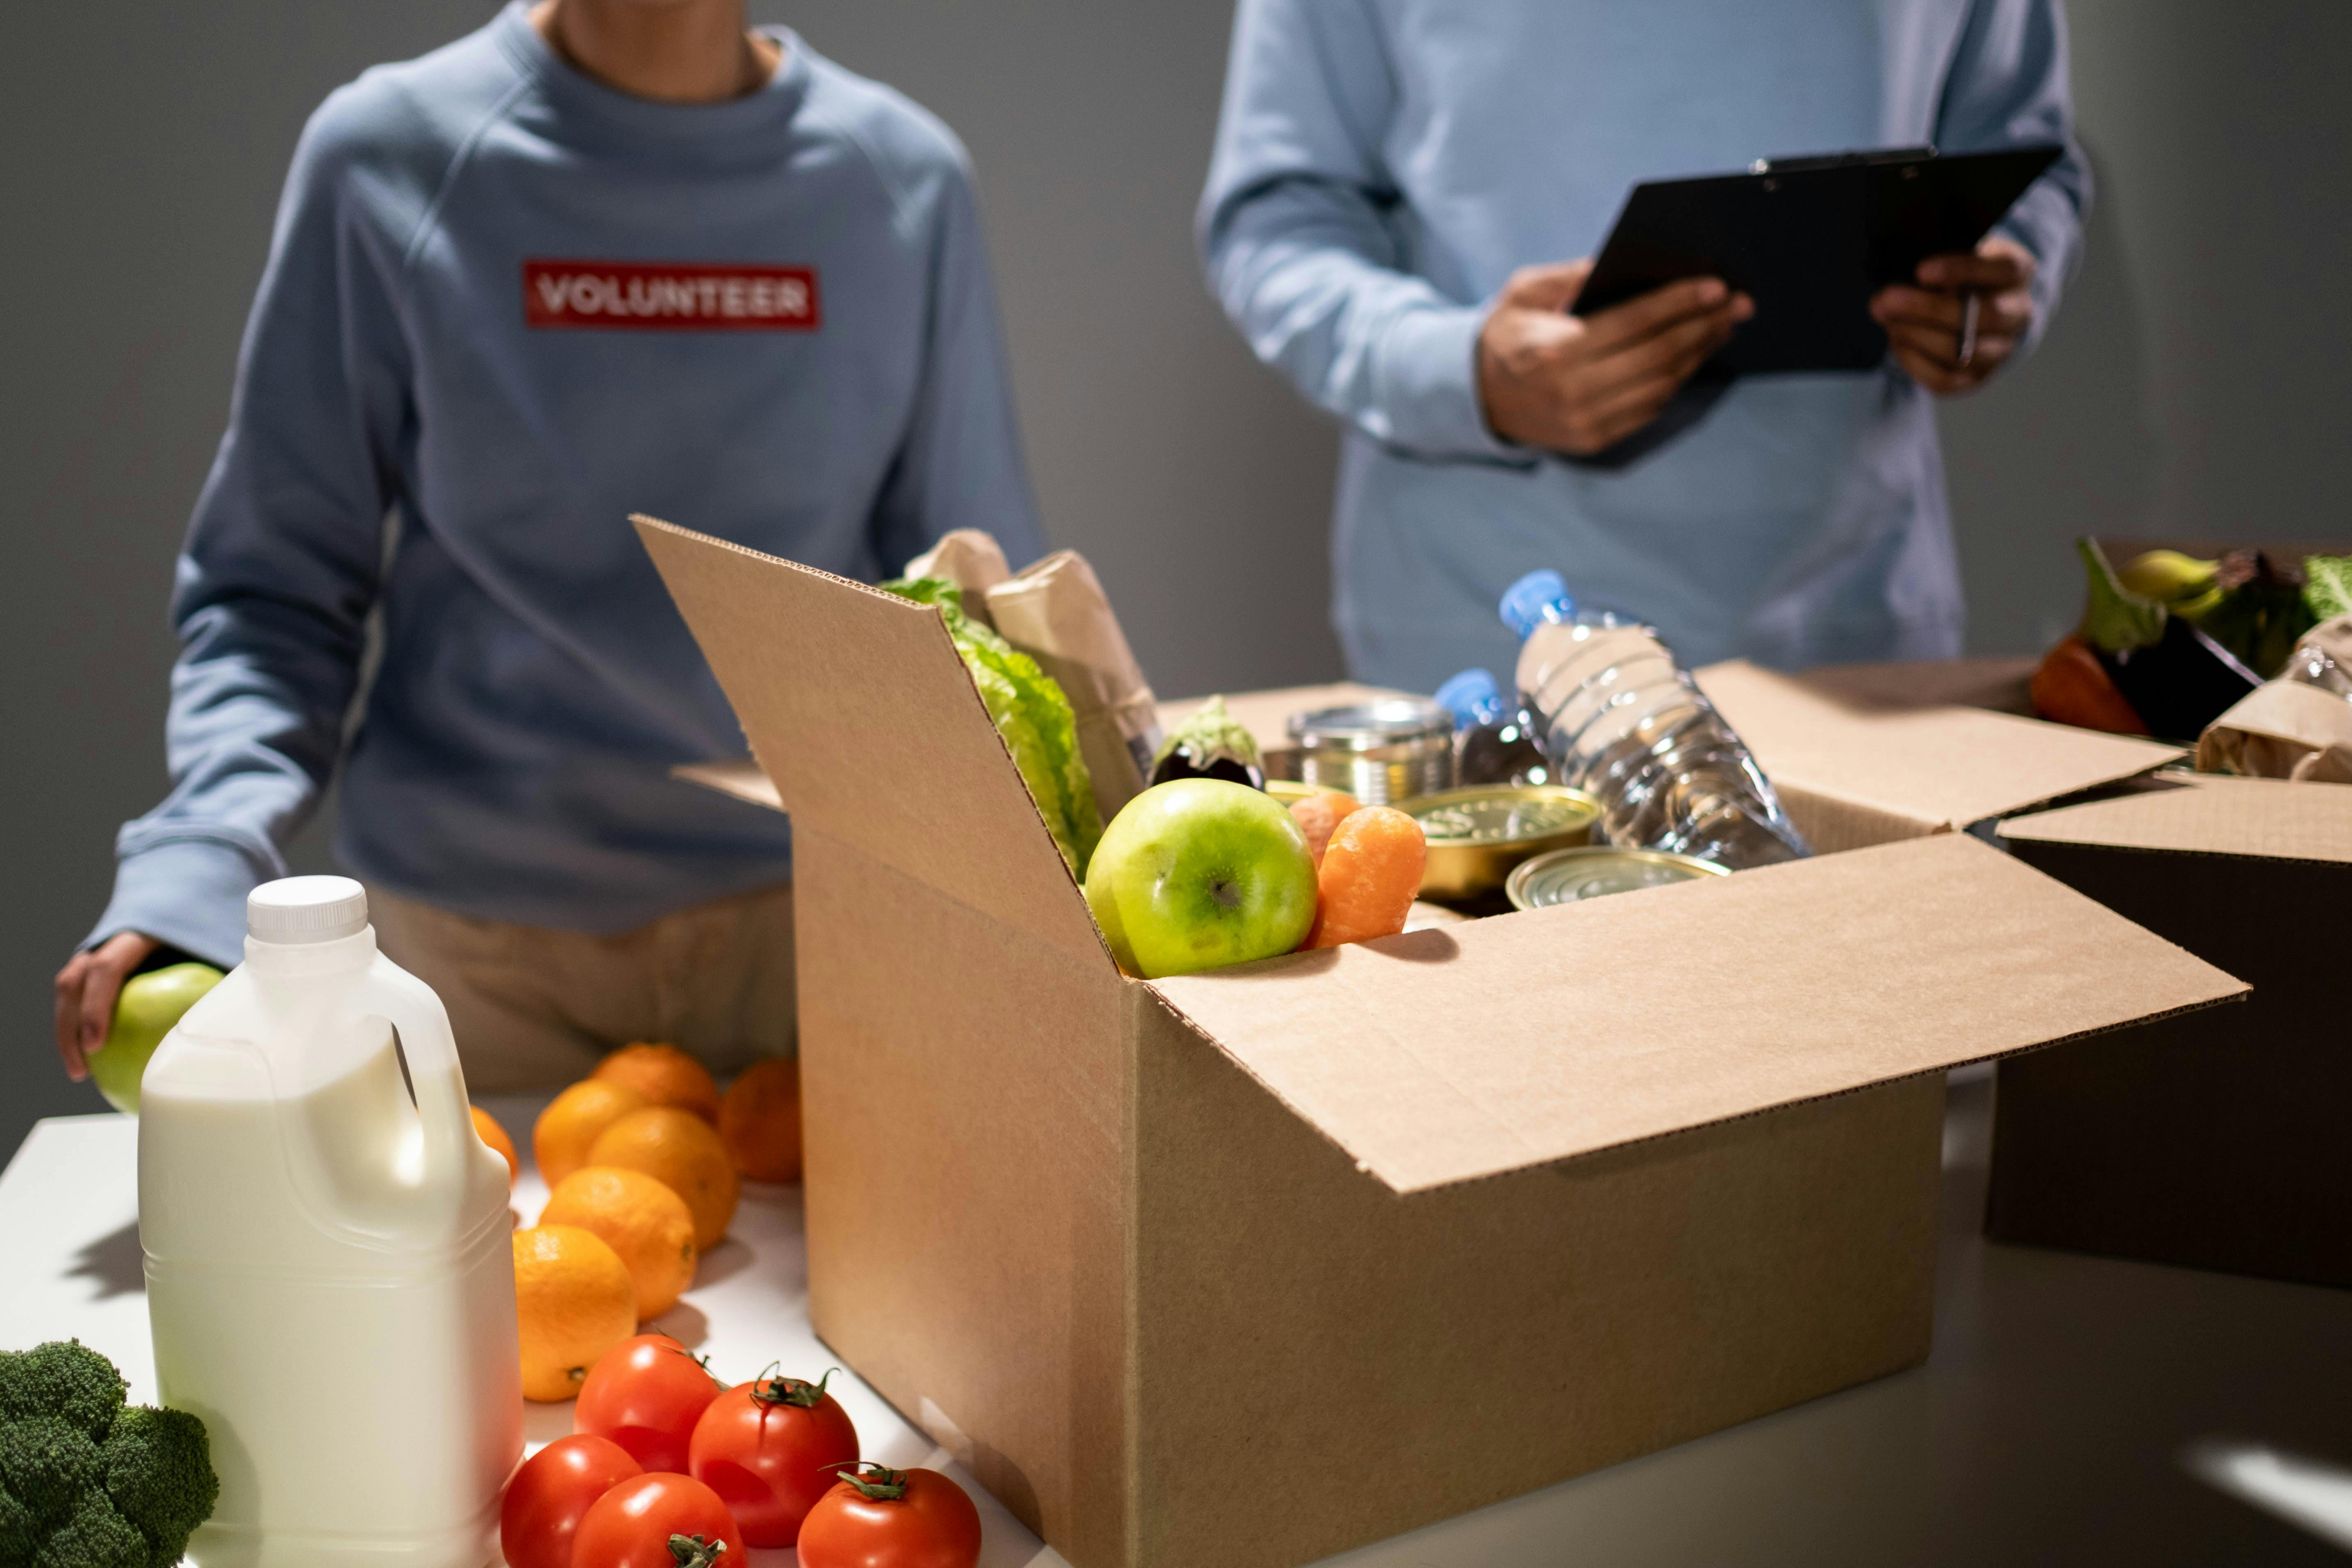
Gathering the Ingredients
Gathering ingredients is the first step to preparing a delicious meal. It is important to make sure that all the necessary ingredients are collected before beginning the cooking process. Depending on the recipe, this could involve collecting items from a grocery store or from your own pantry. Once all of the necessary ingredients have been gathered, it is time to move on to the next step: preparing the ingredients for cooking.
Preparing the Ingredients
Preparing ingredients for cooking involves a variety of tasks. First, it is important to make sure that all of the ingredients are properly measured out according to the recipe. Measuring out the correct amount of each ingredient will ensure that your dish turns out as expected. Additionally, it is important to chop and dice any vegetables or meats that require pre-cooking preparation. Finally, seasonings should be added according to taste before beginning the actual cooking process. Once all of these steps have been completed, you can move on to actually cooking your meal!
Soaking the Gelatin
Soaking the gelatin is an important step in the process of making desserts and other recipes. It helps to soften the gelatin and make it easier to dissolve in liquid. To soak gelatin, you will need cold water and unflavored gelatin powder. Start by pouring one cup of cold water into a small bowl or cup. Sprinkle one tablespoon of unflavored gelatin powder over the top of the water, stirring occasionally as you do so. Allow the mixture to sit for five to ten minutes, until the powder has dissolved completely. Once it is fully dissolved, you can add it to your recipe as directed.
Gelatin is a great ingredient for making desserts like jello, mousse, and ice cream, as well as other recipes like sauces and soups. It adds a nice texture and helps bind ingredients together for a smooth consistency. Soaking the gelatin before using it ensures that it will dissolve properly and give your dish that perfect texture you’re looking for!
Adding the Boiling Water
Adding the boiling water to your recipe is an important step in preparing a delicious meal. It is essential for cooking and softening certain foods, such as pasta, rice, and vegetables. Boiling water will also help to dissolve salts and sugars, adding flavor to your dish. When adding boiling water to a recipe, it is important to use caution. The hot liquid can cause serious burns if it splashes on skin or clothing. It is also important not to add too much boiling water as this can make the food overly salty or sweet.
When using boiling water in a recipe, it is best to measure out the amount needed with a measuring cup or spoon before adding it into the pot or pan. This will help ensure that you add just the right amount of liquid for optimal flavor and texture. Additionally, adding cold water first before pouring in boiling water can help reduce spattering of hot liquid when added to cold ingredients.
Additionally, if you are looking for more flavor in your dish, consider adding some flavorful ingredients such as herbs and seasonings while the boiling water is simmering. Adding these ingredients will give your dish an added depth of flavor that you won’t get from just the boiling water alone. Lastly, once all of your ingredients have been added to the pot or pan, be sure to stir them together before covering with a lid and allowing them to cook until they are tender and fully cooked through.
Stirring in the Fruit Pieces
When making a cake or pastry, it is important to stir the fruit pieces into the mixture to ensure even distribution of flavour. Stirring in the fruit pieces helps combine all the ingredients together, creating a delicious and moist product. The stirring process also ensures that all of the flavours are blended evenly, allowing for a consistent taste throughout. Additionally, stirring in the fruit pieces will help prevent them from sinking to the bottom of the batter or pastry dough. This will help keep your cake or pastry looking beautiful and evenly textured when it comes out of the oven. To ensure an even blend of flavours, it is best to stir gently but thoroughly until all of the ingredients are fully combined.
In addition to stirring in fruit pieces, you can also consider adding other ingredients such as nuts or chocolate chips for an extra layer of flavor. This will add texture and flavor complexity to your dessert. Be sure not to over-stir these ingredients; just a few gentle stirs should do! Once you have finished stirring all of your ingredients together, pour your batter or dough into a greased baking dish and bake according to recipe instructions for optimal results.
Stirring in fruit pieces can be an easy way to add flavor and texture complexity to any cake, pastry, or other baked goods recipe. When stirring in these ingredients, take care not to over-mix them so that they don’t become too mushy or break apart during baking. With careful stirring and attention to detail, you can create delicious desserts with perfectly blended flavors every time!
Pouring Into Molds
Pouring into molds is a process that is used for many different applications. It can be used to create a variety of products including metal parts, plastic parts, and even food items. The process involves pouring a liquid material into a mold and allowing it to cool and harden in order to achieve the desired shape. The material being poured can be heated or cooled depending on its temperature requirements. Once the material has cooled, it can be removed from the mold and is ready for use. Pouring into molds is an efficient way of creating products with a consistent shape and size.
The type of mold used will depend on the type of product that is being created. For example, if metal parts are being created, then a metal mold may be required. For plastic products, an injection molding machine may be necessary in order to achieve the desired shape. Food items may require special molds that are designed specifically for food production. Regardless of the type of product being poured, there are some general steps that should be followed when pouring into molds.
The first step is to prepare the material that will be poured into the mold. This may involve heating or cooling it depending on its temperature requirements. Once it has reached the desired temperature, it should then be poured into the mold carefully in order to avoid any air bubbles or other defects in the finished product. After pouring, the material should then be allowed to cool and harden before it is removed from the mold.
Pouring into molds is an efficient way of creating products with consistent shapes and sizes without having to invest in expensive machinery or tools. It can also help reduce waste as any excess material can simply be poured back into the mold for reuse at a later date. With proper preparation and care, pouring into molds can provide reliable results every time and help improve production efficiency for businesses of all sizes.
Refrigerating
Refrigerating is an important step to help set a dish. Refrigeration helps to solidify the ingredients and make sure they are held together when served. It also helps to increase the shelf life of certain dishes, making them easier to store for later use. Refrigerating also helps to slow down the growth of bacteria, as cold temperatures hinder their growth. Therefore, it is important to refrigerate dishes that will not be consumed right away.
Preparing Ingredients
In order to ensure a successful dish, it is important to prepare all of the necessary ingredients before beginning the process of cooking or baking. This means measuring out all of the ingredients listed in the recipe and having them ready for use. Doing this will help prevent any confusion while preparing the recipe and help keep things running smoothly.
Cooking/Baking
Once all of the ingredients are ready, it is time to begin cooking or baking. Depending on what type of dish you are making, this can be done either on a stovetop or in an oven. For stovetop recipes, make sure that your pan is heated before adding your ingredients and adjusting the heat as necessary throughout cooking. For oven recipes, preheat your oven before placing your dish inside and adjust accordingly during baking.
Decorating
Decorating can add a special touch to any dish you make. This can include adding garnishes such as herbs or spices, dusting with powdered sugar or cocoa powder, or adding decorative toppings like sprinkles or chocolate chips. Decorations can also be used for presentation purposes such as arranging items on top of cakes or tartlets.
Refrigerating Until Set
Once your dish has been cooked and decorated, it is important to refrigerate it until it has completely cooled and set properly. This will ensure that all of the flavors have blended together correctly and that any decorations used have stayed in place without melting away. Refrigeration will also help keep your dish fresher for longer periods of time if not consumed right away.
Unmolding the Jello
Unmolding jello is a fun and easy process that can be enjoyed by both adults and children alike. The first step in unmolding jello is to make sure the jello has fully set. You may need to leave your jello in the refrigerator for a few hours or overnight, depending on the recipe. Once the jello is set, you can begin to unmold it.
Start by running a knife lightly around the edges of the mold. This will help to loosen up any pieces that may be stuck to the sides of the container. Next, dip the bottom of your mold into a bowl of warm water for about 10-15 seconds. This will help soften and loosen up any stuck pieces from the bottom of your mold. Finally, place a plate or other flat surface on top of your mold and turn it upside down. Gently tap or shake it until you feel it starting to come loose. Then slowly lift off your mold and voila! You should now have a perfect block of jello ready to be served!
If you’re having trouble getting your jello out of its container, try using a rubber spatula or butter knife to gently pry it out from around the edges. You can also try using some cooking spray or oil on your rubber spatula as this may help with any stubborn pieces that won’t budge. With these tips in mind, you should have no problem creating beautiful blocks of jello for your next party or gathering!

Conclusion
Making jello with canned fruit is a simple and creative way to enjoy a dessert that is both delicious and festive. By using canned fruit in your jello, you can enjoy the convenience of having the ingredients already prepared for you. You can also create unique flavor combinations that will tantalize your taste buds. All you need to do is measure out the right amounts of jello, canned fruit, and other desired ingredients, mix them together, chill them until set, and enjoy!
Making jello with canned fruit is a great way to make a fun treat for yourself or your family. With just a few simple steps, you can have a delicious dessert that everyone is sure to love. Try it out for your next gathering or get-together and see how much everyone enjoys it!

