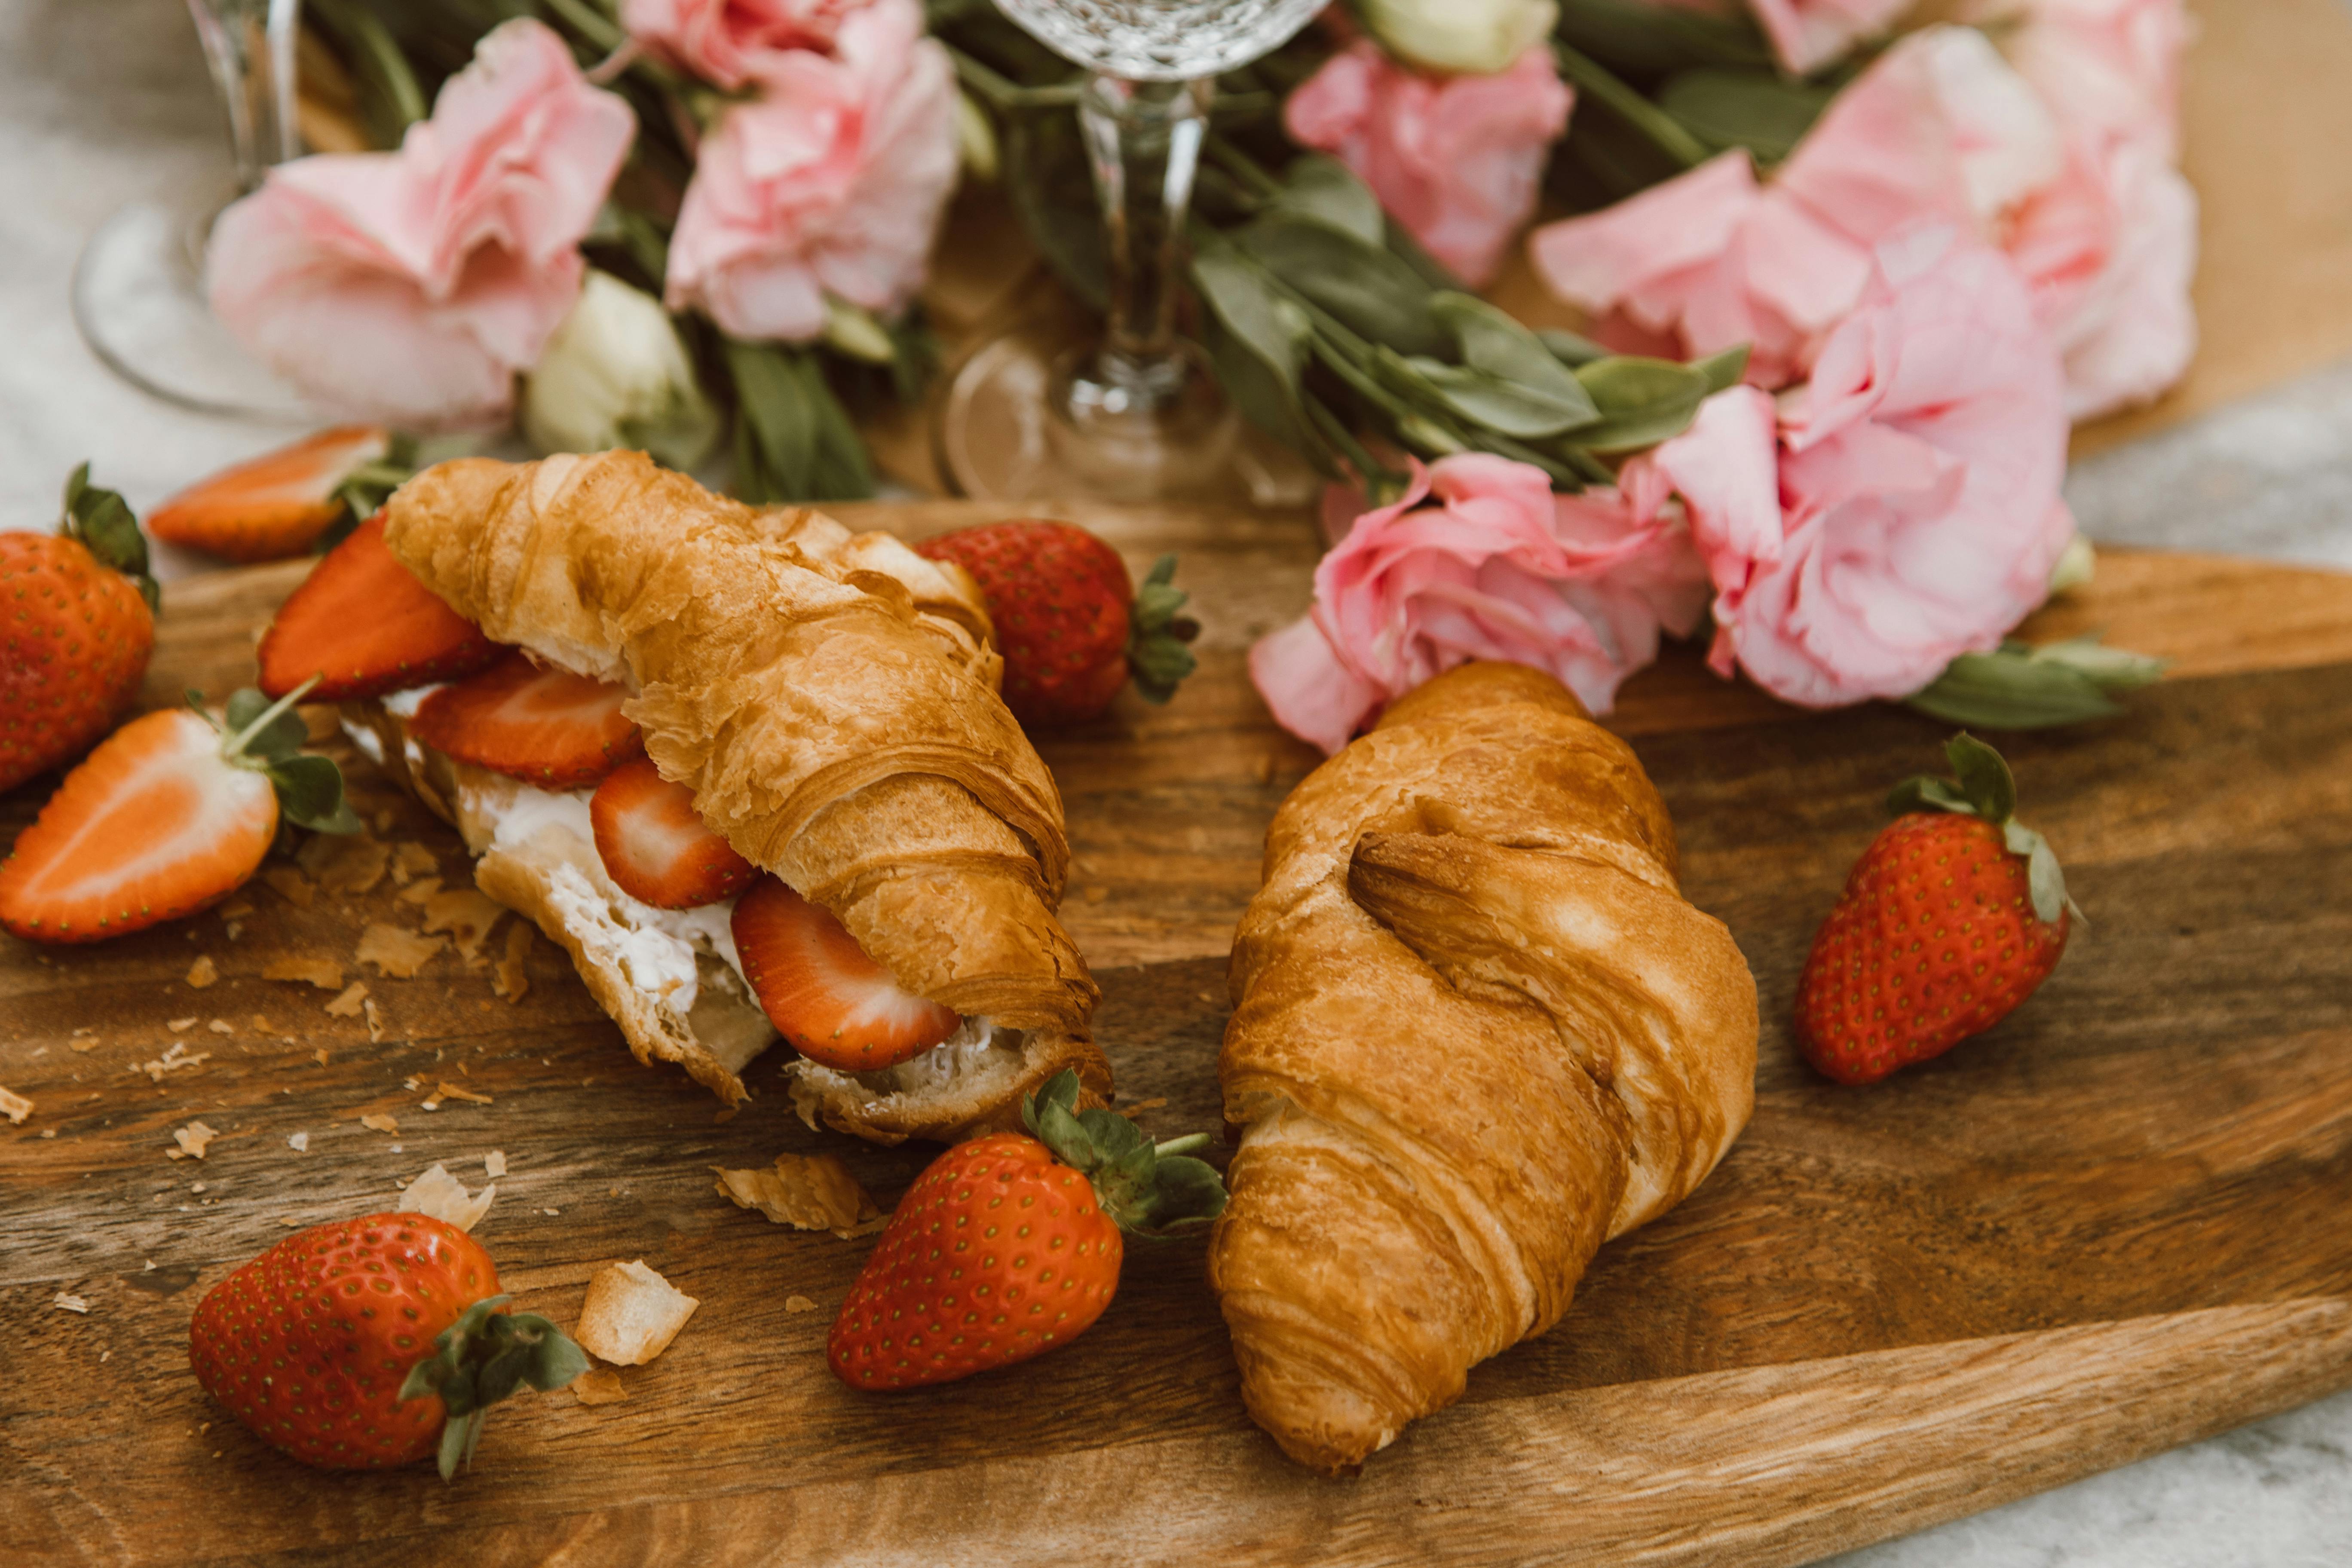
Making flowers out of strawberries is a fun and creative way to add a decorative touch to any dish. It’s easy to do, and the results are stunning. All you need is some fresh strawberries and a few simple tools. With a bit of practice, you can create beautiful edible flowers that will be the highlight of any meal. Read on to learn how to make flowers out of strawberries in just a few simple steps.Creating a beautiful strawberry flower bouquet is an easy and fun way to show someone special how much you care. Here are the steps to creating your own strawberry flower bouquet:
1. Begin by gathering all the supplies needed: strawberries, floral foam, sharp knife, ribbon and scissors.
2. Cut off the top of the stem of each strawberry with the knife. This will help make it easier to insert into the floral foam.
3. Place the floral foam into a vase or container of your choice. Make sure that it’s stable and can stand upright without tipping over.
4. Insert each strawberry into the foam, positioning them in a circle around the edge of the foam until it’s filled up with strawberries.
5. Cut a long piece of ribbon and tie it around the top of your container in a bow or knot of your choice for decoration.
6. Place your finished strawberry flower bouquet in a spot where it can be admired!
Step 1: Gather Supplies
Before you start making your strawberry flower, make sure you have all the supplies you need. You’ll need a ripe strawberry, a paring knife, a cutting board, and a plate.
Step 2: Wash the Strawberry
Rinse the strawberry under cold water and give it a gentle scrub to remove any dirt or debris. Once it’s clean, place it on the cutting board.
Step 3: Slice the Strawberry
Take your paring knife and slice the top of the strawberry off. Then cut thin slices, starting at the top and working your way down. Make sure to keep each slice even in thickness.
Step 4: Fan Out Slices
Once all of your slices are cut, fan them out on the plate to create a flower-like shape. You can adjust them as needed until you get the desired shape that you want.
Step 5: Enjoy!
Your strawberry flower is now ready to be enjoyed! It’s a great addition to salads or desserts, and makes for an impressive presentation when entertaining guests.
Materials Needed To Make Flowers Out Of Strawberries
Creating flowers out of strawberries is a great way to add a unique touch to any dish, and can be a fun and creative activity. To make beautiful strawberry flowers, you will need several ingredients and materials.
The most obvious material is strawberries. Choose berries that are ripe but firm, as they will be easier to shape into petals. You will also need a sharp knife to cut the petals and a skewer or toothpick to assemble them.
In addition, you will need something to hold the petals together – such as pastry cream or melted chocolate – as well as something for decoration such as edible flowers, edible glitter, or mint leaves.
Finally, you may want some extra tools such as tweezers or small spoons to help shape the strawberry petals. With these materials in hand, you can create beautiful strawberry flower designs that are sure to impress!
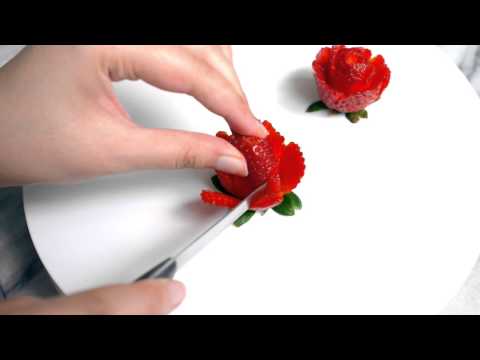
Learn How To Make A Strawberry Rose
Making a strawberry rose is an easy and beautiful way to add a special touch to any dessert. All you need is a few strawberries, some toothpicks, and a few minutes of your time. With just a few simple steps, you can make the perfect strawberry rose that will impress your friends and family.
The first step in making a strawberry rose is to wash the strawberries. You want to make sure they are clean so that no dirt gets on your hands when you’re making the roses. Once the strawberries are clean, cut off the green tops and set them aside.
Next, take one of the strawberries and make two small slits in it with a knife or toothpick. This will create a “petal” shape which will be used as the base of your rose. Once you have made two slits in each strawberry, take another strawberry and make three more slits in it. This will create four petals for your rose.
Now it’s time to assemble your rose! Start by taking one of the strawberries with two petals and place it in the center of the other strawberry with four petals (the one with four petals should look like a star). Take one of the toothpicks and insert it into one of the petals on the strawberry with two petals (the center piece). Twist it around so that it looks like an upside down “U” shape.
Continue this process by inserting toothpicks into each of the remaining petals on both strawberries until all eight petals have been secured together with toothpicks. You should now have an eight-petaled strawberry rose! To finish off your masterpiece, add some green tops that you cut off earlier to make leaves for your rosebush.
And there you have it! With just a few simple steps, you can easily learn how to make a beautiful strawberry rose that is perfect for any occasion or celebration!
Crafting A Strawberry Daisy
Creating a strawberry daisy is a fun and creative way to enjoy the summer. Start by gathering all of your materials. You’ll need a few fresh strawberries, some green leaves, and some white chocolate chips for the center of the daisy. Cut the stems off of the strawberries and set them aside. Make sure to wash your hands thoroughly before beginning.
Now it’s time to start creating your daisy! Take your green leaves and arrange them in a circle on a plate or other flat surface. Place each strawberry in the center of each leaf, so that they form a flower-like shape. You can also add some other decorations if you like, such as sprinkles or edible glitter.
Once you’re finished arranging your daisy, it’s time to add the white chocolate chips for the center. Melt them in a double boiler or microwave-safe bowl until they are liquid and smooth. Then carefully spoon the melted chocolate into the center of each strawberry, making sure to cover it completely. Let it cool for about 10 minutes before serving.
And there you have it! You’ve just crafted an adorable strawberry daisy that will be sure to impress your friends and family at your next summer gathering. Enjoy!
How To Assemble Strawberries Into A Flower-Like Shape
Creating a strawberry flower is an easy and tasty way to add beauty to your dessert. Whether you are making a cake or decorating a platter of fruit, adding a strawberry flower will make it look more festive and inviting. With just a few simple steps, you can make this beautiful edible decoration in no time.
First, select the best strawberries you can find. Look for firm, bright red berries that are free from mold or damage. Rinse the berries thoroughly and slice off the green tops with a small knife.
Next, use a melon baller or small spoon to make an even layer of indentations at the top of each berry. The indentations should be deep enough so that when the strawberries are stacked, they will fit together snugly.
Then begin stacking your berries one on top of the other in a spiral shape until you reach your desired size. For smaller flowers, five or seven strawberries may be enough; for larger flowers, up to 10 or 12 berries can be used. Once all the strawberries are stacked together, insert a toothpick through the center of them to hold them in place while you turn them over.
Finally, turn your strawberry flower over and remove the toothpick before arranging it on your dessert plate or cake. If desired, garnish the center with mint leaves or chocolate chips for added color and flavor. Enjoy!
Making strawberry flowers is an easy way to add beauty and flavor to any dessert plate or cake! With just a few simple steps and some fresh strawberries, you can create this delicious edible decoration in no time at all!
Gather Supplies
Strawberry flowers are a beautiful and unique addition to any event or occasion. To make strawberry flowers, you will need a few basic supplies. You will need fresh strawberries, a sharp paring knife, scissors and wooden skewers. You may also want to have a cutting board or plate nearby to place the strawberries on during the process.
Prepare the Strawberries
Once you have gathered all of your supplies, you can begin preparing the strawberries for your flower creations. Start by washing the strawberries thoroughly and patting them dry with a paper towel. Once they are dry, use the paring knife to cut off the stem end of each strawberry. This is an important step as it will help create a flat surface that will allow for easier slicing of the petals. Once the stem ends have been removed, place each strawberry onto the cutting board or plate for slicing.
Create Petal Slices
To create petal slices from each strawberry, hold it in one hand and use your other hand to carefully slice thin slices around the circumference of each berry with your paring knife. You should try to make equally spaced slices that are approximately 1/8-inch thick in order to create evenly sized petals when forming the flower shape. After slicing all of your berries, use scissors to trim any uneven edges from each petal slice if necessary.
Forming The Flowers
After all of your strawberry petal slices have been made, take one of them and carefully insert a wooden skewer into its center until it reaches about halfway through. Then, take another petal slice and carefully wrap it around the skewer until it overlaps with the first slice slightly in order to form a petal shape at one end of the skewer. Continue wrapping additional slices around this end until you have formed an entire flower shape with five or six overlapping petals. Finally, use scissors to trim any excess stem from the bottom of each petal before displaying your finished flower creations!
Making an Everlasting Strawberry Flower Bouquet
Creating a strawberry flower bouquet is an easy and fun way to add a special touch to any occasion. Whether you’re making a bouquet for a special someone, or just for decoration, these beautiful creations will last far longer than traditional cut flowers. Here’s how to make an everlasting strawberry flower bouquet.
Start by gathering your materials. You’ll need fresh strawberries, floral tape, floral wire, and ribbon (optional). Make sure the strawberries are all in good condition, with no soft spots or bruises.
Once you have all your materials ready, begin cutting the stems of the strawberries off. Make sure to leave about 1/2 inch of stem on each berry so that it can be secured later on.
Next, wrap the stem of each strawberry with floral tape. This serves two purposes; it helps keep the berry from slipping off its stem and it also provides extra support for when you attach them to the bouquet frame later on.
Once all the berries are wrapped in tape, it’s time to assemble the bouquet frame. Take a length of floral wire and begin wrapping it around itself in a spiral pattern until you have created a circular frame with several loops around its circumference. This will form the base for your bouquet and provide support for all your berries.
Now that your frame is ready, begin attaching your berries one at a time by threading them through one of the loops on your frame and then winding some extra floral wire around each berry to secure it in place. Continue this process until all of your berries are securely attached to the frame.
Lastly, if desired, you can add additional decorations such as ribbons or silk flowers to complete your bouquet. Once you’ve finished adding any extras, it’s time to display your masterpiece! Your everlasting strawberry flower bouquet is now ready for admiration!
Conclusion
Making flowers out of strawberries is a fun, creative, and delicious activity that can be enjoyed by both adults and kids alike. It requires minimal ingredients and materials, making it an affordable project for anyone to take on. With a few simple steps, you can create beautiful edible decorations to top your favorite desserts or enjoy as a snack. You can even mix and match different colors of strawberries to create vibrant multicolored floral arrangements. So get creative and have fun with this tasty craft!
No matter what occasion you’re celebrating, strawberry flowers are sure to make it a memorable one. So get out your ingredients and start making some beautiful edible bouquets today!

