
Chocolate covered pineapple is a delicious and easy treat that anyone can make. It’s perfect for a special occasion or as a fun snack to share with family and friends. With just a few simple ingredients and steps, you’ll be able to create this delicious treat in no time! In this guide, we’ll be walking you through the process of making chocolate covered pineapple so you can enjoy this sweet delight any time.Ingredients:
– Fresh pineapple
– 8 ounces of semi-sweet chocolate chips
– 1 teaspoon of coconut oil
– Sprinkles (optional)
Instructions:
1. Cut the pineapple into slices or chunks. Make sure to remove the core and any excess skin.
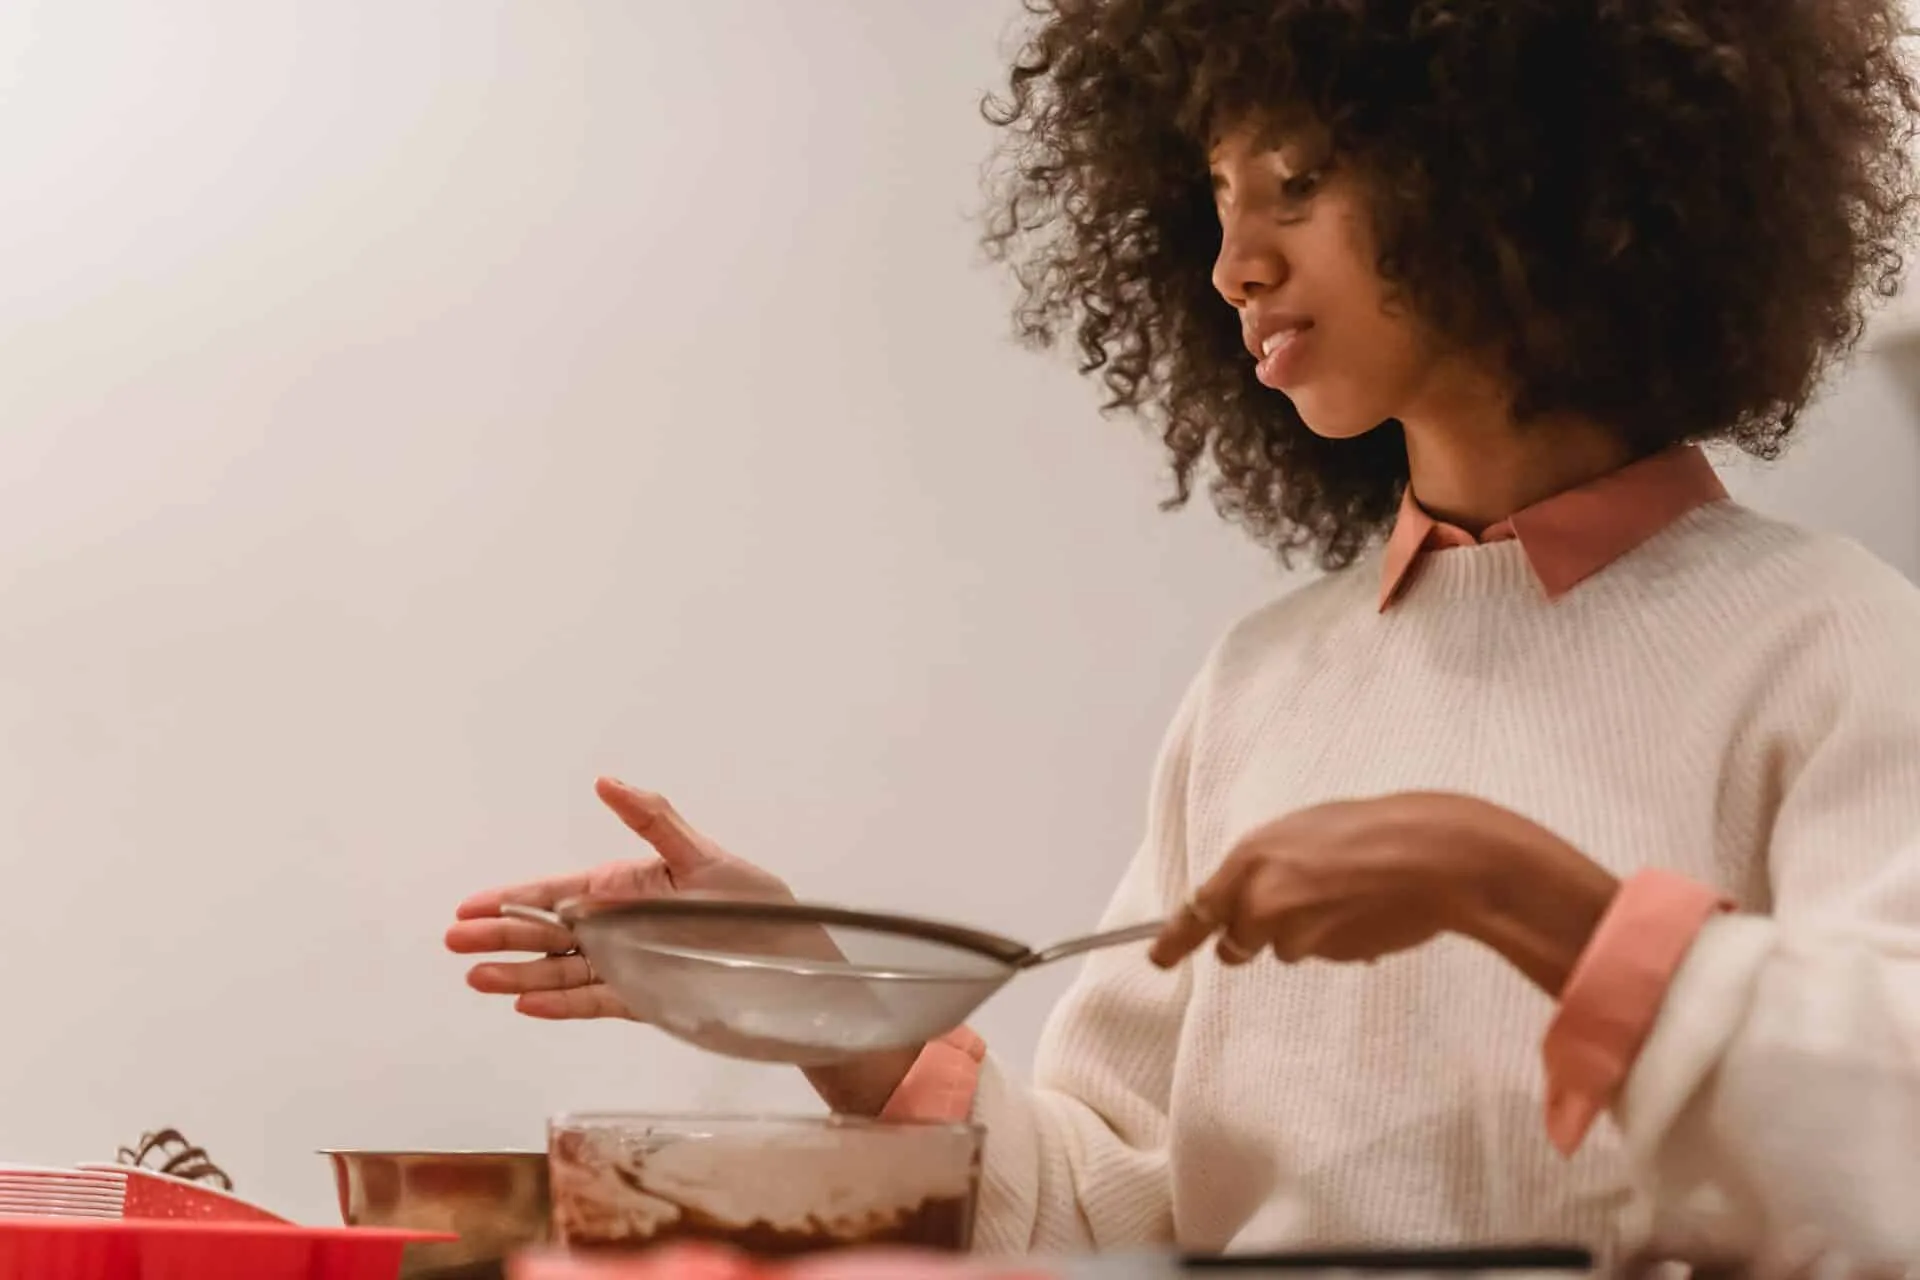
2. Place chocolate chips and coconut oil in a microwave safe bowl. Heat in 30 second intervals, stirring between each interval, until the chocolate is completely melted and smooth.
3. Dip each piece of pineapple into the melted chocolate, using a spoon to help cover it evenly if needed. Place onto a parchment paper lined baking sheet.
4. Sprinkle with any desired toppings before the chocolate sets.
5. Place baking sheet in refrigerator for about 15 minutes to allow the chocolate to set completely. Enjoy!
Preparing Your Ingredients
Cooking is an art and the key to a successful dish lies in the preparation of ingredients. Preparing your ingredients correctly is essential for achieving the desired flavor and texture for your finished dish. Before you start cooking, it’s important to take some time to ensure that everything is prepped properly. Here are some tips on how to prepare your ingredients:
First, make sure that all of the ingredients are clean and free from any dirt or debris. Wash all vegetables, fruits, and proteins before chopping or dicing them. This will help ensure that you have fresh ingredients that are safe to consume.
Next, measure out all of the ingredients so that you know exactly how much you need for the dish. This is especially important if you’re following a specific recipe or using a particular ingredient as an accompaniment. The wrong measurements can throw off the flavor of your dish and lead to unexpected results.
Once everything is measured out, it’s time to start chopping and dicing! Depending on the recipe, you may need to finely chop some vegetables or cut proteins into small cubes. Taking the time to do this properly will help ensure that everything is cooked evenly and will improve the overall taste of your dish.
Finally, don’t forget about seasoning! Adding seasonings such as herbs and spices can bring out wonderful flavors in dishes that would otherwise be bland. Make sure to add seasonings at the appropriate times during cooking so they don’t burn or become too intense in flavor.
By taking the time to properly prepare your ingredients before cooking, you can guarantee a delicious final dish every time!
Preparing the Chocolate
Melting chocolate is a simple yet delicate process that requires careful attention. Before beginning, it is important to prepare the chocolate by breaking it into small, uniform pieces. This will ensure that the chocolate melts evenly and quickly. Additionally, use a double boiler with low heat to maintain a consistent temperature throughout the melting process.
Adding Ingredients
Once the chocolate pieces are ready, they can be added to the double boiler. If desired, additional ingredients such as nuts, dried fruit, marshmallows, or other flavorings can be added at this time as well. Stirring continuously will help ensure that all of the ingredients are evenly distributed in the melted chocolate.
Monitoring Temperature
The most important step in melting chocolate is monitoring the temperature of the double boiler. The key is to keep the heat low enough so that it does not scorch or burn, but high enough so that it melts properly. A candy thermometer can be used to monitor and maintain an appropriate temperature for melting chocolate.
Finishing Up
When all of the ingredients are thoroughly melted and combined, remove them from heat and transfer them into a bowl or container for storage. Allow them to cool down before using them for baking or other purposes. If done correctly, your homemade melted chocolate should be perfect for whatever you need it for!
Preparing the Pineapple
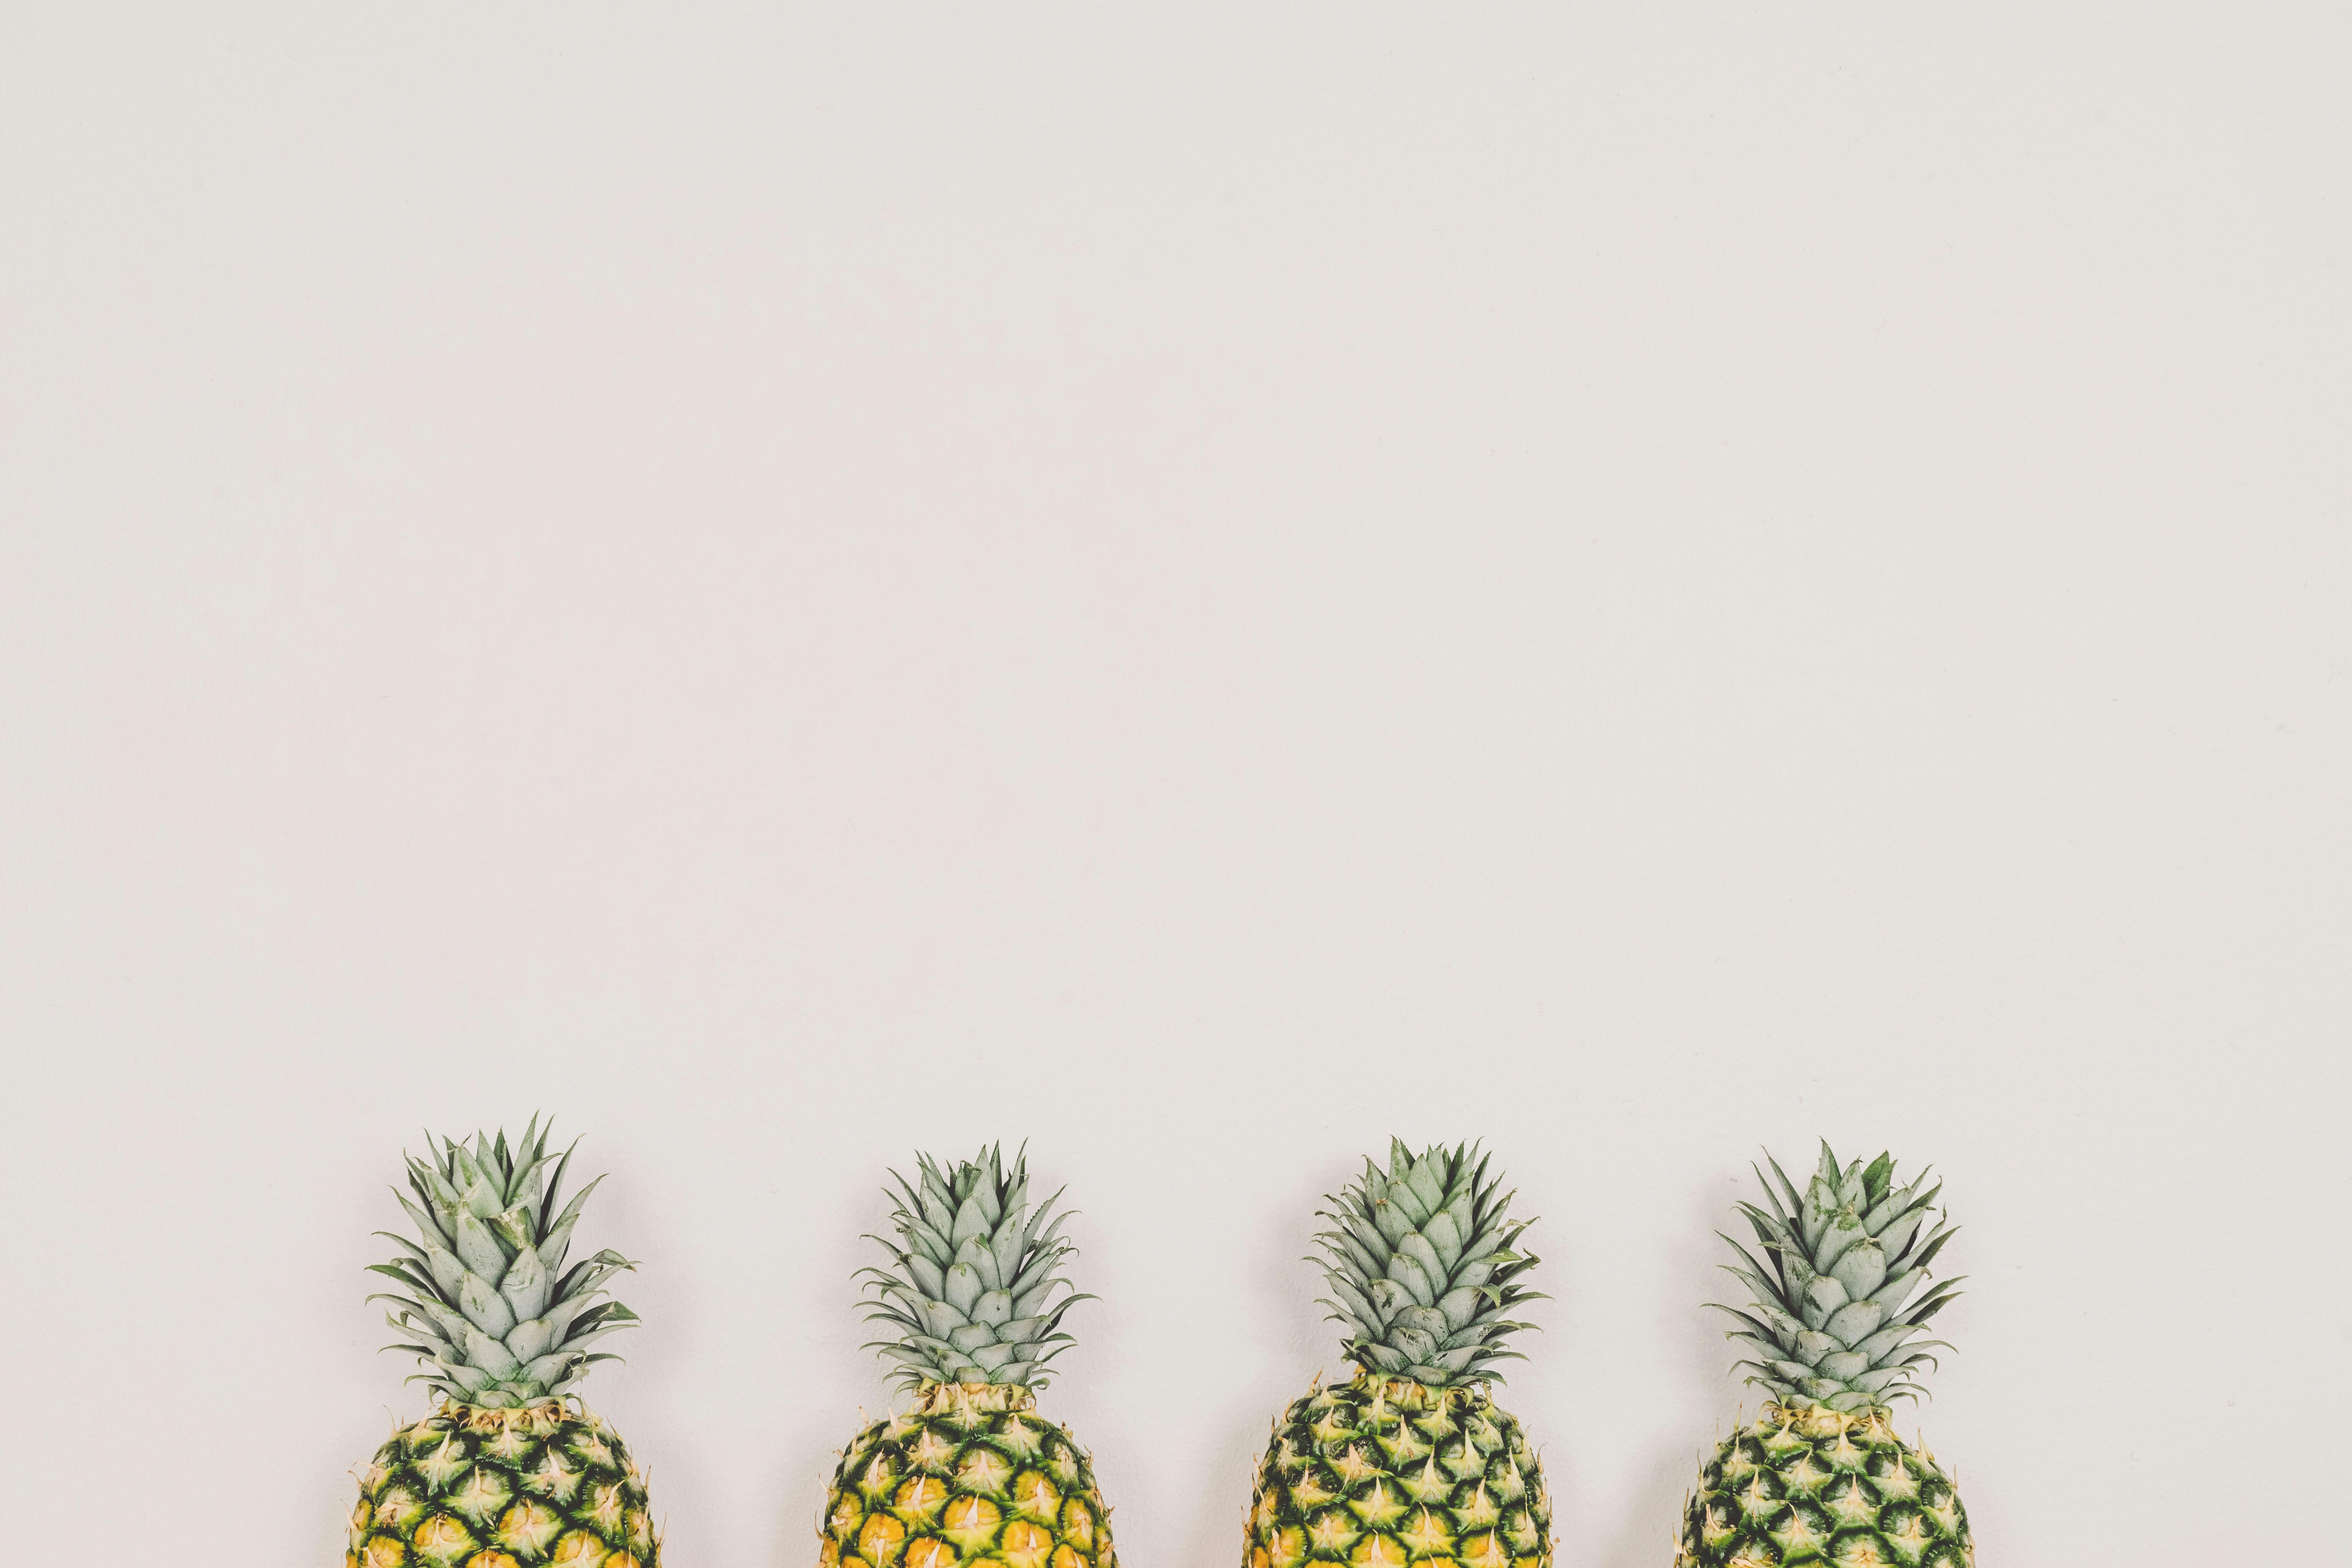
Before dipping the pineapple, you need to prepare it first. Start by washing it thoroughly in cold water to remove any dirt or bacteria. Cut off the stem and bottom of the pineapple with a sharp knife. Peel off the skin with a vegetable peeler, then cut out any eyes or fibrous sections. Slice the pineapple into 1/2-inch thick slices and cut out the core from each slice with a paring knife. Set aside your prepared pineapple for later use.
Making the Chocolate Dip
To make your chocolate dip, melt high-quality dark chocolate in a double boiler over low heat, stirring occasionally until it’s completely melted. Once melted, add in heavy cream and mix until combined and smooth. You can also add some salt or cinnamon for extra flavor if desired. When your dip is ready, set it aside and let it cool slightly before dipping your pineapple slices.
Dipping the Pineapple
Dip each slice of pineapple into your chocolate dip one at a time, making sure to evenly coat each slice on both sides. Place each dipped slice on parchment paper and let it cool until the chocolate hardens before serving or storing in an airtight container for later enjoyment. Enjoy!
Freezing the Chocolate Covered Pineapple
Freezing chocolate covered pineapple is a great way to preserve it for longer. Not only will it keep the pineapple fresh, but it can also make a delicious snack or dessert. The process of freezing chocolate covered pineapple is relatively simple and requires just a few steps.
First, you will need to gather the ingredients needed to make the chocolate covered pineapple. This includes fresh pineapple, melted dark or semi-sweet chocolate chips, and any desired toppings such as shredded coconut or chopped nuts.
Once all of the ingredients are gathered, you can begin prepping the pineapple. Begin by peeling and slicing the pineapple into thick wedges. Next, melt the chocolate chips in a double boiler over low heat until they reach a smooth consistency. Then dip each piece of pineapple in the melted chocolate and allow any excess to drip off before rolling them in your desired toppings.
Finally, place all of the prepared pieces on a parchment-lined baking sheet and transfer them to your freezer for at least an hour, or until they are completely frozen solid. Once frozen, transfer them to an airtight container and store them in your freezer for up to three months.
When you’re ready to enjoy your frozen treat, simply remove them from the freezer and let them thaw slightly before serving. Enjoy!

Decorating Your Chocolate Covered Pineapple
Chocolate covered pineapple is a delicious and fun treat for any occasion. Whether you’re looking to make a special dessert for a birthday or a romantic dinner, decorating your chocolate covered pineapple can take it to the next level. Here are some ideas for decorating your chocolate covered pineapple:
Sprinkles: Sprinkles are the classic topping for any sweet treat. From rainbow sprinkles to chocolate jimmies, there are so many options to choose from. Sprinkle some on your pineapple before it dries to give it an extra pop of color.
Nuts: Nuts add a crunchy texture to your chocolate covered pineapple and are also packed with nutrients. Choose from almonds, pecans, walnuts, or pistachios and sprinkle them on top of your pineapple before the chocolate sets.
Coconut flakes: Coconut flakes add a tropical flavor to your dessert and make it look extra special. Sprinkle some lightly over the top of the pineapple and make sure that all sides are evenly coated with coconut flakes.
Fruit slices: For an even more vibrant look, top off your pineapple with some thinly sliced pieces of fruit. From strawberries and kiwi to oranges and pineapples, you can mix and match different colors and flavors to create something truly unique.
Marshmallows: If you’re looking for something sweet but not too heavy, marshmallows are the perfect topping for your chocolate covered pineapple. Cut them into small pieces or leave them whole- either way they’ll look great!
By following these simple steps you can easily create an impressive dessert that is sure to be a hit at any gathering! So go ahead and get creative with your decorations- the possibilities are endless!
Adding Additional Flavoring and Toppings
Cooking is all about experimenting and trying new things. Adding additional flavoring and toppings can make a dish more interesting and flavorful. With the right ingredients, you can create a delicious meal that everyone will enjoy. Here are some tips for adding additional flavoring and toppings to your dishes.
First, it’s important to consider the flavors you’re trying to achieve with your dish. Are you looking for something savory, sweet, spicy, or all of the above? Once you’ve decided on a flavor profile, you can then start selecting ingredients that will complement it. Herbs and spices are great additions to give your dish an extra punch of flavor. Fresh herbs such as parsley, basil, oregano, thyme, rosemary, or dill can add a unique layer of flavor to any dish. Spices such as cumin, chili powder, paprika, or curry powder can also be used to add more depth to your meal.
Adding additional toppings can also enhance the flavor of your dish. Chopped nuts such as almonds or walnuts provide an element of crunchiness while adding texture to a meal. Dried fruits like cranberries or raisins are great for adding sweetness to savory dishes like salads or pastas. Shredded cheese is also a great addition that adds creaminess and richness to any dish.
Finally, don’t be afraid to experiment with different ingredients and flavors when creating new dishes! Combining different herbs and spices together can create complex flavors that will truly bring your meals alive! Adding fresh vegetables like onions or peppers is another great way to add color and texture to any dish. With the right combination of ingredients, you can create a delicious meal that everyone will love!
Storing the Chocolate Covered Pineapple
Chocolate covered pineapple is a delicious and healthy snack that can be enjoyed all year round. However, due to its delicate nature, it must be stored properly in order to maintain its freshness and flavor. The best way to store chocolate covered pineapple is in an airtight container in the refrigerator. This will help keep the pineapple from drying out and maintain its flavor. If the pineapple is not consumed immediately, it should be tightly wrapped in plastic wrap or foil to prevent moisture from entering the container. It is also important to store chocolate covered pineapple away from direct sunlight as this can alter its taste and texture.
When it comes to freezing chocolate covered pineapple, it is important to do so with care. The pineapple should be cut into slices before being frozen, as this will keep it from becoming too hard when frozen. The slices should then be placed in an airtight container or wrapped tightly in plastic wrap or foil. It is best to consume frozen chocolate covered pineapple within two weeks of freezing, as this will ensure that it maintains its flavor and texture.
It is important to note that storing chocolate covered pineapple correctly will help ensure that it stays fresh for a longer period of time. By following these storage tips, you can enjoy your favorite snack all year long!
Conclusion
Making chocolate covered pineapple is a tasty and easy way to enjoy this sweet treat. It’s the perfect balance of tart and sweet flavors that combine to make a deliciously indulgent snack. All you need is fresh pineapple, chocolate, and some toppings of your choice, and you’re ready to get started. The process itself is simple and straightforward – just dip the pineapple in melted chocolate, then add any desired toppings before letting it cool. In no time at all, you’ll have a delicious snack that is sure to please!
So why not give chocolate covered pineapple a try? Whether you’re making them for a special occasion or just for fun, this recipe is sure to be a hit with everyone. Enjoy!

