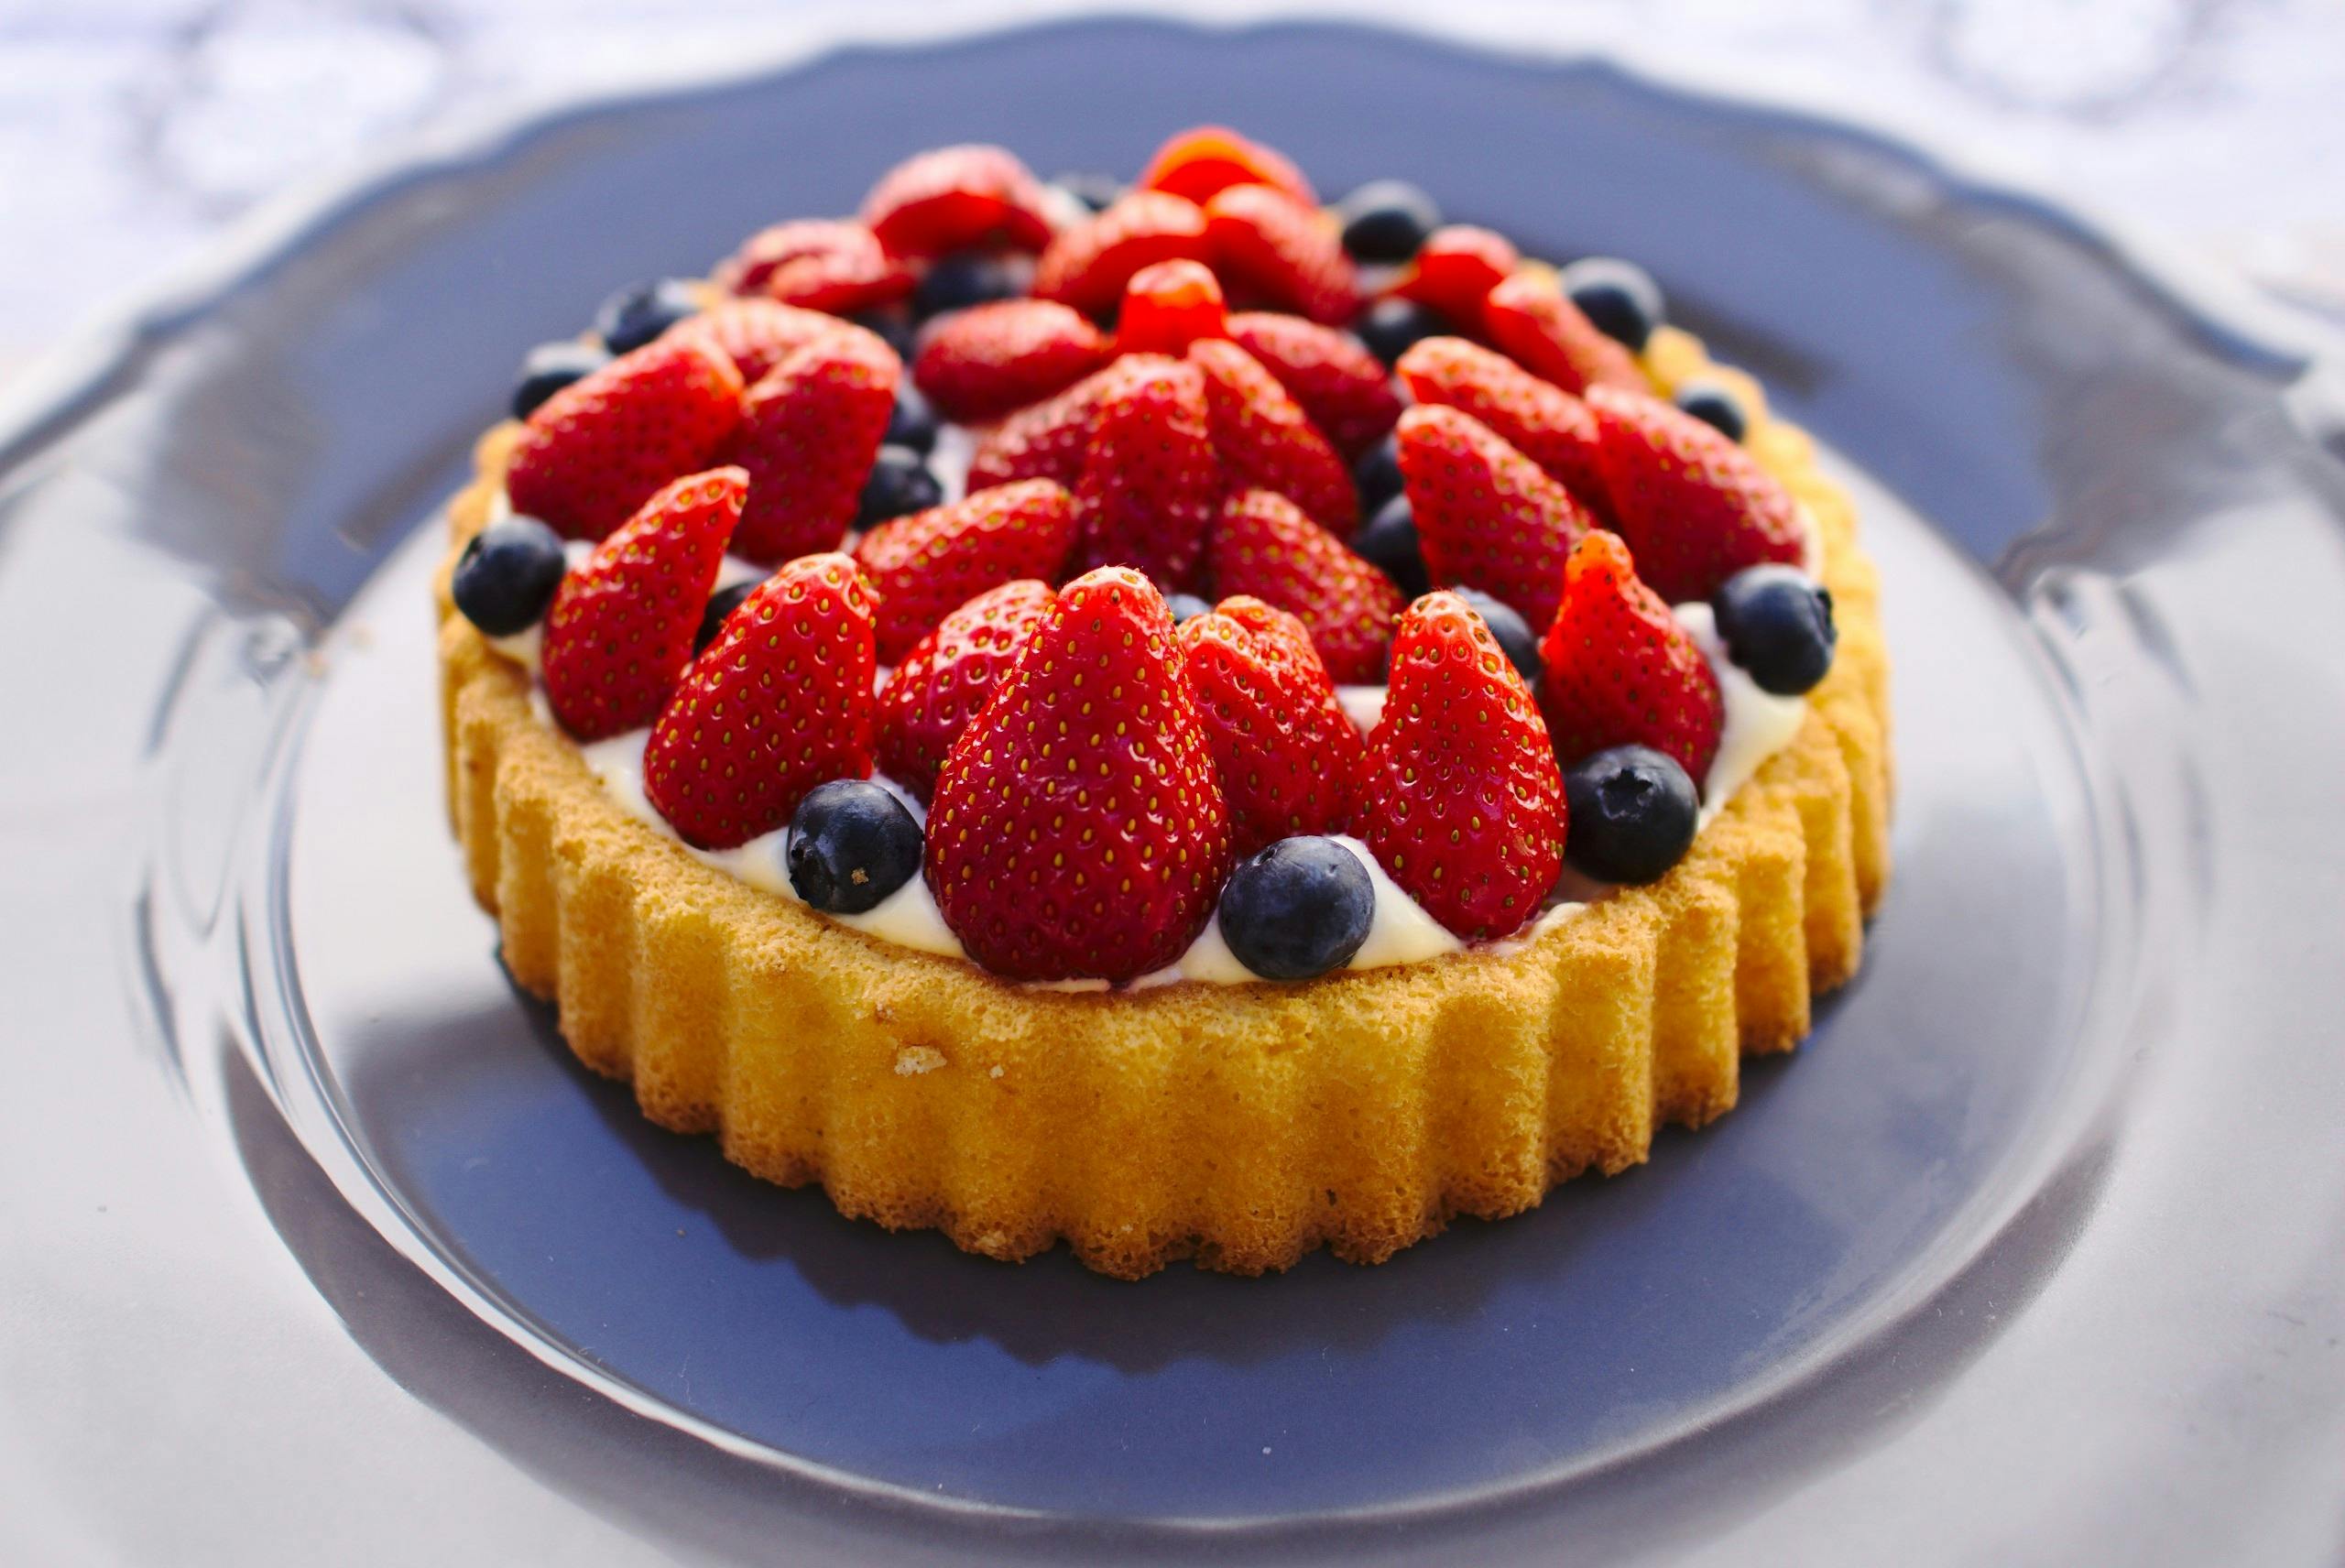
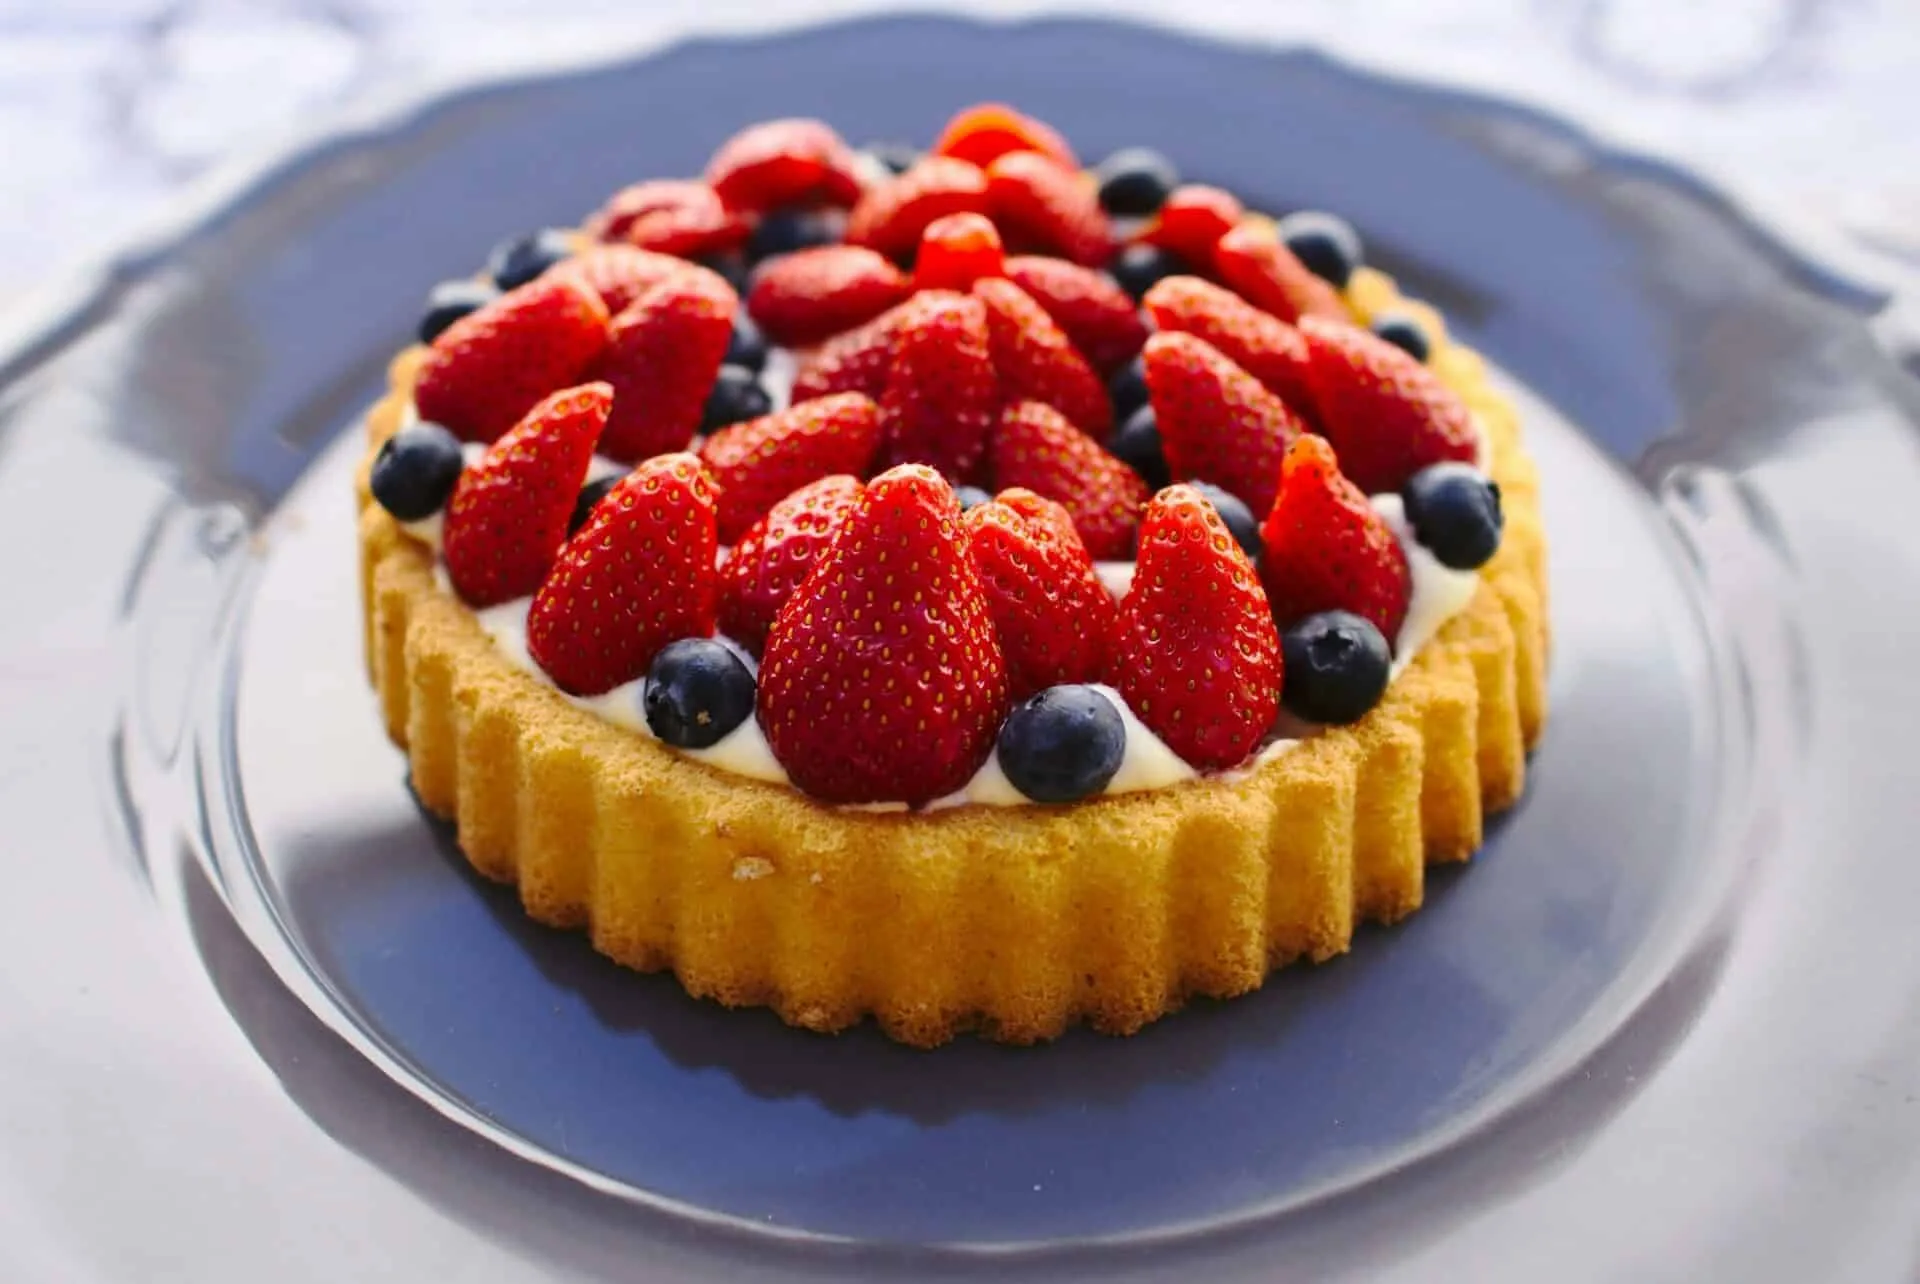
Making a cake with a strawberry filling is an easy and delicious way to add a little extra flavor to your favorite cake. With just a few simple ingredients, you can create an unforgettable dessert that will be sure to impress. This guide will walk you through the steps of making your own strawberry-filled cake from scratch, providing you with all the information and tips you need to create a delicious and unique treat. So get ready to whip up something special – it’s time to learn how to make cake with strawberry filling!To make a cake with strawberry filling, you will need the following ingredients:
-2 cups all-purpose flour
-1 teaspoon baking soda
-1 teaspoon salt
-1 cup butter, softened
-2 cups white sugar
-4 eggs
-1 teaspoon vanilla extract
-1 cup buttermilk
For the strawberry filling:
-2 cups chopped strawberries
-1/4 cup white sugar
-2 tablespoons cornstarch
Instructions:
1. Preheat oven to 350 degrees F (175 degrees C). Grease and flour a 9×13 inch pan.
2. In a medium bowl, stir together the flour, baking soda and salt; set aside.
3. In a large bowl, cream together the butter and sugar until light and fluffy. Beat in the eggs one at a time, then stir in the vanilla. Beat in the flour mixture alternately with the buttermilk; mix until everything is well blended. Pour batter into prepared pan.
4. To make the strawberry filling, combine strawberries and sugar in a medium saucepan over medium heat and bring to a boil; reduce heat to low and simmer for 10 minutes, stirring occasionally until strawberries are soft and have released their juices. In a small bowl, combine cornstarch with 2 tablespoons of cold water; add to strawberry mixture while stirring vigorously until mixture thickens slightly. Remove from heat when desired consistency is reached.
5. Pour strawberry filling over cake batter in pan and spread evenly using an offset spatula or spoon; bake in preheated oven for 35 minutes or until golden brown on top and a toothpick inserted into center of cake comes out clean. Let cool before serving. Enjoy!
Gather Necessary Ingredients
Before you can start cooking, you’ll need to gather all the necessary ingredients. Make sure to read through the recipe carefully to make sure you have everything you need. Check your cupboards and refrigerator for any staples that may be required and pick up anything you don’t have. It’s also a good idea to measure out all of your ingredients ahead of time so they’re ready when it’s time to cook. This is especially important for delicate ingredients like herbs and spices so that you don’t over measure or miss anything.
Once all of your ingredients are gathered, take a few minutes to check expiration dates on items like baking powder, yeast, and other items with short shelf lives. You’ll also want to make sure that all frozen items are completely thawed before beginning your recipe. Lastly, it’s a good idea to give each ingredient one final look over before beginning cooking. This will help ensure that every ingredient is as fresh as possible, which can really make the difference in the finished product!
Preparing the Strawberry Filling
To prepare the strawberry filling, begin by washing and hulling 2 lbs of fresh strawberries. Cut them into small pieces and place them in a bowl. Add 2 tablespoons of freshly squeezed lemon juice, 1/2 cup of sugar, and 1/4 teaspoon of ground cinnamon. Stir until the ingredients are well combined, then cover the bowl and let it sit for at least 30 minutes to allow the flavors to meld together.
Once the filling is done, transfer it to a saucepan and cook over medium heat until it has thickened, about 10 minutes. Once it has thickened, remove from heat and let cool before using in your recipe. You can also store the filling in an airtight container in the refrigerator for up to one week before using. Enjoy!
Preparing the Batter
Making a delicious pancake batter is the key to a successful breakfast. The most common ingredients for a basic pancake batter are flour, baking powder, salt, sugar, eggs, and milk. To make the batter, start by sifting together the flour, baking powder, salt and sugar in a large bowl. In a separate bowl whisk together the eggs and milk until combined. Then slowly add the wet ingredients into the dry ingredients while stirring continuously. When everything is blended together you will have a thick pancake batter ready to be cooked on a hot griddle or skillet.
When cooking pancakes it is important not to over mix the batter as this will cause them to become tough instead of light and fluffy. If you want extra flavor in your pancakes you can add in spices such as cinnamon or nutmeg or even chocolate chips! Once your batter is ready you can begin cooking your pancakes and enjoy them with your favorite toppings like butter and syrup or fresh fruit.
Baking the Cake
Baking a cake can be an enjoyable experience for novice and experienced bakers alike. Before you get started, you’ll need to assemble all your ingredients and preheat your oven. Consider using a hand mixer or stand mixer to mix your ingredients together for best results. Once the ingredients are mixed to the right consistency, pour them into a greased cake pan and bake in the preheated oven for the amount of time specified in your recipe. It’s important to check on your cake periodically during baking to make sure it does not over bake or burn.
Decorating the Cake
Once your cake is finished baking, allow it to cool completely before attempting any decorations. You can use frosting, buttercream, fondant, or other decorative items to create whatever look you desire for your cake. Use a palette knife or icing spatula to spread frosting evenly across the surface of the cake. If needed, use fondant cutters and molds to create shapes or designs that will be added on top of your cake. For best results, use small amounts of food coloring paste at a time until you achieve the desired color for frosting or decorations.
Assembling the Cake
If you’re making a layered cake with multiple tiers, you’ll want to make sure each layer is level before assembling them together. Use a serrated knife to carefully trim away any domed tops that may have occurred during baking. To assemble layers together, apply a layer of buttercream frosting between each tier and gently press down until they are level with each other. Once all layers are assembled together frost and decorate as desired with any additional decorations or icing you may have prepared ahead of time.

Preheating the Oven
Preheating the oven is an important step in baking and cooking. It helps ensure that the food is cooked properly and evenly. It is also important for safety reasons, as certain dishes may require a certain temperature to avoid burning or undercooking. Preheating an oven can take anywhere from 10 to 30 minutes, depending on the type of oven and dish being cooked. To preheat an oven, first check the recipe for the desired temperature. Then set the oven to that temperature and wait until it reaches that heat before adding food. If you are unsure about how long it will take your oven to heat up, start by setting it to a lower temperature and then increase it as needed. Additionally, you can use an oven thermometer to check if your oven has reached its desired temperature without opening the door and letting out heat. After preheating, make sure to remove any items that were used for heating before adding food in order to avoid contamination.
It is also important to note that some ovens may have a delay when heating up or turning off. If this is the case with your oven, be sure to adjust your cooking time accordingly so that you do not undercook or overcook your food. Additionally, some recipes may require different temperatures for different parts of a dish; if so, make sure to set each part of the dish at its specific temperature before beginning to cook.
Preheating an oven can help ensure that your dishes come out perfectly every time! With just a few simple steps, you can make sure your food is cooked evenly and safely.
Prepping the Batter
Preparing the cake batter is the first step in baking a delicious cake. It’s important to properly measure and mix all of the ingredients accurately in order to get a light and fluffy finished product. Start by creaming together the butter and sugar until light and fluffy. Then add the eggs one at a time, beating well after each addition. Finally, add in the dry ingredients, alternating with any liquid ingredients. Make sure to scrape down the sides of your bowl often to ensure even distribution of all ingredients. Once everything is completely mixed, your batter is ready for baking!
Greasing & Flouring The Pan
Once you have your batter prepared, it’s time to prepare your pan for baking. Start by greasing it with butter or shortening and then dusting with flour or cocoa powder. This will ensure that your cake releases easily from the pan once it has been baked. You may also want to line your pan with parchment paper for an extra layer of protection against sticking.
Baking The Cake
When you’re ready to bake, preheat your oven to the recommended temperature and place your pan on a middle rack in the oven. Bake for the recommended amount of time until a toothpick inserted into the center comes out clean. Once done, allow your cake to cool completely before frosting or serving.
Cooling and Removing from Pan
Once the cake is done baking, it is essential to cool it completely before attempting to remove it from the pan. This step helps prevent the cake from crumbling and also allows any glaze or frosting to be applied evenly. To cool the cake, remove it from the oven and let it rest in the pan for 10-15 minutes. After this time has passed, run a butter knife around the edges of the pan to ensure that nothing is sticking. Place a cooling rack over top of the cake pan and carefully flip it over so that the cake falls out onto the rack. Allow any remaining glaze or frosting to be applied while still warm for an even coating. Once cooled completely, transfer onto a plate or platter for serving.
It is important to note that some cakes can be tricky when removing them from their pans. If this happens, you can use additional butter or cooking spray on the sides before baking as this will help them come out more easily once cooled. If you do find yourself struggling with removal, you can place your pan into a warm water bath for a few minutes – this helps release any stuck-on bits and makes removal much easier!

Conclusion
Making a cake with strawberry filling is easy and does not require a lot of time or ingredients. With just a few simple steps and minimal effort, you can make an impressive dessert that will delight your family and friends. The moist and fluffy cake combined with the sweet and tart strawberry filling make for an unforgettable treat. Whether you are serving it at a special occasion or just for fun, this cake is sure to be a hit!
So grab some strawberries, preheat your oven, and start baking! With this easy recipe, you will have a delicious cake with strawberry filling in no time!


