
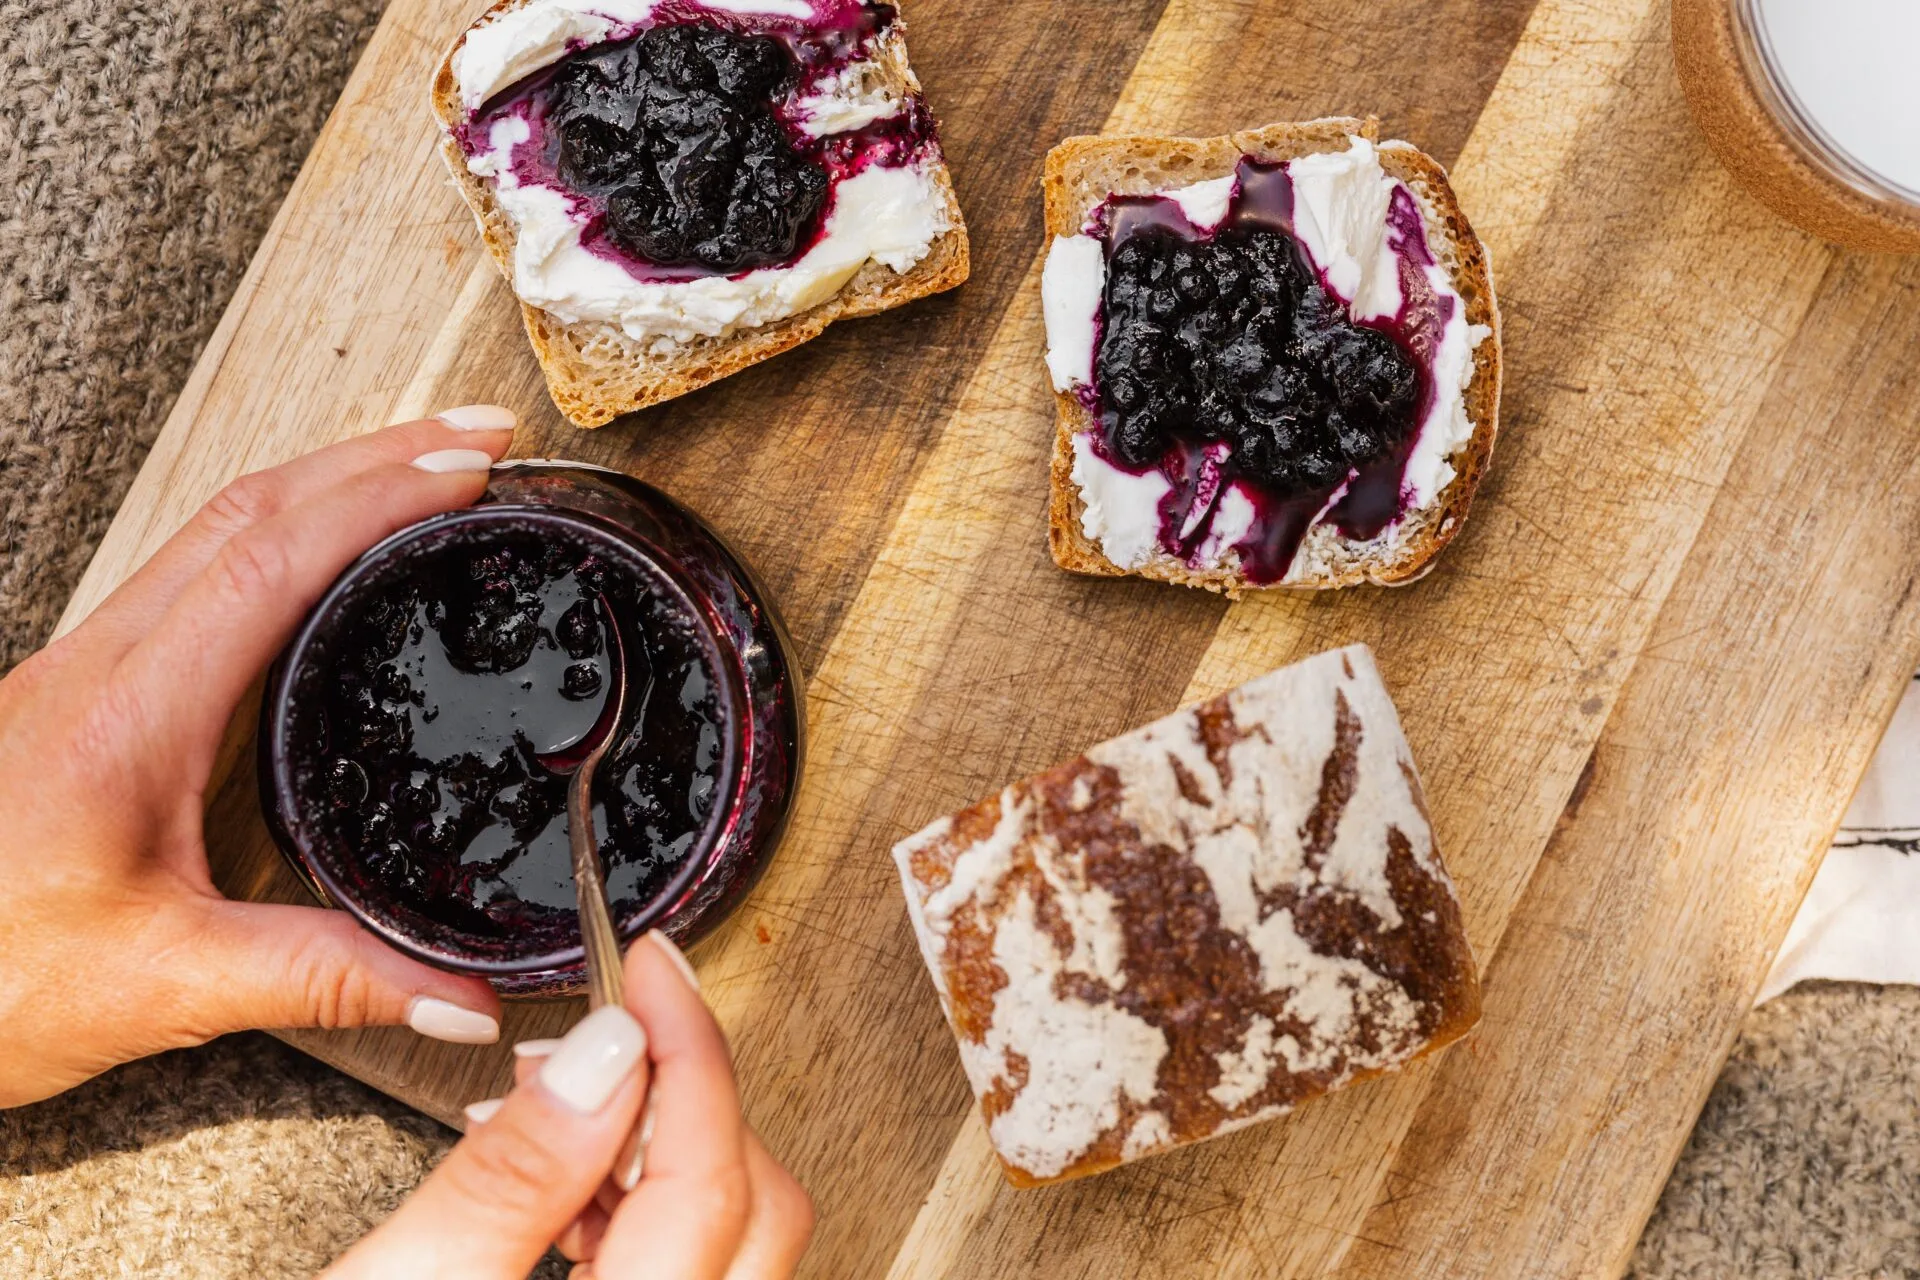
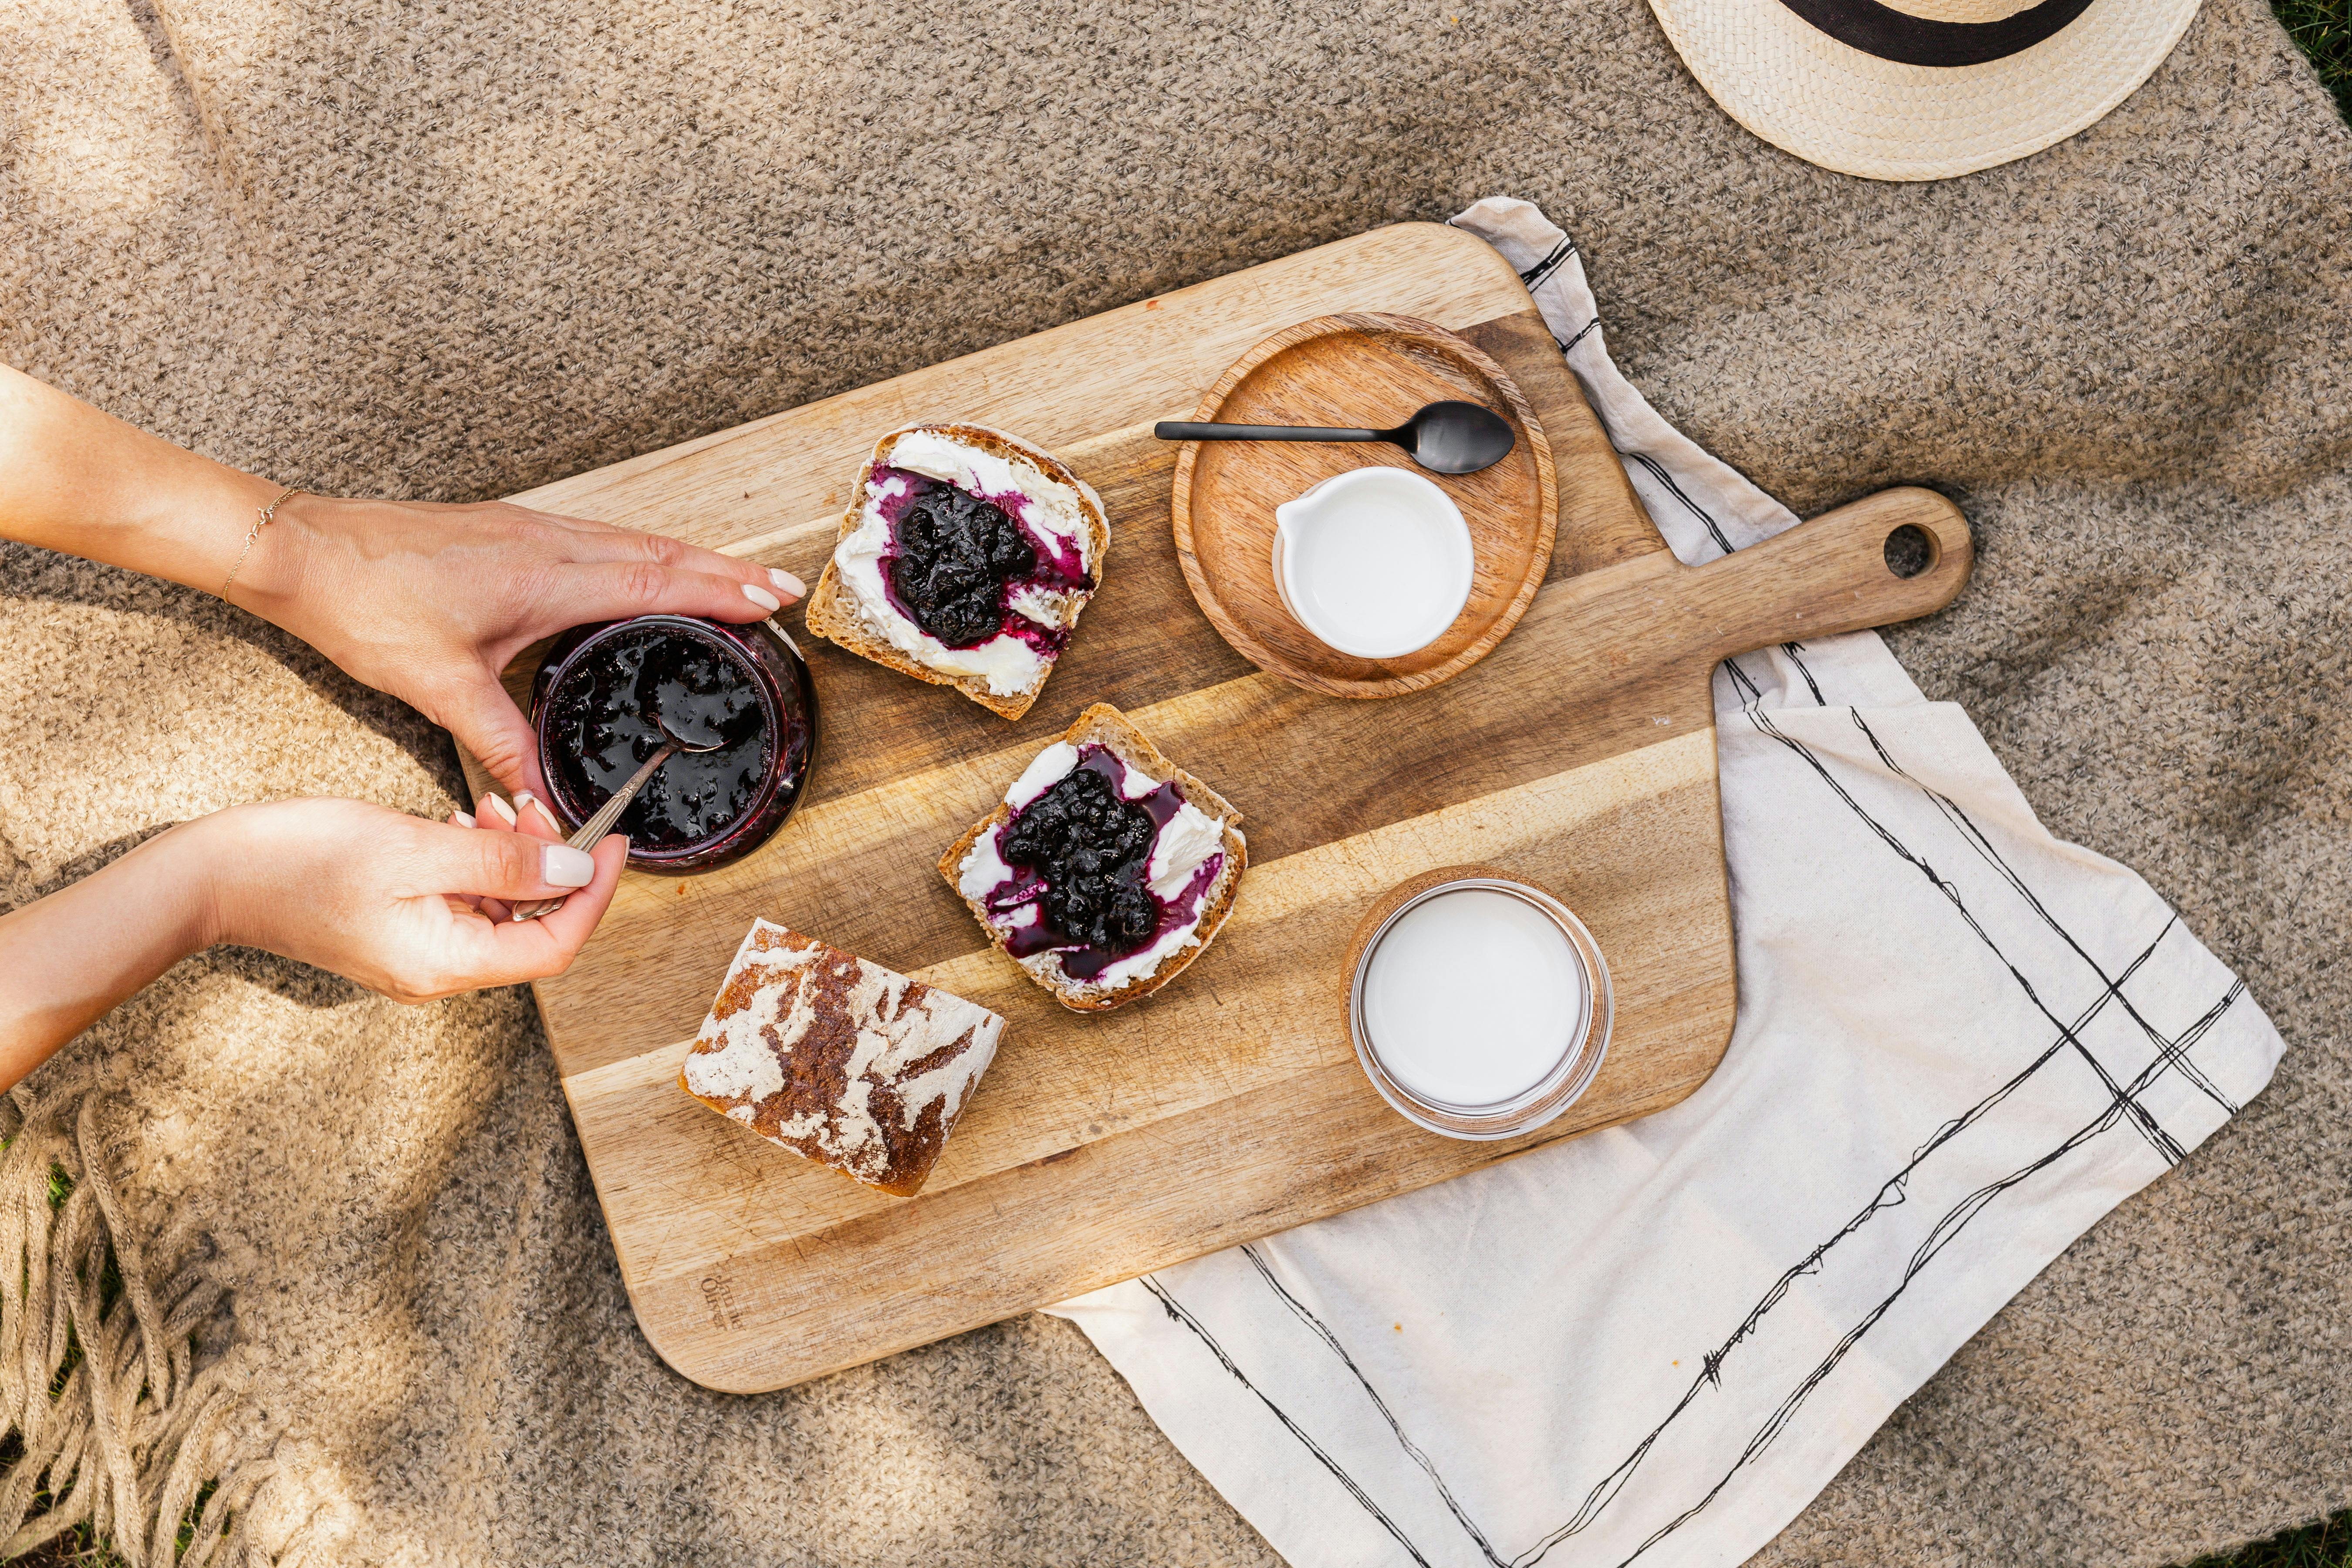
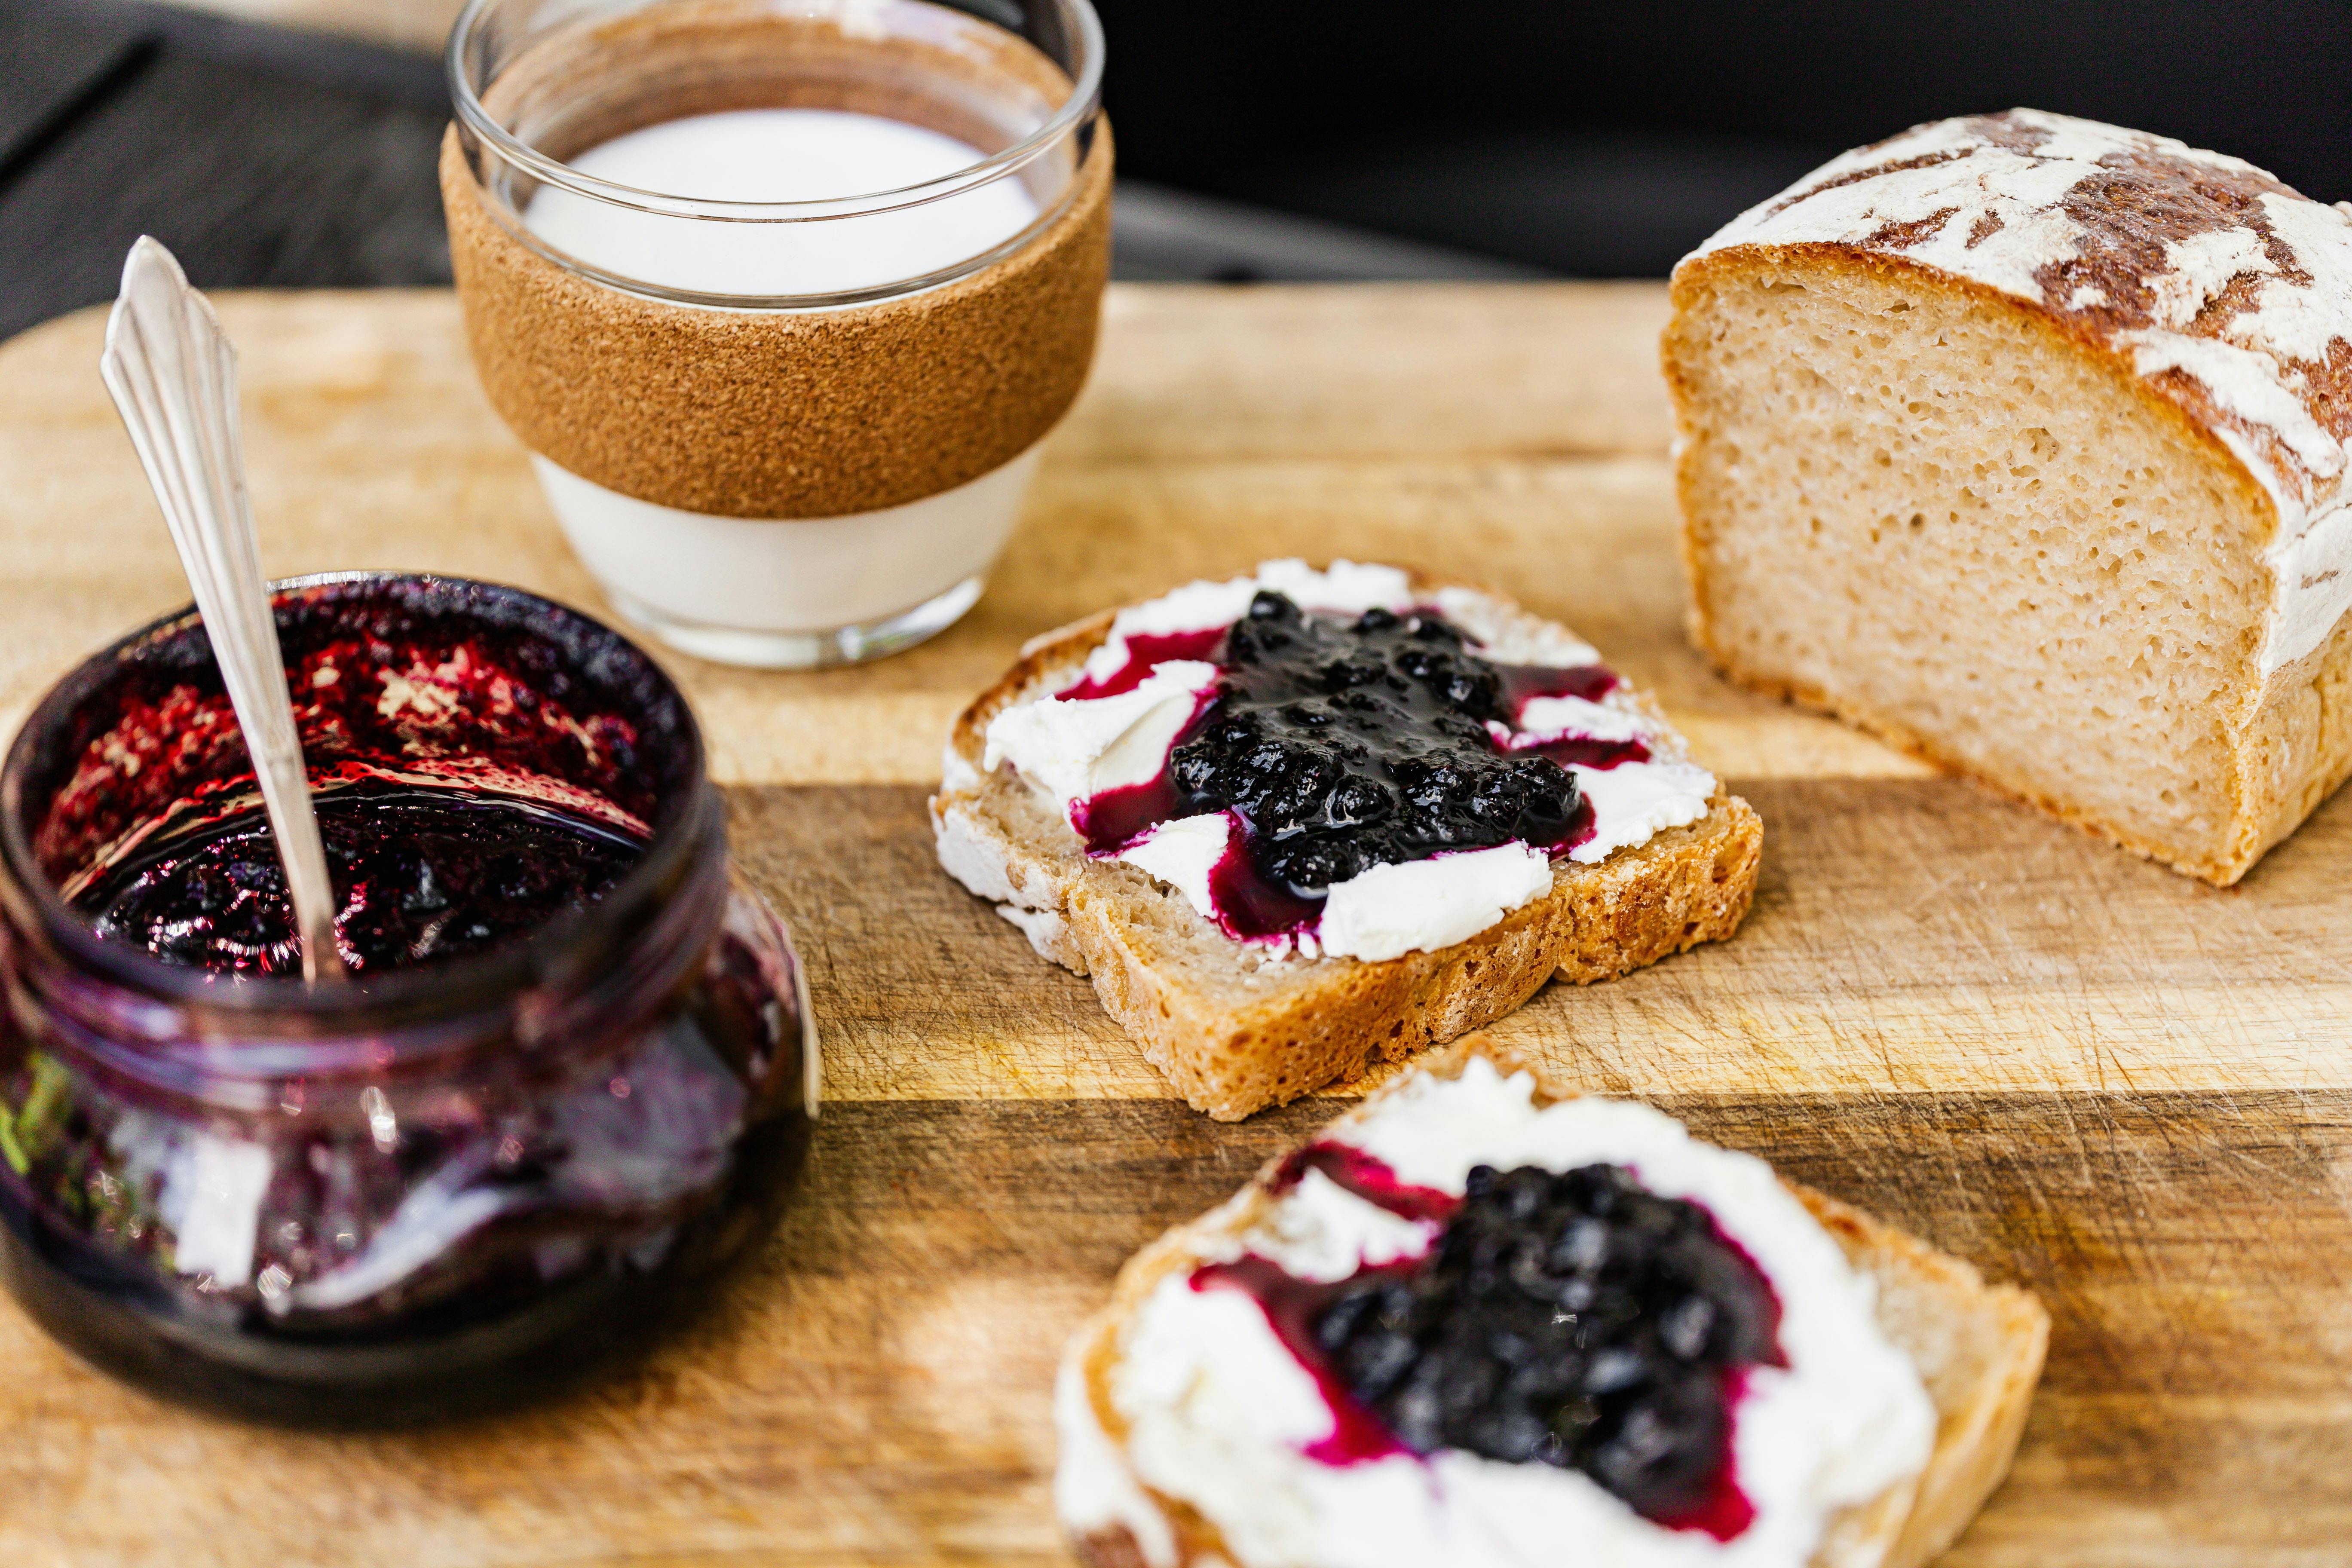
Making blueberry jam with Sure Jell is a great way to enjoy the sweet flavor of blueberries all year round. Sure Jell is a commercial pectin product that helps to thicken jams and jellies, making them the perfect consistency for spreading on toast or baking with. This recipe will provide you with a delicious homemade jam that can be stored for up to one year without refrigeration. Follow these simple instructions and you’ll be making your own blueberry jam in no time!To make blueberry jam with Sure Jell, you will need 4 cups of fresh or frozen blueberries, 7 cups of sugar, 1 pouch of Sure Jell Premium Fruit Pectin, and 4 tablespoons of lemon juice. You will also need a large saucepan and jars with airtight lids.
Preparing the Blueberries
Blueberries are a delicious and nutritious treat. They can be enjoyed on their own, mixed into yogurt or oatmeal, or used as a topping for pancakes. But before you can enjoy them, they need to be prepared properly. Here’s how to do it:
Start by rinsing your blueberries in cold water. This will help remove any dirt or debris that may have attached itself to the fruit. Do not soak them in water; just give them a quick rinse.
Next, look through the berries and remove any stems or leaves that may be attached to the fruit. You can also remove any bruised or soft berries as these will not hold up well when cooked.
Once you have done that, it is time to dry the blueberries off using a paper towel. This will help to ensure that they are not too wet when added to recipes.
Finally, you can store your blueberries in an airtight container in the refrigerator for up to three days. They should also be stored away from other strong-smelling foods so that their flavor is not affected. Enjoy!
Adding the Sure Jell and Sugar
Making jam at home is a great way to enjoy the fruits of your labor. To ensure your jam turns out the best, it is essential that you add the right amount of Sure Jell and sugar. Sure Jell is a type of pectin that helps thicken your jam. The right amount of sugar helps sweeten and preserve your jam.
When making jam, you should always follow the recipe instructions carefully when it comes to adding Sure Jell and sugar. Generally, for every four cups of crushed fruit, you will need one packet of Sure Jell and seven cups of sugar. Be sure to mix in the Sure Jell first before adding in the sugar. This helps make sure it dissolves completely and evenly throughout the mixture.
Once both ingredients have been added, stir them into the mixture until they are fully incorporated. You can use a spoon or other utensil to create a circular stirring motion throughout the mixture until all ingredients are combined together. Once this is done, your mixture should be ready for boiling or canning depending on how you plan on preserving it.
Adding the right amount of Sure Jell and sugar to your jam is an important step in ensuring that it turns out as delicious as possible. When following a recipe, be sure to measure out these ingredients carefully and mix them in evenly throughout your mixture for best results!
Bringing the Jam to a Boil
Making homemade jam is a joy that many people enjoy. Whether you are using freshly picked berries or purchasing them from your local farmer’s market, the process of taking the fruit and turning it into a delicious spread is both rewarding and fun. To make a great jam, you must first understand the basics of preparing it. This includes selecting the right fruit, measuring out the sugar and pectin needed, and bringing the mixture to a boil.
First, you will need to select your fruit. Berries are usually the go-to choice for making jams, but other fruits such as peaches or apricots can also be used. Depending on what type of flavor you want your jam to have, choose accordingly. Once you have your fruit picked out, measure out how much sugar and pectin will be needed for your recipe. Pectin helps thicken the jam so that it will set properly when cooled.
Next, prepare your pot or pan for boiling. You will need one large enough to accommodate all of your ingredients, as well as enough water to cover them by at least an inch or two. Once this is done, add all of your ingredients into the pot – including sugar and pectin – and bring it up to a medium heat over medium-high flame until everything is dissolved and incorporated together evenly. Then reduce the heat to low and let simmer for about 20 minutes until thickened slightly.
Finally, test if your jam has reached its desired consistency by placing some on a cold plate or spoon to cool quickly before tasting it. If it’s too runny add in some more pectin; if too thick add in some water or lemon juice as needed until desired texture is achieved before removing from heat and pouring into jars while still hot for storage in the refrigerator once cooled completely.
Making jam can be intimidating at first but with practice comes perfection! Following these steps will bring you one step closer to making delicious jams that can be enjoyed year round!
Testing the Jam for Doneness
Making jam is a process of reducing the amount of liquid in the fruit mixture to achieve a thick, spreadable consistency. Knowing when the jam is done can be tricky, but there are a few easy tests you can use to make sure it’s ready. The most common method for testing doneness is to spoon a small amount of hot jam onto a cold plate or spoon and wait a minute or two. If it thickens and holds its shape, then it’s ready. Another method is to check the temperature of the jam with an instant-read thermometer; when it reaches 220°F, it’s ready. Finally, you can test by dropping a small amount from a spoon and watching how quickly it runs off; if it leaves behind a thick coating on the spoon, then it’s done. Once your jam has reached its desired doneness, remove it from heat and let cool before storing in an airtight container.
Skimming Off Any Foam From the Jam
Skimming off foam from jam is an important part of the canning process. Jam must be boiled for a certain amount of time in order to achieve the correct consistency. During this cooking process, foam can form on top of the jam, and this should be removed before canning. In order to remove the foam, a skimmer or large spoon should be used to scoop it off. It is important that all of the foam is removed from the jam, as leaving any behind may cause spoilage or discoloration. After skimming, the jam should be cooled before being canned and sealed.
Skimming off foam from jams and jellies is also important for aesthetic reasons. Foam on top of jams and jellies can give them an unappetizing appearance, so it’s important to remove as much as possible before serving or storing them. Skimmed jams and jellies tend to have a smoother, more attractive appearance than those with visible foam on top.
In addition to skimming off any foam from jams and jellies before canning or serving them, it’s also important to stir any boiling fruit mixtures often in order to prevent foam from forming in the first place. Stirring helps break up any clumps that may cause bubbles which can eventually form into foam on top of the mixture.
Preparing the Jam
Making jam is a fun and rewarding process. To make delicious jams, you will need to select ripe and sweet fruits, such as strawberries, blueberries, raspberries, blackberries or a combination of these. A good rule of thumb is to use two parts fruit to one part sugar and one part water. Depending on the type of fruit you’re using, you may need to add some lemon juice for additional tartness. Once all your ingredients are combined, you will need to bring the mixture to a boil over medium-high heat. Once boiling, turn down the heat to low and let simmer for 30 minutes or until the mixture thickens. Make sure to stir regularly to avoid burning and ensure an even consistency.
Cooling the Jam
Once your jam has reached the desired consistency, turn off the heat and let it cool for about 10 minutes before transferring it into jars. This will help prevent any bacteria from growing in your jam.
Transferring the Jam into Jars
When transferring your jam into jars it’s important that they are clean beforehand. You can either boil them in hot water for 10 minutes or use a dishwasher. After they have cooled down, fill each jar with your homemade jam until just below its rim. Then seal each jar tightly with its lid and place them in a cool location away from direct sunlight until ready to use.
Sealing the Jars of Blueberry Jam
Sealing the jars of homemade blueberry jam can be a tricky process, but with a few simple steps, it can be done safely and easily. The first step is to make sure that all of the jars have been properly sterilized. This can be done by boiling them in water for several minutes or by running them through a dishwasher cycle. Once they have been sterilized, they should be allowed to cool before adding the jam.
Next, it’s important to make sure that the lids and bands of the jars are also properly sealed. This can be done by tightening the bands with a pair of pliers or by using rubber bands to secure them shut. Once this has been done, it’s time to add the jam to each jar. Make sure that there are no air bubbles in each jar before sealing them shut.
Finally, it’s time to process the jars of blueberry jam. Processing involves placing the sealed jars into boiling water for a certain amount of time in order to create an airtight seal on each jar. After this is complete, take out each jar and let it cool before storing it away for later use. With these simple steps, you can easily seal your homemade blueberry jam and store it away for future use!
Conclusion
Making blueberry jam with Sure Jell is a fun and rewarding experience. You can make sure your jam is delicious by using the freshest berries, and carefully following the recipe instructions. The end result is a generous supply of homemade blueberry jam that can be enjoyed for days, weeks, or even months.
The process requires patience and practice to perfect, but if you follow the steps outlined above, you’ll have delicious blueberry jam in no time. You can also use Sure Jell to make other types of jams and jellies with different fruits and flavors – the possibilities are endless! Whatever you decide to make, it’s sure to be a tasty treat.

