
Making blueberry jam from frozen blueberries is a simple and delicious way to enjoy the summer fruit all year round. The process is quick and easy, requiring just a few ingredients and some basic kitchen equipment. With the right techniques, you’ll be able to create a delicious jam that you can enjoy for months to come. In this guide, we’ll take you step-by-step through the process of making blueberry jam from frozen blueberries. You’ll learn how to pick the best berries, prepare them for cooking, cook the jam, and store it properly so it stays fresh. When you’re done, you’ll have an amazing homemade blueberry jam that’s sure to please!To make blueberry jam from frozen blueberries, you will need: 4 cups of frozen blueberries, 2 tablespoons of freshly squeezed lemon juice, 1 cup of granulated sugar, 1 teaspoon of ground cinnamon, and ½ teaspoon of ground nutmeg. Additionally, you will need a small saucepan and a spoon for stirring.
Making Blueberry Jam from Frozen Blueberries
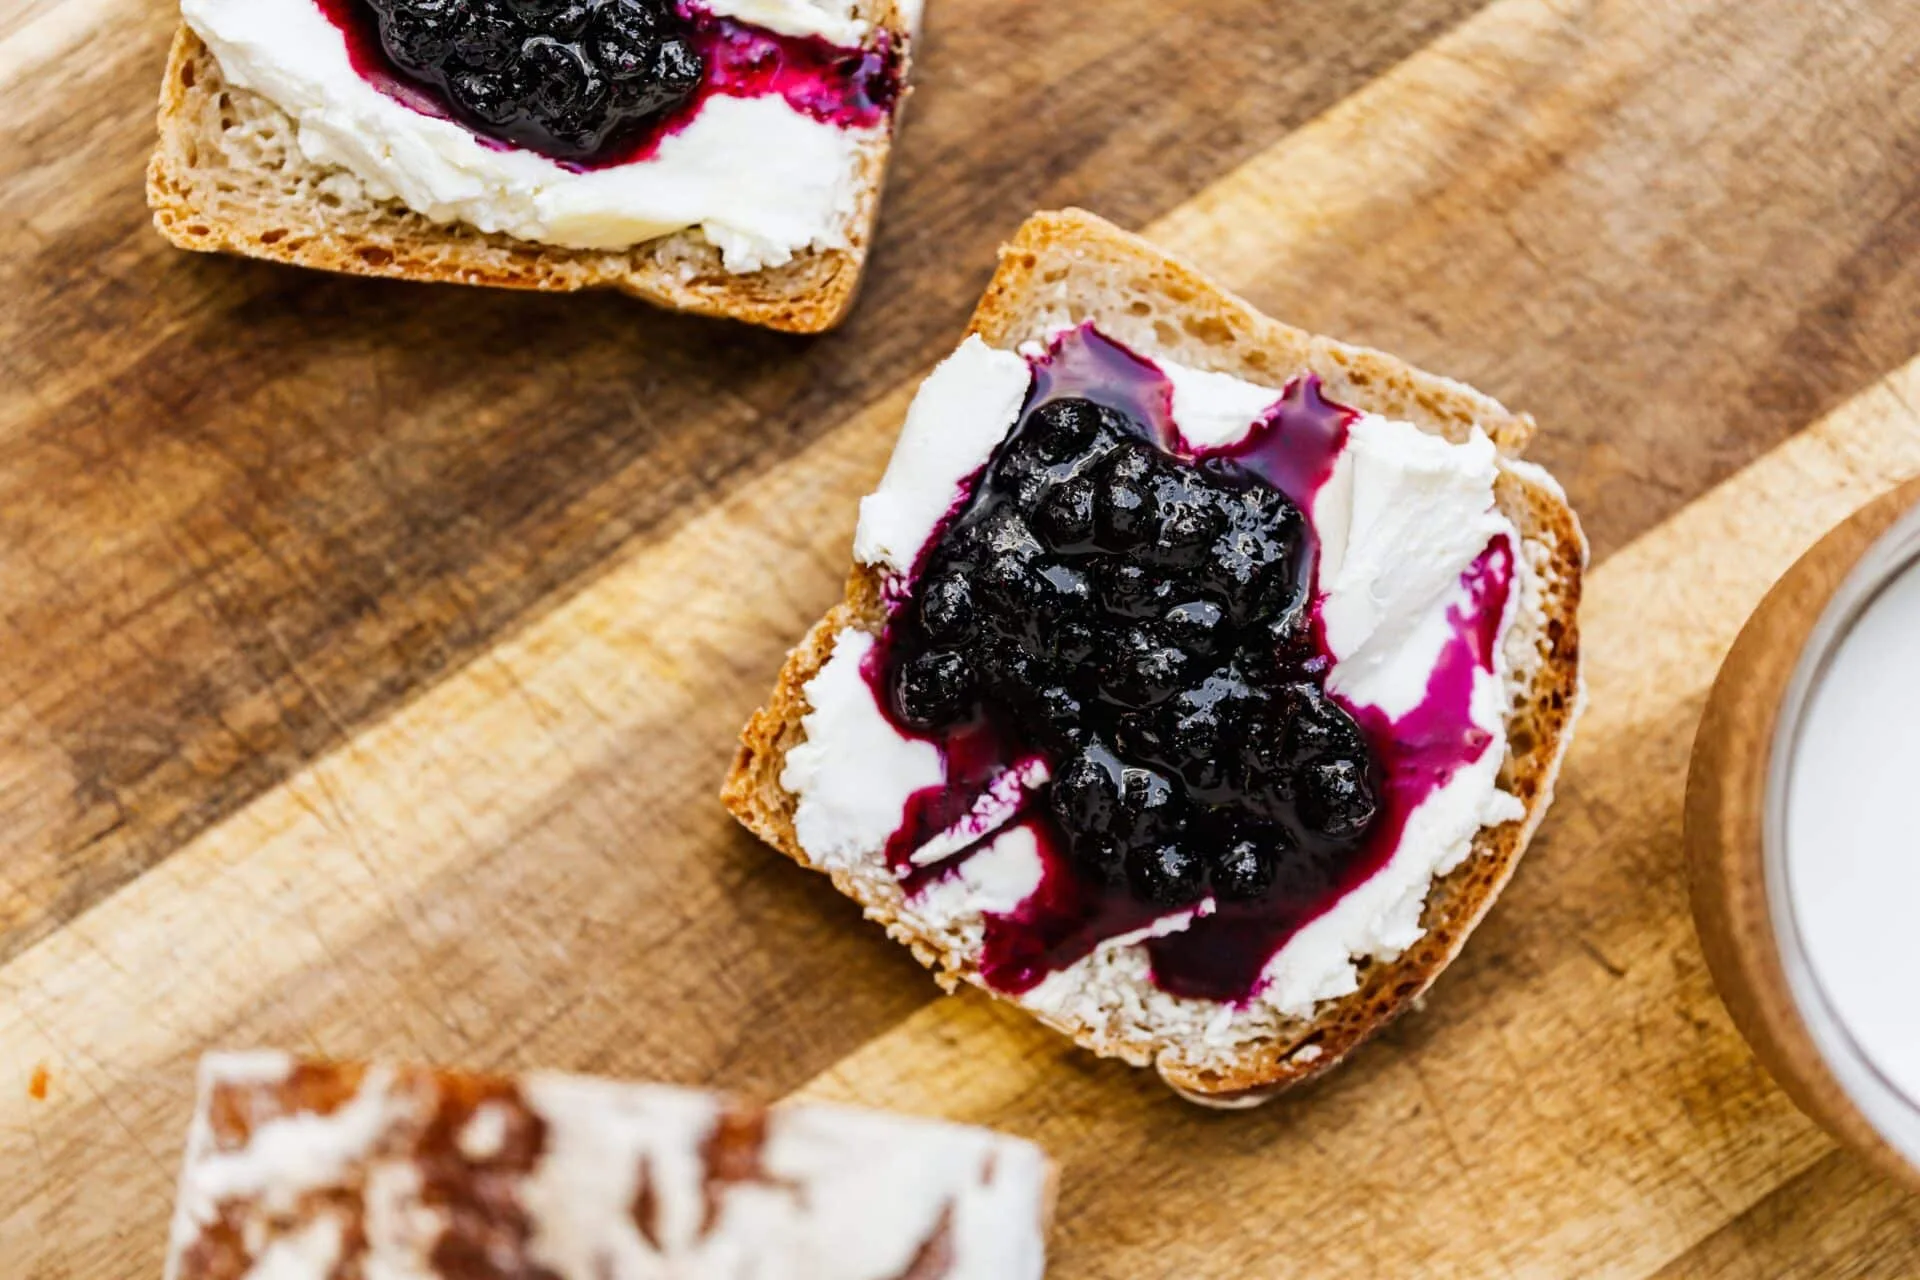
Making jam from frozen blueberries is a great way to enjoy this delicious fruit all year round. It can be used to spread on toast, muffins, pancakes or to fill pies and cakes. The process of making blueberry jam is easy and straightforward, and you only need a few simple ingredients. Here’s a step-by-step guide to help you make the perfect blueberry jam.
First, you’ll need to gather your ingredients. You’ll need one pound of frozen blueberries, one cup of sugar, two tablespoons of lemon juice, and one tablespoon of butter (optional). Make sure that the blueberries are completely thawed before beginning.
Next, place the blueberries in a large pot over medium heat and stir constantly until they begin to break down and release their juices. Once they have broken down enough, add the sugar and stir until it has dissolved completely. Then add the lemon juice and butter (if using) and stir again until everything is combined.
Now it’s time to bring your mixture to a boil. Once it reaches a rolling boil, reduce the heat to low-medium and let it simmer for about 20 minutes or until it has thickened slightly. Stir occasionally during this time so that it doesn’t burn or stick to the bottom of the pot.
Once your mixture has thickened slightly, turn off the heat and allow it to cool for about 10 minutes before transferring it into clean jars or containers for storage. If you want your jam smoother in texture, use an immersion blender or food processor at this stage until you reach your desired consistency. Store in an airtight container in the refrigerator for up to 3 months.
And there you have it! Your homemade blueberry jam is now ready for use! Enjoy on toast or spread on muffins – however you like!
Preparing the Blueberries for Jam Making
Making jam can be a long and painstaking process, but the results are worth it. To make the perfect blueberry jam, it is essential to start with fresh blueberries. Before beginning the jam-making process, it is important to properly prepare the blueberries so that they are ready to be used.
To start, rinse the blueberries in cold water and remove any stems or leaves. Once rinsed, spread them out on a paper towel and allow them to dry completely. This step is important for removing any dirt or debris that may have been on the berries.
Once dry, use your hands to gently crush each blueberry. This will help break down their cell walls and allow for more even cooking later on. When crushing the berries, be sure not to overdo it as this can result in a mushy jam consistency. The goal is to break them down enough so that they cook evenly while still retaining some of their shape and texture.
Finally, measure out your desired amount of blueberries and place them into a bowl that can be used during the cooking process. Be sure not to overcrowd the bowl as this could result in uneven cooking or burning of some of your berries. Preparing your blueberries ahead of time will save you time during the actual jam-making process and help ensure you get delicious results every time!
Heating the Blueberries to Prepare for Jam Making
Heating the blueberries is an important step in making jam. It helps to break down the fruit and extract its natural juices, as well as create a sweet, thick consistency. The process of heating blueberries is simple and straightforward. All you need is a pot or pan and some heat.
Start by washing your blueberries in cold water, then patting them dry with a paper towel. Place the berries in a pot or pan and set it over medium-high heat. As the berries heat up, they will begin to soften and release their natural juices. Keep stirring them occasionally to prevent burning or sticking to the bottom of the pot.
Once they have softened and are beginning to release their juices, turn down the heat and let them simmer for about 10 minutes. You can also add sugar or honey at this point for additional sweetness, if desired. The mixture should become thick and syrupy as it cooks down. Once it has reached your desired consistency, remove it from the heat and let it cool before transferring it into jars for storage.
Heating blueberries is an essential step in creating delicious homemade jam that is full of flavor and has a great texture. With just a few simple steps, you can easily prepare your berries so that they are ready for canning or use right away!
Adding Sweetener and Thickening Agents to the Blueberries
Adding sweetener and thickening agents to blueberries can make a delicious, healthier dessert or snack. There are several ways to do this that don’t require a lot of effort. The most popular method is to use a combination of honey, sugar, cornstarch, and water. This mixture is boiled until it becomes thick and then added to the blueberries. The result is a sweetened and thickened blueberry treat that can be enjoyed as-is or served with other dishes. Other options include using agave nectar or other natural sweeteners such as maple syrup or coconut sugar. Agave nectar has a milder flavor than honey so it may be preferred by some people.
Another way to add sweetness and thickness to blueberries is by making a jam or jelly with them. Blueberry jam or jelly can be made quite easily in a pot on the stovetop with just some sugar, lemon juice, and cornstarch as the main ingredients. The blueberries are simmered until they break down and then boiled with the other ingredients until it reaches the desired thickness. Once cooled, it can be stored in an airtight container in the refrigerator for up to two weeks.
Finally, adding a bit of yogurt to fresh blueberries can also work well for adding sweetness and thickness. The yogurt provides natural sweetness as well as probiotics which are beneficial for gut health. It also helps give the berries more body so they don’t run all over the plate when served in desserts or snacks. To make this yogurt-blueberry mix simply combine plain yogurt with fresh blueberries in a bowl and enjoy!
How to Test If the Jam is Ready
Making jams and jellies is a fun and rewarding activity, but it can be difficult to know when the jam is ready. To ensure that your jam has reached the proper consistency, there are a few tests you can do to determine if your jam is ready.
The first test you can do is the spoon test. Dip a spoon into your jam and see if it coats the back of the spoon. If so, your jam is ready. Another test is called the wrinkle test. Put a small amount of jam on a plate or saucer and let it cool for one minute. Push the jam with your finger; if it wrinkles, then it’s ready.
You can also try the temperature test to determine if your jam is done cooking. Use a candy thermometer and measure the temperature of your mixture; when it reads 220°F (104°C) then you know that your jam is cooked sufficiently.
Finally, taste testing your jam will help you determine if it’s ready or not; however, this should be done with caution as jams contain high concentrations of sugar which can cause burns if not handled properly. Taste testing also requires that you wait until the mixture has cooled down so that you don’t burn yourself in the process.
By following these steps, you will be able to accurately determine when your jam or jelly has reached its optimal consistency and flavor. Knowing when your jams are done cooking will ensure that they are safe to eat and enjoyable for everyone!
Taking the Jam off the Heat and Cooling It Down
Once all the ingredients for your jam have been prepared, it’s time to start cooking. The jam needs to be cooked for a while over low heat, stirring constantly. Once the jam has reached its desired consistency, it is important to take it off the heat and begin cooling it down. This will help prevent overcooking and ensure that the jam sets properly.
The first step in cooling down your jam is to remove the pot from the heat source and set it aside in a safe location. Letting your pot sit for a few minutes will help cool down some of the residual heat in the pot before you transfer it to another container.
Once your pot has cooled slightly, you can then pour your jam into a clean jar or container with an airtight lid. Make sure that you leave about an inch of headspace at the top of the jar so that any bubbles created by boiling can escape without spilling over. Securely close your jar and place it in a cool area away from direct sunlight until completely cooled down.
Once cooled down, you can now store your homemade jam for up to three months in a sealed container either in the refrigerator or a cool dark cupboard away from direct sunlight. Enjoy!
Sterilizing Jars for Storing the Jam
One of the most important steps in making jam is sterilizing the jars. This ensures that the jam is kept safe from bacteria and mold while it sits on the shelf. To do this, you’ll need to get some glass jars with lids that fit tightly. Wash them in hot, soapy water and rinse them thoroughly. Place them on a baking sheet and put them in an oven preheated to 350°F (177°C). Leave them in for about 10 minutes to ensure they are completely sterilized. After they are done, remove them from the oven and let them cool before filling with your jam.
It’s also important to make sure that all of your canning supplies are sterilized as well. This includes any spoons or ladles you use to scoop out the jam, as well as any funnels or other tools you use to fill the jars. Use boiling water or a dishwasher to make sure everything is clean before you start canning your jam. This will help to ensure that your jam is safe and free from any contamination before it goes into the jars.
Once everything is sterilized, you’re ready to fill your jars with jam and seal them up! Make sure you leave enough headspace at the top of each jar; this will help prevent spoilage during storage. Once sealed properly, you can place your jars on a shelf or in a pantry where they will keep for several months without issue. Enjoy!
Conclusion
Making blueberry jam from frozen blueberries is a simple and easy process with great results. You can make it with any type of sweetener, but honey or maple syrup work best. You can also add spices to the jam for added flavor. The key to making the perfect jam is to simmer it until it reaches a thick, syrupy consistency. You can then store the jam in the refrigerator for up to two weeks and enjoy its delicious flavor whenever you like.
Making your own homemade blueberry jam is a great way to enjoy fresh and natural flavors in your cooking and baking. With a few simple steps, you’ll be able to make your own delicious blueberry jam that you and your family can enjoy all year round!

