

Creating a strawberry flower is an easy and fun way to dress up a dessert or add a creative garnish to a cocktail. All you need is some fresh strawberries and a sharp knife. With a few simple cuts, you can transform an ordinary strawberry into an attractive edible flower. This tutorial will show you how to make a strawberry flower in just four simple steps.To make a strawberry flower, you will need the following supplies: one strawberry, a sharp knife, and a cutting board.
Begin by washing and drying the strawberry. Place it on the cutting board.
Using the knife, carefully cut into the top of the strawberry in a spiral pattern, starting from the stem and ending at the tip. Make sure to cut only halfway into the strawberry.
Once you have finished cutting, carefully twist off the top of the strawberry to create petal shapes. You should now have a strawberry flower with five petals.
If desired, you can add a small piece of mint or other edible garnish in the center of your flower.
Your strawberry flower is now ready to be enjoyed!
Gather the Materials
Before you begin any project, it’s important to gather all of the materials you’ll need. Doing this beforehand will save you from having to stop mid-project and run to the store for supplies. When projects require a lot of materials, it can also help to make a list. That way, you can make sure you’ve got everything before you get started. Depending on what type of project you’re doing, the materials will vary. Make sure to read through instructions thoroughly and double-check that you have all the items listed before beginning.
If there are any tools or special components needed for your project, these should be included on your list as well. To make things easier, it’s a good idea to have all of your materials organized and within reach while working. Make sure to take inventory of your supplies periodically throughout the project in order to stay organized and on track with your progress.
Gathering all of the necessary supplies will help ensure that your project runs smoothly from start to finish. Taking inventory is also helpful if you plan on taking on similar projects in the future; it can help you know what additional tools or components are needed so that time is not wasted running back and forth between stores or online shops.
Gathering Supplies
When it comes to making a base, the first step is to gather supplies. This includes gathering wood, metal, and tools. You’ll need nails, screws, saws, hammers, and anything else you can think of that will help you build your base. Make sure to measure everything twice before you begin building so that everything fits perfectly once you start construction.
Designing the Base
Once you’ve gathered all of your supplies, it’s time to start designing the base. This is where creativity comes in! Think about what type of structure you want and how you want it to look. Sketch out your ideas on paper or use a computer program to create a 3D model of what the finished product will look like. Make sure that the design is practical and efficient; this will help make the building process easier.
Creating a Foundation
Once you have a plan for your base, it’s time to start creating a foundation. The foundation is what will keep your structure stable and secure, so make sure it’s strong enough for whatever purpose it’s going to serve. Dig deep into the ground and use reinforced concrete or another sturdy material for the foundation.
Constructing Walls
Now that the foundation is complete, it’s time to start constructing walls. Start by laying down planks of wood or sheets of metal; these will form the main structure of your base. Nail or screw them together as tightly as possible so they are strong enough to hold up whatever is inside. You can also add insulation between the walls if needed.
Adding Finishing Touches
Once all of the walls are in place, it’s time to add some finishing touches! Paint or wallpaper can give your base a unique look while also protecting against moisture damage and other environmental factors. You can also install windows or doors if necessary; just make sure they are securely fastened so they don’t come loose over time.
Testing Your Base
The last step in making a base is testing it out! Put some weight inside the structure and see if it holds up; if not, go back and reinforce any weak points before adding occupants or other items inside. Once everything passes inspection, congratulate yourself on successfully building your own base!
Cut the Strawberries
Cutting strawberries may seem like a simple task, but it can be tricky to get the perfect strawberry slices. Start by washing your strawberries and then pat them dry with a paper towel. Next, cut off the top of the strawberry and slice it in half lengthwise. To get even slices, start at the top and make your way down making thin cuts as you go. You can also cut the strawberry into rings if you prefer. Once you have finished cutting up your strawberries, they are ready to be used in any recipe!
When cutting strawberries, it’s important to keep in mind that larger strawberries may need to be cut into smaller pieces, depending on how you plan on using them. If you are using them for a garnish or a fruit-salad-dreamlight-valley/” title=”How To Make Fruit Salad Dreamlight Valley”>fruit salad, larger slices may be more appropriate. However, for desserts such as cakes or pies, smaller pieces will work best. Whatever size you choose to cut your strawberries into, remember to have fun and enjoy!
Insert Stems into Strawberries
Inserting stems into strawberries is a simple task that does not require any special tools or skills. All that is needed is a small, sharp knife. To begin, rinse the strawberries in cold water and then pat them dry with a clean paper towel. Next, hold each strawberry firmly in one hand and take the knife in the other hand. Carefully insert the knife into the top of the strawberry and cut a small hole in the center. Insert the stem into this hole, pushing it firmly until it is secure. Finally, remove any excess stem by snipping off with scissors. Doing this will help ensure that the strawberries will stay fresh longer when stored.
Using this method to insert stems into strawberries can be done quickly and efficiently without compromising their quality or freshness. In addition, it allows for easy storage and transportation of these delicious fruits without having to worry about them getting crushed or damaged due to lack of support from their stems. This simple technique is an economical way to keep your strawberries fresh for days or weeks at a time!
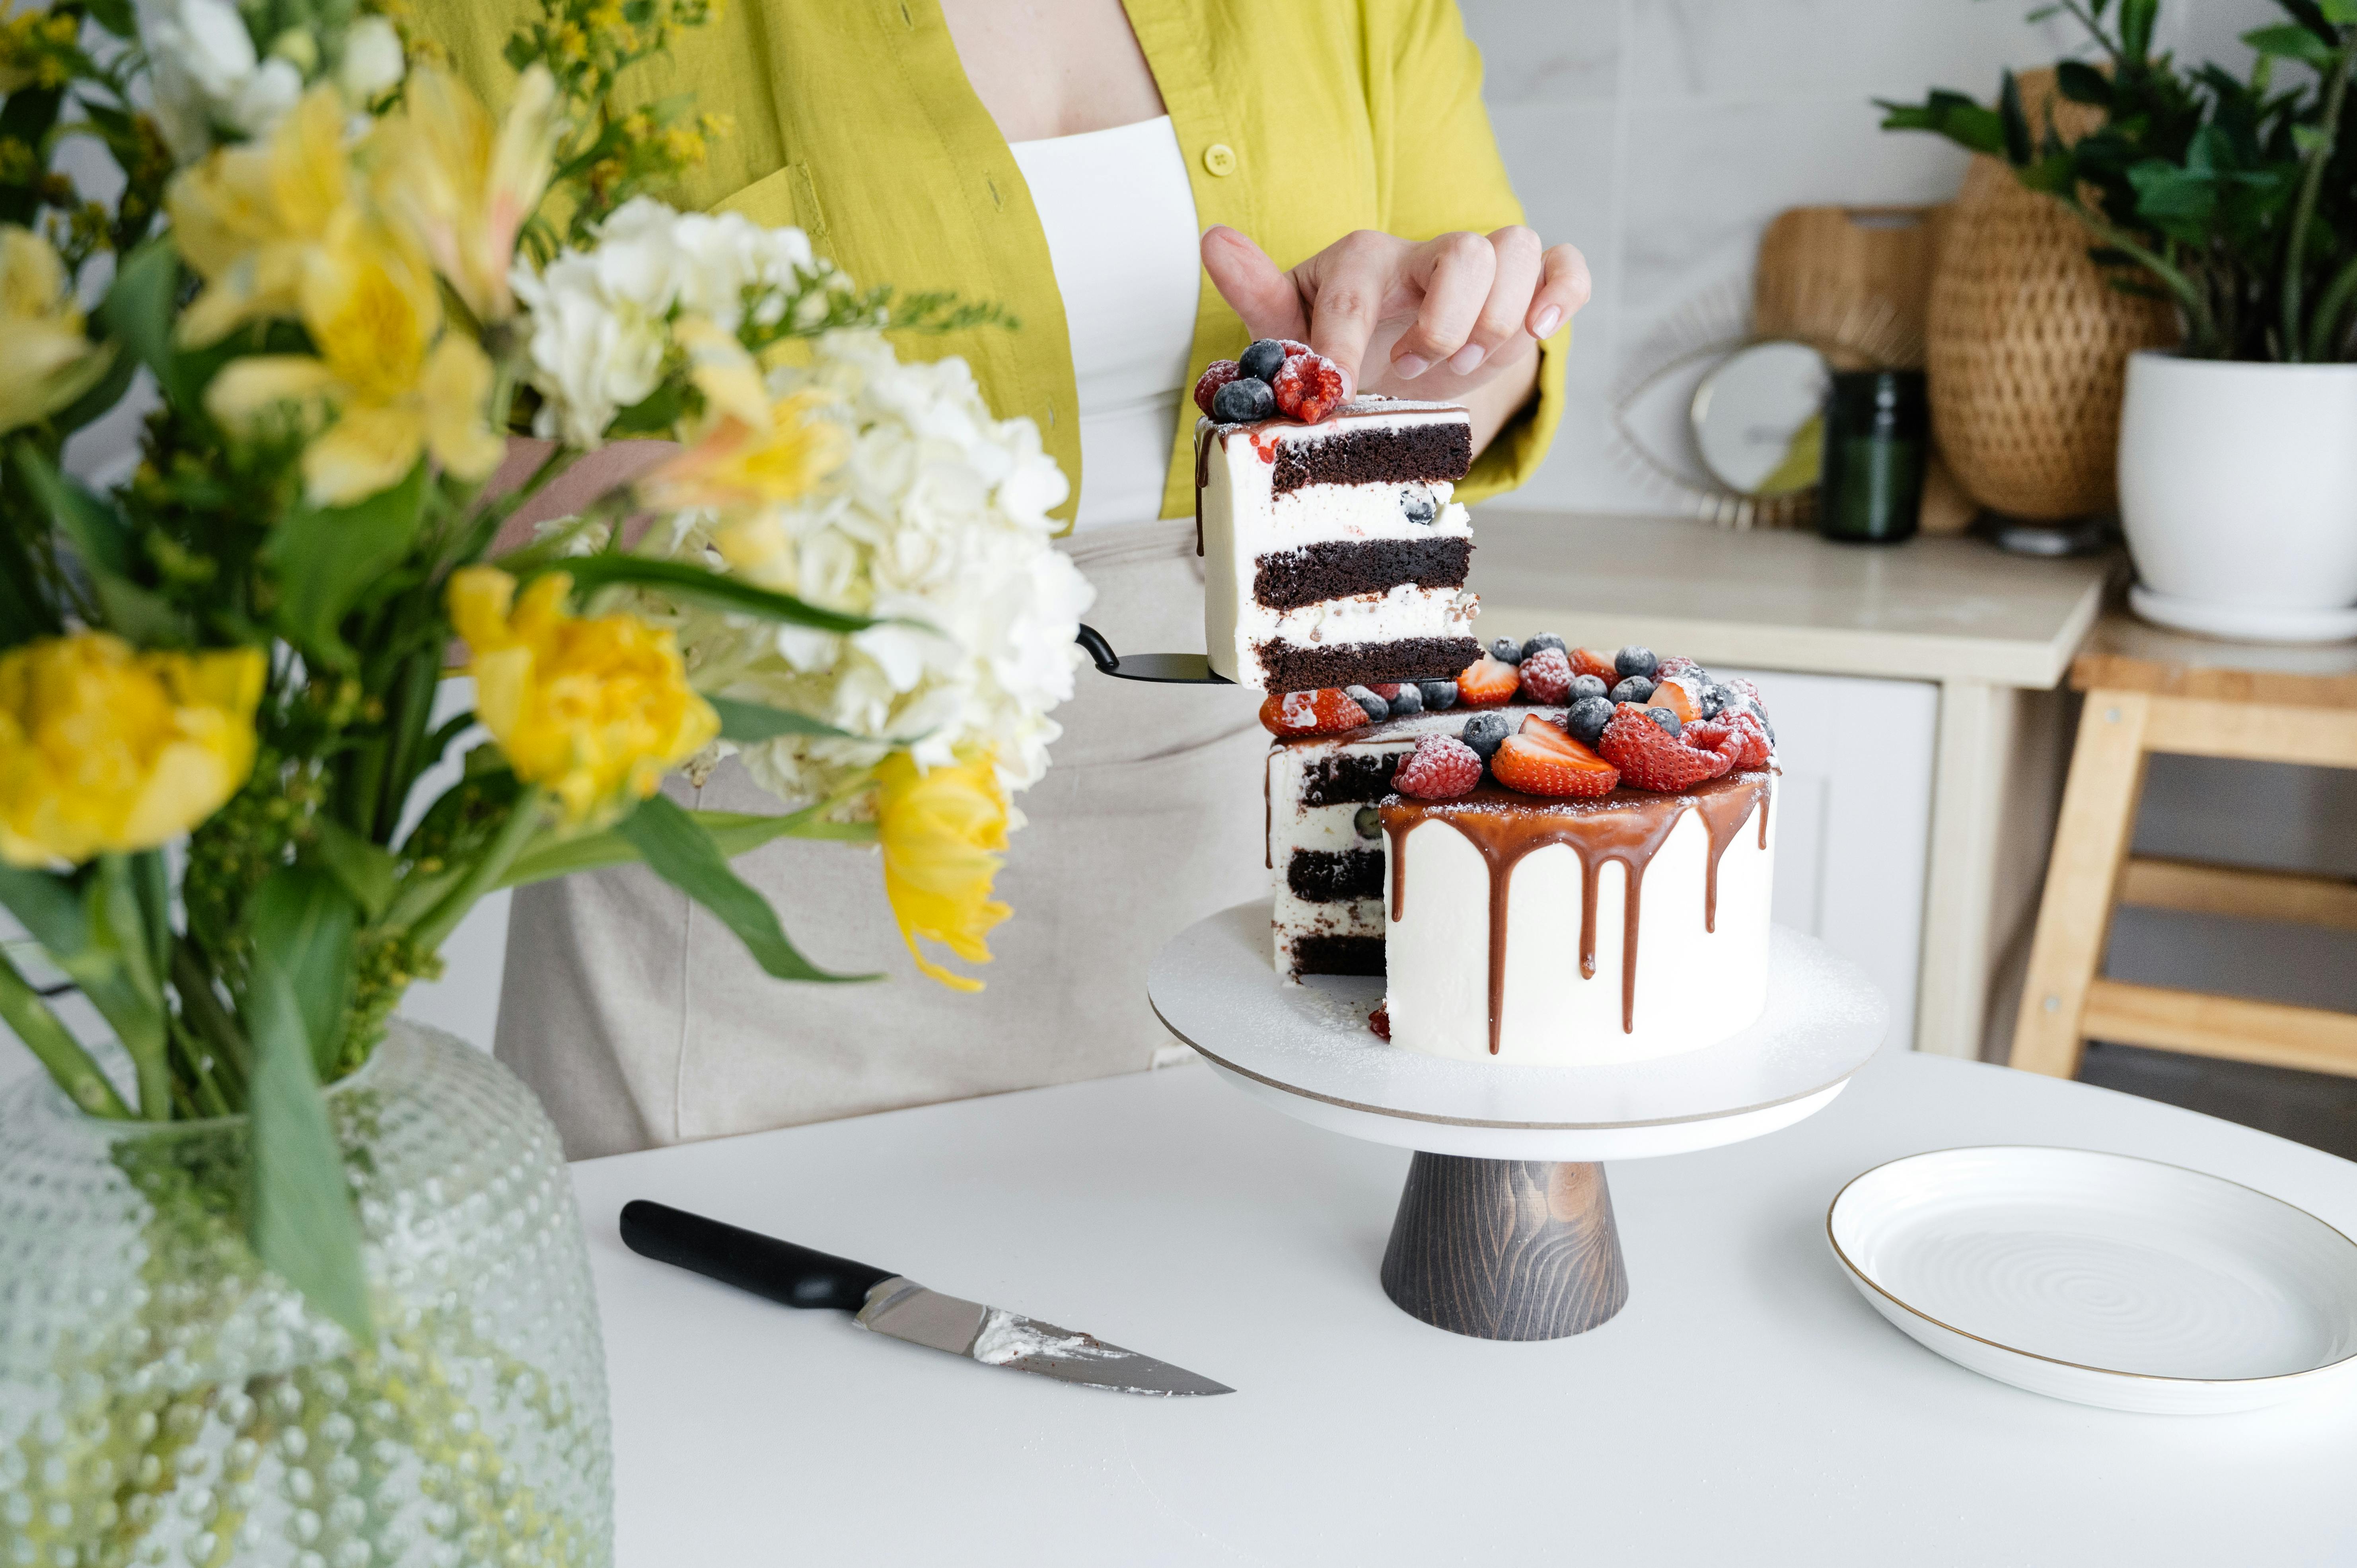
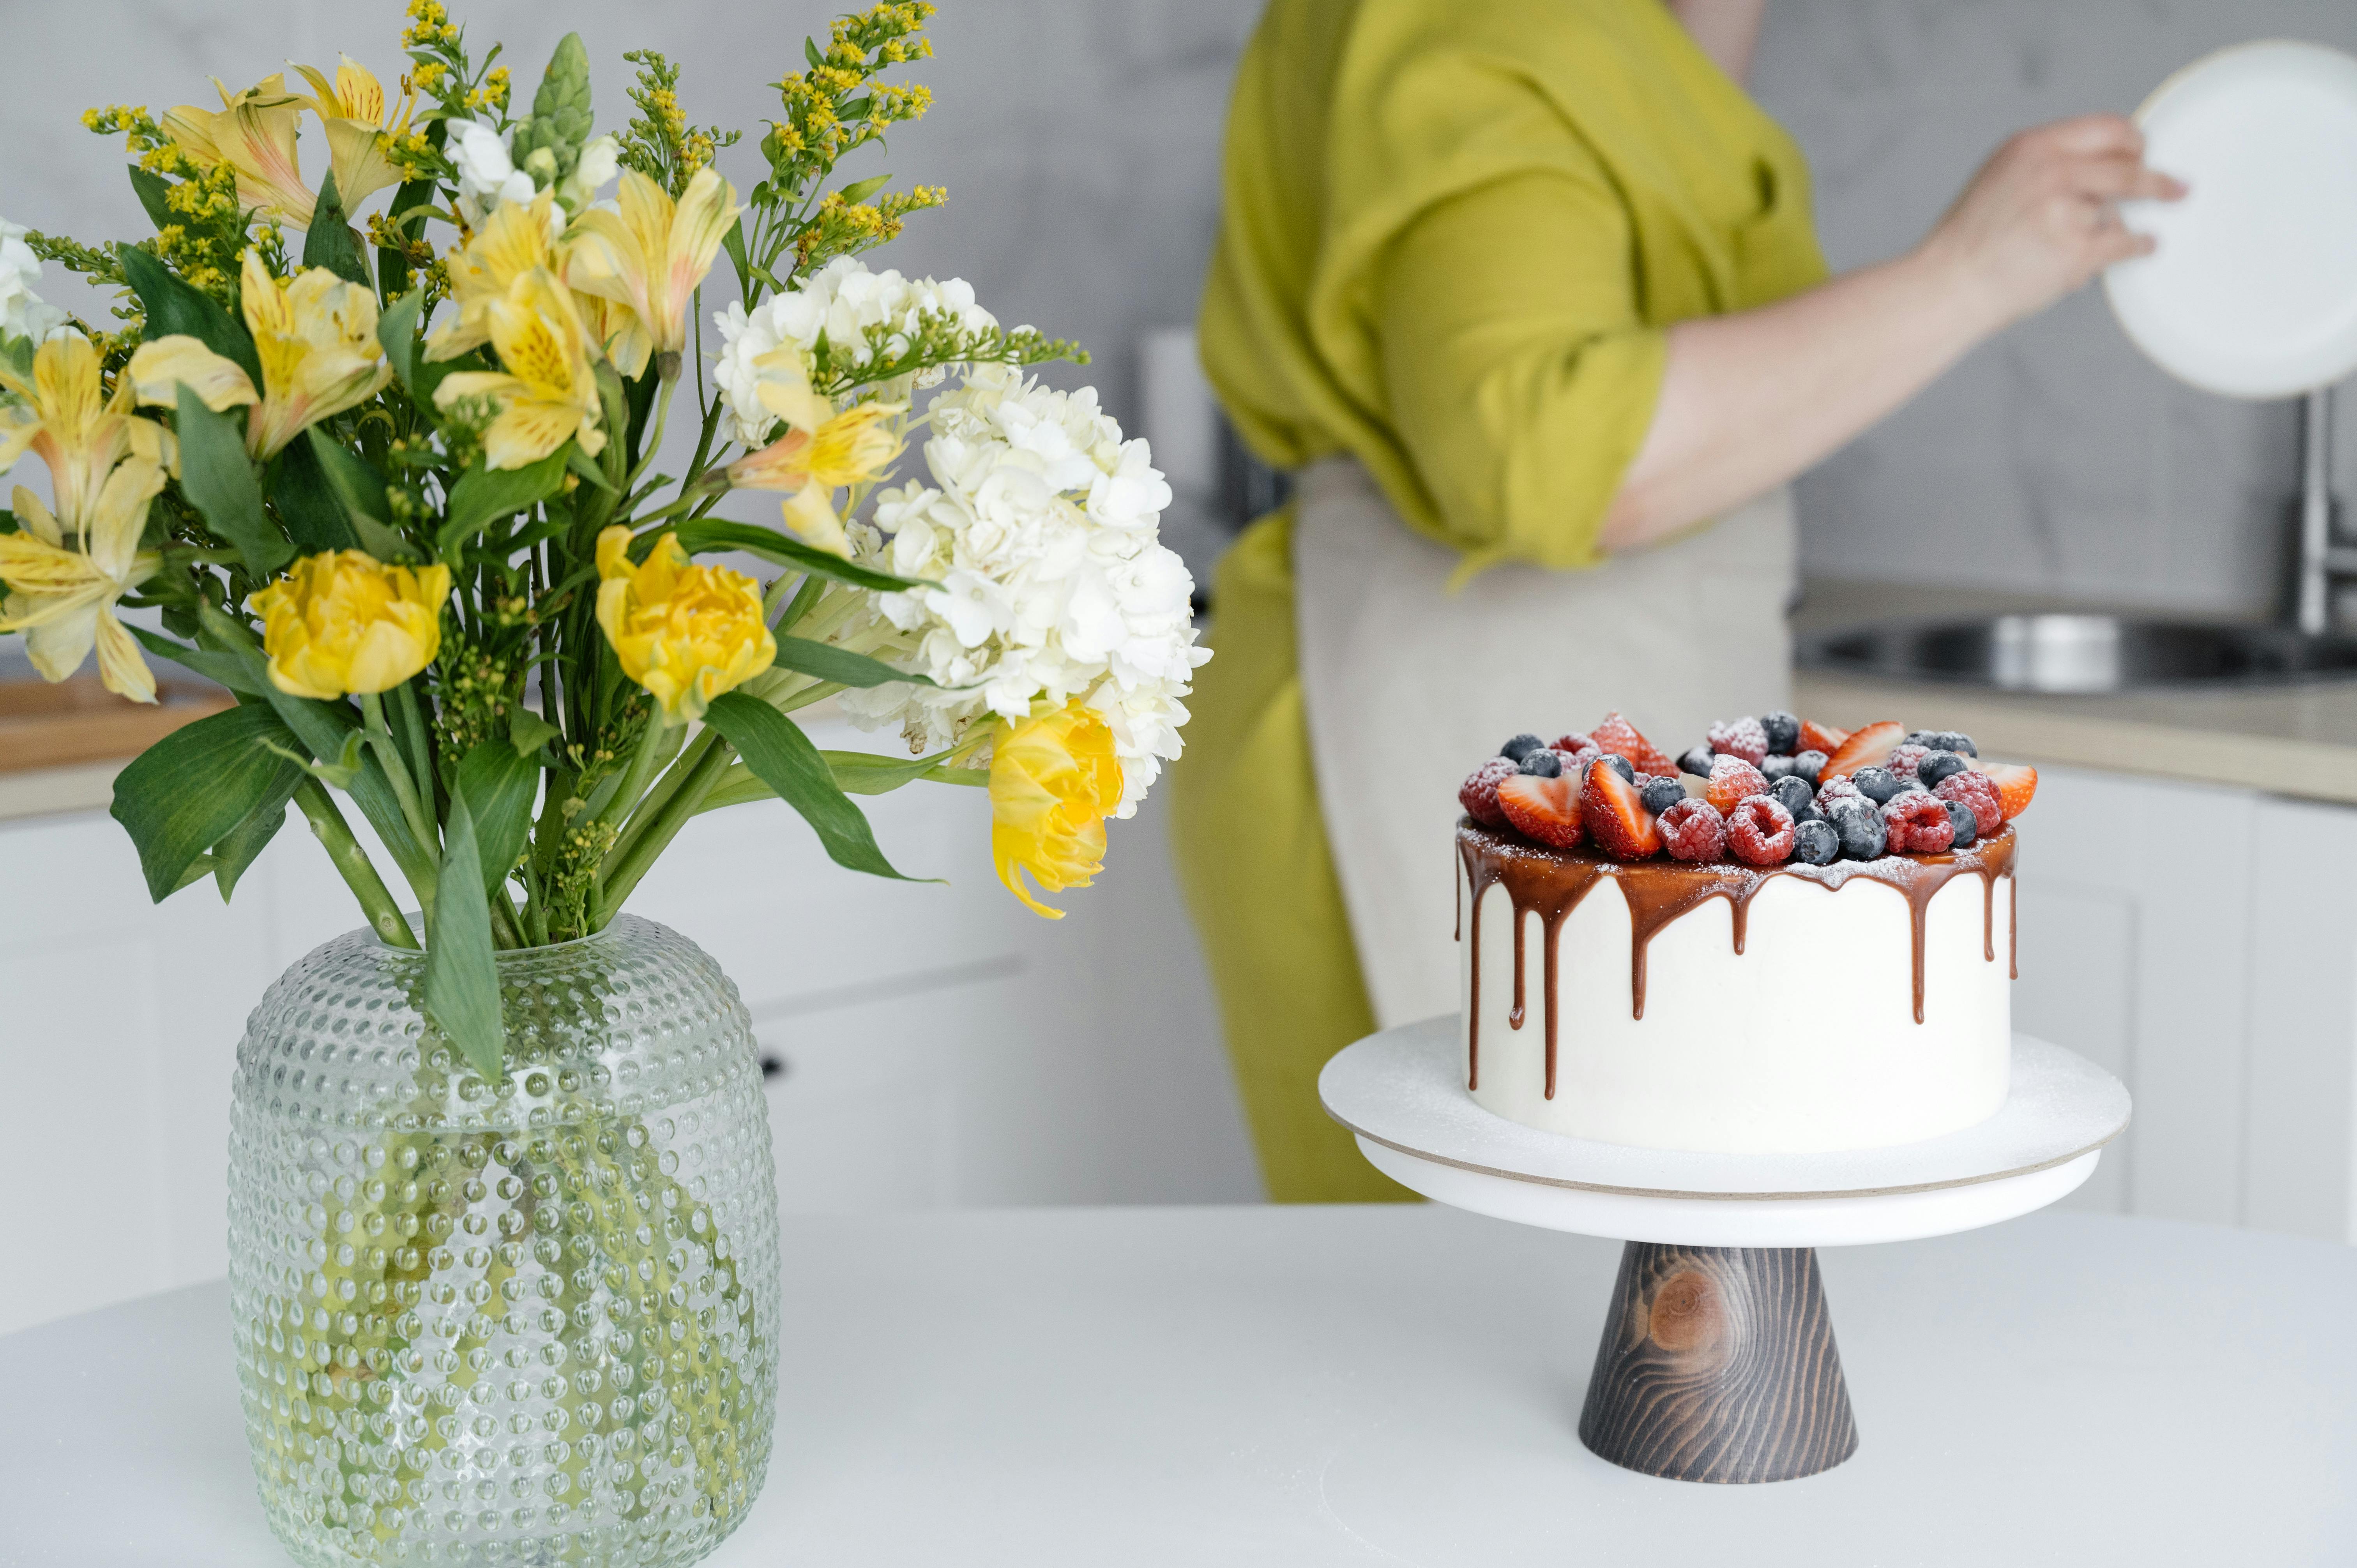
Place Strawberries on Base
When it comes to assembling a delicious fruit tart, one of the most important steps is to place the strawberries on the base. It is important that you start by laying out the strawberries in an even pattern on the tart base. If you have large strawberries, be sure to cut them into slices and spread them evenly across the base. If you are using smaller strawberries, you can leave them whole. Once all of the strawberries are evenly spaced, take a few minutes to arrange them in a decorative pattern if desired. This will give your tart an extra touch of elegance and make it look even more inviting and appetizing. To complete the look, sprinkle some powdered sugar over the top for a finishing touch.
Once your tart is assembled, all that is left to do is enjoy! A freshly made fruit tart with perfectly placed strawberries will certainly tantalize everyone’s taste buds and make for an unforgettable dessert experience!
Arrange Strawberries into a Flower Shape
Creating a strawberry flower is an easy and beautiful way to show off your fruit. It’s perfect for any occasion, from special occasions like birthdays and anniversaries, to everyday snacks and desserts. Plus, it looks impressive without much effort!
To begin, you will need strawberries, a sharp knife, and a cutting board. Wash the strawberries with cold water and pat them dry. Cut off the stem of each berry, then cut each one in half lengthwise. You can also cut the strawberries into slices or chunks if you prefer.
Once all of the strawberries are prepped, begin arranging them in a flower shape on your serving platter or plate. Start by placing the two halves of each berry at opposing angles in the center of the plate to form the petals of the flower. Then fill in around them with more slices or chunks of strawberry until you reach your desired size and shape.
Finally, top off your strawberry flower with a few extra berries for garnish! Enjoy your beautiful creation as is or pair it with some other fruits or dipping sauces for an extra special treat. Your guests are sure to be impressed by this stunning presentation!
Add Filler Berries and Leaves
Adding filler berries and leaves to a flower arrangement is a great way to add texture, color, and depth. There are many options when it comes to types of filler berries or leaves. Smaller filler berries can be arranged around larger blooms in a bouquet, while larger ones can be used as the main focal point of an arrangement. Leaves can be used to create an interesting backdrop for your flowers or arranged in more intricate designs.
When selecting filler berries and leaves, consider the style of your flower arrangement. For a more modern look, use brightly colored artificial berries, while for a more natural appearance opt for real greenery. Color is also important – choose colors that will complement other elements in your design.
When arranging filler berries and leaves with other flowers, consider the size of each element. Smaller filler berries should be placed around larger blooms; larger ones can be used as the main focus of an arrangement or incorporated into more intricate designs like flower crowns or wreaths. Additionally, think about how much space you’d like between each element so that no individual item stands out too much from the rest.
Filler berries and leaves are simple yet effective additions to any flower arrangement that can help bring it to life with texture, color, and depth. With a few simple tips you can easily incorporate them into your design for beautiful results!
Conclusion
Making a strawberry flower is a great way to add some elegance to your meal. You can make one with just a few simple steps. Start by cutting the strawberry into slices and forming them into a flower shape. To make the leaves, cut out two small pieces of green apple and attach them to the center of the flower. Finally, attach a mint leaf for an extra touch of decoration. With these steps, you can easily create a beautiful strawberry flower that will impress your guests!
Strawberry flowers are an easy and elegant way to add some creativity to any meal or snack. With minimal effort, you can create something beautiful that will look great on any plate or platter. So why not give it a try?

