
A Strawberry Coolatta is a refreshing and delicious beverage that can be enjoyed on a hot summer day. It is easy to make and requires minimal ingredients and effort. With just a few ingredients, you can make a Strawberry Coolatta in the comfort of your own home! In this guide, we will provide you with step-by-step instructions on how to make a Strawberry Coolatta.To make a Strawberry Coolatta, you will need 1 cup of fresh strawberries, 3 tablespoons of sugar, 1/2 cup of milk, 1/4 cup of heavy cream, 1 teaspoon of vanilla extract, and 4-5 ice cubes.
How to Make a Strawberry Coolatta
Nothing says summer more than a refreshingly delicious Strawberry Coolatta. It’s the perfect treat to cool down on a hot day. With its mix of sweet and tart flavors, it’s sure to become your favorite summertime sip. Here’s how you can make your own Strawberry Coolatta in just a few simple steps.
Start by gathering all of your ingredients. You’ll need: 4 cups of fresh strawberries, 1 ½ cup of water, 2 tablespoons of sugar, 2 tablespoons of lemon juice, and ¼ teaspoon of vanilla extract.
Next, wash the strawberries and remove their stems and leaves. Cut them into small chunks and place them in a blender or food processor. Add the water, sugar, lemon juice, and vanilla extract and blend until smooth.
Once the mixture is blended together, pour it into an ice cream maker or an ice cube tray if you don’t have an ice cream maker. Follow the instructions for your machine or tray to freeze the mixture into slushy consistency.
When the mixture is frozen, scoop it into glasses and top with whipped cream for added sweetness if desired. Serve immediately and enjoy!
With these easy steps you can have your own delicious Strawberry Coolatta ready in no time! Enjoy this refreshing summertime treat with friends or family while taking in the warm summer sun!
Measure Out the Ingredients
Measuring out the ingredients for a recipe is an important step before you start cooking. It ensures that you have the correct amounts of each ingredient, and it can also help you to estimate how much time it will take to prepare the dish. The best way to measure out ingredients is to use a measuring cup or spoon for dry ingredients, and a liquid measuring cup for liquids. If the recipe calls for a specific size of an ingredient, such as chopped onion or diced carrots, make sure to measure them accurately so that they will cook evenly.
When measuring dry ingredients like flour or sugar, use a spoon to scoop the ingredient into your measuring cup until it is slightly overflowing. Then level off the top with a knife or spatula. For wet ingredients like oil or milk, use a liquid measuring cup and fill it up until you reach the desired measurement line. If you overfill the cup slightly, don’t worry – just pour off any extra before adding it into your recipe.
Finally, when adding spices and herbs into your dish, measure out each one separately. This will help to ensure that your dish has an even flavor throughout. Once all of your ingredients have been measured out correctly, you can begin prepping and cooking your recipe!
Mix the Water and Salt
Mixing water and salt is an important step in making ice cream. Start by mixing the two ingredients together in a bowl until they are fully combined. Make sure to mix well, as any undissolved salt will not be able to help the ice cream freeze properly. Once the salt is dissolved, pour it into a shallow container and place it in the freezer to chill. The colder the solution, the better it will help in freezing the ice cream.
Prepare the Base
Once you have chilled your water and salt solution, it’s time to prepare your base. Start by combining all of your ingredients for your base in a separate bowl. This could include cream, sugar, eggs, and any other flavorings you may desire. Once everything is mixed together, transfer it to a saucepan and heat over low-medium heat until all of the ingredients are fully incorporated. Be sure to stir frequently so that nothing sticks or burns.
Chill the Base
Before proceeding with making your ice cream, it is important that you allow your base mixture to cool down completely. This can be done by placing it in an ice bath or simply leaving it out on a countertop for about an hour or so. Once cooled down completely, transfer this mixture into an airtight container and place it into your freezer overnight.
Add the Ice
The next morning when you are ready to make your ice cream, take out both of your mixtures – one with water and salt solution (which should have frozen overnight) and one with chilled base mixture – from their respective containers. Start by adding small amounts of each mixture into a larger bowl while stirring continuously until you reach desired consistency (it should be slightly thicker than regular ice cream). Once this is done, add some more of both mixtures as needed before transferring everything into an airtight container once again. Place this back into the freezer for at least 4 hours before serving!
Blend Together
Creating something special from two distinct items is a skill that has been around for centuries. Blending together different elements to make something beautiful and unique has been a part of the human experience since the dawn of time. From the earliest days of mankind, people have sought to find ways to combine different elements and create something new and exciting. Today, this skill has become even more important in our fast-paced world, as people are increasingly looking for new and creative ways to blend together their favorite ingredients.
In the culinary world, chefs have long been using their skills to create delicious dishes by combining different flavors and ingredients. By expertly blending together different spices, herbs, vegetables and proteins, they can make meals that are truly divine. But this skill is not limited just to cooking – it can also be applied to other areas such as fashion, art and design.
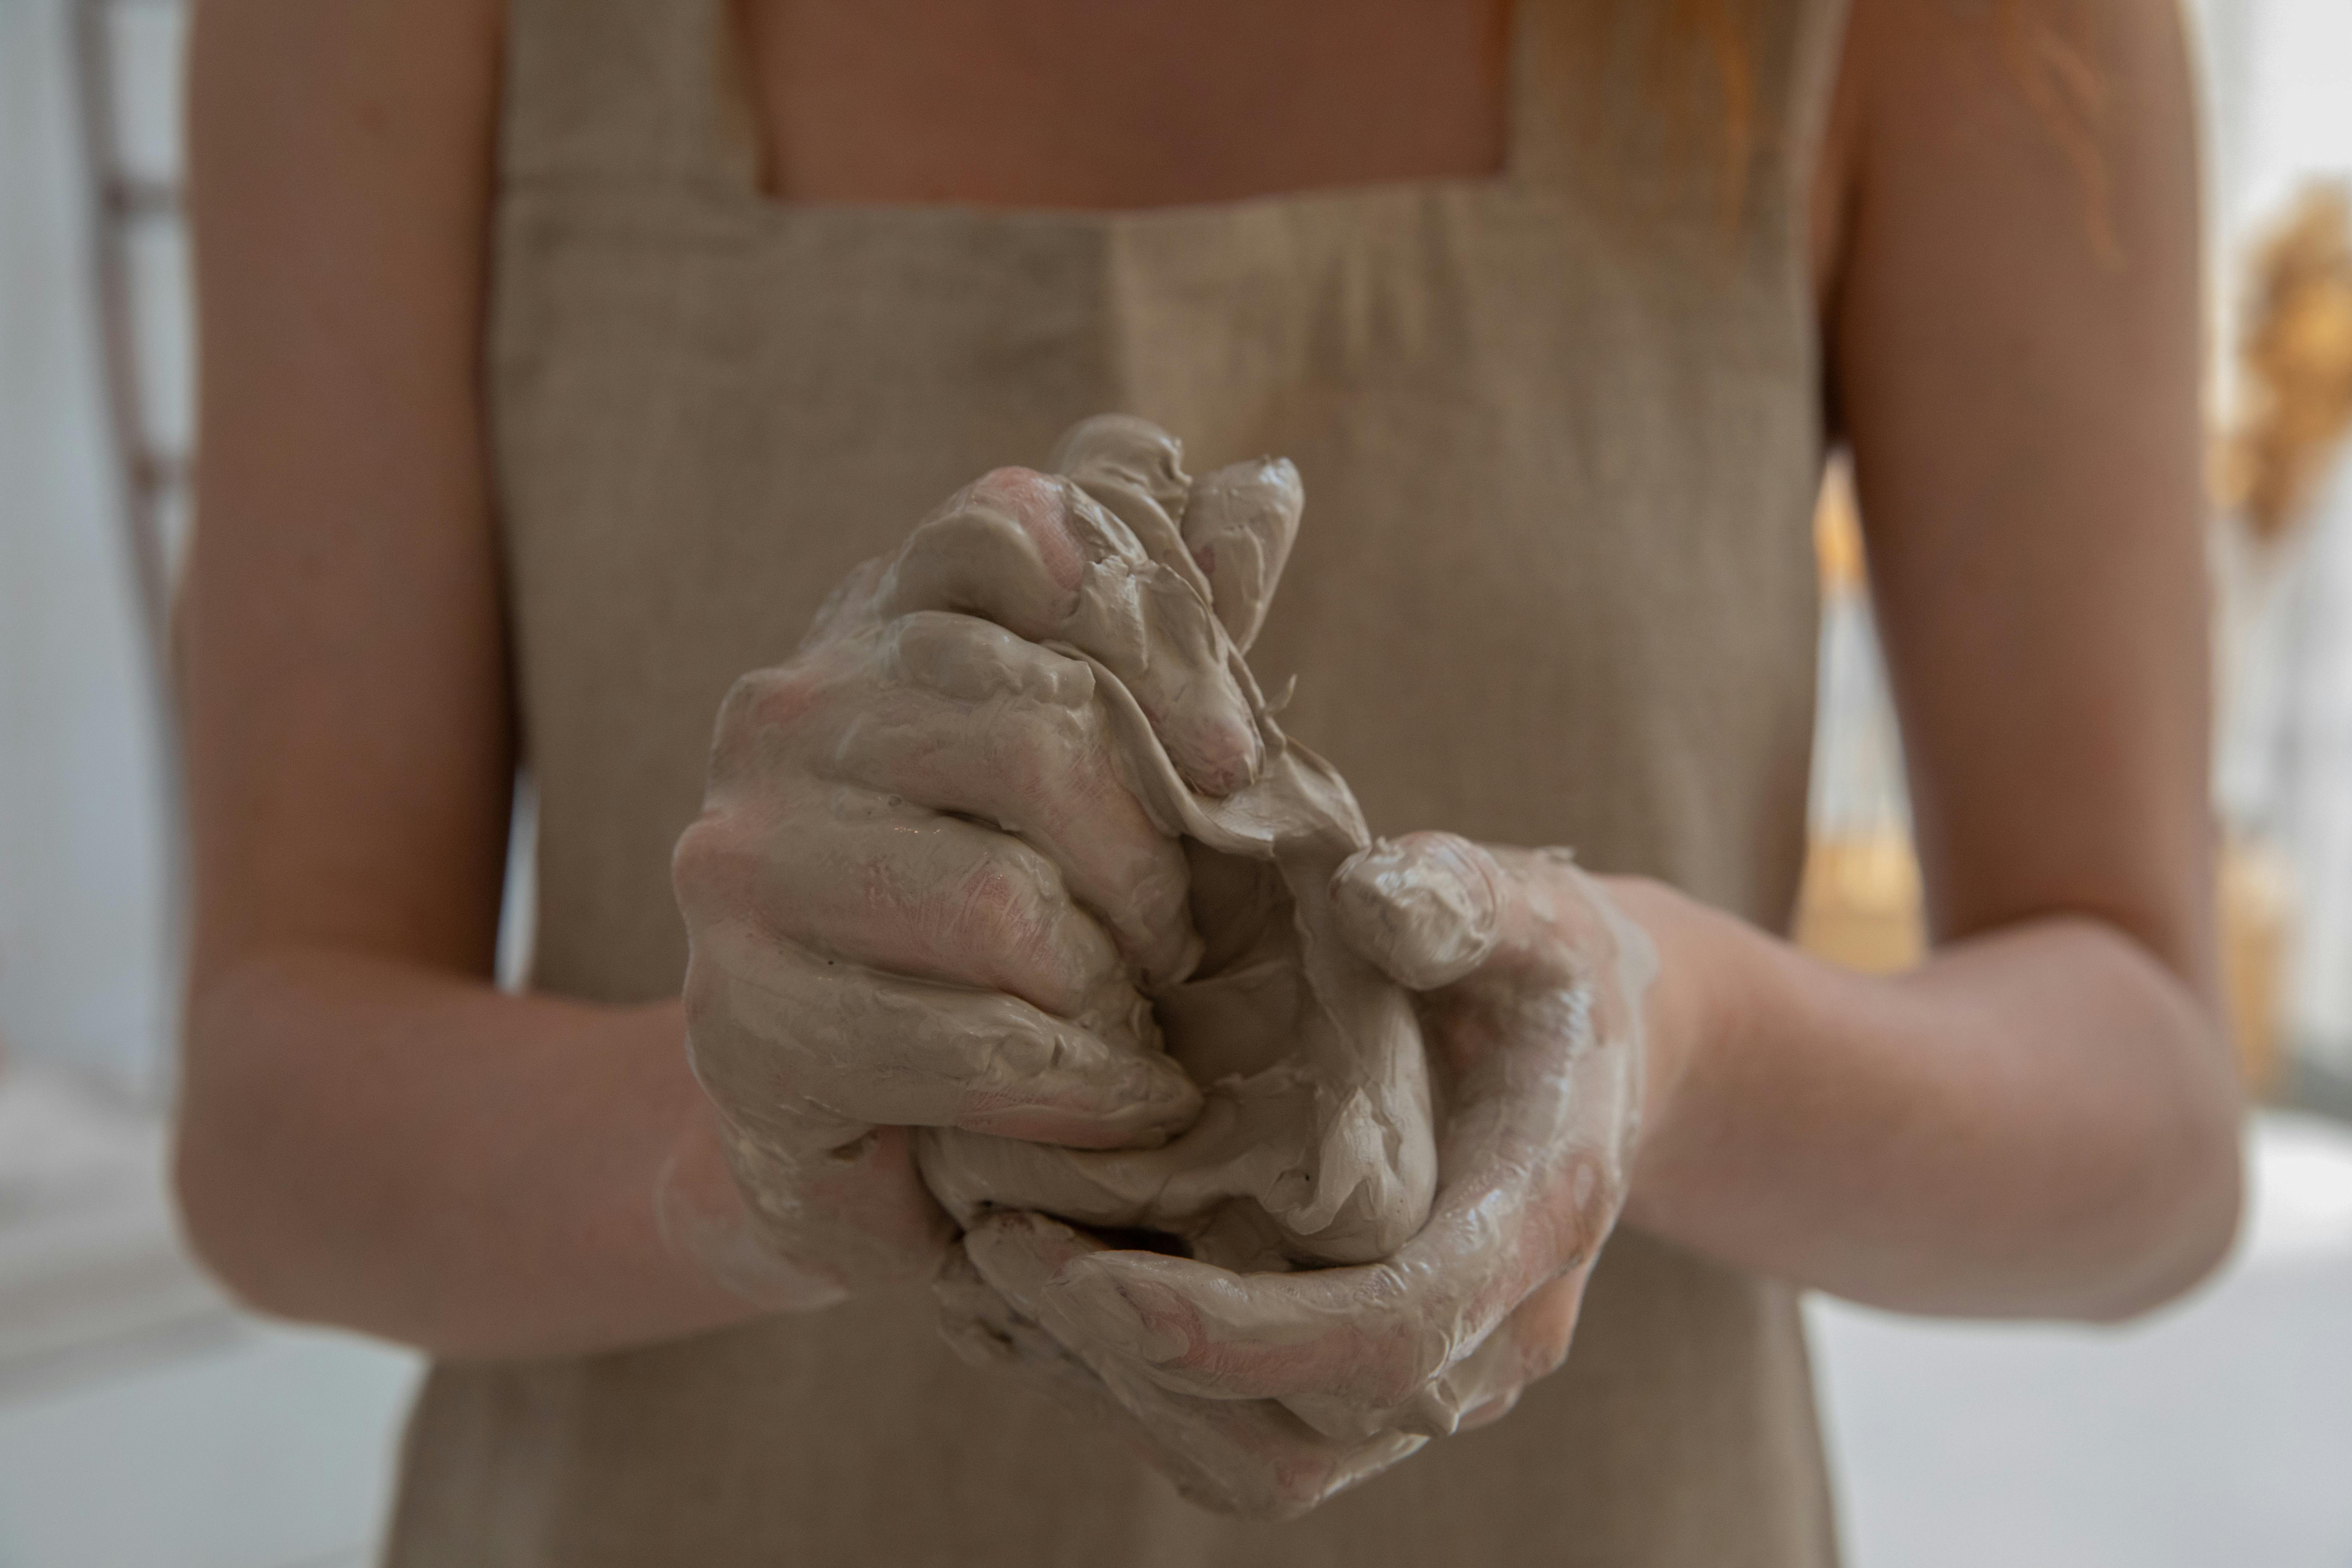
In fashion, designers often take two seemingly disparate styles or fabrics and blend them together in a way that creates something entirely new and beautiful. By mixing textures, colors or shapes in unexpected ways they can create eye-catching outfits that stand out from the crowd. Similarly in the art world, artists often mix different media such as paint, clay or digital art to create something unique and captivating.
The same concept applies when it comes to interior design or home décor – blending together various pieces of furniture or décor will create a space that looks cohesive but also stands out from the rest. By combining items from different periods or with contrasting colors you can create an eye-catching aesthetic that will draw attention to your home décor without feeling too overwhelming.
The skill of blending together seemingly disparate elements is one that requires creativity and practice but can lead to some truly amazing results when done correctly. Whether you’re a chef creating a new dish or an artist crafting a masterpiece – finding ways to bring two distinct pieces together in harmony is an art form all its own!
Pour the Mixture Into a Cup
Pouring a mixture into a cup is an easy and straightforward process. First, you need to gather the necessary materials, such as your chosen cup, the ingredients for your mixture and any other utensils you may need. Once you have all of your ingredients ready, mix them together in a bowl until they are completely combined. Once your mixture has been thoroughly mixed, begin to slowly pour it into the cup. Make sure to evenly distribute the mixture so that it fills up the entire cup. If it begins to spill over the sides, stop pouring and adjust accordingly. When you are finished, set aside your cup and let the mixture cool before consuming it.
It is important to remember that certain mixtures can be dangerous if not handled properly. Be sure to wear protective gear if necessary and follow all safety precautions when preparing and handling any type of mixture. Additionally, make sure that all utensils used during the process are clean and free from any contaminants before use. Taking these simple steps will ensure that your mixture is safe for consumption.
Making the Shortcake
This classic dessert is both simple and delicious. Start by combining the dry ingredients in a bowl: flour, baking powder, sugar, and salt. Cut in cold butter until the mixture is crumbly. In a separate bowl, beat together eggs and cream before adding to the dry ingredients, stirring just until incorporated. Pat the dough into an ungreased 8-inch square pan and bake for 25 minutes at 375 degrees F. Let cool before cutting into squares.
Making the Whipped Cream
Whipped cream is an essential topping for shortcake! Start with cold heavy cream in a chilled bowl and use a handheld mixer or stand mixer to beat until stiff peaks form. Add sugar and vanilla extract to taste before setting aside.
Assembling Shortcake
To assemble, place a layer of shortcake in the bottom of each dish and top with sliced strawberries. Pour a generous amount of strawberry sauce over top before topping with another layer of shortcake. Then top with more strawberries before finishing with whipped cream. Finally, garnish with additional whipped cream and fresh strawberries.
Choose the Right Strawberries
The type of strawberry you choose will have an effect on the flavor of your finished Coolatta. If you are using fresh strawberries, look for ones that are firm, plump and bright red all over. If using frozen strawberries, make sure they are ripe and not too soft or mushy. Avoid any strawberries with bruises or blemishes.
Chill Your Ingredients
Before blending your Coolatta, it is important to chill all your ingredients first. Put your ice in the freezer to make sure it is as cold as possible before adding it to the blender. You can also put your strawberries in the fridge for a few hours to make them nice and cold before blending them.
Prepare Your Blender
Before blending all of your ingredients together, make sure you have a powerful blender that can handle crushing ice easily. You may want to add a few tablespoons of water to the mixture as well so the blades don’t get stuck when blending.
Add Sweetener if Desired
Some people like their coolattas on the sweeter side, so feel free to add a tablespoon of sugar or other sweetener if desired. This will give your Coolatta a sweeter flavor and help balance out any tartness from the strawberries.
Blend Until Smooth
Once all of your ingredients have been added to the blender, blend on high until everything is completely smooth and blended together. You may need to stop and scrape down the sides of the blender occasionally to make sure everything is being blended evenly.
Enjoy!
Once everything has been blended together, pour into glasses and enjoy! With these tips in mind, you can now make a perfect strawberry coolatta every time!
Conclusion
Making a Strawberry Coolatta is an easy and delicious way to enjoy a refreshing drink. With only a few ingredients, you can create this classic summer favorite in the comfort of your own home. All you need is some crushed ice, frozen strawberries, strawberry syrup, and half-and-half. Simply blend the ingredients together until smooth and enjoy!
Whether you’re enjoying the cool taste of a Strawberry Coolatta by the pool or just looking for an easy way to quench your thirst, this recipe has got you covered. This simple yet tasty recipe is sure to satisfy all of your summer cravings!

