
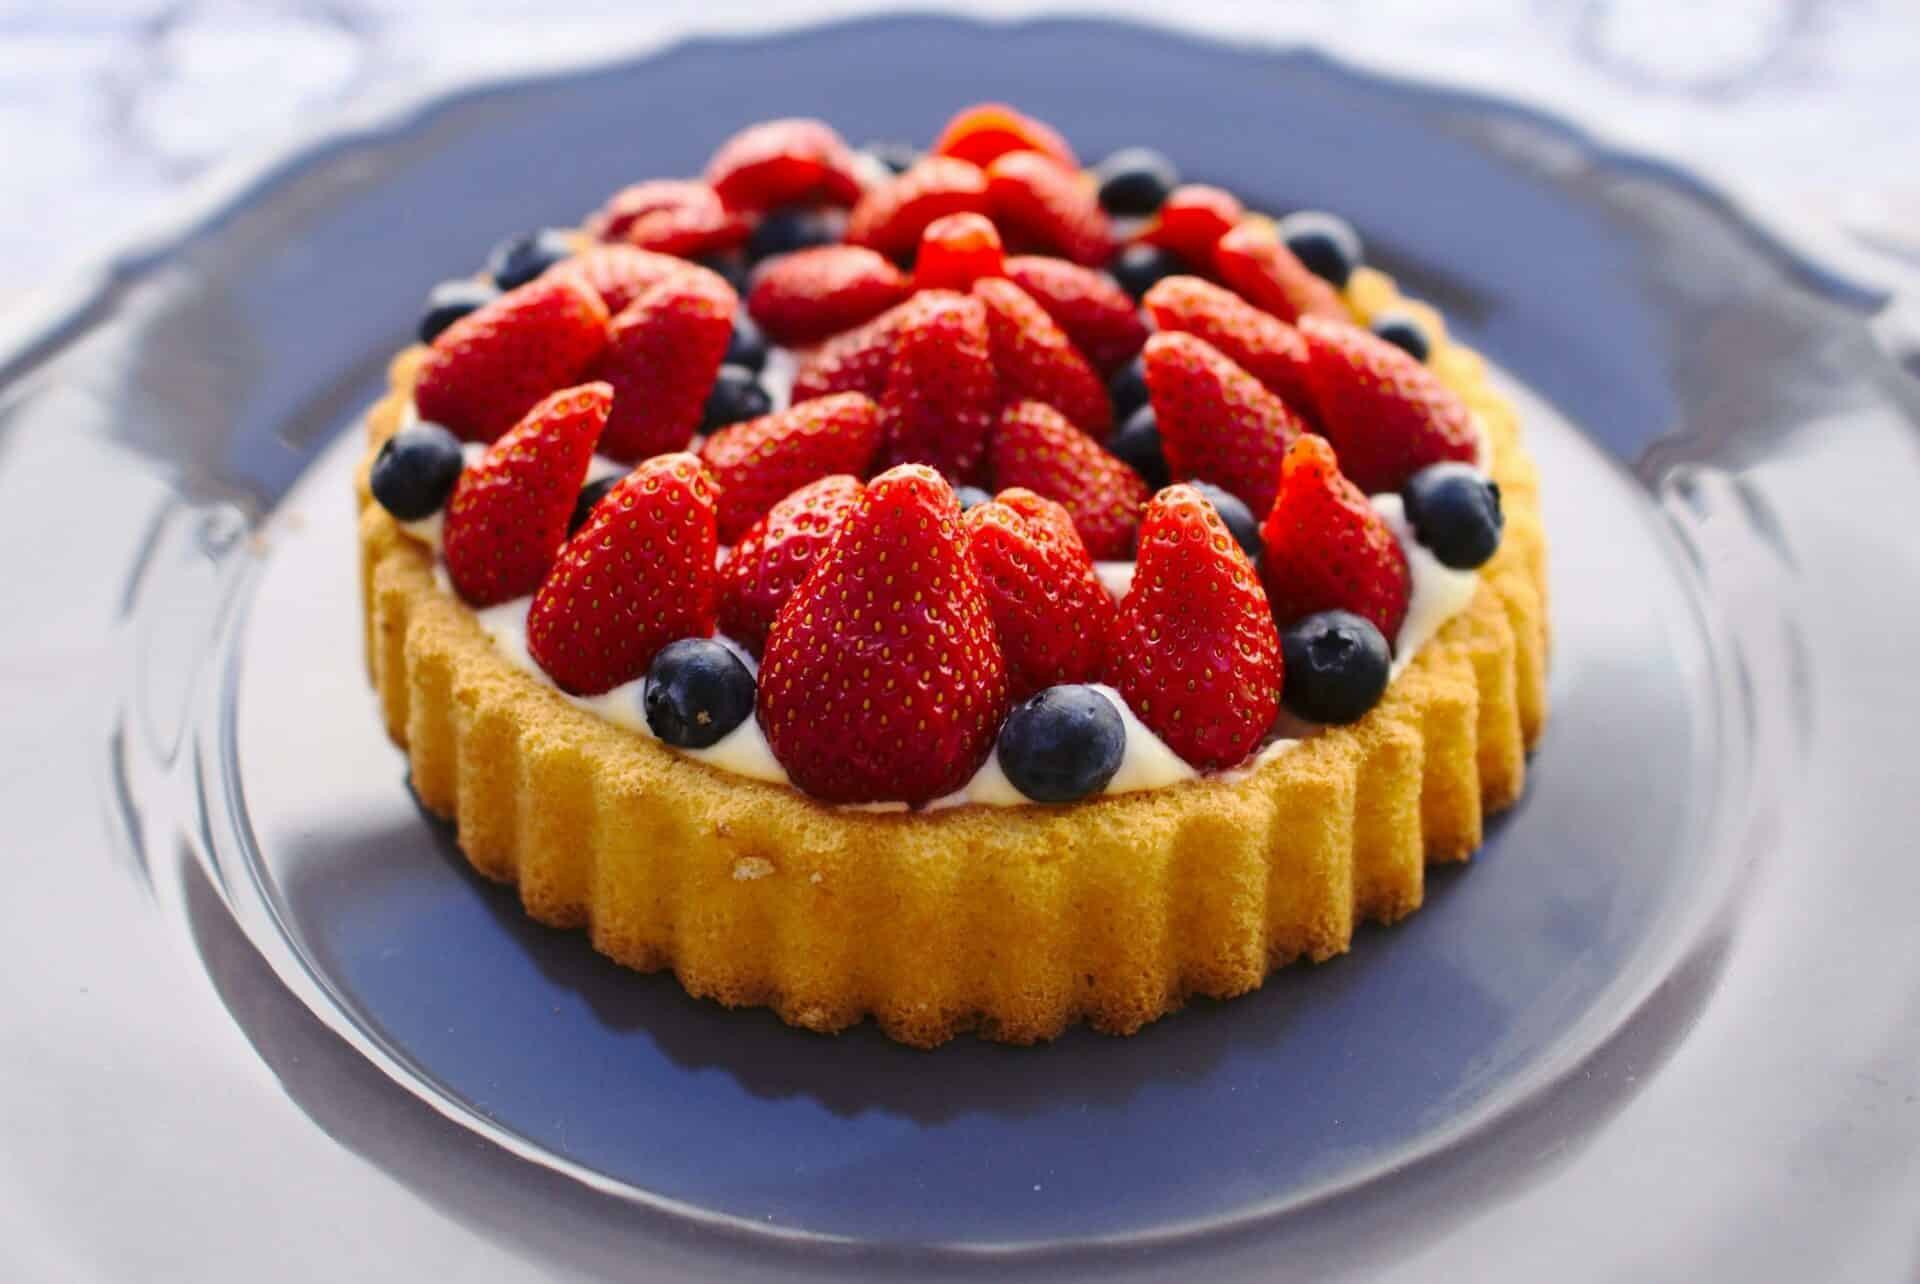
Making a blueberry pie with canned filling is an easy and delicious way to enjoy a classic dessert. With just a few ingredients, you can have a delicious pie that’s ready to be enjoyed. All you need is a pre-made or homemade pie crust, canned blueberry pie filling, eggs, sugar, and butter. With these simple ingredients, you can whip up a delicious blueberry pie in no time. So let’s get started!To make a blueberry pie with canned filling, you will need the following ingredients: 1 9-inch unbaked pie crust, 2 (14.5-ounce) cans of blueberry pie filling, and 3 tablespoons of butter.
Preheat the oven to 350°F. Place the unbaked pie crust into a 9-inch pie plate and crimp the edges of the crust with a fork.
Pour the blueberry pie filling into the crust. Cut butter into small pieces and sprinkle them over the top of the blueberry filling.
Bake for 40-50 minutes or until golden brown and bubbly. Allow to cool before serving. Enjoy!
Gather The Necessary Ingredients
Cooking a delicious dish requires that you have all the necessary ingredients ready. Before you start cooking, make sure to check that you have all the ingredients required for the recipe. Gather all the ingredients and measure them correctly according to the recipe. If a recipe calls for a specific type of ingredient, use it. For instance, if a recipe calls for extra-virgin olive oil, don’t substitute it with regular olive oil or any other type of oil. Ensure that you have all the right spices and herbs as well.
Once you’ve gathered all the necessary ingredients, organize them in separate bowls or plates to ensure that everything is ready when needed during cooking. This will help you move quickly through each step of the recipe without having to search for items in your pantry or fridge.
If there are any ingredients that need to be chopped, diced, or sliced before cooking, do this first. Taking care of these tasks beforehand will save time later and make your cooking experience more enjoyable and efficient. Finally, check the expiration dates on any fresh produce before using it in your dish, as this will ensure maximum freshness and flavor in your finished product.
Preheat The Oven
Preheating an oven is an essential step in baking. It helps to ensure your food cooks evenly and prevents it from getting undercooked or burnt. To preheat the oven, you should first set the temperature to the desired level. Depending on what you’re cooking, the temperature may vary. Once you’ve set the desired temperature, turn on the oven and wait for it to reach that temperature. You will know when your oven is preheated when a preheat light turns on or a beeping sound is heard. It’s important to make sure your oven reaches its desired temperature before putting any food inside it. If not, it could risk uneven cooking or burning your food.
Before preheating your oven, make sure all racks are in place and nothing is blocking any of the vents inside the oven. This will help keep your food from burning and ensure proper airflow for even cooking. Additionally, if you have a convection setting on your oven, make sure to select that setting prior to preheating.
Knowing how to properly preheat an oven can help you achieve great results when baking or roasting foods in the kitchen. Taking a few minutes to ensure that your oven is at its optimal temperature will make all the difference in how your final dish turns out!
Ingredients
The ingredients for a basic pie crust include flour, salt, butter or shortening, and cold water. For a flaky crust, it is important to use cold butter or shortening. You may also choose to add sugar for a sweet crust.
Gather the Ingredients
First, gather all the necessary ingredients and measure them out. Be sure to use very cold butter or shortening in order to get the desired flakiness. It is also important to measure out the correct amount of each ingredient for a successful crust.
Mixing the Dough
Next, mix together the flour and salt in a medium-sized bowl. Then, cut in the butter or shortening until it resembles small peas. If using sugar, add it now and mix well. Slowly add the cold water while stirring with a fork until all of the ingredients are combined and form a ball of dough. It is important not to over mix as this will create a tough crust.
Forming the Pie Crust
Once you have mixed together your dough, form it into two disks and wrap them well with plastic wrap. Place them in the refrigerator for at least one hour before rolling out the dough for your pie crusts. This will help keep everything cool and prevent sticking when rolling out your dough. Once chilled, roll out one disk on a lightly floured surface until it is large enough to fit your pie plate. Carefully transfer it into your plate and trim any excess dough from around the edges before baking according to recipe directions.
Lining a Baking Dish with Pie Dough
One of the best ways to make a delicious pie is to line a baking dish with pie dough. This process is easy and straightforward, and can help you create a beautiful finished product. To begin, you’ll need your favorite pie dough recipe or pre-made dough from the store. You’ll also need a 9-inch round baking dish or tart pan, rolling pin, fork, and butter or cooking spray.
First, lightly grease the baking dish with butter or cooking spray. Take out the pie dough and roll it out on a lightly floured surface until it’s large enough to cover the bottom of the baking dish and about two inches up the sides. Carefully lay the dough in the baking dish and press it gently against the edges so it adheres to them.
Next, use kitchen scissors to trim off any excess dough that hangs over the edges of the baking dish. Then, use a fork to prick small holes in the bottom of the crust so that steam can escape during cooking. Finally, refrigerate for 30 minutes before adding your filling and baking as directed in your recipe.
Lining a baking dish with pie dough is an easy process that yields beautiful results. Whether you’re making an apple pie or a quiche, following these steps will help you make sure your finished product looks as good as it tastes!
Pour The Canned Filling Into The Crust
Pouring the canned filling into the crust is an important part of making a great pie. Before you begin, make sure that your crust is pre-baked and cooled completely. Once your crust is ready, open the can of filling and pour it evenly into the crust. If you are using a canned fruit or custard filling, you may wish to add a few tablespoons of sugar to sweeten it up. If you are using a savory filling, such as quiche, omit the sugar. Once your filling is in the crust, spread it out evenly with a spatula or spoon. When finished, your pie is ready to be baked according to recipe instructions.
When baking with canned fillings, it’s important to remember that most canned fillings contain some form of preservative which can cause burning or discoloration if left in too long during baking. To prevent this from happening, make sure to follow all recipe instructions on baking time and temperature carefully. Additionally, if your recipe calls for an egg wash or glaze before baking, make sure to apply this before baking as well in order to prevent over-browning of the edges of your pie.
Sprinkle Sugar On Top Of The Filling
When you are making pies or tarts, the last step is often to sprinkle sugar on top of the filling. This adds a sweet crunch to the dessert that can really elevate it from ordinary to extraordinary. It is important to make sure that the sugar you use is fine enough that it will evenly distribute over the entire filling. If you use course sugar, you may end up with lumps and uneven coverage.
Once you have chosen your sugar, make sure that it is evenly distributed over the entire surface of the filling. Sprinkle it in an even layer so that all parts of your dessert get some of the sweetness. Depending on how thick your layer is, you may want to use a spoon or spatula to spread it out if necessary. Once the sugar has been sprinkled, press lightly into the surface with your fingers or a spoon so that it adheres more firmly.
After sprinkling the sugar on top of your filling, you may want to add some extra decoration such as nuts or sprinkles for color and texture contrast. This can make your desserts even more visually appealing while also adding some extra flavor and texture variety. When finished, pop your pies or tarts into the oven and bake according to instructions until golden brown and bubbling. Enjoy!
Place Sliced Butter On Top Of The Filling
After preparing the filling for your dish, the next step is to place sliced butter on top of it. This will add a creamy and rich flavor to your dish that will surely satisfy your palate. The butter should be thinly sliced so that it melts quickly and evenly when heated. You can also use other types of fat such as margarine or shortening if you prefer. Place the slices in an even layer across the top of the filling and make sure they are fully covered. Then, bake or cook according to your recipe instructions. The butter will melt and create a delicious savory flavor that will have everyone coming back for seconds!
Be sure to watch carefully while baking or cooking with butter, as it can burn easily if left unattended. If you notice any burning, reduce the oven temperature or cooking time accordingly to prevent further burning. Adding butter to your dishes is a great way to enhance flavor, but be sure to use it in moderation as too much can lead to an overly greasy dish.
Conclusion
Making a delicious blueberry pie with canned filling is easier than it looks. All you need to do is combine the filling with sugar, cornstarch, and butter, then pour it into a prepared pie crust, top with another crust, and bake for 40 minutes. Once the pie has cooled, you can enjoy a delicious slice of blueberry pie that’s sure to satisfy any sweet tooth.
Whether you make it for a special occasion or just because, blueberry pie is sure to be a hit. It’s a simple recipe that anyone can make in no time at all and it’s sure to please your family and friends. So don’t hesitate; why not try making your own homemade blueberry pie today?

