
Star Fruit, also known as Carambola, is a delicious tropical fruit that is popular in many parts of the world. If you’ve ever had a star fruit, you know just how sweet and juicy they can be. Fortunately, it’s actually quite easy to grow star fruit from seeds. In this article, we will explain how you can do it in just a few simple steps.In order to grow star fruit from seeds, you will need the following: starfruit seeds, a potting mix, a pot with drainage holes, and an area with plenty of indirect sunlight. Additionally, you will need to provide regular moisture and fertilizer throughout the growing season.
Preparing the Soil
Star fruit seeds require well-draining soil with a pH balance of 6 to 6.5. To prepare the soil, mix three parts of soil with one part of sand and one part of compost. To ensure proper drainage, you can also add perlite or vermiculite. Before planting the seeds, make sure to remove any rocks, debris, or weeds from the soil. Once you are done preparing the soil, you can proceed to plant the star fruit seeds.
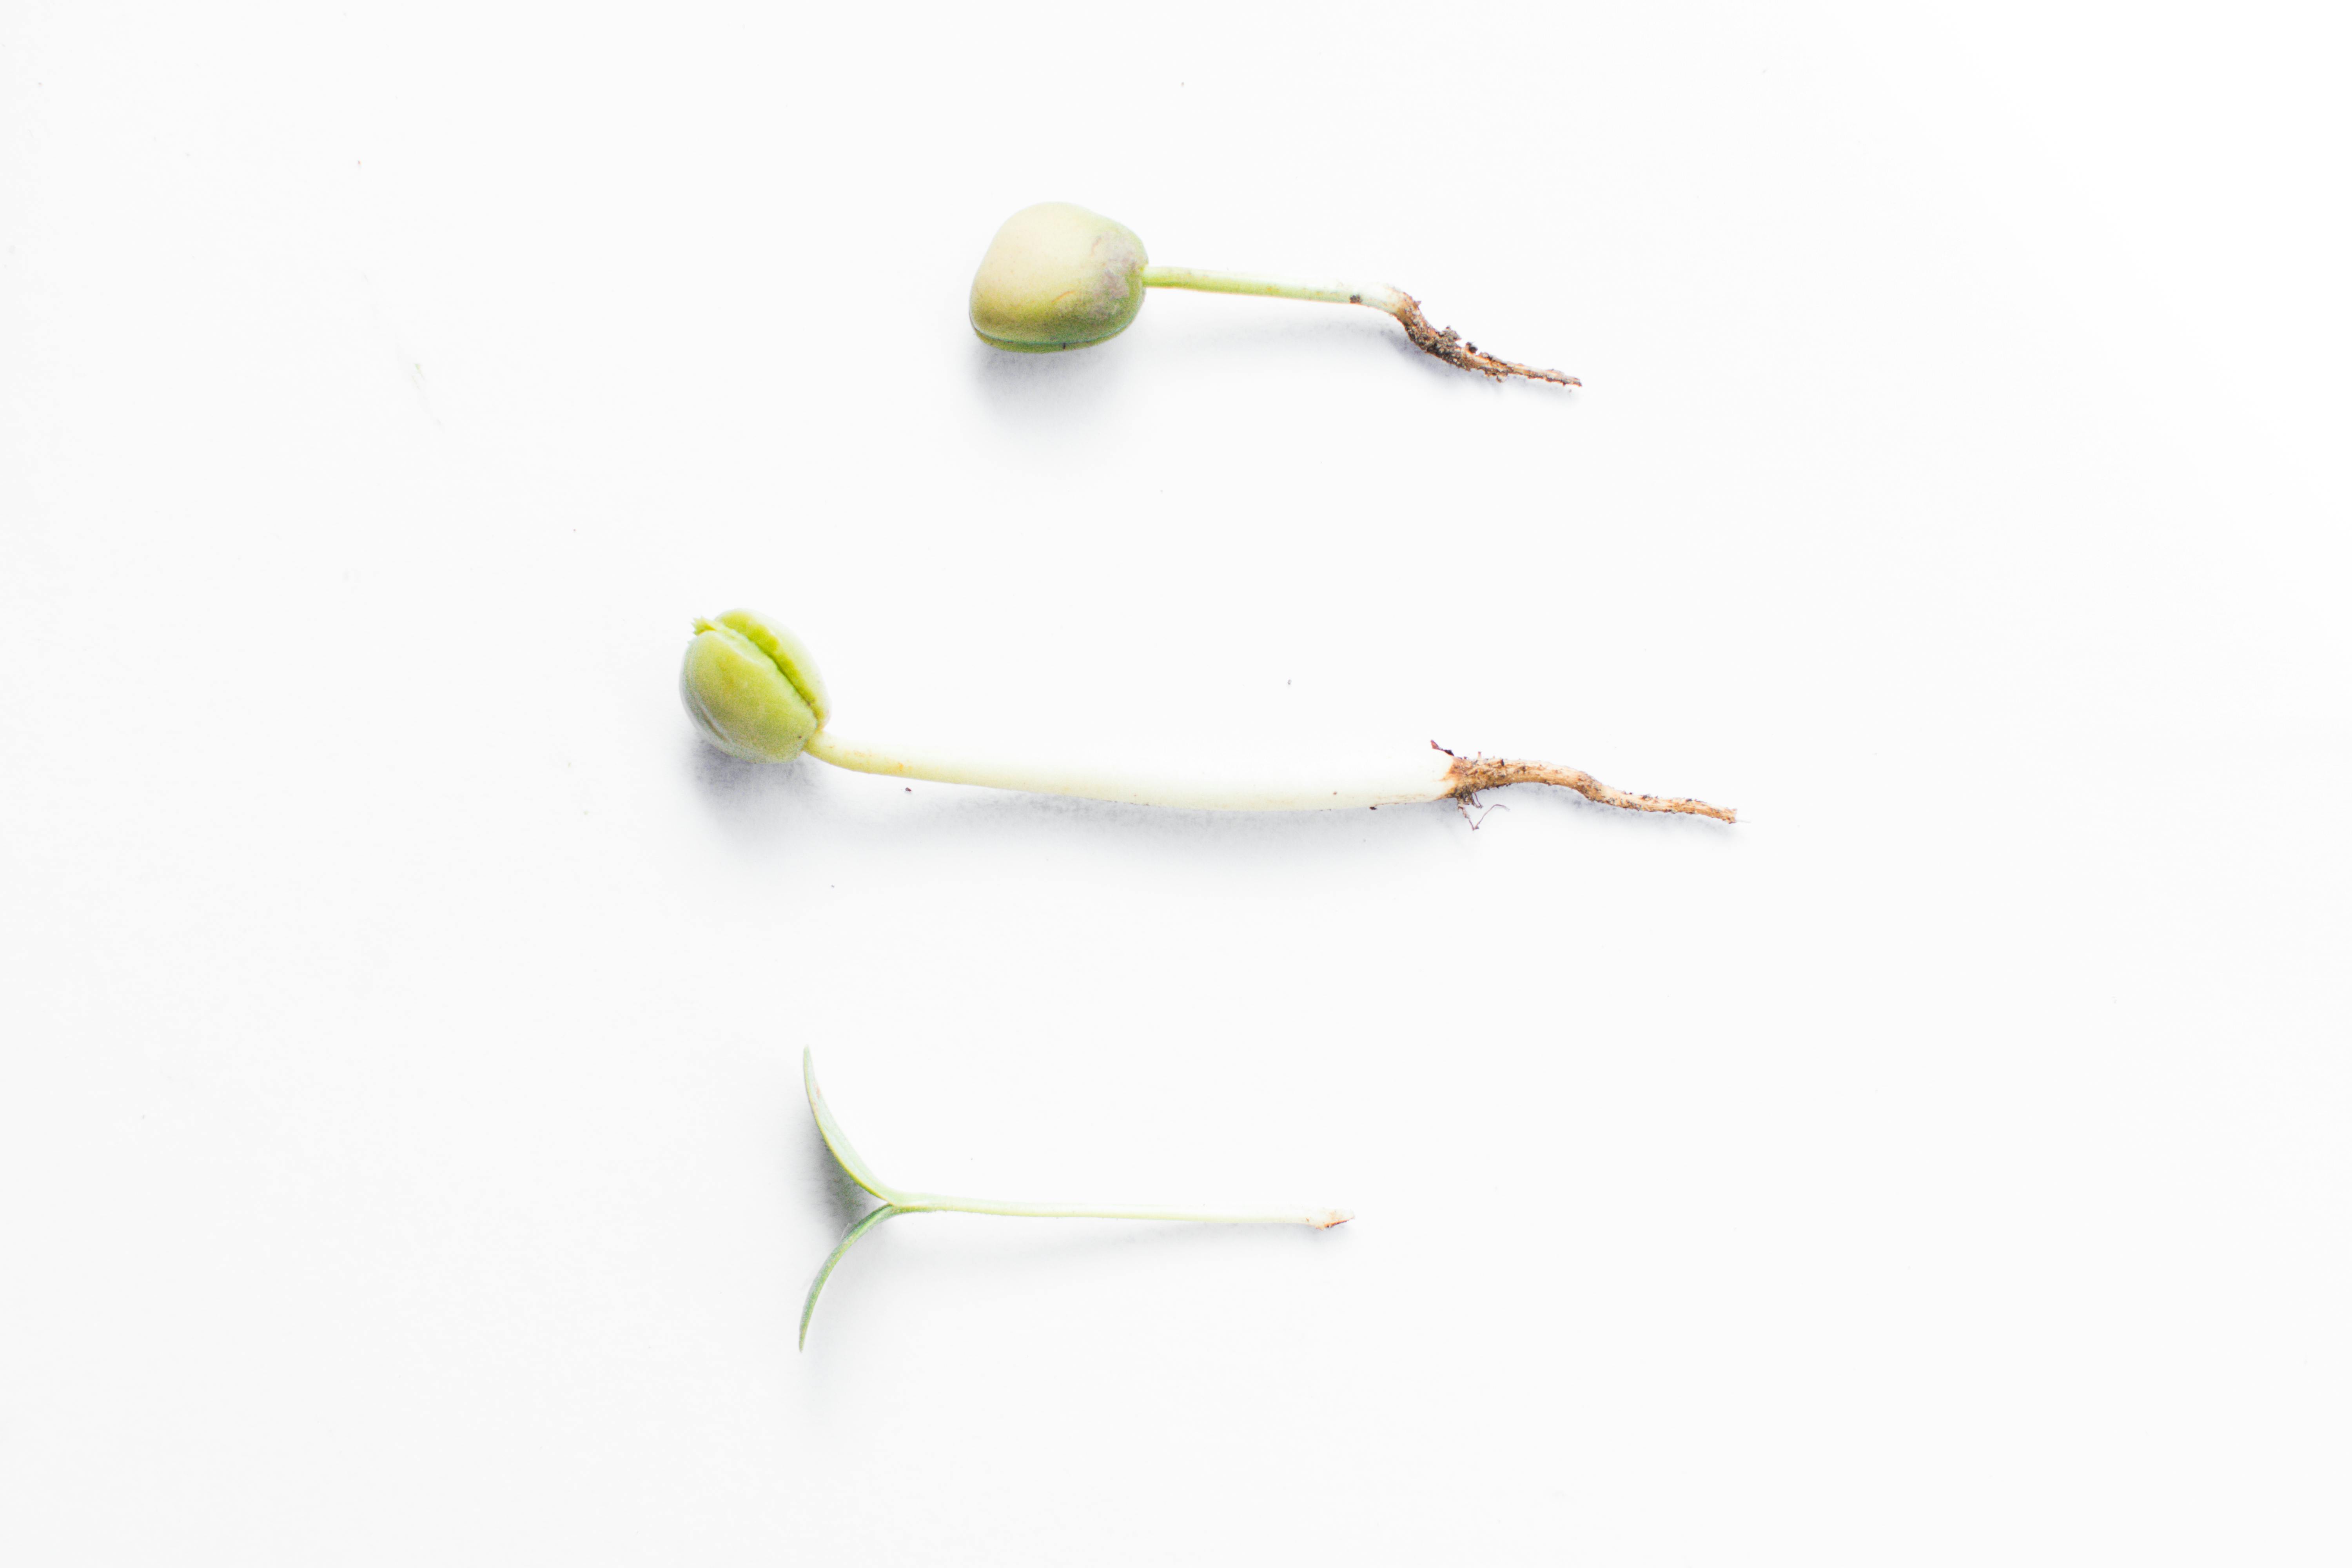
Planting Star Fruit Seeds
To plant star fruit seeds, dig a small hole in the prepared soil and put one seed in it. Then cover it with a thin layer of soil and press down lightly to make sure that it is firmly placed in the ground. Water your newly planted seed lightly and place it in an area that gets plenty of sunlight. Make sure to water your seed regularly to keep the soil moist but not soggy. With proper care and attention, your star fruit seeds should start to sprout within a few weeks.
Watering and Fertilizing Star Fruit Seedlings
Watering and fertilizing star fruit seedlings is essential for their healthy growth. The seedlings should be watered regularly, at least once a week, to ensure they have enough moisture to thrive. During the summer months, they may need to be watered more frequently. When watering the seedlings, always use lukewarm water and avoid over-watering them. Additionally, fertilize the seedlings with a balanced fertilizer mix every two weeks to provide them with the necessary nutrients for healthy growth. Make sure to follow the instructions on the fertilizer packaging for proper usage.
It is also important to monitor the soil moisture levels of star fruit seedlings. The soil should remain moist but not overly saturated as this can lead to root rot or other issues. To test soil moisture levels, insert a finger into the soil up to your knuckle and if it feels dry or slightly damp then it is time to water again. Additionally, keep an eye out for any signs of disease or pests that may be affecting the health of your star fruit seedlings.
Controlling Pests and Diseases of Star Fruit Seedlings
Starfruit seedlings are susceptible to pests and diseases. Proper management and control of these pests and diseases is essential for the successful growth of starfruit seedlings. Some of the most common pests and diseases include scale insects, aphids, whiteflies, fungal diseases, bacterial leaf spot, and blight.
Scale insects feed on the sap of the starfruit seedling leaves and stem. These insects can be easily controlled by spraying insecticides or oils on the plant surface. Aphids are small insects that suck the sap from the leaves. They can be controlled by spraying insecticidal soap or horticultural oil onto the plant surface. Whiteflies feed on the underside of starfruit seedling leaves causing yellowing and wilting. They can be controlled by releasing beneficial predators such as ladybugs or lacewings into the garden.
Fungal diseases such as anthracnose or black spot can cause leaf spots on starfruit seedlings. These can be prevented by keeping weeds around the plant to a minimum and watering at soil level only when necessary. Bacterial leaf spot is caused by bacteria that infects new growth on starfruit seedlings causing brown spots on leaves which eventually fall off. This disease can be prevented by avoiding overhead irrigation, removing dead foliage from plants, and using disease-resistant varieties when possible.
Finally, blight is a disease caused by a fungus that attacks young stems causing them to become stunted and distorted in shape. Controlling blight requires regular pruning to remove infected stems, avoiding overhead irrigation, rotating crops each year to reduce chances of reinfection, and using fungicides if necessary. By following these steps you can help keep your starfruit seedlings healthy and free from pests and diseases.
Transplanting the Star Fruit Seedlings
Transplanting star fruit seedlings is an important step in the cultivation process. The seedlings should be carefully dug out of the potting soil and replanted in a larger container or directly into the garden bed. To transplant, dig a hole slightly larger than the root ball of the seedling and add some compost or well-rotted manure to it. Gently place the seedling into the hole, making sure that its roots are completely covered with soil. Firmly press down on the surrounding soil to secure it in place and water thoroughly.
Star fruit seedlings need plenty of sunlight to thrive, so make sure that they are planted in an area that receives at least four to six hours of direct sunlight each day. They also need regular watering, but do not overwater as this can lead to root rot or other issues. Fertilize your plants every two weeks with a balanced fertilizer for best results.
Once transplanted, star fruit seedlings may take up to two years to reach maturity and bear fruit. Pruning unproductive branches will help promote growth and encourage more productive plants. Regularly check for pests such as aphids, which can easily infest young plants if left unchecked. If necessary, use insecticidal soap or neem oil to treat infestations as soon as possible.
Transplanting star fruit seedlings is a rewarding experience that will provide you with delicious fruits for years to come! With proper care and attention, you can ensure that your plants will reach their full potential and produce an abundance of juicy fruits for you to enjoy!
Pruning the Star Fruit Plants
Pruning the star fruit plants is an important part of maintaining a healthy and productive star fruit tree. Pruning helps to keep the tree in shape, encourages new growth, and helps to remove any dead or diseased branches. Pruning also helps to reduce the size of the tree, making it easier to harvest the fruit. When pruning star fruit trees, it is important to use sharp pruning shears and make sure that all cuts are clean and even. Start by removing any dead or diseased branches first, then move on to any crowded or overgrown branches. Make sure not to prune too much off at once, as this can shock the plant and cause stunted growth. After pruning, it is important to fertilize the soil around the base of the tree with a balanced fertilizer containing nitrogen, phosphorus, and potassium. This will help promote new growth and ensure that your star fruit tree produces a healthy crop of delicious fruits!
Harvesting the Star Fruits
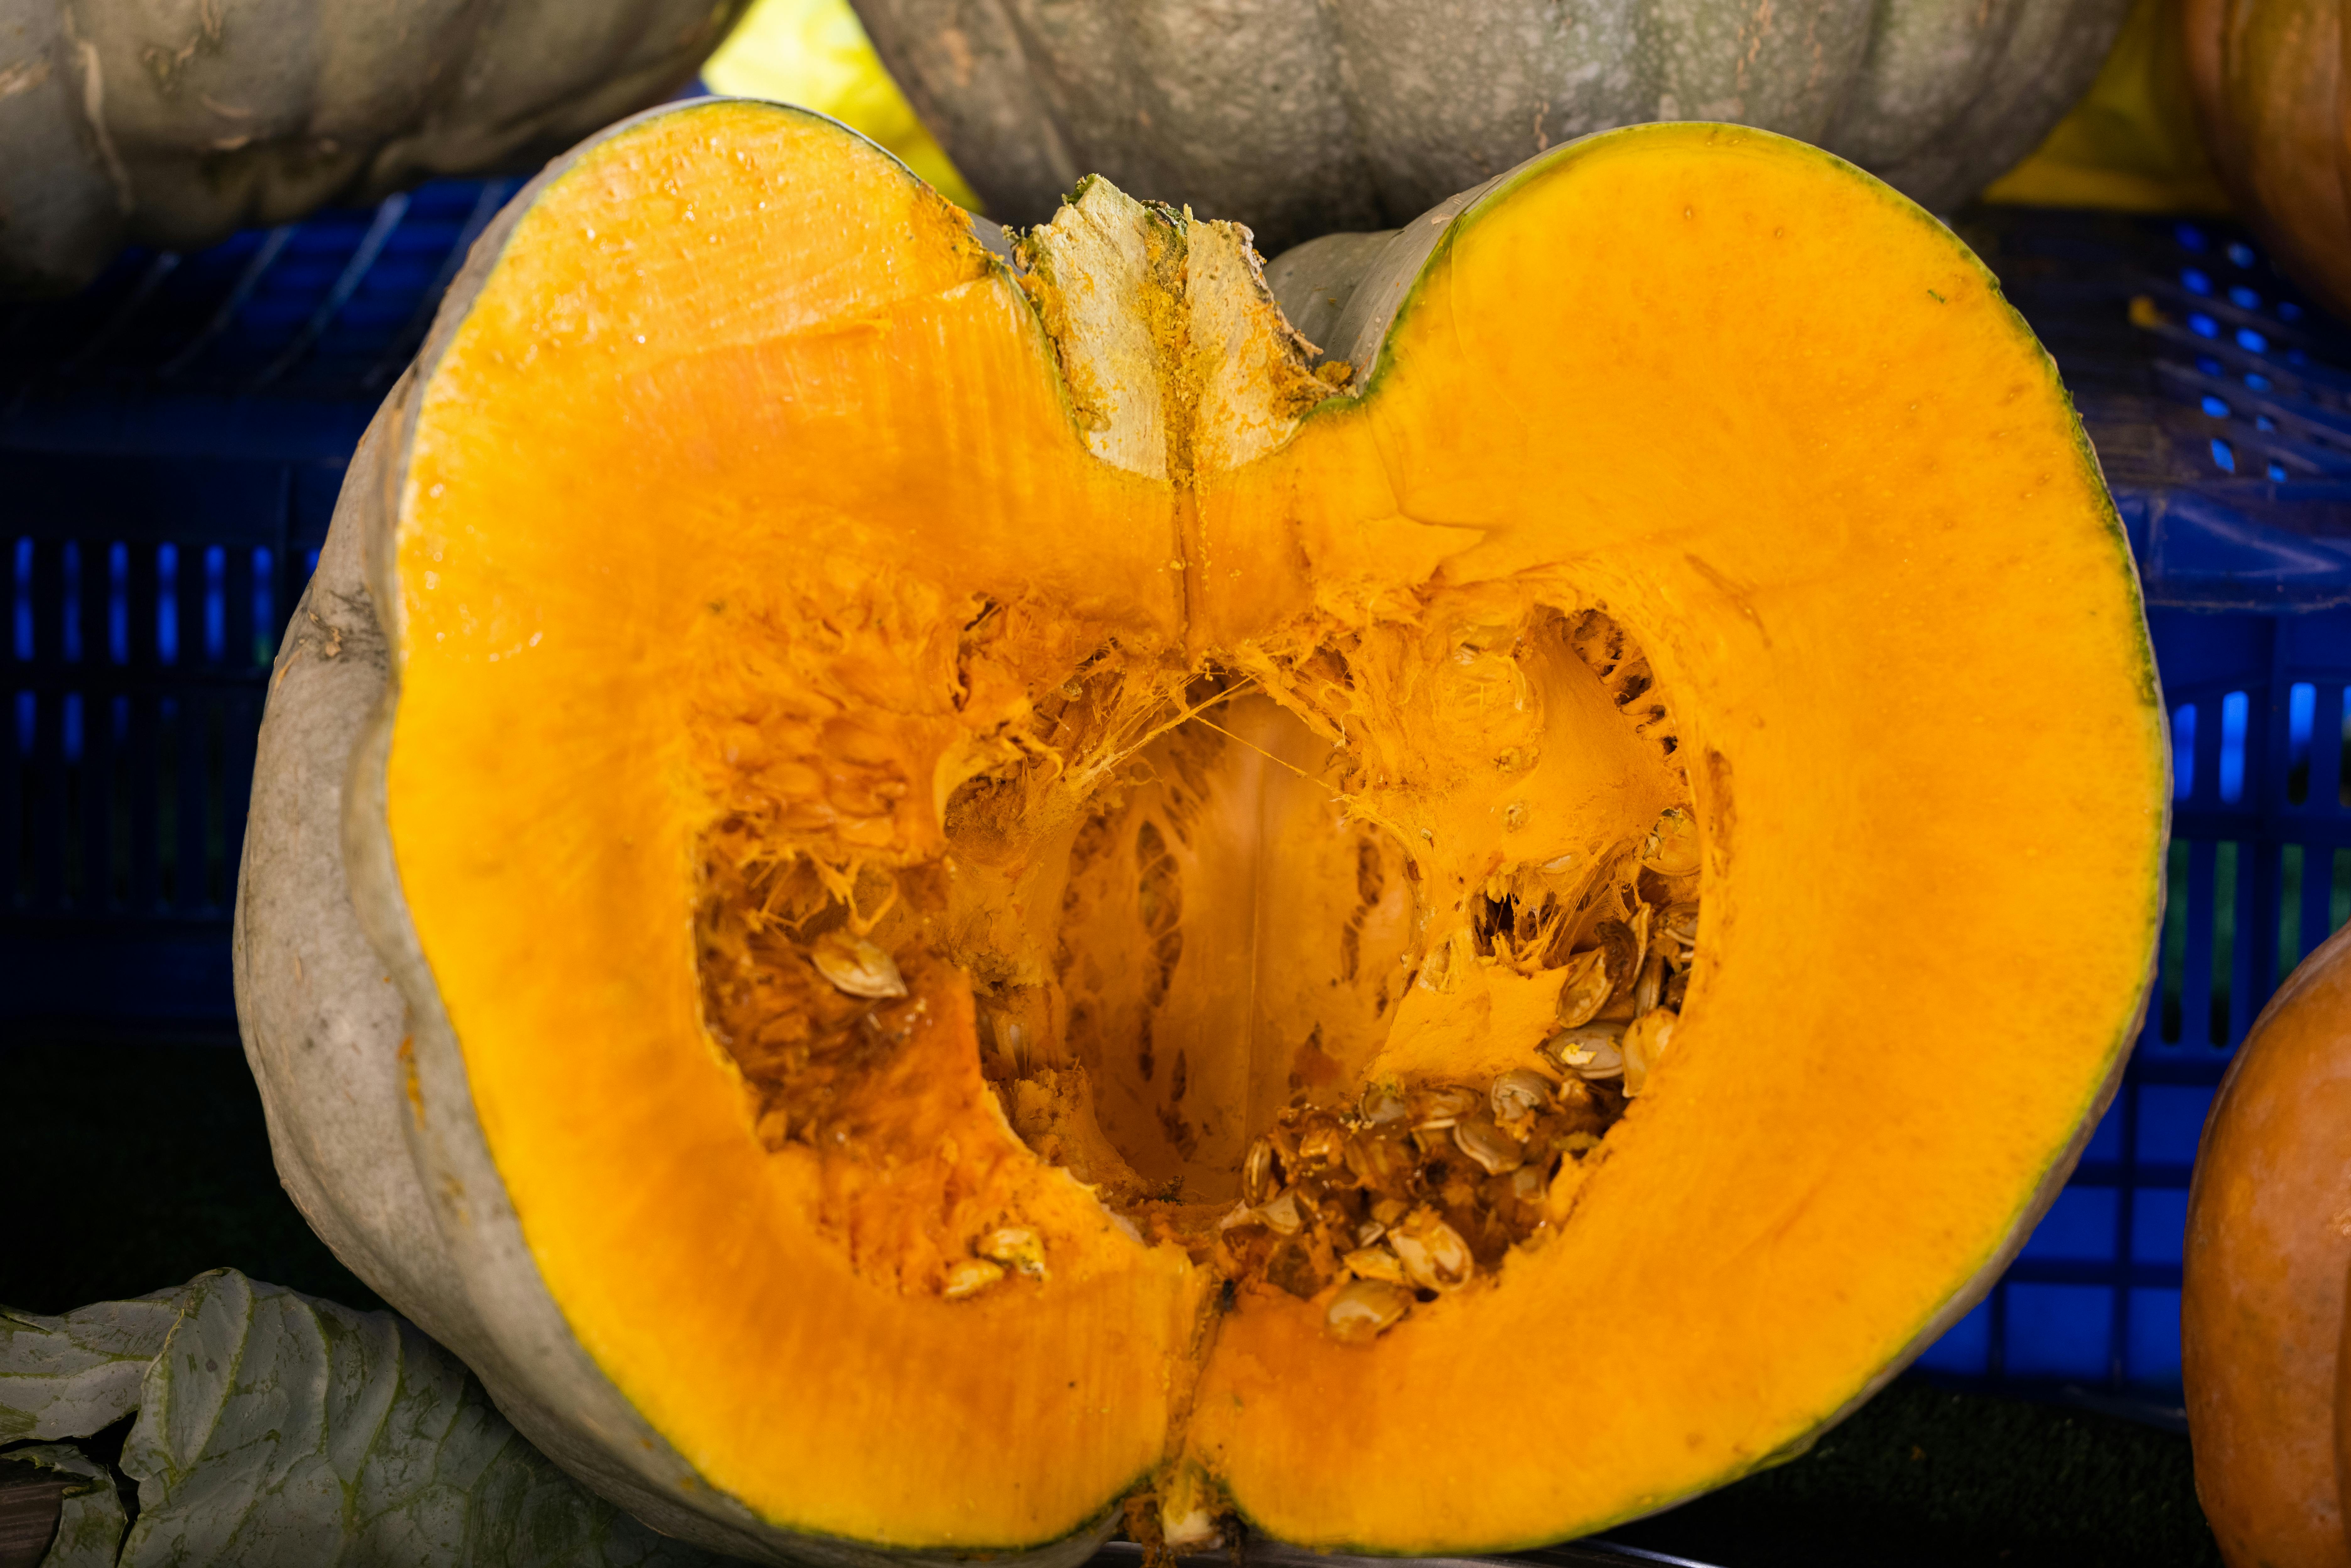
Star fruits are a unique and exotic tropical fruit. They can be found growing in many tropical regions of the world. The star fruit tree is small and has an average height of 5-7 feet tall. Its leaves are dark green in color and have five points that look like star-shaped stars. The fruit itself is yellow when ripe and has a waxy coating. It has a sweet taste that is slightly sour with a hint of citrus. The harvesting process for star fruits begins with locating the trees. It is important to identify the right tree, as not all trees produce the same quality fruit.
Once the right tree has been identified, it is important to inspect it for any signs of disease or damage which could affect its yield. After this, it is time to prune the branches of the tree in order to ensure healthy growth and better yields. Pruning should only be done on young trees, as older trees may not be able to handle such treatment. After pruning, it is important to provide adequate irrigation for the tree so that it will produce its best quality fruits.
The final step in harvesting star fruits is to handpick them from the branches when they have ripened sufficiently. This should be done carefully as over-ripe fruits will spoil quickly and cause wastage of produce as well as damage to other fruits on the same branch. Once all of the ripe star fruits have been harvested, they can be stored for consumption or sold at local markets or even exported around the world!
Avoid Common Mistakes When Growing Star Fruit from Seeds
Growing star fruits from seeds can be a fun and rewarding experience, but it can also be challenging. If you are new to growing star fruits, it is important to understand the basic requirements for success and avoid common mistakes. Here are some tips to help you get started on the right foot when growing your own star fruit plants.
Choose the Right Variety of Star Fruit
There are several varieties of star fruit available, so it is important to choose one that is best suited for your climate. Some varieties do better in tropical climates while others thrive in more temperate climates. Research different varieties of star fruit to determine which one will work best for your region before planting the seeds.
Plant the Seeds at the Right Time
The timing of when you plant your star fruit seeds is crucial for successful germination and growth. Planting too early or too late can lead to poor germination rates or stunted growth. In general, it is best to sow seeds during the spring or summer months when temperatures are warmer and soil moisture levels are higher.
Provide Adequate Sunlight and Water
Star fruit plants need plenty of sunlight and water to thrive. Make sure they receive at least 6 hours of direct sunlight each day and provide regular watering so that the soil stays moist but not soggy. Too much water can cause root rot, so be careful not to over-water your plants.
Protect Plants From Pests and Diseases
Star fruits are susceptible to pests and diseases that can damage their leaves, stems, and fruits. To protect them from infestations, use natural methods such as companion planting or manual removal of pests as well as chemical treatments if necessary. Additionally, keep an eye out for signs of disease such as yellowing leaves or wilting stems so that you can take action quickly if needed.
By following these tips, you should be able to successfully grow your own delicious star fruits from seed without making common mistakes along the way!
Conclusion
Growing star fruit from seeds is a rewarding and fun activity. It requires patience and perseverance, but can be done successfully with the right approach. You will need to provide the right environment for them to germinate and grow, as well as having access to the right type of soil, fertilizer, and water. In addition, you must pay close attention to the care of your new plants in order for them to thrive. When done correctly, you should have a beautiful crop of star fruit that you can enjoy for years to come!
In summary, growing star fruit from seeds is not an impossible task. With the proper knowledge and approach, anyone can grow their own star fruit plants from seed with great success!

