
Preparing the Substrate
When preparing a substrate for a painting project, it is important to ensure that the surface is clean and free from dirt, dust, grease and any other contaminants. In order to do this, use a vacuum cleaner or soft bristled brush to remove any loose debris. If necessary, use an appropriate cleaner and rinse off with water to remove any remaining dirt or grease. Once the surface is dry, apply a coat of primer to help create an even painting surface. Depending on the type of paint you are using, additional coats of primer may be required. Once the primer is dry, sand it lightly with fine-grit sandpaper before applying your first coat of paint.It is also important to protect any areas that are not intended to be painted by using painter’s tape and drop cloths. Painter’s tape can help create neat lines between areas that need to be painted and those that don’t. Drop cloths should be placed on the floor or other surfaces below the area you are painting in order to catch any spills or splatters of paint. Finally, use a damp cloth or rag to wipe away any excess dust or particles before beginning your painting project.
Spawning the Substrate
Spawning the substrate is the process of introducing beneficial bacteria to an aquarium to aid in the breakdown of organic waste and other harmful compounds. This process is essential for a healthy aquarium, as it helps to keep water quality and clarity at optimal levels. The substrate is typically a mix of sand, gravel, and/or other inert materials that are chosen based on what type of fish and plants will be housed in the tank. The best substrates are those that provide enough surface area for beneficial bacteria to colonize and thrive.Once the substrate has been selected, it should be thoroughly washed before being added to the tank. This will help remove any dirt or debris that could potentially harm or harm your fish. After washing, it is important to check for any sharp edges or loose particles that could cause injury to your fish or other aquatic life. Once this has been done, it is time to introduce the substrate into your aquarium.The most common way of introducing substrate into an aquarium is by simply pouring it in from a bucket or container. This method works well if you are using sand or small gravel, but can be difficult with larger pieces of rock or coral fragments. To make this easier, many aquarists will use a funnel-like device to slowly add substrate into their tanks while keeping their hands out of harm’s way.Once all of the substrate has been added to your tank, you should wait for at least 48 hours before introducing any fish or plants into your tank. This allows time for beneficial bacteria populations in the tank to establish themselves on the surface area provided by the substrate before they are put under any additional stress from new inhabitants. After this period has passed, you should perform regular water changes and monitor water parameters regularly in order to ensure optimal water quality and clarity in your aquarium for years to come!Incubating and Colonizing
Humans have been incubating and colonizing for thousands of years. From the earliest settlements of hunter-gatherers to the first cities, humans have sought to create communities in which they can thrive. Incubating and colonizing are two different approaches to establishing a community, with each having its own unique set of advantages and disadvantages.The process of incubating involves creating an environment in which new ideas and businesses can develop. This is often done through government programs, such as subsidies or tax incentives, or through private initiatives such as venture capital firms or angel investors. In this way, incubators provide a safe space for entrepreneurs to test their ideas and gain access to resources that may not be available to them otherwise. The primary advantage of incubation is that it helps foster innovation by providing access to resources that can help entrepreneurs turn their ideas into successful businesses.Colonizing, on the other hand, refers to the process of establishing a population in a new area by sending settlers from another region. This has been done throughout history as people sought new lands to call their own or as empires sought to expand their reach into new territories. The main advantage of colonizing is that it allows for populations to inhabit areas that may be difficult or impossible for them to reach otherwise. It also allows for greater control over resources and trade routes, allowing new settlements to become self-sufficient more quickly than if they had tried to establish themselves on their own.Both incubating and colonizing have been used effectively throughout history as people sought ways to create successful communities in new environments. While both processes come with unique advantages and disadvantages, they offer powerful tools for expanding existing populations into new areas and fostering innovation within existing ones.Setting Up The Growing Environment
Creating the right environment for your plants to thrive is essential for successful gardening. Whether you’re growing indoors or outdoors, there are several factors to consider when setting up your growing environment. Here are some tips and tricks for creating the best environment for your plants.Location
The first step in setting up the right growing environment is to choose a suitable location. If you’re growing indoors, pick a spot that has plenty of natural light and ventilation. Make sure that the area isn’t too hot or too cold, and that it has enough space for all of your plants. If you’re growing outdoors, choose a spot that gets at least 6 hours of direct sunlight each day and is sheltered from strong winds.Soil
The soil is one of the most important factors for creating a healthy growing environment. Choose a soil mix that will provide your plants with the nutrients they need to thrive. If you’re planting directly in the ground, make sure that it’s free of weeds and debris so that your plants have access to adequate drainage and air circulation. If you’re planting in containers, use a potting mix with added fertilizer to ensure that your plants get all the nutrients they need.Lighting
Lighting is essential for indoor gardening, as most plants need at least eight hours of light each day to grow properly. For outdoor gardens, natural sunlight is usually enough. However, if you don’t get enough sunlight or if you’re growing during winter months when there’s less daylight available, then you may want to invest in artificial lighting such as grow lights or LED lamps.Temperature & Humidity
Temperature and humidity can have a big impact on how well your plants grow. Most plants prefer temperatures between 65-75°F (18-24°C). The ideal humidity level depends on what type of plant you are growing but generally ranges between 40-60%. You can use a hygrometer to measure humidity levels and adjust them as necessary.By considering these key factors when setting up your growing environment, you can create an ideal space for your plants to flourish!
Controlling Humidity and Temperature
Humidity and temperature are two of the most important environmental factors for maintaining a healthy indoor environment. The ability to control these two factors is essential for creating comfortable and healthy living and working conditions. In order to achieve this, it is important to have an effective system in place for monitoring and regulating the humidity and temperature levels in your home or office.There are several different methods that can be used to control humidity and temperature, such as using a dehumidifier, air conditioner, humidifier, or ventilation system. Dehumidifiers remove excess moisture from the air by drawing out the moisture-laden air through a filter and then releasing it back into the environment after it has been cooled. Air conditioners work by cooling down hot air so that it is more comfortable to breathe in. Humidifiers add moisture back into the air when it becomes too dry, while ventilation systems use fans to draw fresh air from outside into your home or office space.
In order to ensure that your environment remains at an optimal level of humidity and temperature, it is important to regularly check these levels with a hygrometer or thermometer. This will allow you to adjust your system accordingly in order to maintain comfort levels within your home or office space. Additionally, maintaining good indoor air quality can help reduce any negative health effects caused by high humidity levels or temperatures that are too low or too high.
By taking the necessary steps for controlling humidity and temperature levels within your home or office space, you can create a comfortable environment that will help keep you healthy and productive. With the right system in place, you can ensure that you always have an optimal level of humidity and temperature in order to maintain good indoor air quality throughout your home or office building.
How Can I Determine When to Start Fruiting Mushrooms Based on Mycelium Readiness?
To successfully fruit mushrooms, it’s essential to monitor the mycelium’s growth and health. Clarity in understanding the mycelium fruiting process timing will guide you in determining when conditions are optimal for fruiting, such as moisture levels and temperature, ensuring a bountiful mushroom harvest.
Harvesting Your Mushrooms
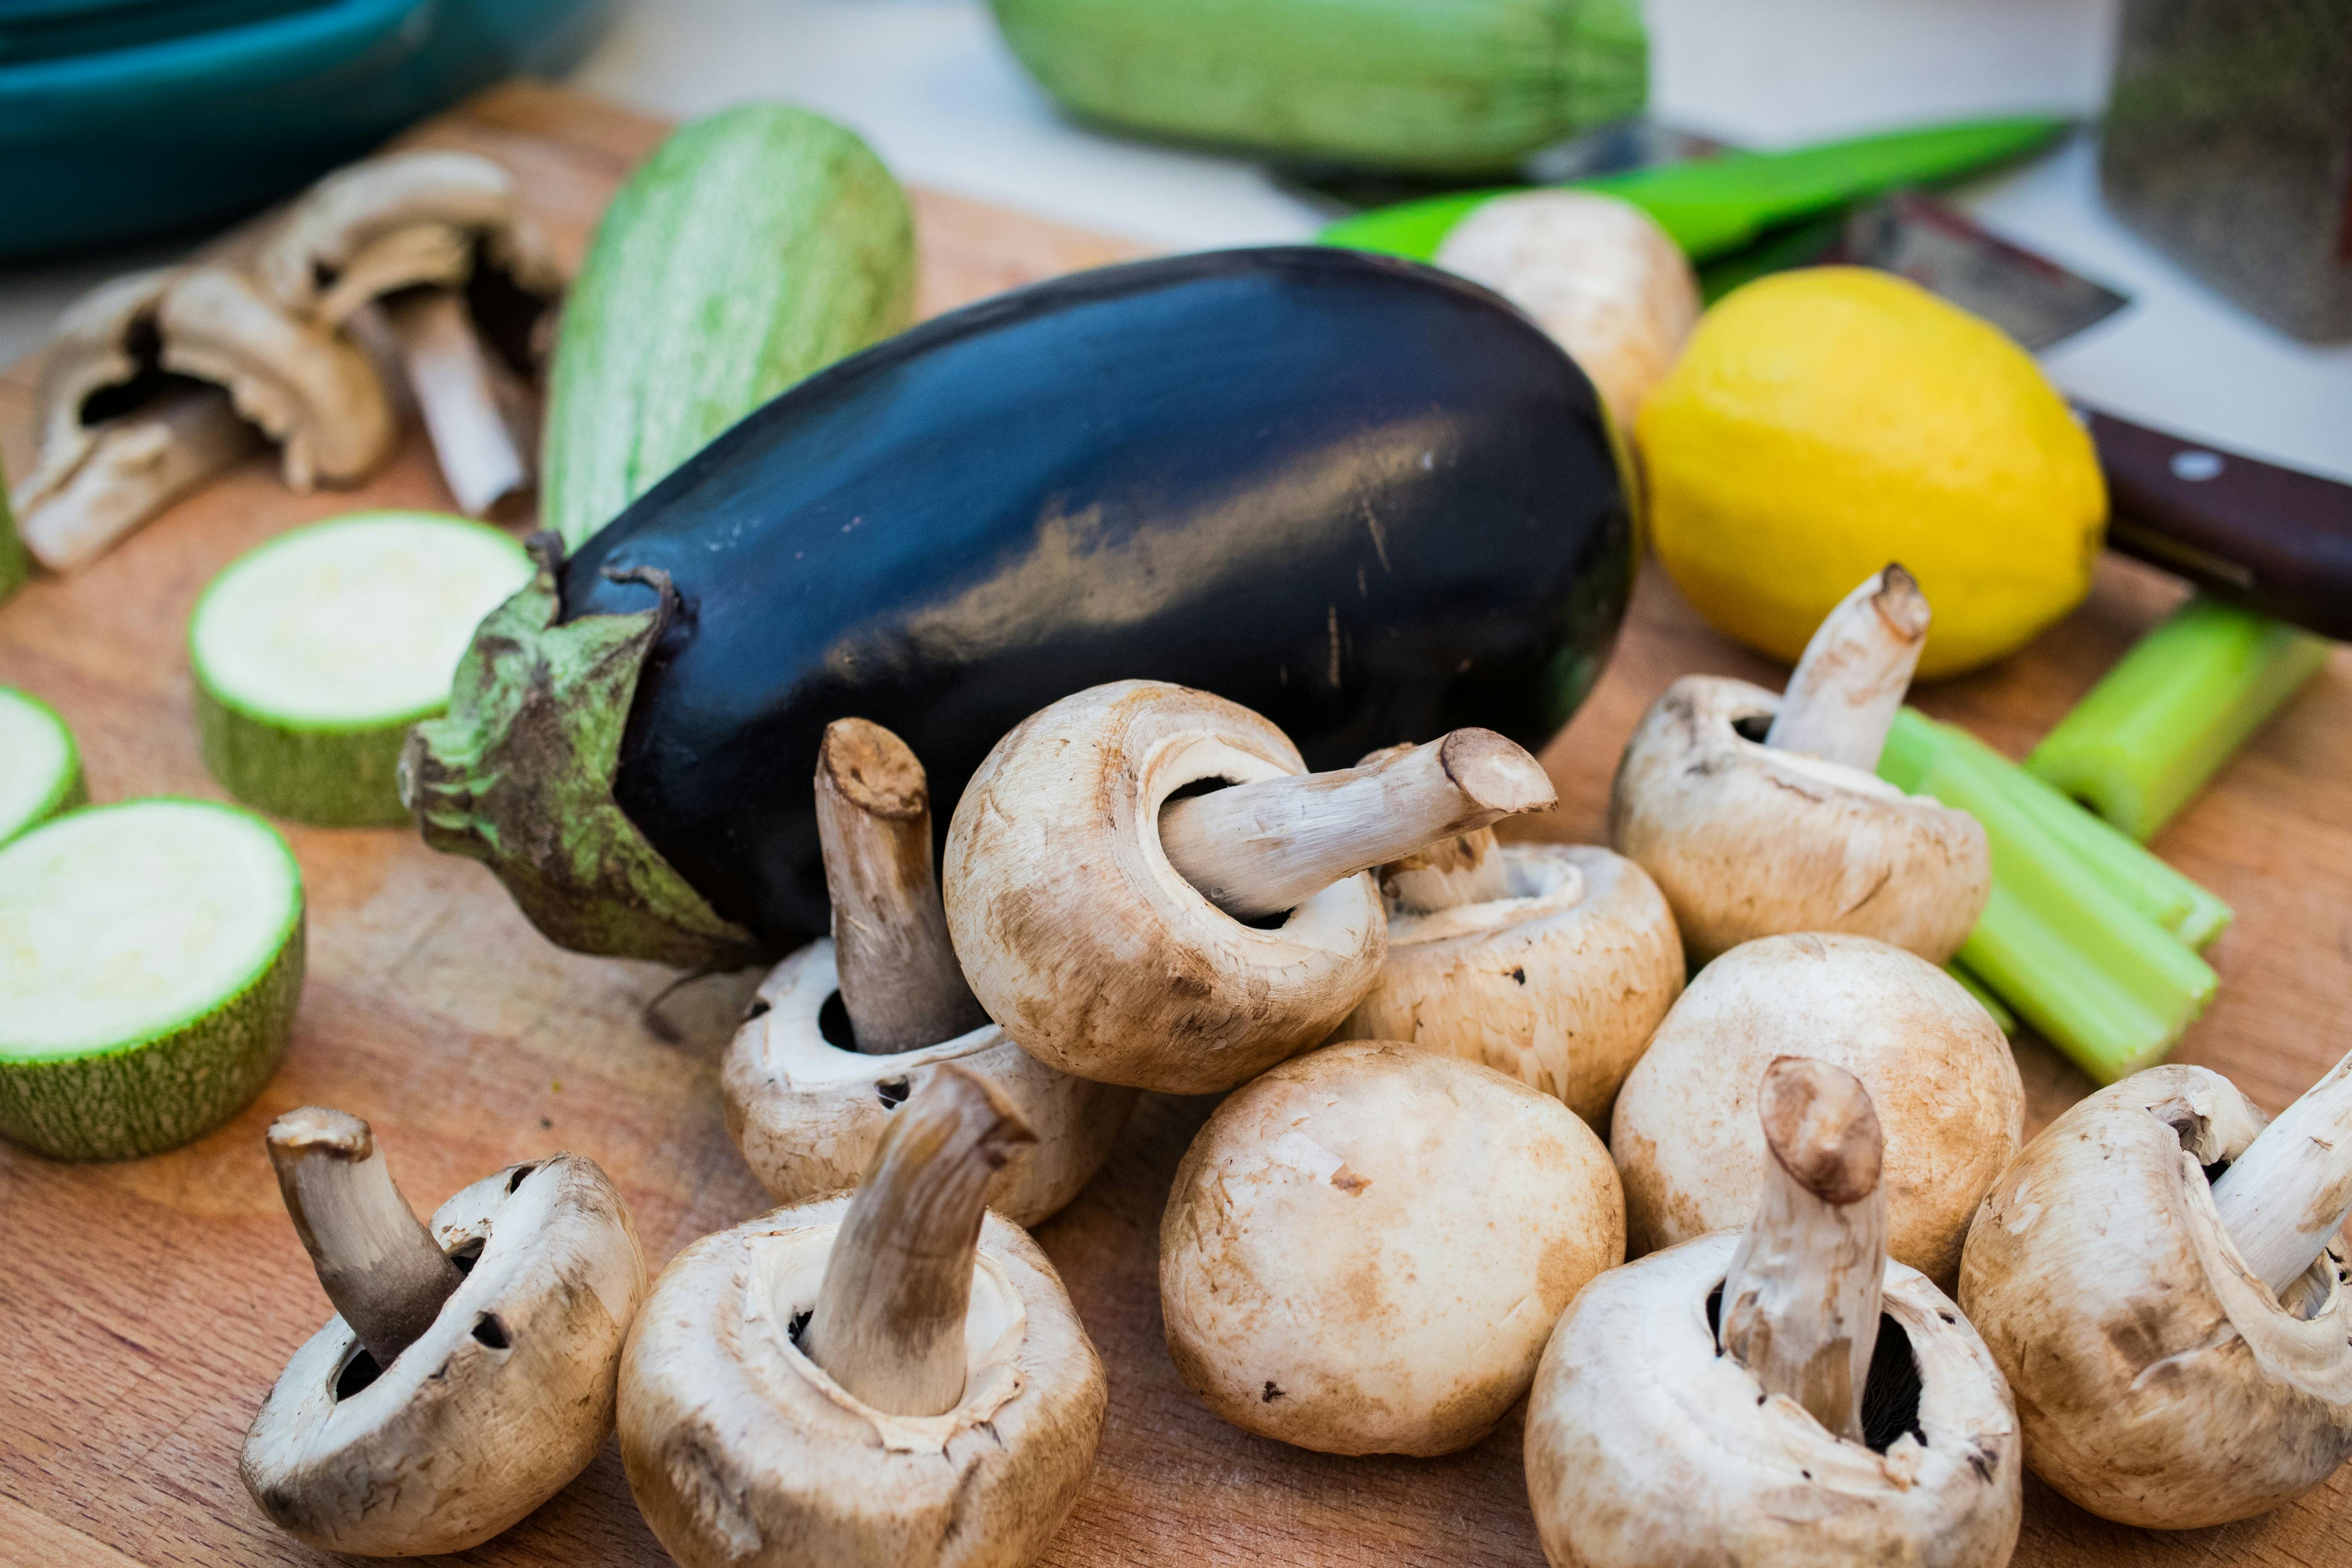
Harvesting mushrooms is a delicate process that requires patience and experience. The timing of harvest is crucial to the quality of the mushroom. Depending on the species, some mushrooms should be harvested when they are young while others should be left on the planting bed to mature. It is important to identify which type of mushroom you are growing so that you can determine when it is time to harvest.When harvesting your mushrooms, use a sharp knife or scissors and cut just below the cap. Be careful not to damage the stem or cap as this can affect the quality and taste of your mushrooms. Once you have harvested all of your mushrooms, place them in a container with some paper towels or newspaper to absorb any excess moisture. Keep them refrigerated until you are ready to use them.
When storing your mushrooms, it is important to keep them away from direct sunlight as this can cause them to spoil quickly. The best way to store mushrooms is in an airtight container in a cool, dry place. This will help keep the flavor and texture of the mushroom intact for longer periods of time. If you plan on using your mushrooms within a few days, then they can be left at room temperature in an open container. However, if you plan on storing them for longer periods, it is best to refrigerate them.
Harvesting and storing your mushrooms properly will ensure that they stay fresh and flavorful for longer periods of time. With proper care and handling, you can enjoy delicious homegrown mushrooms for many meals to come!
Cleaning and Storing Your Mushrooms
Mushrooms are a delicious addition to any meal. However, ensuring that your mushrooms are clean and stored properly is essential in order to get the best flavor and texture out of them. Here is how you can ensure your mushrooms are clean and stored correctly.The first step in cleaning mushrooms is to use a damp cloth or paper towel to wipe off any dirt or debris on the surface of the mushroom. Do not soak the mushroom in water, as this will make them soggy and lead to a loss of flavor. It is also important to avoid using soap on your mushrooms, as this can leave an unpleasant taste.
Once the mushrooms have been wiped down, they should be placed in an air-tight container and stored in a cool, dry place. This will help keep their flavor intact for longer periods of time. If you plan on storing the mushrooms for more than one day, it is recommended that you wrap them in a paper towel before putting them into the container, as this will help absorb any moisture that may be present.
Finally, when it comes time to cook your mushrooms, take care to avoid overcooking them. Mushrooms should be cooked quickly over high heat for maximum flavor and texture. Doing so will ensure that your mushrooms retain their flavor while still being cooked thoroughly.
By following these steps you can ensure that your mushrooms stay clean and flavorful for longer periods of time. So go ahead and enjoy some delicious mushroom dishes!
Conclusion
Fruiting mushrooms can be an incredibly rewarding experience. It requires patience, attention to detail, and the right environment for success. If you take the time to learn the proper steps and techniques, you can successfully grow delicious mushrooms at home. The most important thing is to understand the process and follow best practices for each step of the process. With careful planning, preparation, and execution, you can enjoy the fruits of your labor!Fruiting mushrooms is a great way to expand your culinary horizons. Not only will you be able to enjoy fresh mushrooms at home, but you will also gain a better understanding of fungi and their role in nature. Growing your own mushrooms is an opportunity to explore new flavors and textures while connecting with nature in a unique way. So why wait? Start fruiting mushrooms today!

