

Fermenting strawberries is a great way to add flavor to your favorite dishes and snacks. It’s also an easy and affordable way to preserve them for a longer amount of time. In this guide, you will learn how to ferment strawberries using natural fermentation methods. You’ll also learn about the health benefits of consuming fermented fruits. So let’s get started and explore the wonderful world of fermented strawberries!To ferment strawberries, you will need: fresh, ripe strawberries; a clean jar with a lid; 1 tablespoon of sea salt; 1 cup of filtered water; and a wooden spoon. Make sure to wash the strawberries and jar thoroughly before use. Mix the salt into the water until it is completely dissolved. Place the strawberries into the jar and pour the saltwater mixture over them until completely submerged. Close the lid tightly and shake to mix. Place the jar in a cool, dark place for 24-48 hours, shaking it periodically. Once you notice small bubbles forming on top of the water, your fermented strawberries are ready to enjoy!
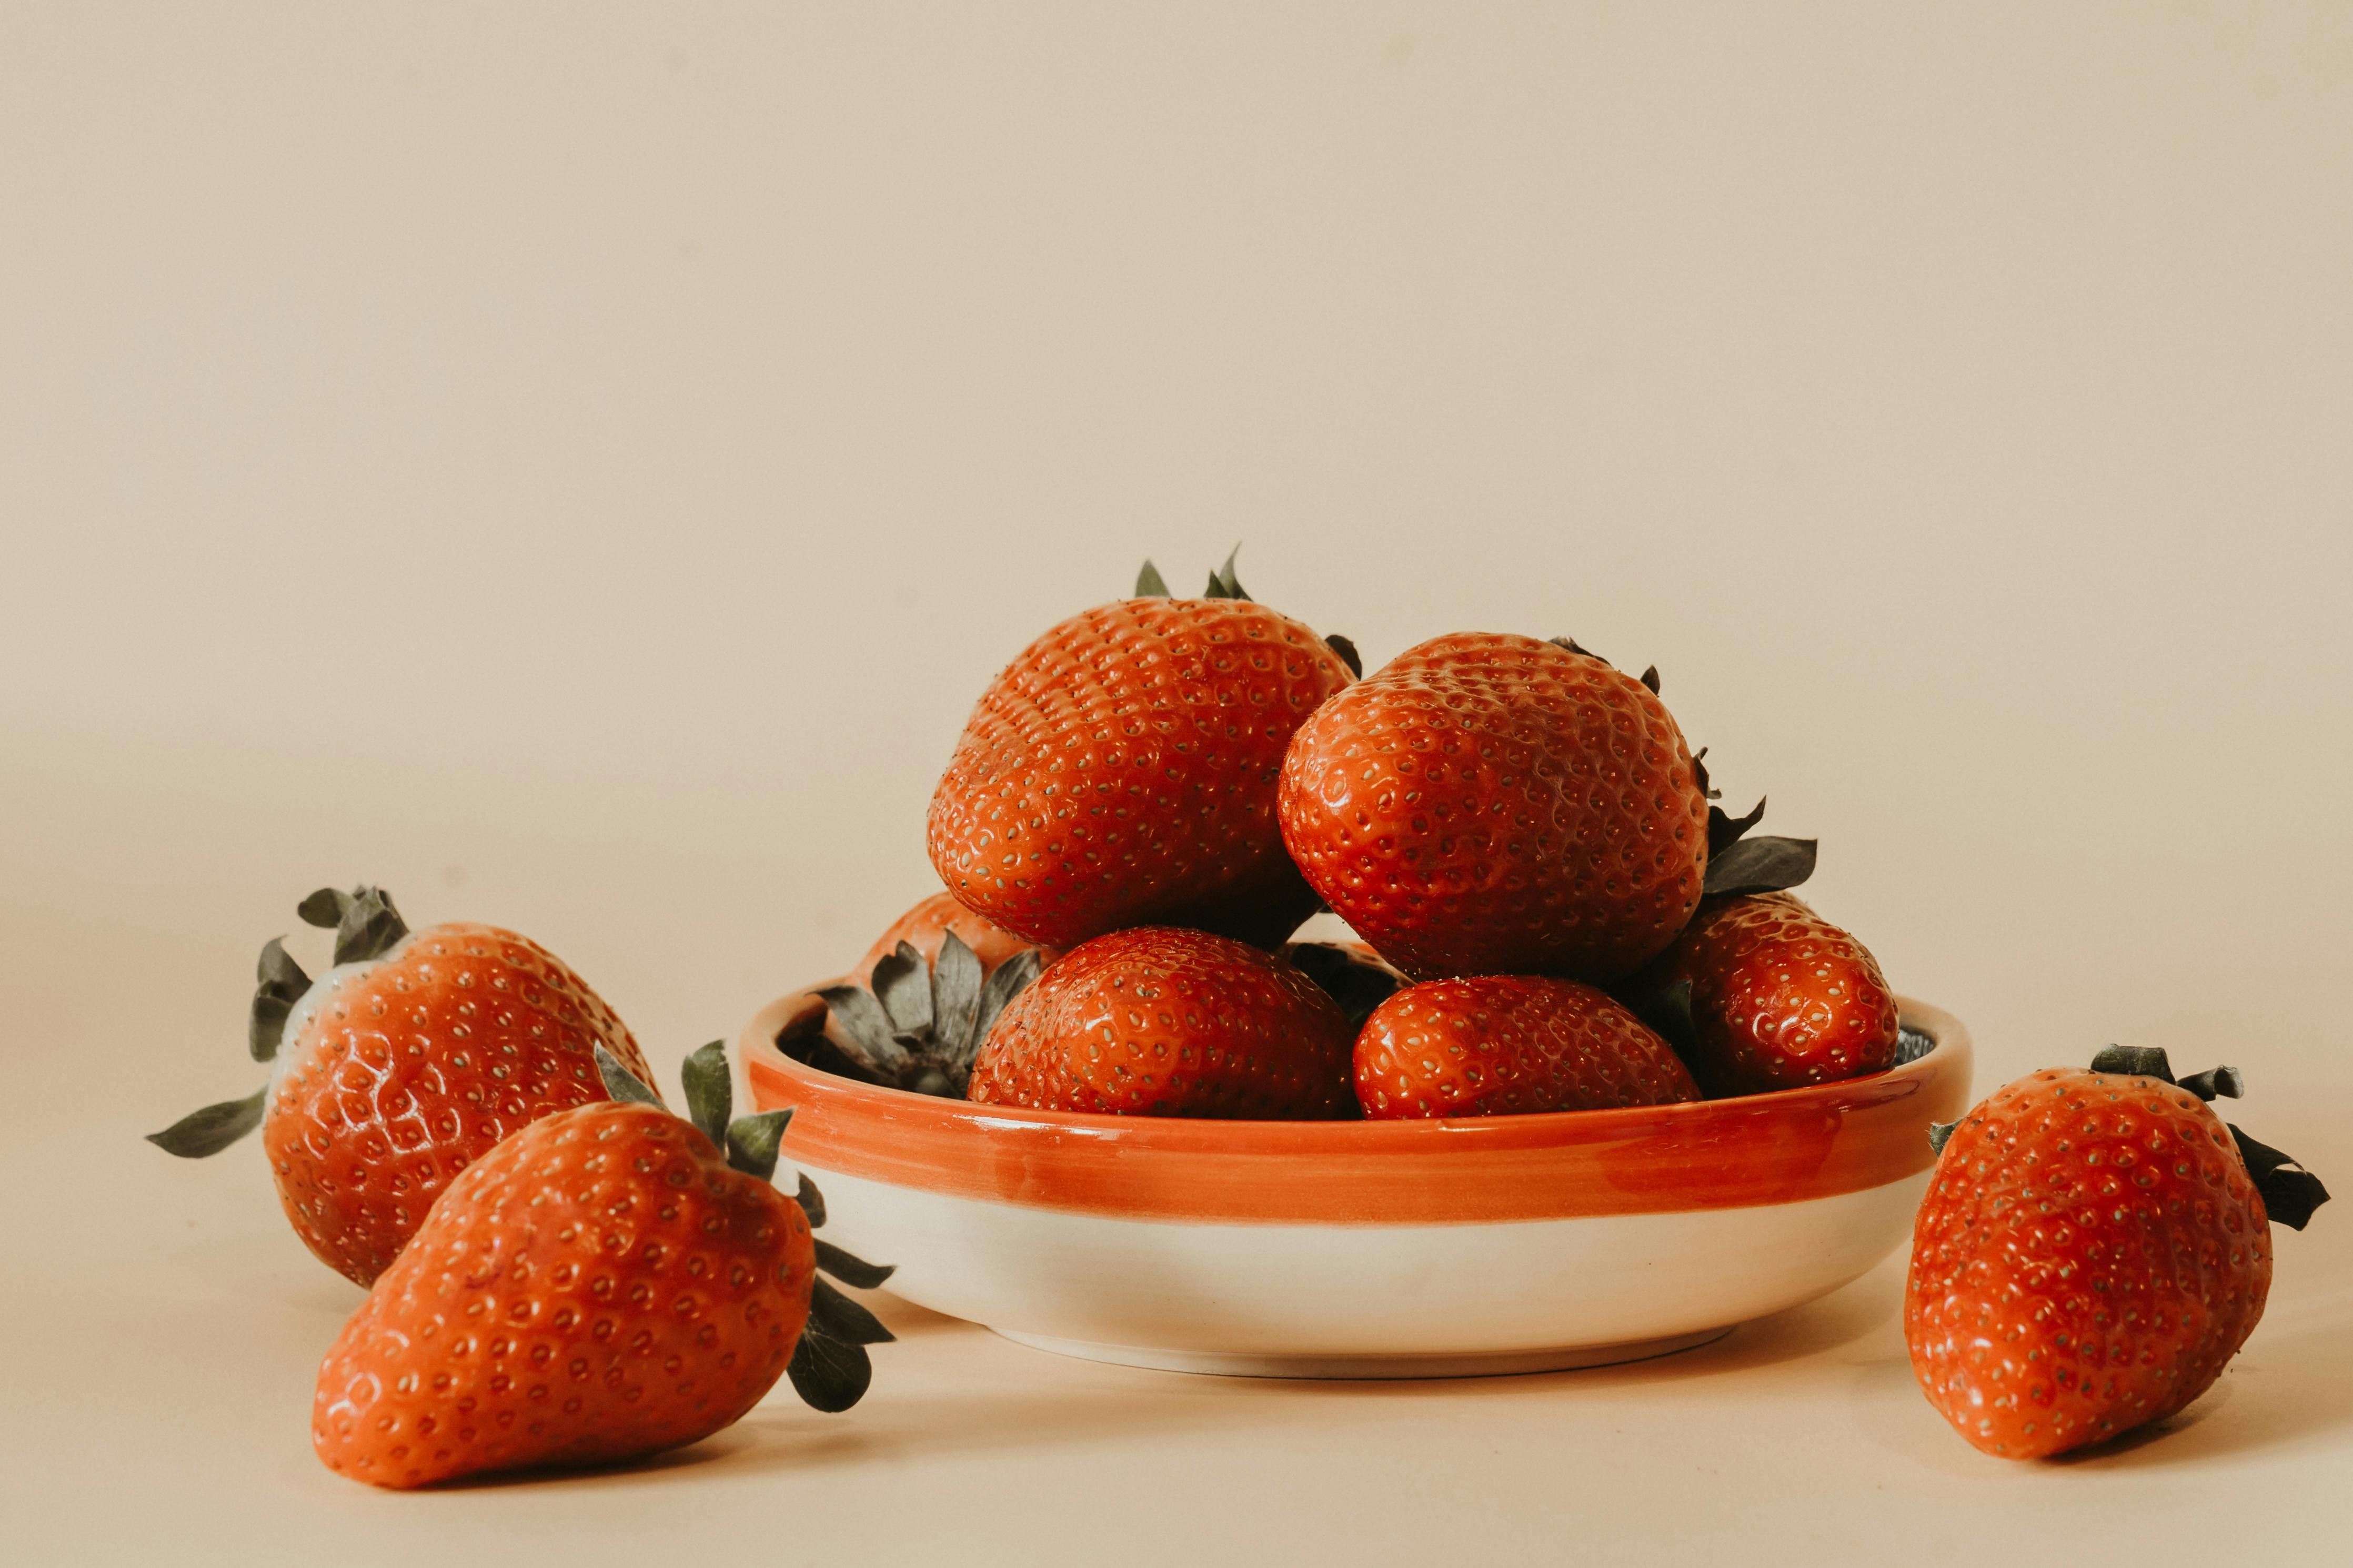
How to Prepare the Strawberries
Strawberries are a delicious and nutritious snack that can be enjoyed throughout the year. Preparing them is a simple process that only requires a few steps. First, wash the strawberries under cold running water. Use a soft brush to gently remove any dirt or debris that may be on the surface. Rinse thoroughly and then pat dry with a paper towel.
Next, cut off the tops of the strawberries, as well as any leaves or stems. Discard these parts, as they are not edible. Then, slice or dice the strawberries into small pieces if desired. For larger pieces, cut them in half or quarters depending on their size.
Finally, you can enjoy your freshly prepared strawberries! They can be eaten as is or used in recipes such as salads, smoothies, jams, and desserts. Strawberries also pair well with other fruits like pineapple or kiwi for a refreshing summer treat!
Creating the Fermentation Brine
Fermentation is an important process that can be used to create flavorful and healthy foods. Creating the right brine is essential to successful fermentation. A brine is simply a salt-water solution that will provide an environment that encourages the growth of beneficial bacteria while inhibiting the growth of harmful ones.
The first step in creating a brine is to determine how much salt will be needed. To do this, measure out 1 teaspoon of salt for every cup of water. For example, if you are making a gallon of brine, you will need 8 teaspoons of salt. Once you have determined how much salt you need, mix it with warm water until it is completely dissolved.
Next, add your desired flavoring ingredients such as herbs, spices, garlic, or citrus zest. This step is optional but can add a lot of flavor to your fermented foods. Make sure to stir the ingredients into the brine so they are evenly distributed and not just floating on top.
Finally, pour the brine over your food item(s) and place it in an airtight container or jar for fermentation. Make sure there is enough headspace in the container for gases created during fermentation to escape without causing pressure buildup inside the container which could lead to explosions or other dangerous situations.
Once your food has been submerged in the brine, seal it up tight with a lid and store it in a cool dark place for fermentation to occur at its own pace over several weeks or months depending on what you are fermenting and what flavor profile you are trying to achieve.
Placing Strawberries in the Brine
Placing strawberries in the brine is a simple process that can help them last longer. First, you will need to prepare a brine solution by combining salt and water in a ratio of 1 tablespoon of salt for every quart of water. Once the brine solution is ready, place the strawberries in the solution and stir gently. Make sure all of the berries are completely submerged. The strawberries should be left to sit in the brine for at least 24 hours before being removed and used. During this time, they will become firm and flavorful.
Once you have completed the waiting period, remove the strawberries from the brine with a slotted spoon or strainer. Rinse them lightly with fresh water to remove any excess salt, then pat them dry with a paper towel before using them as desired. After being placed in the brine, strawberries can be stored for up to two weeks if kept refrigerated. Enjoy your delicious and flavorful strawberries!
Caring for Your Fermenting Strawberries
Fermenting strawberries is a great way to enjoy and preserve the sweet flavor of fresh strawberries. To ensure your fermenting strawberries are successful, you’ll need to take some special care. Here are some tips for caring for your fermenting strawberries.
First, make sure you use fresh, ripe strawberries. The fresher the strawberries, the better they will ferment. If you’re using frozen strawberries, make sure they are fully thawed and still in good condition before use.
Second, you’ll need to keep your fermenting strawberries at a consistent temperature. The ideal temperature range is between 65-75 degrees Fahrenheit. If the temperature is too warm or too cold, it could affect the fermentation process and lead to unsatisfactory results.
Third, be sure to check on your fermentation progress regularly. You may need to adjust the temperature or add more sugar depending on how quickly or slowly it’s fermenting. Be sure to open the lid occasionally to allow air flow and release any excess pressure that might build up during fermentation.
Finally, when your fermentation process is complete, remove the berries from their jar and store them in an airtight container in the refrigerator. This will help preserve their flavor and texture for up to 3-4 weeks after fermentation has finished.
By following these tips for caring for your fermenting strawberries, you can enjoy delicious fermented strawberry treats all season long!
The Signs of a Successful Ferment
Fermenting is a great way to preserve food and add flavor to dishes, but it can be challenging to know if the process has been successful. It’s important to monitor the fermentation process closely and look out for specific signs that can help you determine if it was successful. Here are some of the signs of a successful ferment:
The first sign of a successful ferment is that the food will have developed an acidic flavor. This means that lactic acid has been produced, which is necessary for fermentation. You may also notice that the food has become slightly softer and more pliable as it ferments.
Another sign of a successful ferment is bubbles or foam forming on top of the food. This is caused by carbon dioxide being released during fermentation, which indicates that bacteria are actively consuming sugar in the food and producing lactic acid.
You should also look for signs of mold or discoloration on top of your ferment as these can indicate spoilage or contamination. If this happens, it’s best to discard the batch and start again with fresher ingredients. Finally, you should check for an off-odor when opening your ferment; if it smells sour or funky, then it’s likely that your ferment was successful!
How Long Does it Take to Ferment Strawberries?
Fermenting strawberries is a great way to add a unique flavor to your favorite recipes. The fermentation process can take anywhere from two days to two weeks, depending on the desired flavor and texture of the final product.
The most important factor in determining how long you should ferment your strawberries is the temperature of the environment where they are stored. If stored in a cool area, such as a refrigerator, fermentation can take as little as two days. However, if stored at room temperature, fermentation may take up to two weeks.
It’s also important to consider the type of strawberry you are using for fermentation. Certain varieties will ferment faster than others, so be sure to read up on different types of strawberries and how they may affect the fermentation process.
When fermenting strawberries, it’s important to keep an eye on them throughout the process so they don’t become too sour or develop off-flavors due to over-fermentation. Taste tests can be done every few days and when the desired flavor has been achieved, the strawberries should be removed from their storage environment and consumed or stored in an airtight container for future use.
What To Do With the Finished Fermented Strawberries?
Fermented strawberries are a delicious way to enjoy a favorite summertime treat. They can be used in a variety of ways, from adding them to desserts or salads, to making fermented strawberry juice or smoothies. They are also an excellent addition to yogurt or ice cream. Here are some ideas for how to use your finished fermented strawberries:
1. Serve as a topping for pancakes, waffles, French toast, and other breakfast dishes.
2. Use as an ingredient in cakes, muffins, and other baked goods.
3. Add them to salads for an extra burst of flavor.
4. Make a fruit sorbet by blending them with frozen fruit and sweetener of your choice.
5. Create a smoothie by blending them with milk or non-dairy milk and other ingredients such as banana or nut butter.
6. Use them as a topping for oatmeal or hot cereal.
7. Add them to yogurt for an easy probiotic boost.
8. Use in place of jam on toast or English muffins.
9. Add them to green smoothies for added nutrition and flavor.
10.Make fermented strawberry juice by blending the strawberries with water or coconut water and straining out the pulp if desired.<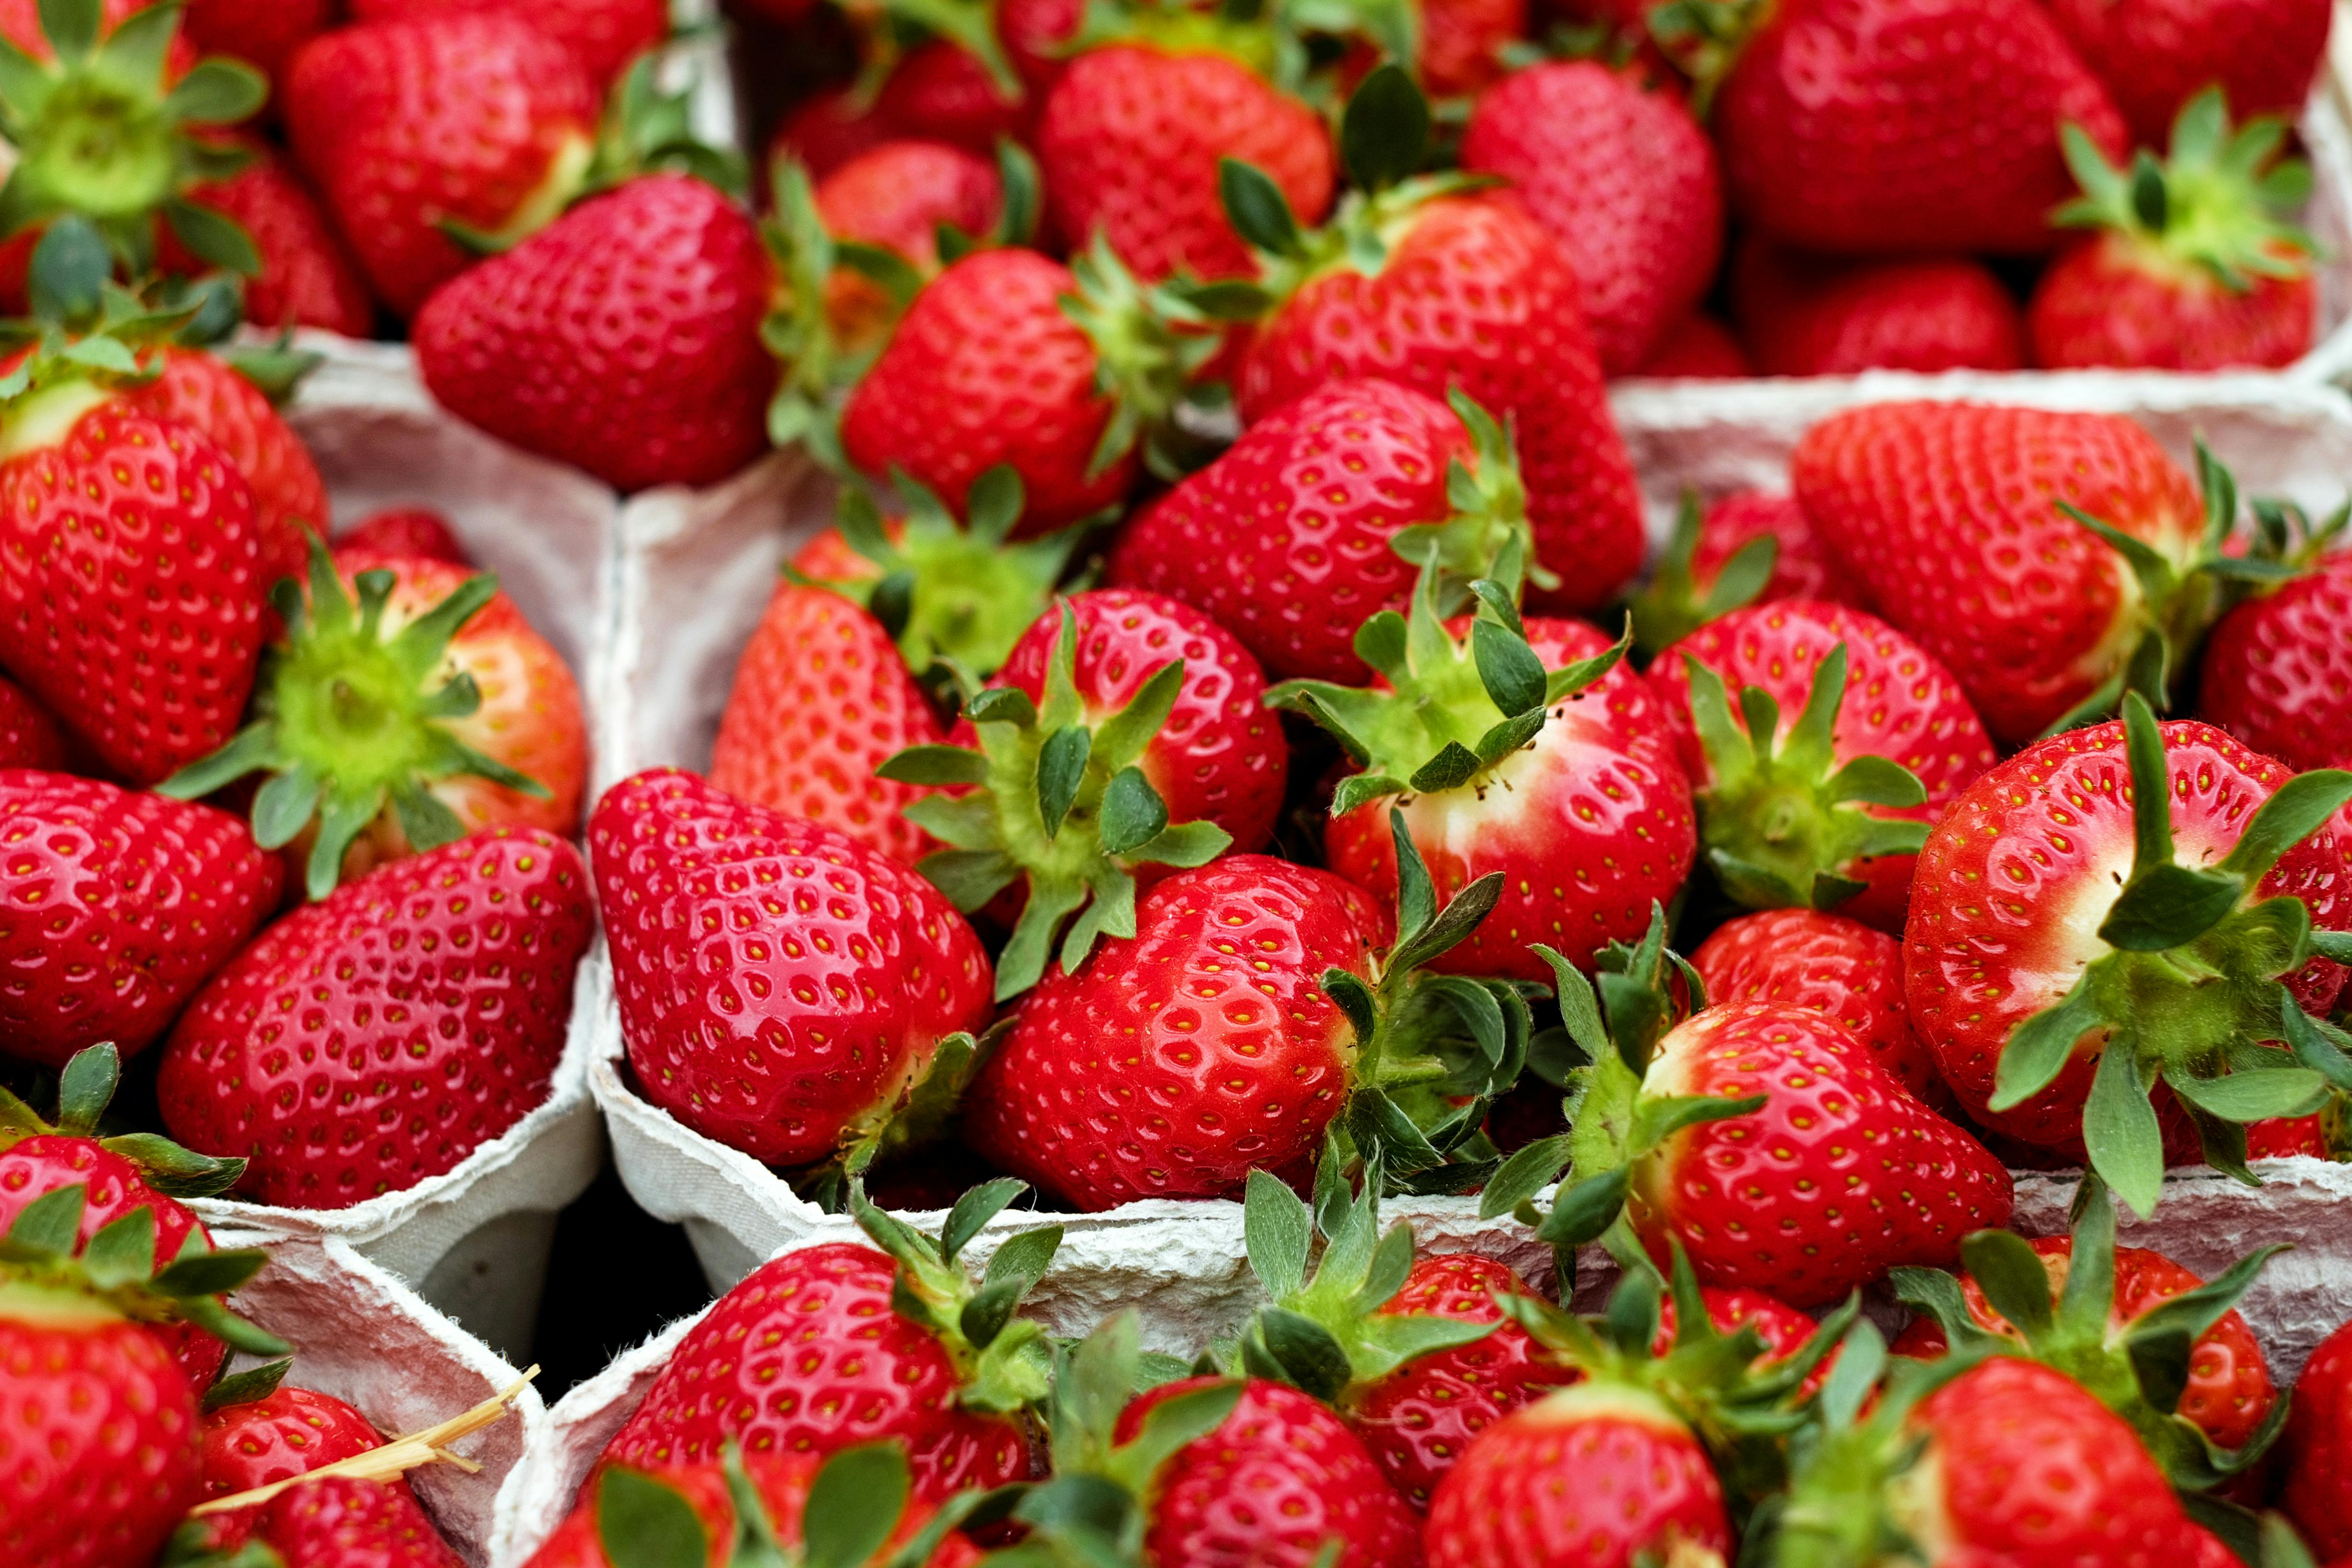
Conclusion
Fermenting strawberries is a great way to add flavor and nutrition to your diet. The process is easy and relatively safe, although it is important to take precautions when handling raw ingredients. The fermentation will take several days and you should check the flavor of the berries regularly until they reach your desired taste. When finished, you can enjoy your fermented strawberries on their own or as part of a dish. Make sure to store them in an airtight container in the refrigerator for up to one month.
Fermenting strawberries is a great way to get creative with your cooking and add some natural probiotics into your diet. With minimal effort, you can have a delicious and nutritious treat that you can enjoy any time!

