

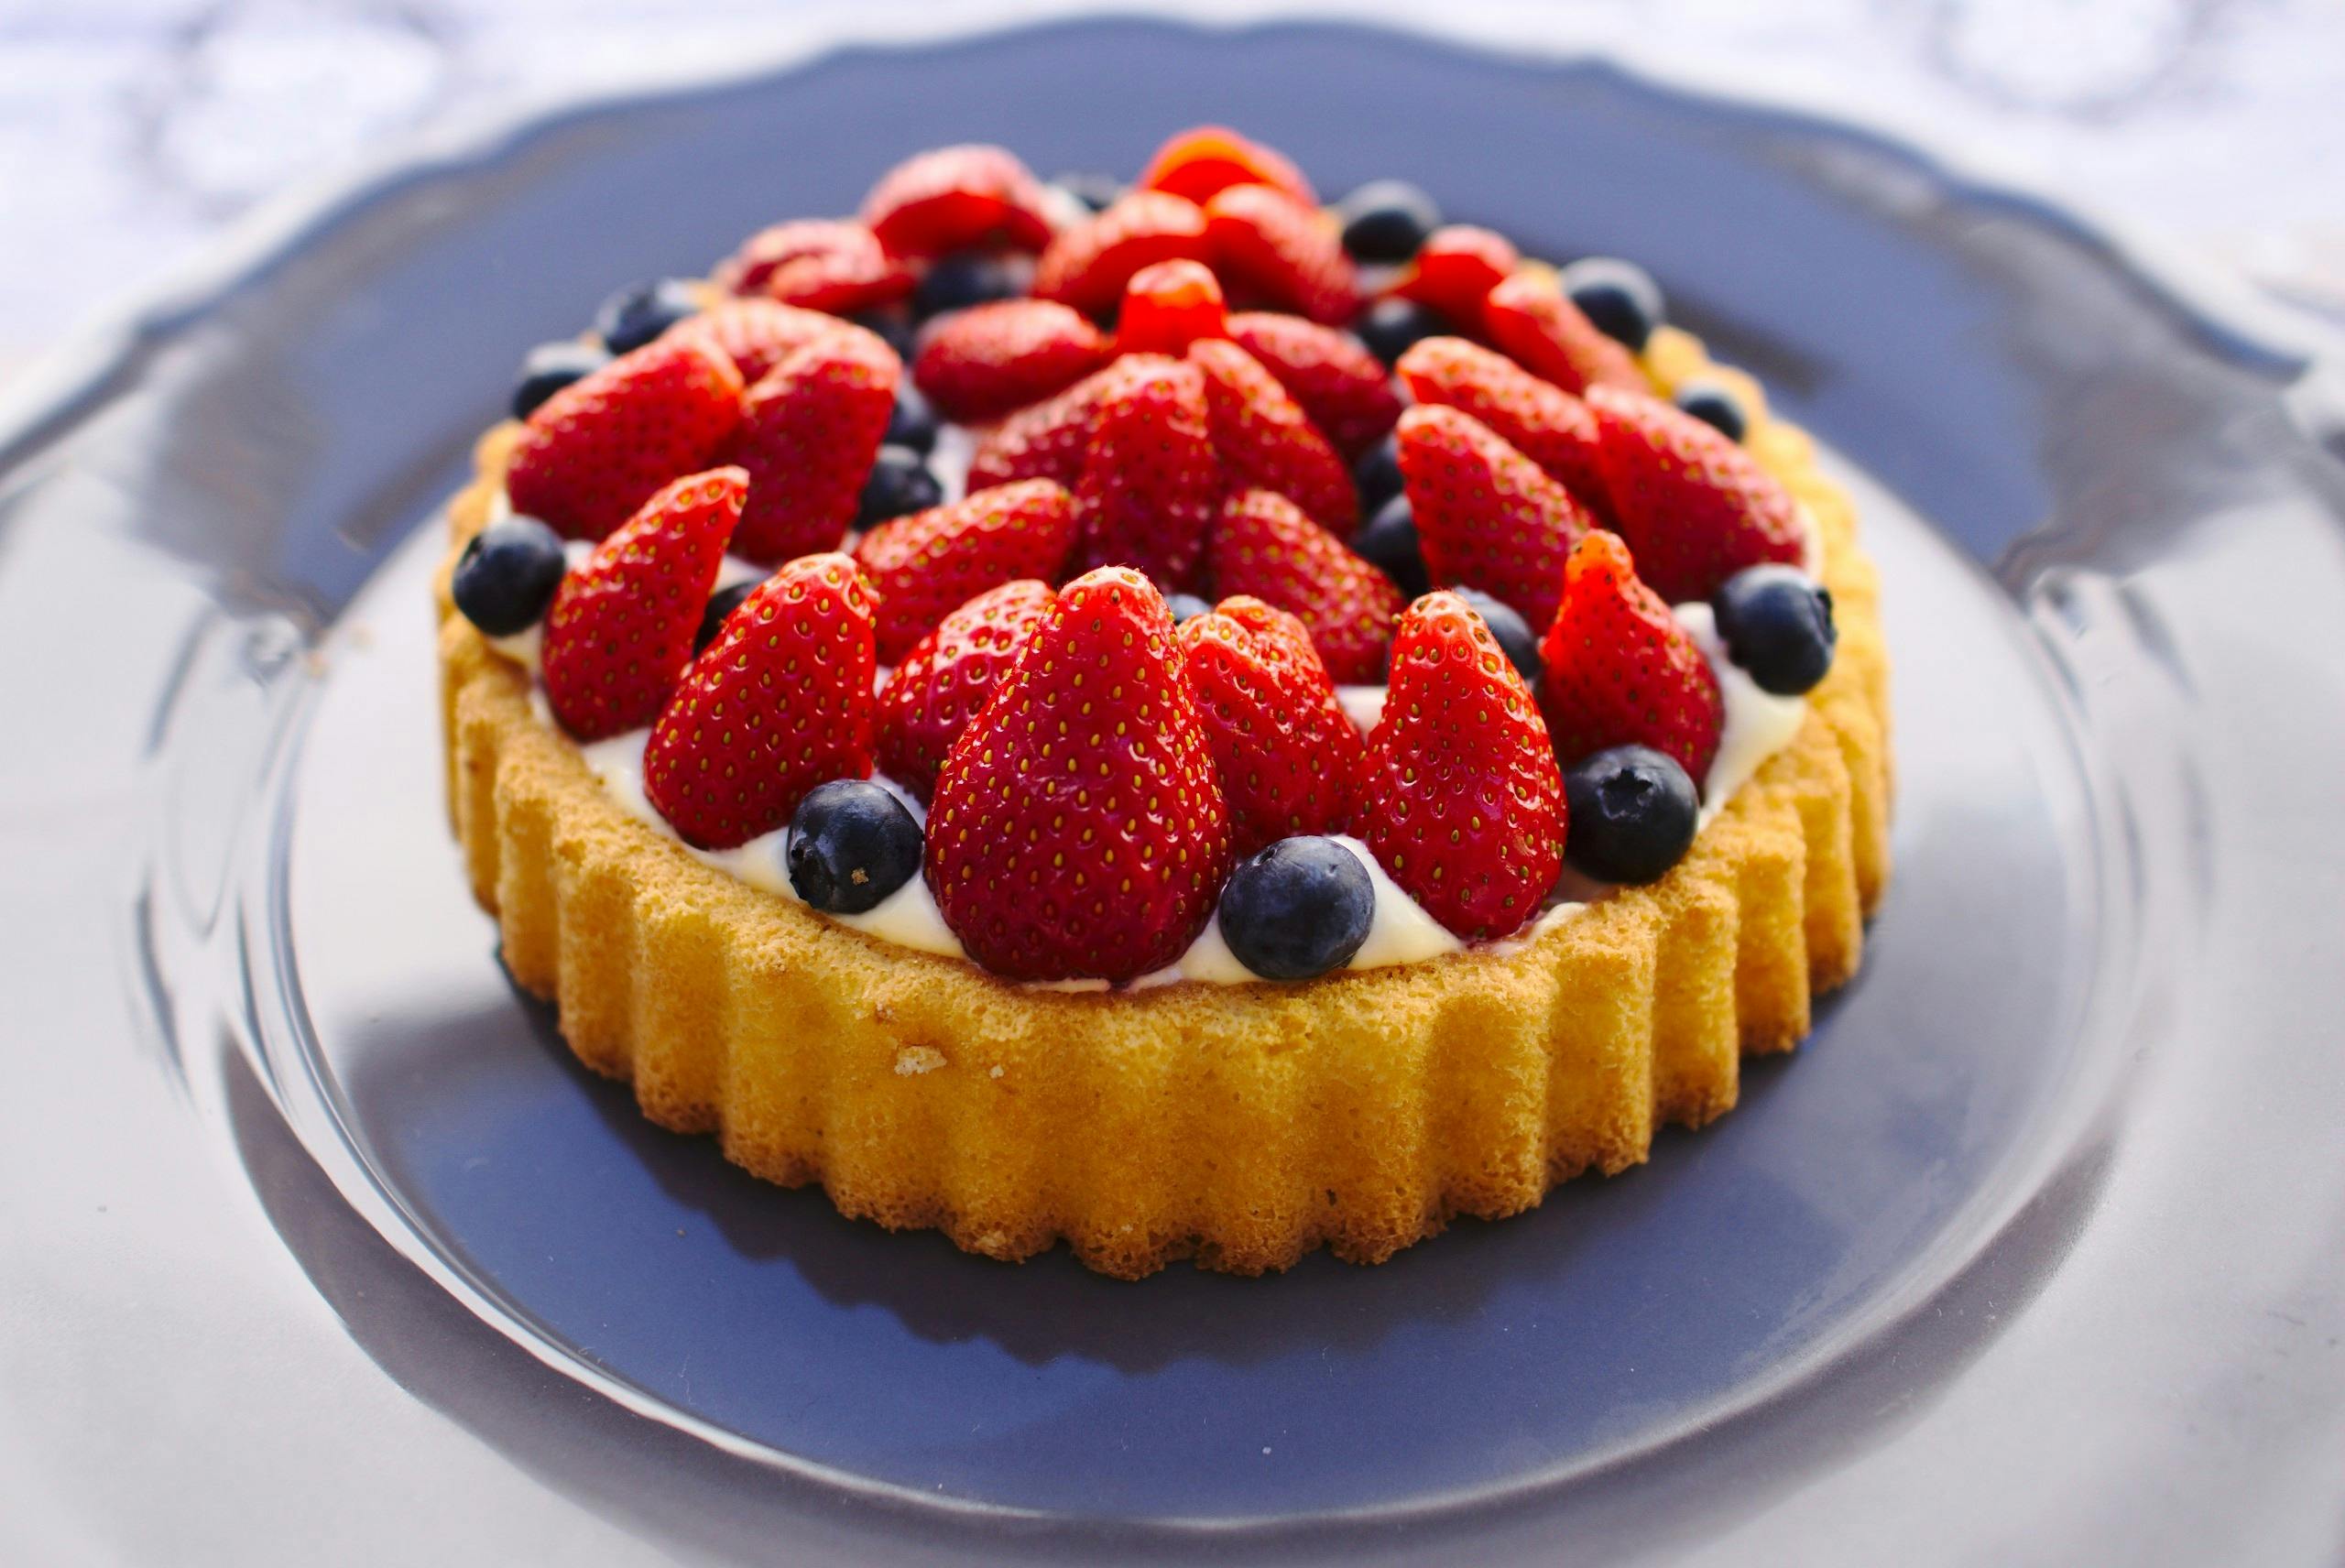
Strawberries are a delicious and healthy fruit that can be enjoyed in many different ways. Fanning strawberries is a simple and creative way to dress up your favorite fruit. It also makes for a great presentation if you are serving them to guests. In this guide, we will explain how to fan a strawberry so that you can get the most out of your fresh strawberries.1. Begin by washing the strawberry thoroughly with cold water.
2. Pat the strawberry dry with a paper towel or a clean kitchen cloth.
3. Use a sharp knife to cut off the stem of the strawberry, slicing it off at an angle.
4. Slice the strawberry in half lengthwise, making sure to keep each half as intact as possible.
5. Slice each half of the strawberry into four equal parts, making sure to stop slicing before reaching the center core of the strawberry.
6. Place one of the sliced halves on a cutting board with its cut side facing up and lightly press down on it with your fingers to fan out each slice slightly from the center core.
7. Repeat steps 5 and 6 for each of the other halves until all four quarters are fanned out, creating a beautiful pattern that showcases all of their delicious layers!
the Basics
When it comes to taking care of houseplants, there are some basics that you need to start with. First, you’ll need a pot and soil that is appropriate for the kind of plant you are trying to grow. The size of the pot should be appropriate for the size and growth rate of the plant. You should also use a soil that is well-draining and nutrient-rich, as this will help your plants thrive. You should also make sure that the pot has adequate drainage holes.
Light and Water
Two essential elements for keeping houseplants healthy are light and water. Depending on the species of plant, it may require more or less light. For most plants, a sunny windowsill or another bright spot in your home is perfect. As for water, it’s important to check the soil often and make sure it isn’t too dry or too wet. Too much water can cause root rot, while too little can cause wilting or other problems.
Fertilizer
Fertilizer is another important element when it comes to taking care of houseplants. Fertilizers provide essential nutrients that plants need in order to thrive. Generally speaking, most houseplants do not need fertilizer more than once every two weeks during their growing season, which typically runs from late winter through early summer.
Pruning
Pruning is an important part of taking care of houseplants as well. Pruning helps keep plants healthy by removing dead or damaged leaves and stems and encouraging new growth. It’s best to prune your plants in late winter or early spring when they are just beginning their growing season.
What You’ll Need
In order to take proper care of your houseplants, you’ll need a few basic supplies: a pot with drainage holes; soil; fertilizer; pruning tools; and an adequate light source (such as a sunny windowsill). With these items in hand, you’ll be ready to start caring for your houseplants like an expert!
Step 1: Slice the Strawberry
Slicing strawberries is a surprisingly easy task! All you need is a sharp knife and a cutting board. Start by washing your strawberries thoroughly. Make sure to remove any dirt or debris from the surface of the fruit. Once your strawberries are clean, place them on the cutting board and gently slice them into thin slices. Depending on how thin you want to slice them, you can either use a small knife or a larger one. Be sure to cut carefully so that you don’t end up smashing your strawberries or getting any of your fingers in the way!
Once all of your strawberries are sliced, feel free to enjoy them in whatever way you like! You can eat them plain, toss them into salads, top off yogurt with them, or even make strawberry jam. No matter how you choose to use them, you’ll be glad that you know how to slice strawberries quickly and easily.
Make Repeated Cuts Around the Edge
Making repeated cuts around the edge of a material is an important step in many projects. This technique helps to create a smooth, even finish on the material’s edges and can be used on many different materials such as wood, plastic, metal, and even fabric. To make repeated cuts around the edge of your material, you will need a saw or cutting tool. Depending on the type of material you are working with, there are various saws and cutting tools that you can use. For example, if you are working with wood, a fine-toothed handsaw or jigsaw is best for making clean cuts. If you are working with metal or other hard materials, then an angle grinder or circular saw may be needed to make repeated cuts around the edge of your material.
Once you have chosen the right saw and cutting tool for your project, it’s time to start making those repeated cuts. Start by making a pencil line along one side of the edge that you want to cut. This will help keep your cuts consistent and make sure that all edges match up when finished. Next, slowly make small saw strokes along your pencil line until you have created an even cut all around the edge of your material. Keep repeating this process until all sides have been cut evenly and meet up perfectly when assembled together.
Making repeated cuts around the edge of any material can take some patience and practice but with these simple steps it will soon become second nature!
Step 1: Slice the Pizza
Slicing a pizza is an easy task if you know the right methods. Start by using a sharp knife and cutting through the pizza in a circular motion. Make sure to keep your fingers away from the knife blade so as not to injury yourself. You can also use a pizza cutter for this task if you have one, as it will make the job easier and faster. Cut the pizza into 8 equal slices and make sure that each slice is of equal thickness. This will ensure that all slices cook evenly when baking.
Step 2: Preheat the Oven
Before putting the pizza in the oven, make sure to preheat it first. Set your oven temperature to 375°F (190°C). Allow the oven to preheat for 10-15 minutes before placing the slices inside. This helps to ensure that your pizza is cooked evenly and thoroughly.
Step 3: Carefully Pull Outward
Once the oven has reached its desired temperature, carefully remove each slice of pizza from its tray or plate and place it on an ungreased baking sheet or pan. Gently pull outwards on each slice of pizza, taking care not to tear or rip them apart in any way. This will help them spread out and cook evenly in the oven without sticking together or burning. Bake for 15 minutes, or until cheese is melted and crust is golden brown. Enjoy!
Turn the Strawberry Over and Repeat Steps 2 & 3
Once you have cut the strawberry into halves, turn each half over and repeat steps two and three. Cutting the strawberry in this way will make it easier to remove the stem or hull from the top of the strawberry. Use a paring knife to remove the hull from each half of the strawberry. Be sure to cut straight down into the center of the stem until it comes out cleanly. Once you have removed all of the stems, discard them. Now you can enjoy your freshly-cut strawberries!
Choosing the Right Strawberries
When it comes to fanning strawberries, the most important step is choosing the right type of strawberry. Look for berries that are ripe and sweet, with a bright red color and firm flesh. Avoid berries that are too soft or have any signs of mold. Once you’ve selected your strawberries, wash them gently with cold water before fanning.
Preparing the Strawberries for Faning
Before fanning your strawberries, you’ll need to prepare them by removing their stems and slicing them into thin slices. Slice each strawberry from top to bottom so that you’ll end up with thin slices of strawberry that look like fans when laid out flat. Be sure to use a sharp knife and work slowly so you don’t accidentally cut yourself.
Arranging the Strawberries on a Plate
Once your strawberries are sliced, it’s time to arrange them on a plate or platter. Begin by placing one slice in the center of the plate and then work outward, arranging each slice in a fan-like pattern around the center slice. To create a more dramatic effect, try arranging the slices in an overlapping pattern with alternating colors facing outward.
Garnishing Your Fanned Strawberries
To finish off your fanned strawberries, consider adding some garnishes such as edible flowers or mint leaves for extra color and flavor. A drizzle of chocolate sauce or balsamic glaze will also help to enhance their flavor and presentation. Serve your fanned strawberries as a delicious accompaniment to desserts or enjoy them on their own as an elegant snack!
Variations When Faning Strawberries
Fanning strawberries is a great way to add a unique and attractive touch to any dish. By fanning the strawberries, you can create different designs that stand out and draw the eye. This technique is also easy to master with just a few simple steps. Here are some variations that you can use when fanning strawberries to give your dish an extra boost of flavor and visual appeal.
The most basic way to fan strawberries is to start with a medium-sized strawberry that is ripe but still firm. Carefully slice off the stem and then cut each side of the berry in four even slices. Place the slices in a fan formation on your plate, starting at the center of the berry and working outward. You can also use this technique for other fruits such as apples or pears.
If you want to add more texture and flavor, try adding other ingredients such as nuts or chocolate chips before fanning. This will give your dish added depth and complexity that will make it stand out from the rest. You can also experiment with different flavors of chocolate or nut butters, such as peanut butter or almond butter, for an extra kick of flavor.
If you want to take your strawberry fanned dish up a notch, consider adding some edible flowers or herbs like mint or basil for an even more sophisticated presentation. Adding these elements will make your dish look professional even though it was created in just moments!
Finally, if you’re looking for something truly unique, consider using spiral-cut strawberries instead of fanning them for an eye-catching twist on this classic technique. To do this, simply cut each side of the strawberry into thin slices so that they curl inward in a spiral pattern when placed on the plate. This method adds beautiful texture and color variation that is sure to impress anyone!
No matter which variation you choose when fanning strawberries, it’s sure to be a hit with family and friends alike! With just a few simple steps and some creativity, you can take your dishes from ordinary to extraordinary!

Conclusion
Fanning a strawberry is an easy and quick way to create beautiful fruit garnishes for your desserts, salads, and other dishes. It only takes a few steps and a sharp knife to achieve beautiful fan-shaped strawberries. Simply cut the strawberry in half lengthwise, then make four angled cuts in the flesh of each half. Fan out the halves and enjoy your work of art!
Creating fan strawberries as garnishes can transform even the simplest dishes into something special. Whether you’re serving up a delicious dessert or a refreshing salad, adding some fan strawberry garnishes is sure to impress your guests. So why not try fanning some strawberries today?

