Drawing a kiwi fruit is a great way to practice your drawing skills. The unique shape of the kiwi fruit makes it an interesting subject to sketch; it is a good challenge for beginners and experienced artists alike! This tutorial will provide you with step-by-step instructions on how to draw a kiwi fruit, from its initial outline to the finished product. With patience and practice, you will be able to create an accurate and detailed drawing of this popular fruit.To draw a kiwi fruit, you will need a pencil, eraser, paper, and something to color with (like colored pencils or markers). First, draw the basic shape of the kiwi using your pencil. It should be oval in shape with one end being slightly pointed. Then draw the texture of the kiwi on the outside. It should look like small bumps or fuzz. Finally, use your coloring tools to add some color to your drawing. Make sure to use a light green for the outside and yellow or brown for the inside of the kiwi fruit.
Step-by-Step Guide on How to Draw Kiwi Fruit
Drawing kiwi fruit can be a fun and creative activity for both adults and children. The process is relatively simple and can be broken down into a few easy steps. In this step-by-step guide, we will teach you how to draw a realistic kiwi fruit with just a few basic supplies. All you need is some paper, a pencil, some erasers, and some colored pencils or markers. Let’s get started!
First, begin by sketching the shape of the kiwi fruit. You can do this freehand or use a ruler to draw straight lines. Make sure you draw two oval shapes that are connected in the middle to create one larger oval shape. Once you have the basic shape drawn, erase any extra lines.
Next, begin shading in the different segments of the kiwi fruit with your pencil or markers. Start from the top of each segment and work your way down until you reach the bottom of each segment. Don’t forget to add some texture to each segment for added realism!
Now it’s time to add some color! Use your colored pencils or markers to add some greenish-brown tones to your kiwi fruit drawing. You can also use yellows, oranges, and browns depending on how realistic you want your drawing to look.
Finally, add some highlights and shadows using white or black colored pencils or markers. This will help make your drawing look more three-dimensional. You can also use white paint if you prefer.
And there you have it! Congratulations on finishing your very own kiwi fruit drawing! Now that you know how to draw one yourself, why not try drawing other fruits like apples or bananas? Happy Drawing!
Drawing the Outline of a Kiwi Fruit
Drawing the outline of a kiwi fruit is a great way to practice your sketching skills. It’s also an easy and fun way to learn about the shape and size of this unique fruit. To draw a kiwi fruit, you’ll need some basic drawing supplies like pencils, erasers, and paper. Start by sketching out the overall shape of the kiwi, which is slightly oval with one end being more pointed than the other. Then add in details like bumps and ridges on its skin. You can also draw lines to indicate where the segments are located inside the fruit. When you’re done, erase any mistakes and darken your lines as desired.
Once your outline is complete, you can add color if desired. You can use watercolors or colored pencils to make your kiwi look even more realistic. If you want a simpler look, try drawing a black and white outline instead. When finished, you’ll have a beautiful drawing of a kiwi fruit that you can hang up or show off to your friends!
Description
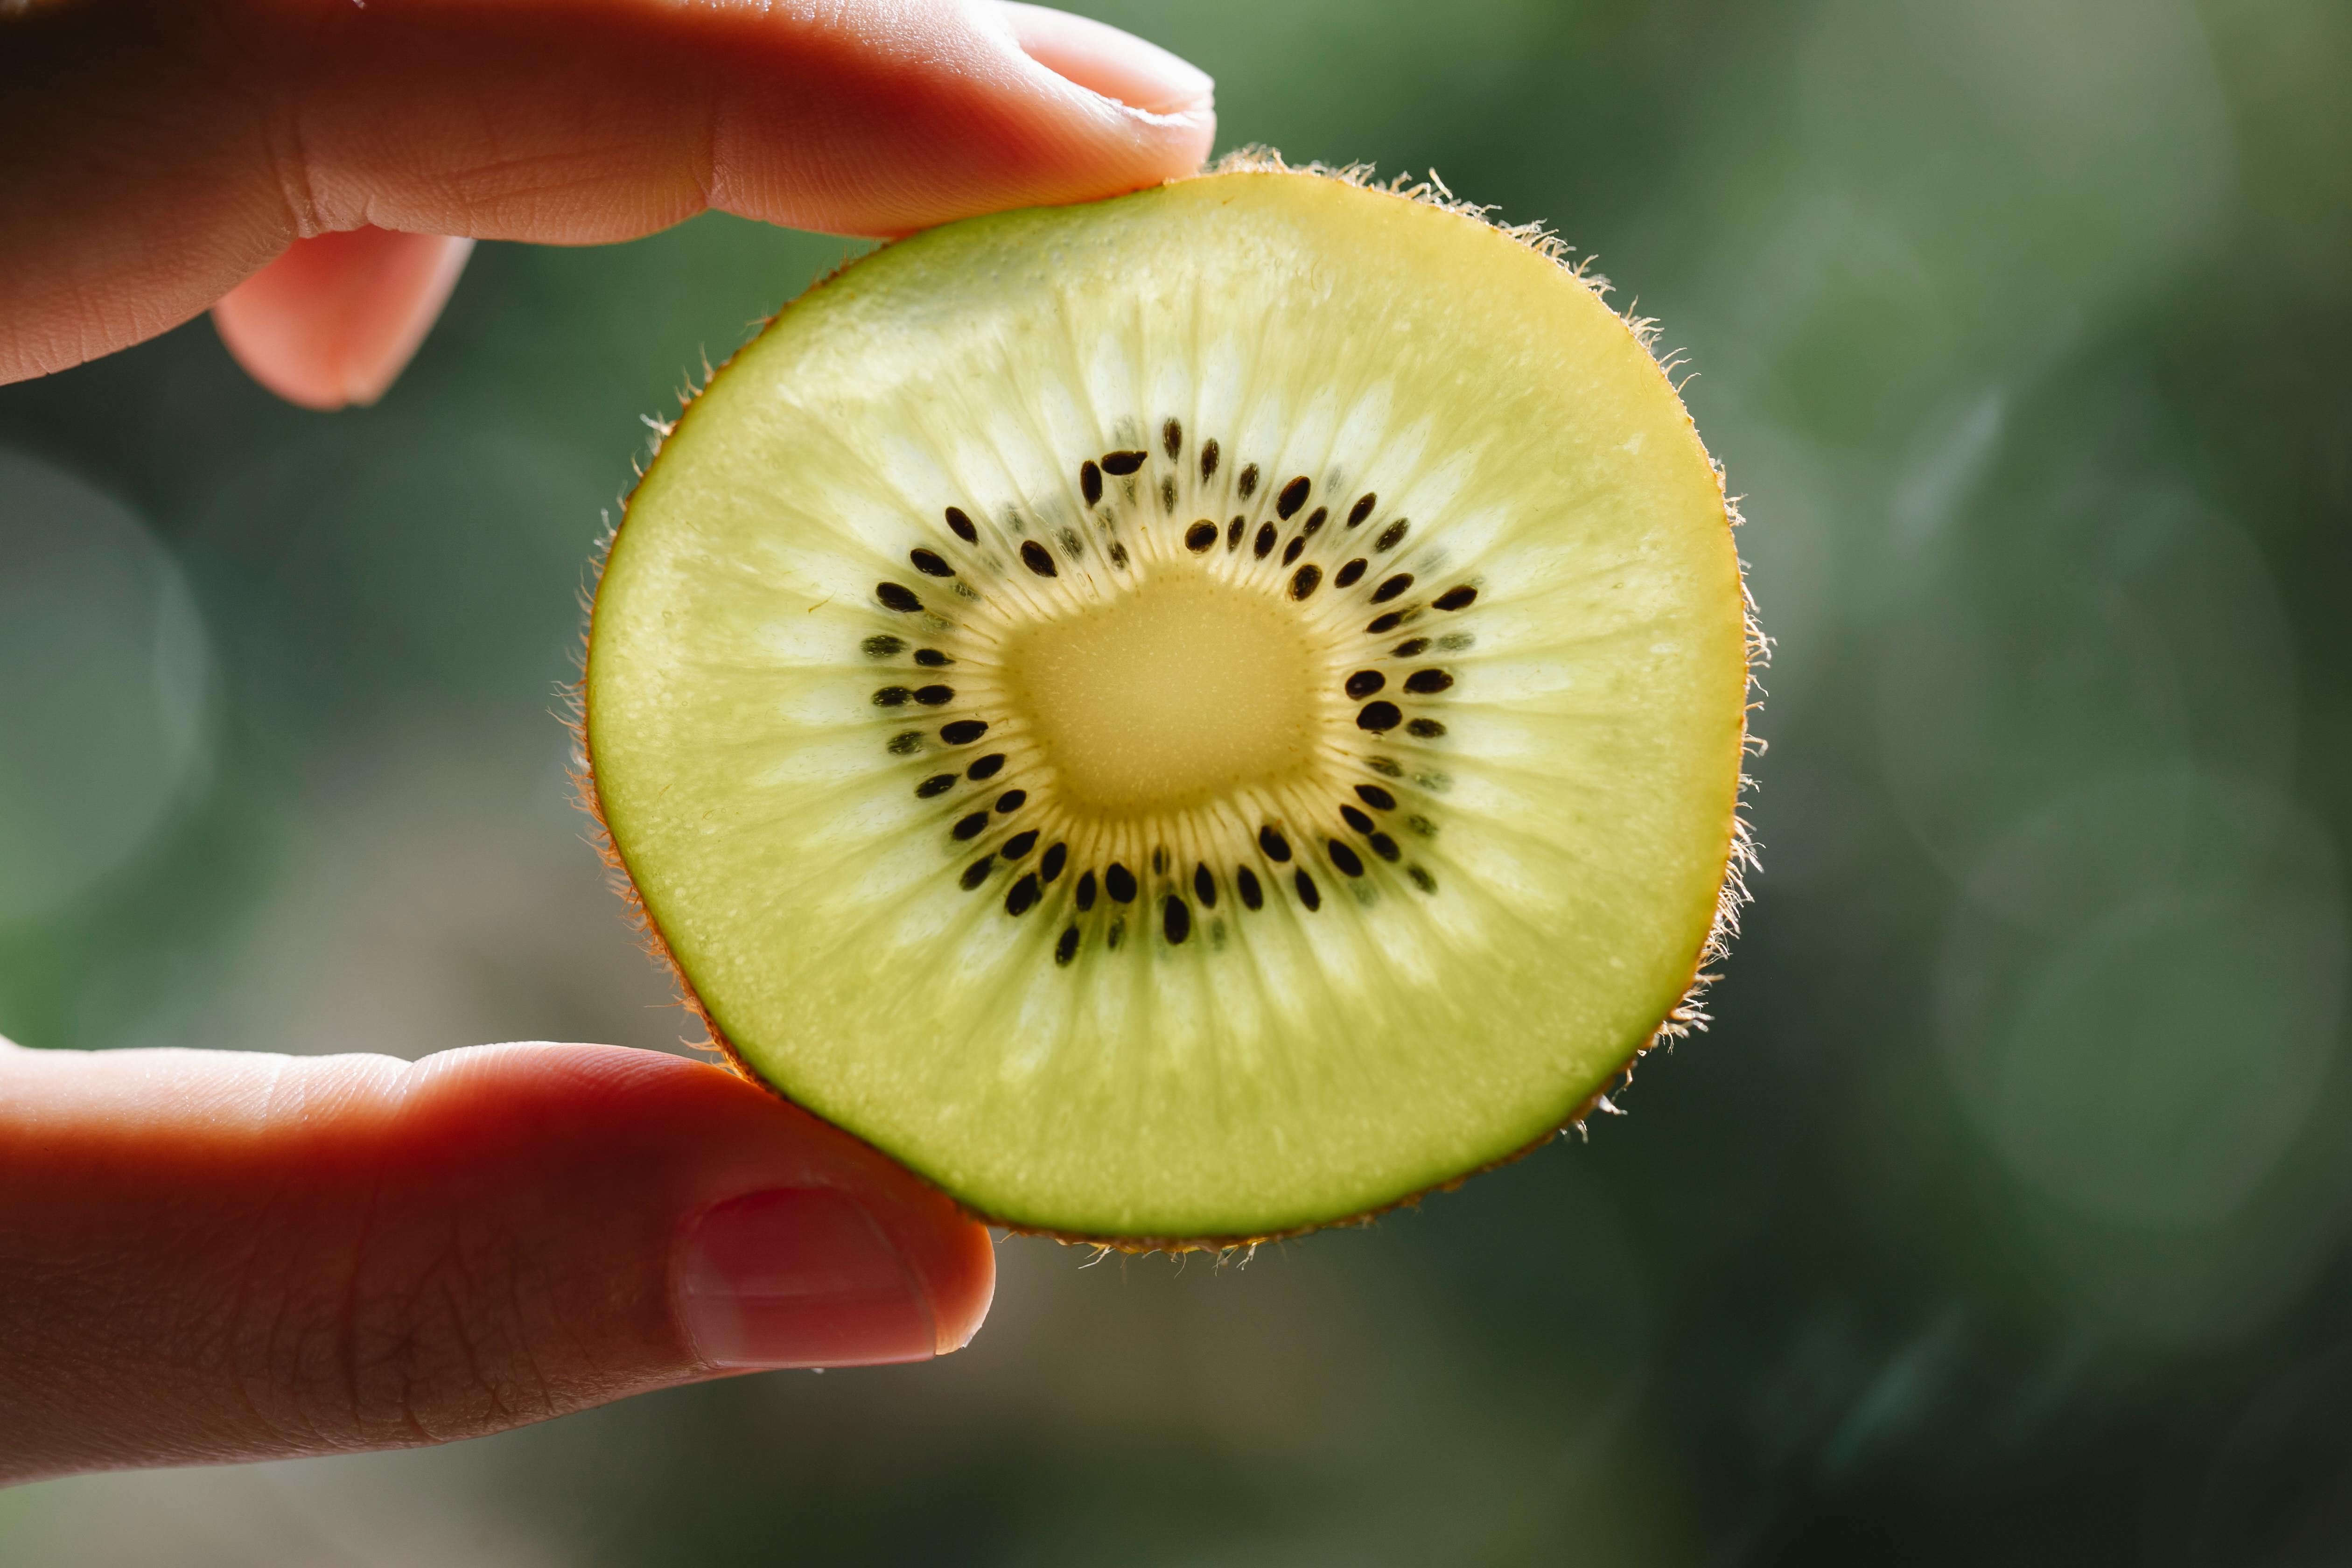
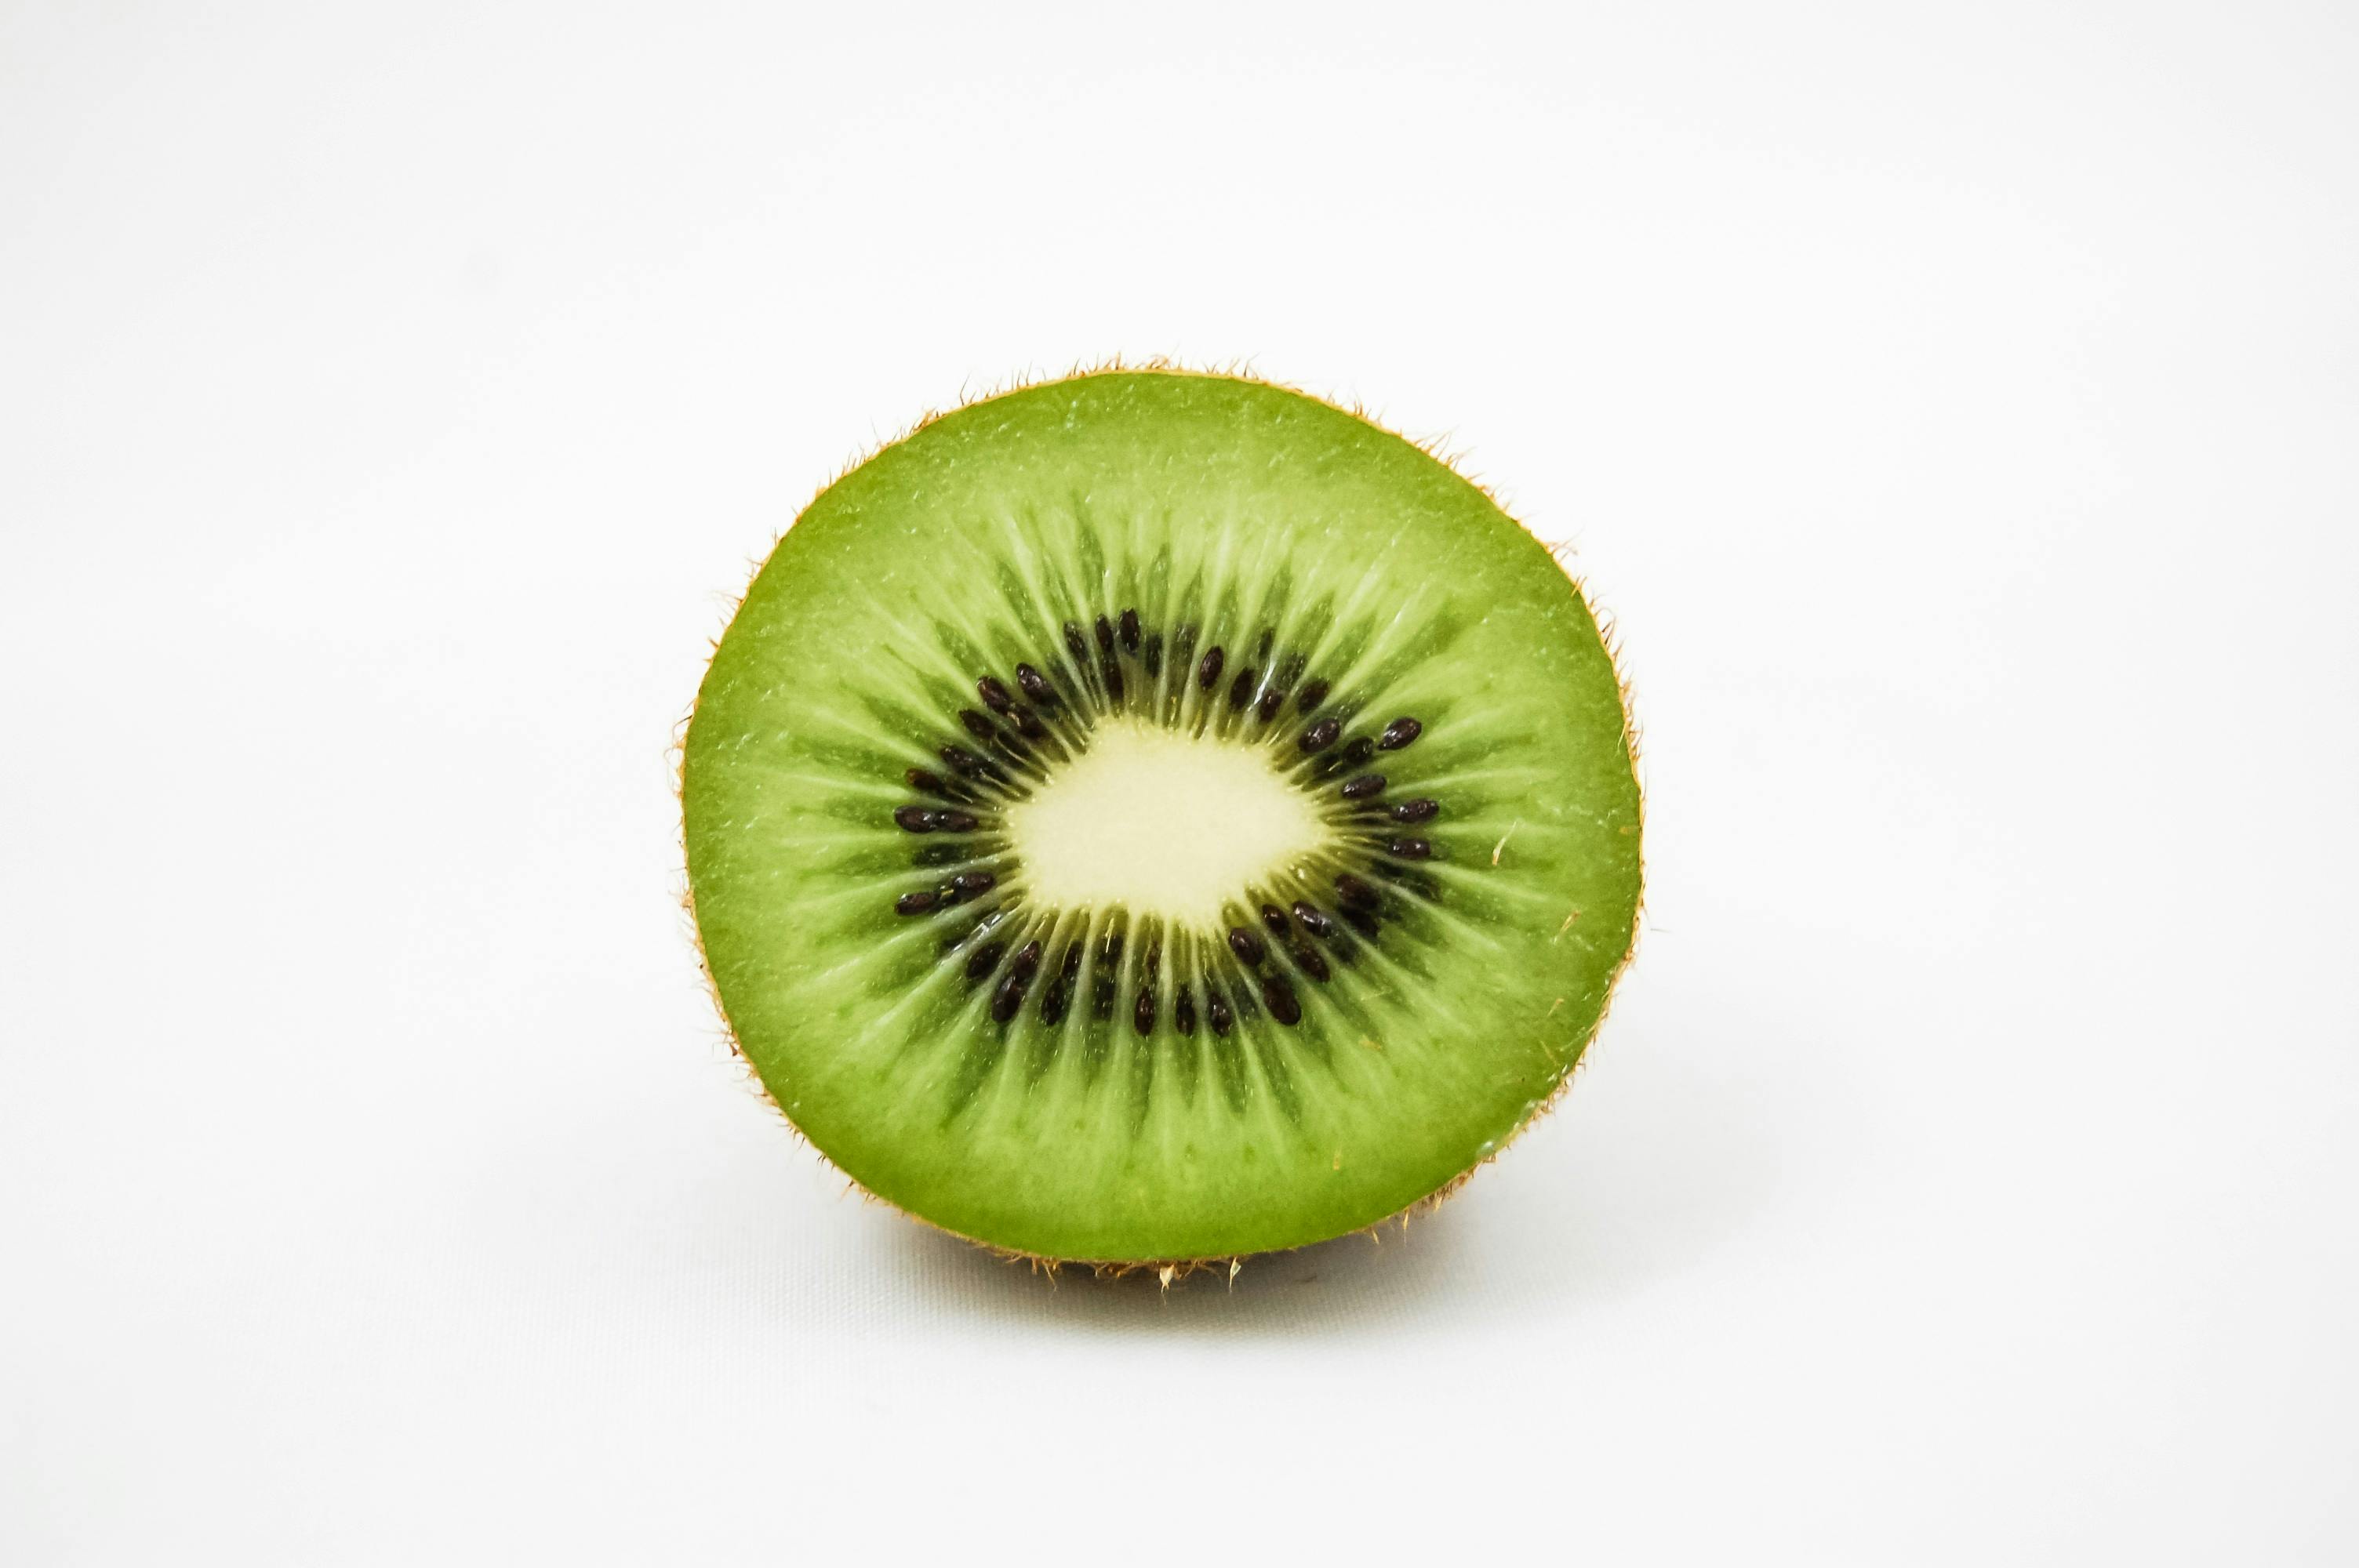
The kiwi fruit is a small, egg-shaped fruit that has a slightly fuzzy brownish-green skin and bright green or golden flesh inside. It has tiny black seeds and a sweet-tart flavor. The kiwi is native to China, but it’s now grown in many other countries, including New Zealand. Kiwi fruits are high in vitamin C and low in calories, making them a great snack for people looking to maintain a healthy diet.
Nutritional Benefits
Kiwi fruits are an excellent source of dietary fiber and vitamin C. They also provide potassium, magnesium, iron, folate, and antioxidants. Eating kiwis can help boost immunity, improve digestion, reduce inflammation, and lower cholesterol levels.
How to Eat
Kiwi fruits can be eaten raw or cooked. To eat them raw, cut the fruit in half and scoop out the flesh with a spoon. They can also be blended into smoothies or pureed into sauces or desserts. Cooked kiwis can be added to salads or used as a topping for yogurt or ice cream.
Storage
Kiwi fruits should be stored at room temperature until ripe; they will continue to ripen if left at room temperature. Once ripe, they should be refrigerated for up to a week before being consumed. If stored properly in the refrigerator, kiwis will keep for up to two weeks.
Shading the Kiwi Fruit for a Realistic Look
Creating a realistic looking kiwi fruit illustration requires some skill with shading. By adding shadows and highlights to your drawing, you can give it a more three-dimensional look. Here are some tips on how to effectively shade a kiwi fruit illustration.
Start with the Outline: Before you start shading, make sure the outline of your kiwi fruit is accurate. This will ensure that your shading is consistent and will make it easier to add shadows and highlights later on.
Choose Your Colours: Kiwi fruits come in many different shades, so choose colours that best represent the real thing. You can use a combination of light and dark shades to get the desired effect. For example, use lighter shades for highlights and darker tones for shadows.
Create Depth: To create depth in your drawing, try adding shadows and highlights at different angles. For example, you can add a highlight along one side of the kiwi fruit and then add shadow along the other side to create an illusion of depth. You can also use cross hatching or stippling techniques to give your drawing more texture and depth.
Blend Carefully: Once you’ve added all the necessary shading to your illustration, it’s time to blend everything together carefully. Use either a blending tool or a soft brush to carefully blend all of the colours together so that there are no harsh lines or patches.
Shading is an important step when creating a realistic looking kiwi fruit illustration. By following these tips, you can create an incredibly realistic looking drawing that will be sure to impress!

Coloring the Kiwi Fruit with Pencils or Paint
Coloring the kiwi fruit can be both enjoyable and challenging. It is a great way to learn about color theory and experiment with different techniques. With pencils, you can create realistic-looking images of the kiwi fruit. However, painting provides a more vibrant look that can make your artwork stand out.
When coloring the kiwi fruit with pencils, it is important to use light and dark colors to give it dimension. Start by sketching out the shape of the kiwi with an HB pencil, then use darker pencils such as 4B or 6B to fill in shadow areas. This will help bring out details like the furrows and texture of the skin. You can also use lighter colors such as 2H or 4H for highlights on areas like the top of bumps or in between furrows. Finally, use an eraser to blend all of your colors together for a smooth finish.
Painting provides a more vibrant look than pencils and can help bring your artwork to life. Before you begin painting, sketch out your design using a pencil so that you have an outline of what you want to create. Start by applying a base coat of paint in either oil or acrylic and let it dry completely before adding additional layers of color. To make your artwork stand out even more, use bright colors that contrast with each other like yellow against green or red against orange. Finally, add details like highlights and shadows using lighter and darker shades of paint for added dimensionality.
Whether you decide to color your kiwi fruit with pencils or paint, it is important to take your time and have fun experimenting with different techniques!
Finishing Touches for an Impressive Kiwi Fruit Drawing
Once you have completed the sketching of your kiwi fruit, it is time to add the finishing touches. The best way to make your drawing stand out is to use a range of techniques and materials to bring it to life. Here are some tips for giving your kiwi fruit drawing a professional look:
First, use shading and highlights to give your kiwi fruit drawing a more realistic appearance. Adding shadows and highlights will add depth and dimension to the image. Use different weights of pencils, or even charcoal or pastels, depending on the desired effect.
Second, use color to enhance your drawing. If you are using colored pencils, choose colors that will provide contrast against the background and other elements in the image. For example, you could use green for the kiwi itself and brown for the leaves and stem.
Third, pay attention to details such as texture. If you are using a pencil, try using stippling or hatching techniques to create textures like fur or feathers. This will help make your drawing look more lifelike.
Finally, add any additional details that will make your drawing unique. You could add elements like stars or flowers in the background for an interesting effect. Adding these small touches will help bring your kiwi fruit drawing together and give it an impressive overall look!
Learning Different Techniques to Represent a Kiwi Fruit on Paper
Drawing a kiwi fruit can be quite challenging, as the shape and texture of the fruit need to be accurately depicted. There are several techniques that can be used to represent a kiwi fruit on paper, such as drawing with pencils, charcoal, markers, and paints. Each technique offers different effects that can be used to create interesting and unique representations of the kiwi.
Pencils offer a range of effects from rough textures to smooth lines. Charcoal is an excellent choice for emphasizing the detail in the skin of a kiwi. Markers can be used to add vibrant colors and sharp lines to the drawing. Paints provide a wide range of colors that can be blended together to create an even more realistic representation of the kiwi.
When using any of these techniques, it is important to take into account the light source and how it affects shadows in order to create more realistic drawings. In addition, varying line thicknesses are also important when drawing with pencils or markers as this will help give form and dimension to the kiwi. With practice and patience, you will soon master all these techniques and learn how best to represent this unique fruit on paper.
Conclusion
Drawing a kiwi fruit is not as difficult as you may have thought. With the right tools and a step-by-step approach, anyone can draw a realistic looking kiwi fruit. It is important to observe the details of the kiwi fruit and capture it accurately in your drawing. Also, don’t forget to practice regularly as it will help you become better at drawing.
To conclude, drawing a kiwi fruit is an enjoyable activity that can be easily done with patience and practice. All you need to do is follow each step carefully and you will be able to draw a realistic and beautiful kiwi fruit.

