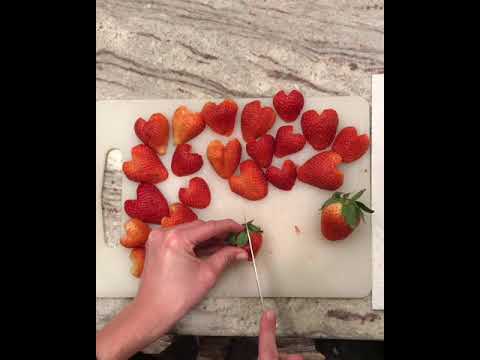
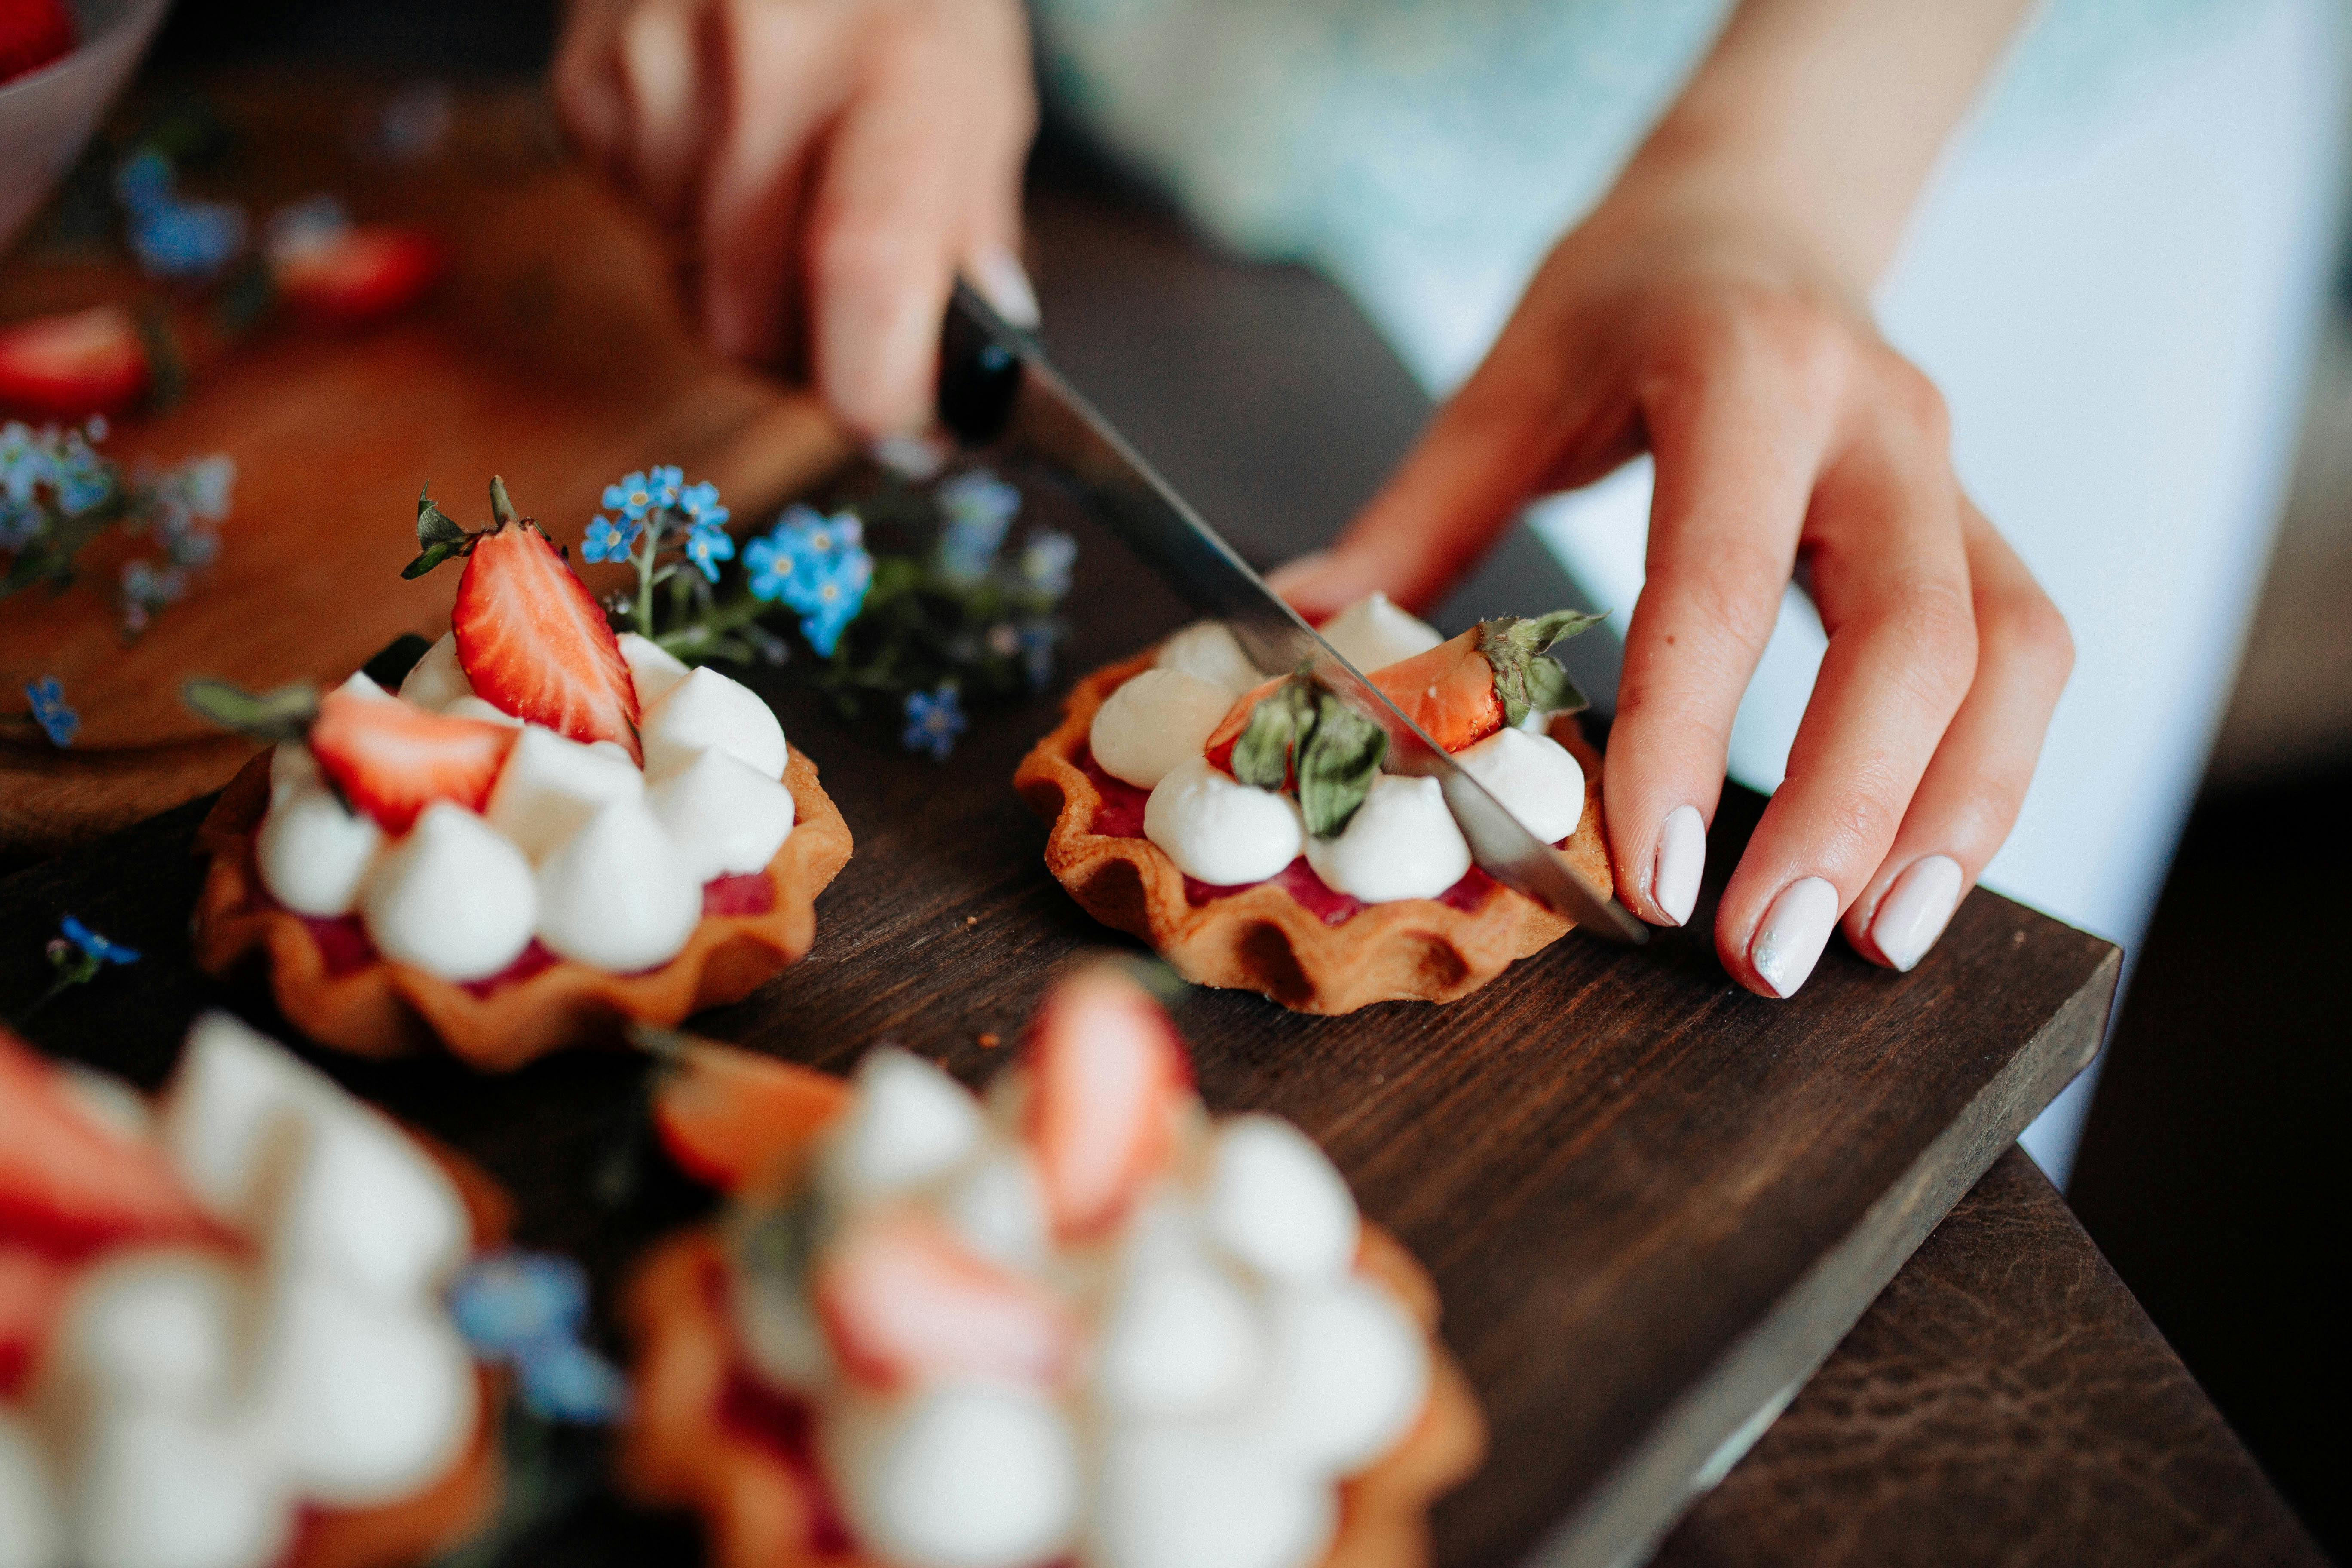
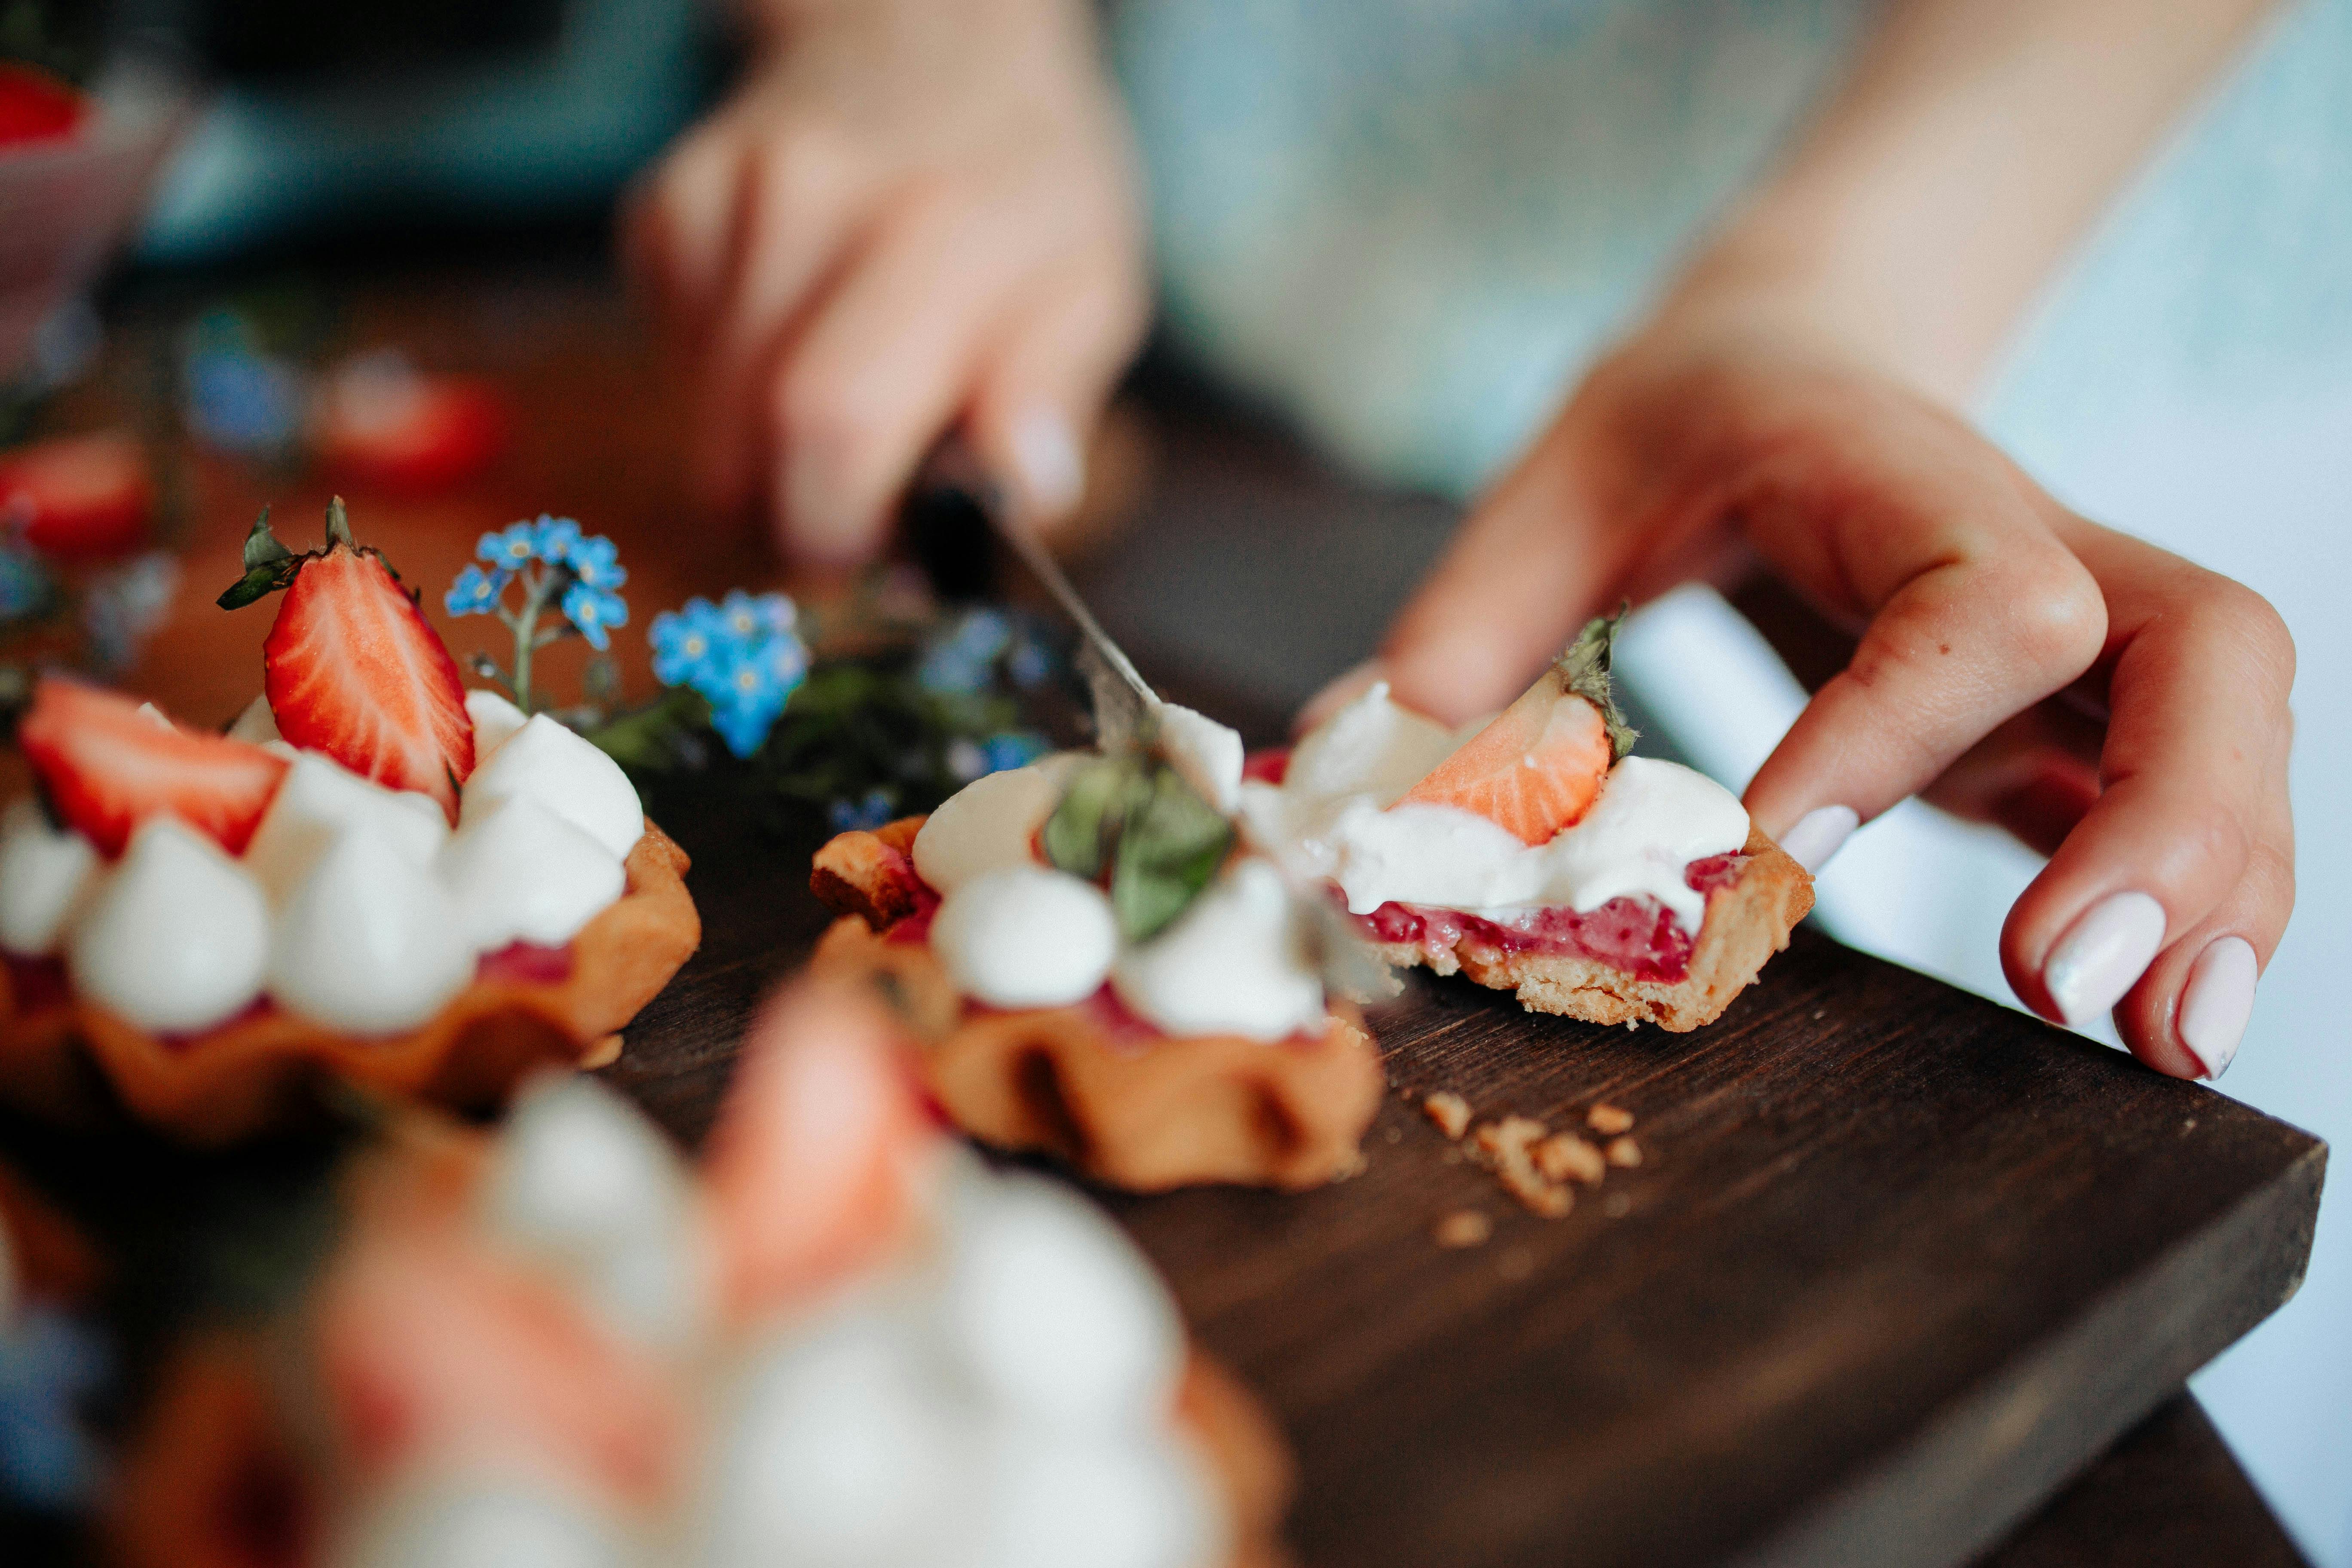
Cutting strawberries into hearts is a great way to add a little extra flair to your favorite desserts. It’s also surprisingly easy, and requires only a few simple tools. With some practice, you can easily master the technique of cutting strawberry hearts. In this guide, we’ll walk you through the steps of how to cut strawberry hearts.To cut strawberry hearts, start by washing and drying a ripe strawberry. Then, cut off the top of the strawberry and slice it in half lengthwise. Next, take one of the halves and make 3 angled cuts around the center. Finally, spread the petals apart to form a heart shape and enjoy!
Gather The Necessary Tools
Before you start any project, it’s important to make sure you have the right tools. Whether you’re working with wood, metal, or electronics, having the right tools will help you complete the job quickly and efficiently. Make sure to have a toolbox that is properly stocked with all of the essential items such as screwdrivers, drills, hammers, wrenches, saws, and more. Having the right tools for the job will save time and energy in the long run.
It’s also important to know how to use each tool properly. Read up on safety precautions for each tool and make sure to follow them in order to avoid accidents or injury. If unsure of how to use a particular tool correctly, consult an experienced professional or search online for tips and tutorials. Doing so can help ensure that your project is completed safely and correctly. Last but not least, make sure that your tools are always kept in good condition – keep them clean and replace worn out parts when necessary.
By taking the time to gather the necessary tools before embarking on a project, you can ensure that everything goes smoothly from start to finish.
Wash Strawberries
Washing strawberries is an important part of cleaning them. Start by rinsing the fruit off with cool water. Use a fine mesh sieve or colander to ensure any dirt or debris is removed. You can also use a soft brush to gently scrub away any dirt that might be stuck to the skin of the strawberry. Once you’ve washed them, pat them dry using a paper towel or cloth before proceeding with cleaning them.
Remove Stems and Leaves
Once you’ve washed your strawberries, it’s time to remove the stems and leaves. The easiest way to do this is to simply pluck them off with your hands but if you don’t want to get your hands dirty, you can also use a small pair of scissors or knife to carefully remove them.
Slice Strawberries
Once you’ve removed the stems and leaves from your strawberries, it’s time to slice them. Using a sharp knife, slice the berries into thin slices or leave them whole depending on how you plan on using them in your recipe. If you plan on making strawberry jam, for example, it’s best to leave them whole as this will help keep their shape during cooking.
Clean Strawberries
Finally, once all the other steps have been completed, it’s time to clean your strawberries for consumption. This is done by soaking your sliced or whole berries in a mixture of vinegar and water for about 5 minutes before rinsing thoroughly with cool water until all traces of vinegar have been removed. This will help ensure that all bacteria and contaminants are removed from the fruit and make it safe for consumption.
Slice off the Top of the Strawberry
Slicing off the top of a strawberry is a simple and effective way of preparing the fruit for use in recipes. It’s also an important step to take when making jams, jellies, and other preserves. To get started, you’ll need a sharp knife and a cutting board. Begin by washing the strawberry under running water and then drying it with a clean towel. Place the strawberry on your cutting board and carefully slice off the top with your knife. Make sure to cut at an angle to ensure that all of the stem is removed. Once you’ve finished slicing, you can start preparing your recipe or store the strawberries in an airtight container for later use.
Slice off the top of any strawberry before eating or using it in recipes. This will help ensure that all of the stem is removed so that you don’t end up with pieces in your dish. Plus, it’s also important to remove any dirt or debris from the surface of the fruit before consuming it or using it as an ingredient. Taking this extra step will make sure your strawberries are clean and safe to eat!
Cut a V-Shape Into the Strawberry
Cutting a V-Shape into a strawberry is a great way to create unique garnishes for desserts, appetizers, and other dishes. It’s also an easy and attractive way to use up strawberries that may be overripe or slightly bruised. To get started, you’ll need one ripe strawberry and a sharp paring knife. Start by washing the strawberry under cool running water and drying it with a paper towel. Place the strawberry on a cutting board and carefully cut down the center of the top of the strawberry in one continuous motion, creating two halves. Next, make two angled cuts into each half of the strawberry at an angle to create four triangular sections. Finally, carefully remove the small green center stem from each section and discard it. Your finished strawberry should have an attractive V-shape cut into it that can be used as a garnish for any dish or sweet treat.
Slice the Bottom Half of the Heart
Slicing the bottom half of the heart is an important part of any cardiac surgery. This procedure helps to remove damaged or diseased tissue from the heart, allowing for better blood flow and improved heart function. During this procedure, a surgeon will make an incision in the patient’s chest and then use a scalpel to carefully slice off the bottom half of the heart. This process requires a great deal of skill and precision as any mistake could cause irreparable harm to the patient.
Once the bottom half of the heart has been removed, it is important to repair any blood vessels or other structures that may have been damaged during surgery. This step is essential for restoring proper blood flow to and from the heart. The surgeon will then replace any missing tissue with healthy tissue from another part of the body, if necessary.
Finally, once all repairs are complete, the patient will be moved to recovery where their vital signs and other health indicators will be monitored closely. It is important for patients to follow their doctor’s post-operative instructions carefully in order to ensure proper healing and recovery after this type of surgery.
Carefully Slide Out The Middle Piece
When it comes to assembling furniture, it is important to be careful when sliding out the middle piece. This is because the middle piece is usually the most delicate and can easily break if not handled properly. To avoid this, always make sure to have a firm grip on the middle piece and gently slide it out from the other pieces. If there is resistance, slowly apply more pressure until it slides out. Make sure to hold onto the sides of the middle piece as you slide it out so that it does not break or become damaged in any way. Once you have successfully removed the middle piece, you can then proceed with putting together your furniture.
It is also important to be aware of any pins or nails that may be present in the area where you are sliding out the middle piece. These can cause damage to both your hands and furniture if not properly handled. Always make sure to remove any pins or nails before attempting to slide out the middle piece. If there are any sharp edges on either side of the middle piece, use a cloth or other material to protect your hands while sliding it out.
Additionally, make sure that all pieces are securely fastened before attempting to slide out the middle piece. Any loose screws or bolts should be tightened beforehand so that they do not become loose while sliding it out. This will ensure that all pieces remain securely connected and will help avoid any potential damage during assembly.
In conclusion, when assembling furniture, it is important to be careful when sliding out the middle piece as this can cause damage if not done properly. Always make sure to have a secure grip on both sides of the middle piece and gently apply pressure until it slides out. Additionally, never forget to check for any pins or nails in the area before attempting this step and make sure all pieces are securely fastened beforehand so that they do not become loose during assembly.
Turn The Heart Over and Cut Its Bottom Half
The task of turning a heart over and cutting its bottom half can be a bit daunting at first. However, it is an important step in the preparation of the heart for cooking and eating. This process will ensure that the heart is cooked evenly and will provide a more enjoyable eating experience. It also helps to remove any unwanted fat or connective tissue that may be present in the heart.
To begin this process, you will need to have a sharp knife or kitchen shears available. Make sure to select a knife that is appropriate for the size of the heart you are working with. Once you have selected a knife, place the heart on a cutting board with its top side facing up. Carefully turn the heart over so that its bottom side is now facing up.
Next, use your knife or shears to cut along the bottom side of the heart, making sure to cut completely through all layers of muscle and connective tissue. Be careful not to cut too deeply into any other parts of the heart while doing this, as this could ruin your preparation process. Once you have completely cut through all layers of muscle and connective tissue, you should have two distinct pieces – one with all of its original layers intact and one with only its bottom half intact.
After turning over and cutting its bottom half, your heart should now be ready for further preparation or cooking. Depending on what recipe you are following, there may be additional steps required before cooking begins – such as trimming fat or removing veins – but these are generally easy processes to complete once you have successfully turned over and cut your heart’s bottom half. Finally, enjoy your delicious dish!
Conclusion
With all the tools and techniques outlined above, cutting strawberry hearts is a fast and fun way to make your fruits look amazing. Not only will you be able to impress your family and friends with your creations, but you’ll also be able to make healthier food choices with this tasty treat. It’s a great way to get creative in the kitchen and have some fun making something delicious and nutritious.
Whether you’re making strawberry hearts for a romantic dinner or just because you want to enjoy something sweet, these tips should help you create beautiful masterpieces with ease. So don’t be afraid to try out this easy technique and make some delicious memories of your own!

