

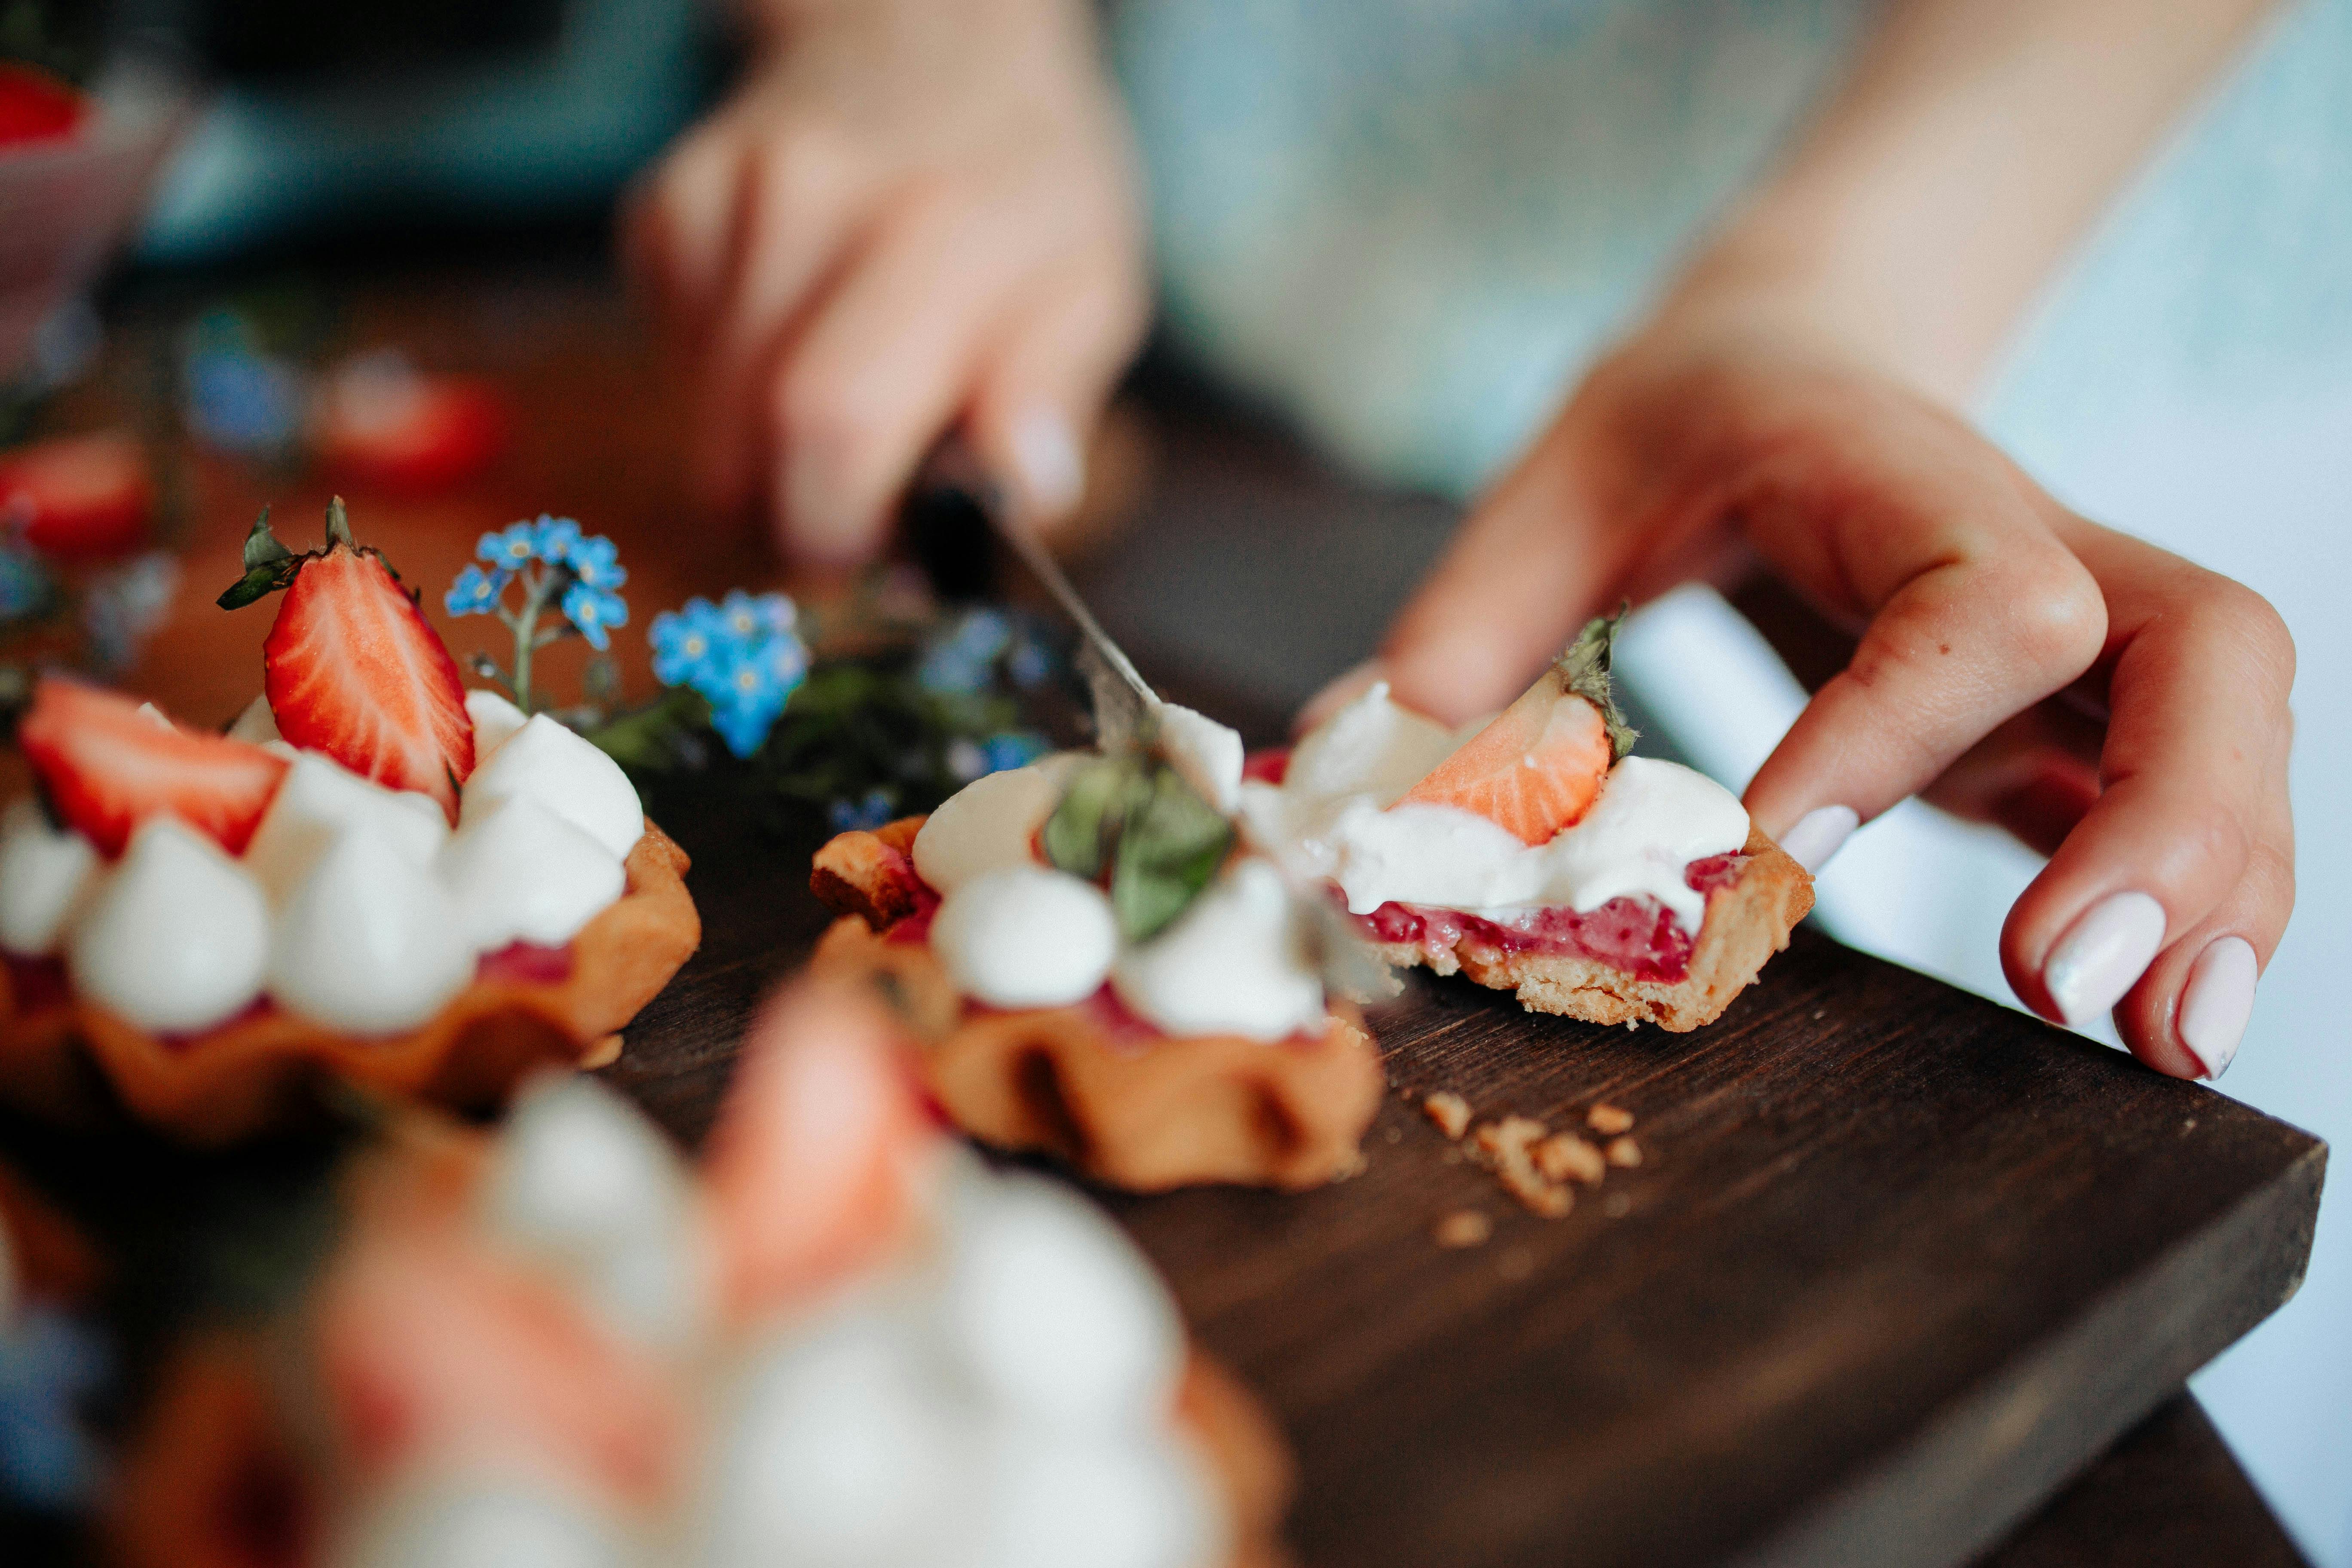
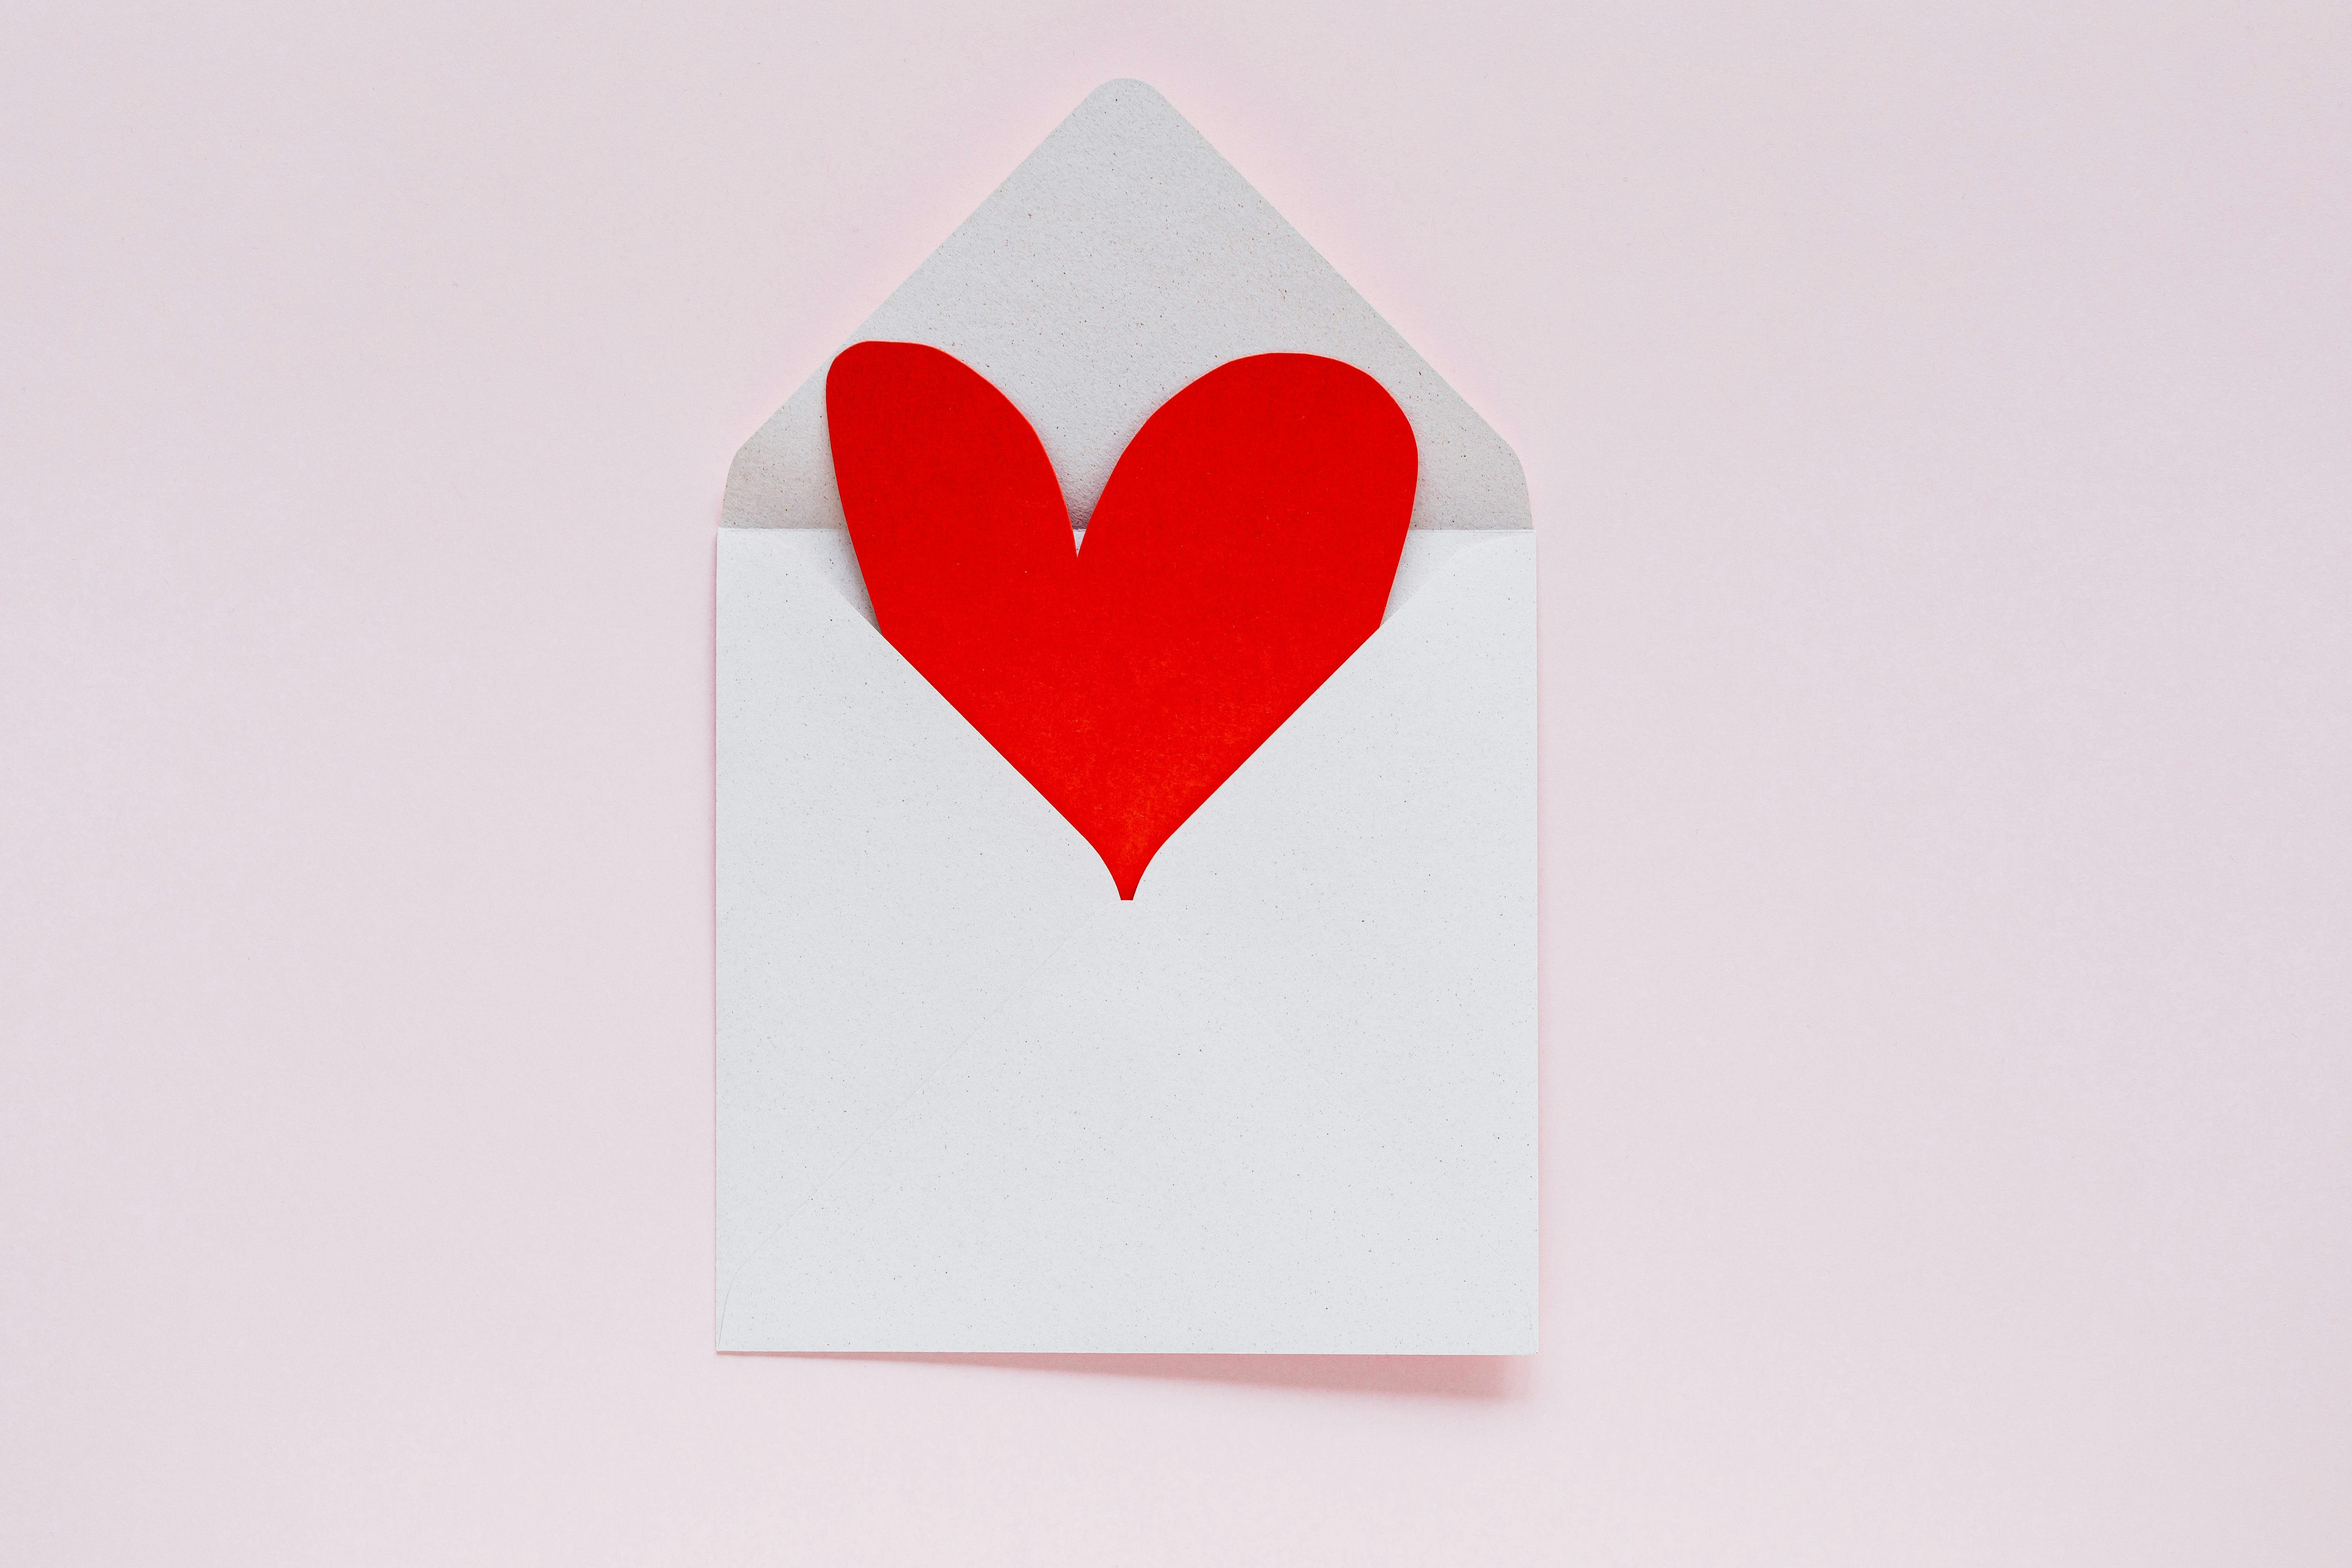
Cutting strawberries into heart shapes is a fun and easy way to dress up desserts, salads, and more. Whether you’re looking to add a special touch for Valentine’s Day or just want to get creative in the kitchen, you can easily learn how to cut strawberries like hearts. With just a few basic tools and a few simple steps, you can have perfectly shaped strawberry hearts in no time.1. Rinse the strawberries and pat them dry with a paper towel.
2. Cut off the green stems of the strawberries.
3. Slice each strawberry lengthwise into 4 equal slices, about 1/4 inch thick.
4. Place 2 slices of strawberry side-by-side, so that they are overlapping slightly and form a heart shape when viewed from the top.
5. Using a sharp knife, cut out the overlapping center of the slices to create the heart shape.
6. Repeat Steps 3-5 until all of your strawberries have been cut into heart shapes and enjoy!
Gather Your Supplies
Before embarking on any project, it is important to make sure you have all the supplies you need. This is especially true for any DIY project. Before you start, take a look at your list of materials so that you can make sure you have everything you need. It can be helpful to check off items as you go along so that nothing is missed. It’s also a good idea to have some extra supplies on hand in case something goes wrong or a mistake is made during the process. That way, you won’t have to worry about running out of materials in the middle of a project.
It is also important to make sure that any tools or equipment being used are in good working condition before beginning the project. If there are any tools or pieces of equipment that need to be replaced or upgraded, make sure to do this before starting the project. Having the right tools and supplies will help ensure that your DIY project turns out just as planned!
Wash and Dry the Strawberries
It is important to properly wash and dry strawberries before consuming or using them in recipes. To wash strawberries, hold each berry under running cold water and gently scrub with your fingertips. Afterward, set the washed strawberries on a double layer of paper towel or a clean kitchen towel to allow them to air dry. Make sure the strawberries are completely dry before proceeding with your recipe. Strawberries are fragile and can tear easily when wet, so it is best to handle them with care while washing and drying.
Once the berries are clean and dry, remove the green caps from each strawberry. If you’re planning to use the strawberries in a recipe that requires hulled berries, use a paring knife to cut off the green tops. However, if you’re serving whole strawberries with ice cream or shortcake, simply twist off or pull off the green top.
Strawberries are a delicious treat enjoyed all year round. Before you can enjoy them, it is important to remember that they must be properly washed and dried first. This simple step will ensure that your berries are clean and ready for snacking or for use in recipes.
Slice the Strawberries
Slicing strawberries is a great way to enjoy the sweet and juicy taste of this delicious fruit. With just a few simple steps, you can easily cut up your strawberries and prepare them for any recipe.
Start by washing the strawberries in cold water. Next, remove the stems and leaves from each strawberry. After that, place the strawberry on a cutting board and begin slicing it into small pieces. You can either cut it into large slices or small dice depending on what you are using them for.
Once your strawberries are sliced, you can use them in any recipe that calls for fresh strawberries. You can also eat them plain or top with a little sugar or honey for an even sweeter treat.
Slicing strawberries is quick and easy, so don’t be afraid to experiment with different recipes that call for fresh fruit. Whether you’re baking a cake or making a delicious salad, adding sliced strawberries will add great flavor to your dish!
Cutting the Tip Off a Strawberry
Cutting the tip off a strawberry is an important step in preparing fresh strawberries for consumption. The tip is the area where most of the mold and bacteria can accumulate, and it should be removed before eating. To cut the tip off a strawberry, first rinse it in cold water to remove any dirt or other debris. Then, using a sharp paring knife, carefully cut just above the green stem at an angle to remove the tip. Be sure not to cut too much of the fruit away, as this will remove some of its sweetness. After cutting off the tip, discard it and rinse the strawberry one more time before consuming or using in cooking or baking.
Cleaning strawberries thoroughly before consuming them is important for food safety reasons. Removing the tip helps to reduce risk of contamination from any bacteria that may have accumulated there. Additionally, cutting off the tip can help make strawberries easier to eat since it removes some of their pointed edges. So, when preparing fresh strawberries for eating or baking with them, be sure to always cut off the tips first!
Make the First Cut for the Heart Shape
Cutting out a heart shape from a piece of paper or other material can be a tricky task. To make the process easier, it is best to start with a simple outline that you can refine and expand upon. Begin by folding your paper in half and using scissors to cut out about one-third of the way into the fold. This will give you a rough outline of the heart shape, which you can then adjust by gently pulling apart the edges and trimming away any excess paper.
Once you have achieved your desired shape, use a ruler to draw straight lines around the edges of your heart, making sure to draw around both sides of the fold. This will create two distinct halves, which can then be cut out separately. For an even more detailed look, use an X-Acto knife or a similar tool to add decorative details such as scalloped edges or serrated lines along the edge of each heart half.
Finally, if desired, glue each half together again or attach them with brads before adding embellishments such as glitter or ribbon to complete your craft project. With just a few simple steps, you can easily create beautiful heart shapes that are perfect for cards, decorations or other creative endeavors!
Creating a V-Shape for a Perfect Heart
Creating the perfect heart shape can be tricky and intimidating, especially when you are just starting out. But with some practice and patience, it is possible to create a perfect V-shape for your heart. The key is to use the right materials, tools and techniques.
Start by gathering the proper materials. You will need a sharp pencil, paper, a ruler or straight edge, eraser and scissors. Once you have these items in hand, begin by sketching out the basic outline of your heart using the ruler or straight edge. Make sure that the lines are straight so that the end result looks neat. Once you have sketched out the general shape of your heart, begin to refine it by adding curves and angles to give it more of an accurate V-shape. You can also use an eraser to make adjustments if needed.
Once you have achieved the desired shape for your heart, you can then use scissors to cut it out of paper and then glue it onto any surface you like. With this method, you can create a perfect V-shape for your heart that looks beautiful and professional. Just remember to practice patience and take your time when creating this shape so that you get the best results possible.
By following these steps carefully and practicing regularly, anyone can create a perfect V-shape for their heart with ease!
Separating the Strawberry Into Two Parts
Separating a strawberry into two parts can be a tricky task. It is important that you have the right tools and technique to complete the job. The first thing that you need to do is to find a sharp knife, preferably one with a serrated edge. This will make it easier to cut through the strawberry without crushing or tearing it. Once you have the knife, make sure that your hands are clean and dry before you begin cutting.
Place the strawberry on a cutting board and carefully cut through it from top to bottom, making sure to keep the two halves even in size. If necessary, use a spoon or butter knife to help guide the knife through the berry. Once you have successfully separated the two halves of the strawberry, use your fingers or a spoon to remove any remaining seeds or pulp from both sides of the fruit.
Finally, place both halves of the strawberry onto a plate or in separate containers for later use. When separating strawberries into two parts, it is important that you take your time and be careful not to tear or crush them while cutting them open. With some practice and patience, you will soon be able to easily separate any type of berry into two perfect parts!
Conclusion
Cutting strawberries in the shape of hearts is a creative and fun way to make your desserts look more special and to impress your friends and family. It’s not as difficult as it may seem, and it can be done with just a few simple steps. All you need is a sharp knife, a cutting board, and a few strawberries.
Start by cutting off the top of the strawberry to create a flat surface. Then cut the strawberry lengthwise into two thin slices. You can then cut out the heart shape from one of the slices by tracing the outline of the heart with your knife before carefully cutting it out. Finally, place both halves back together to form the heart-shaped strawberry.
With a bit of practice, you’ll soon be able to create beautiful heart-shaped strawberries for any occasion in no time at all!
So why not give this simple technique a try today? We guarantee that you won’t be disappointed by this delightful way of adding an extra special touch to your desserts!

