

Strawberries are a delicious and nutritious treat, and they can be cut into unique shapes to add a fun twist to your snacks or desserts. Learning how to cut strawberries into stars is an easy way to make your food look more attractive. With just a few simple steps, you’ll be able to create beautiful strawberry stars in no time.Step 1: Wash the strawberries under cold running water.
Step 2: Cut the green stem off the strawberry.
Step 3: Cut the strawberry in half, from top to bottom.
Step 4: Carefully cut each half into four slices.
Step 5: Take one of the slices and make a V-shape cut in it. This will form a star-shape when you remove the piece of fruit in between these two cuts.
Step 6: Repeat this process on all the other slices until you have 8 star-shaped pieces per strawberry.
Step 7: Enjoy your delicious star-shaped strawberries!
What You Need To Cut Strawberries Into Stars
To cut strawberries into stars, you will need a sharp knife, strawberries, and a cutting board. Start by washing the strawberries in cold water and then pat them dry with a paper towel. Once they are dry, place them on the cutting board. Use the knife to carefully cut off the top of each strawberry and then slice them horizontally in half. Then, cut each strawberry half into four equal pieces, making sure to keep the leaves attached. Finally, make two angled cuts in each of the four pieces to create a star shape. Once all of the stars have been cut out, you can enjoy them as is or add them to your favorite recipes!
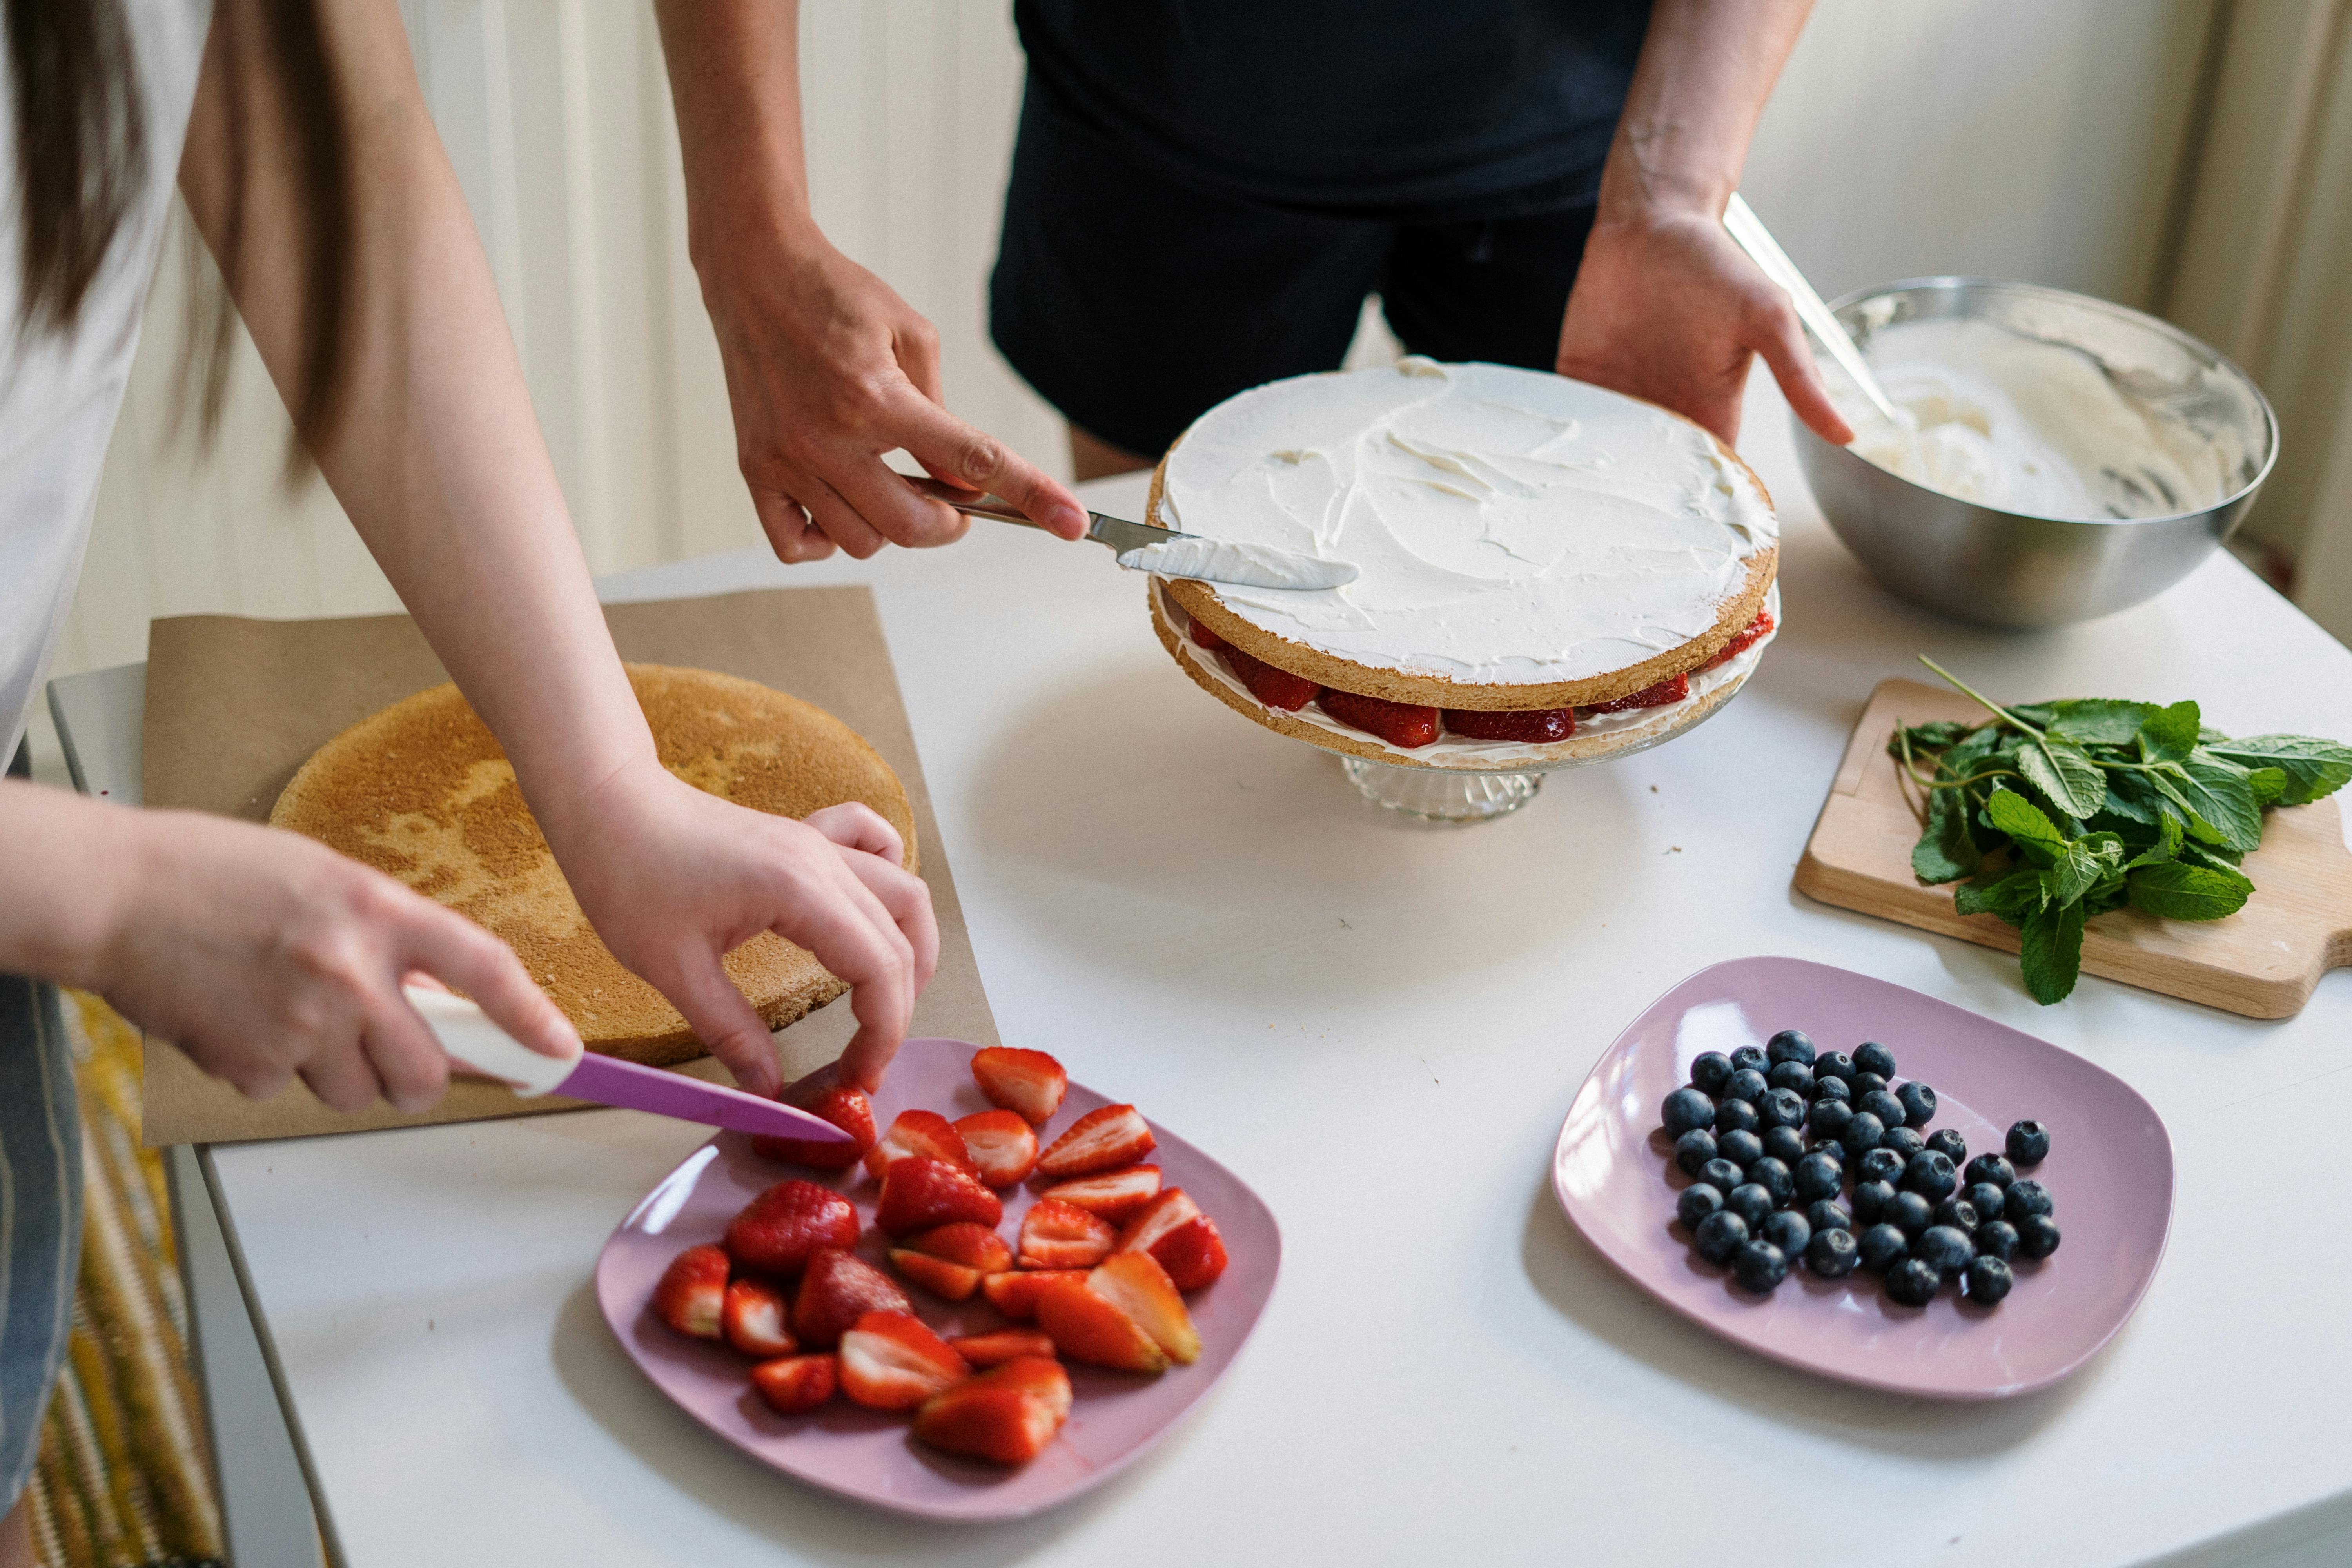
Wash and Dry the Strawberries
To make sure your strawberries are clean and ready for use, it is important to properly wash and dry them. Begin by rinsing them in cold water. Make sure to remove any dirt or debris from the surface. Gently swish them around in the water to make sure they get a thorough cleaning. Once they’re clean, drain them in a colander and then pat them dry with a paper towel or a clean kitchen cloth. After drying, the strawberries should be ready for use!
Slice Off the Stem
When it comes to cutting an onion, the first step is to slice off the stem end. This will give you a flat surface for your knife to rest on while slicing. To do this, hold the onion firmly in one hand and carefully slice off the end with a sharp knife. You want to make sure that you don’t cut into any of the flesh. Once you have removed the stem, you can begin slicing or dicing.
It’s important to use a sharp knife when cutting an onion. A dull blade won’t cut through it properly and could potentially be dangerous as it can slip while cutting. Make sure to use a good quality chef’s knife, or even a serrated knife if needed, to ensure that your cuts are precise and safe.
Step 1: Gather Your Supplies
Before you begin, make sure you have all the necessary items to cut a strawberry. You will need a sharp knife, a cutting board, and of course, one strawberry. Once you have all the supplies ready, you can move onto the next step.
Step 2: Rinse the Strawberry
Start by washing the strawberry with cold water. This will help to remove any dirt or residue that may be on the surface. Once it is clean, pat it dry with a paper towel before moving onto the next step.
Step 3: Cut a Strawberry Into Slices
Holding the strawberry firmly on the cutting board, use your knife to carefully slice off both ends of the strawberry. Then turn it so that it is cut side down and slice it into thin slices about 1/4 inch thick. Be careful not to cut yourself while slicing! When finished, enjoy your freshly cut strawberries!
Step 1: Gather the Materials
Before you make a star shape out of paper, you need to gather all the necessary materials. You will need scissors, glue, paper, and a ruler or measuring tape. Make sure that you have enough paper for your project. You will also need a pencil and eraser in case you make any mistakes when drawing the star shape.
Step 2: Measure and Cut the Paper
Once you have all the materials, it’s time to measure and cut the paper. First, use the ruler or measuring tape to draw a grid on your paper with five equal sides. This will help ensure that each side of your star is equal in length. Then, use scissors to carefully cut out each side of the star shape from the grid.
Step 3: Glue Sides Together
Next, take each side of the star shape and use glue to attach them together at their edges. This will ensure that your star has a solid form and won’t easily come apart once it is finished. Allow some time for the glue to dry before moving on to step four.
Step 4: Make the Star Shape
Finally, once all of your sides are glued together, take some time to carefully press down any edges or corners that may be sticking out from your star shape. This will create a smooth surface for your project and help give it an even more professional look when finished!
Step 5: Remove the Core of the Star
The fifth step in dismantling a star is to remove its core. This involves cutting into the star and removing its innermost layer, which is composed of highly dense material. It is important to be careful when doing this, as this material can be dangerous and can cause serious damage if mishandled. Once the core has been removed, it should be disposed of safely to avoid any potential hazards.
The core can be removed in a variety of ways, depending on the type and size of the star being dismantled. For larger stars, specialized equipment may need to be used to cut through the thick layers of material and remove the innermost layer. For smaller stars, hand tools may suffice for cutting into the star and removing its core. In either case, safety should always be a priority when performing this work.
Once the core has been removed from a star, it marks an important milestone in dismantling it. This is because without a core, a star will no longer have any structural integrity and will quickly collapse under its own weight. As such, it is essential that this step is done carefully and correctly in order to ensure that no further damage occurs during the dismantling process.
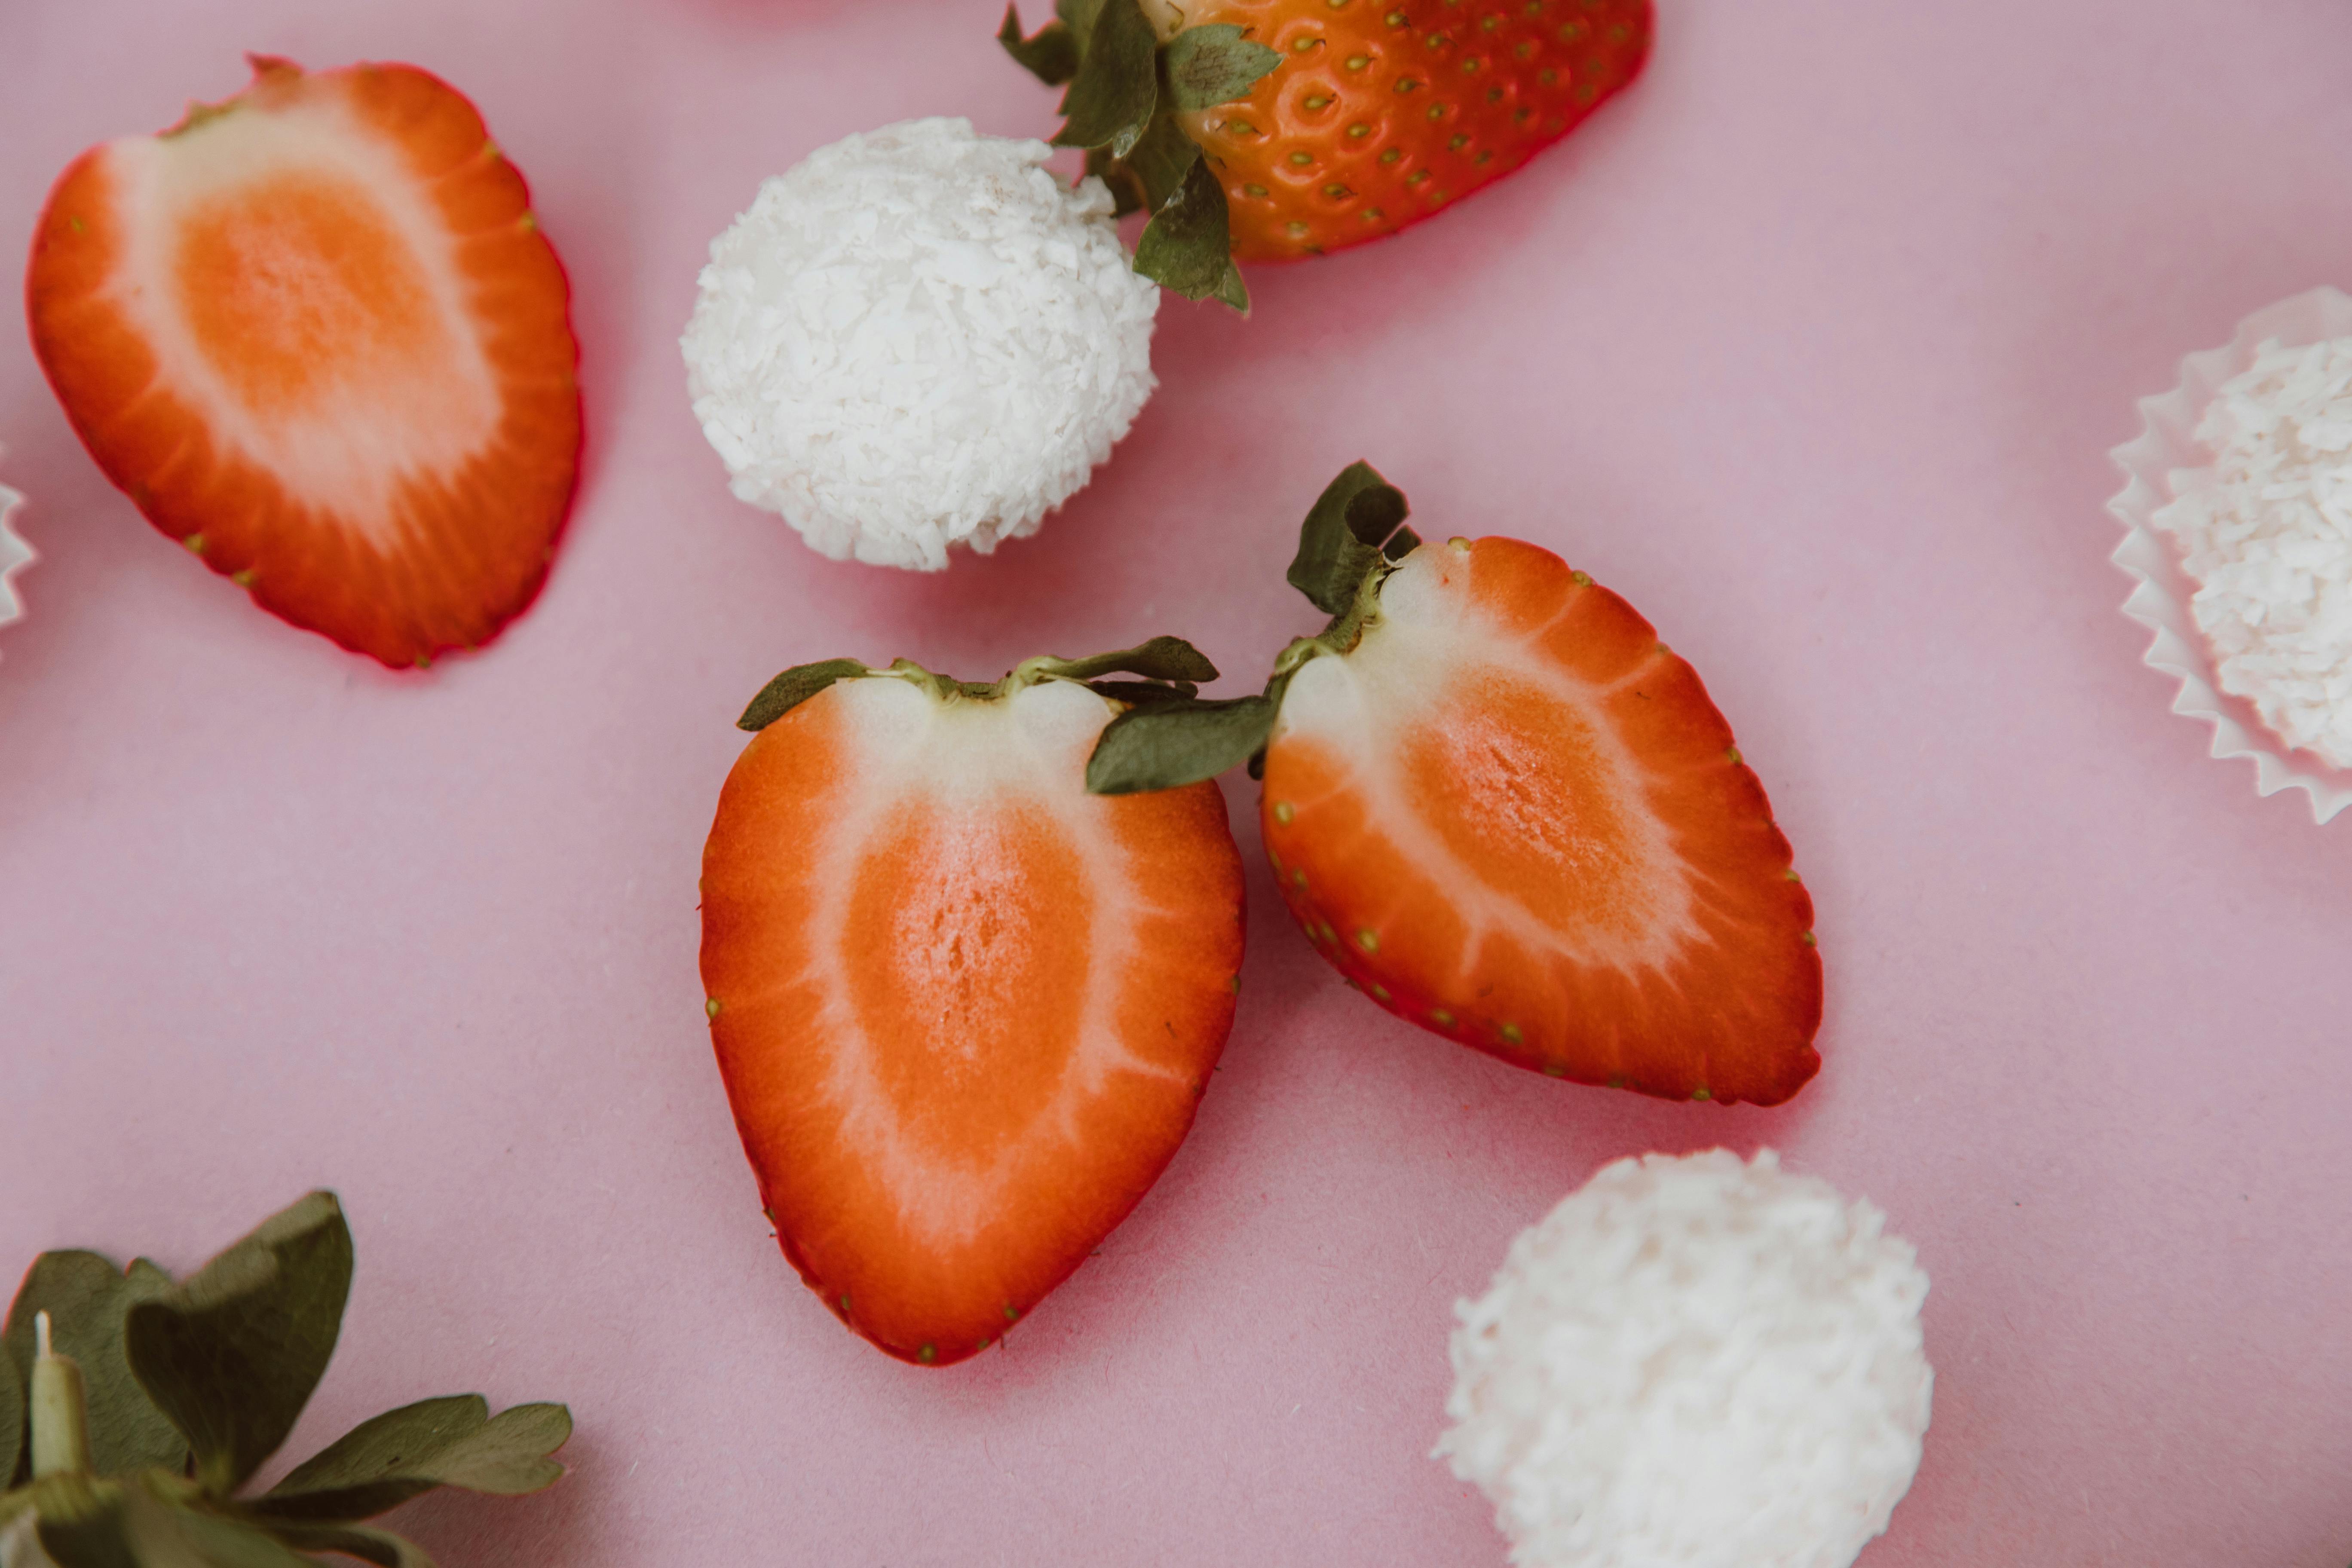
Creating Strawberries Stars
Strawberries stars are a fun and creative way to enjoy a classic favorite fruit. They are great for adding a special touch to any dessert, from cakes and cupcakes to salads and more. With just a few easy steps, you can create beautiful strawberry stars that will look impressive and taste delicious. Here are some tips for cutting strawberries into stars:
Start by washing the strawberries in cold water and then patting them dry with a paper towel. Cut off the stems and remove any green leaves or other debris. Cut the top off of the strawberry, slicing it from the bottom up to create a flat surface.
Next, slice the strawberry into thin slices, about 1/8 inch thick. Use a sharp knife so you can get nice clean slices. Be sure to cut in one direction only – do not go back and forth with the knife as this can cause the slices to become ragged or uneven.
Once all of your slices are cut, begin forming your stars by arranging them in an alternating pattern on top of each other. Start with two slices overlapping slightly in an X shape at the center of your star. Then place four more slices around the center, overlapping slightly until you have created a star shape.
Finally, use a sharp paring knife to cut away any excess edges that don’t fit into your star shape. You may also want to use kitchen shears to trim any uneven edges off of your star if necessary. Once all of your edges are neat and even, you’re ready to enjoy your delicious strawberry stars!
Conclusion
Making strawberry stars is an easy, fast and fun way to enjoy a delicious snack! Kids and adults alike will be sure to find it enjoyable. Whether you’re looking for a fun snack for yourself or an edible decoration for your next party, strawberry stars are sure to be a hit!
With so many options to choose from, you’ll never get bored of making strawberry stars. With the simple steps outlined in this article, you can create your own beautiful masterpiece in minutes. So go ahead and give it a try – you won’t regret it!

