

Cutting a strawberry into a rose is an impressive and creative way to serve strawberries. It’s a simple process that requires only a few basic tools and a bit of patience. With the right technique, you’ll be able to create beautiful rose-shaped strawberries in no time. In this guide, we’ll walk you through how to cut a strawberry into a rose step-by-step.To cut a strawberry into a rose shape, you will need:
– A sharp paring knife
– A cutting board
– 1 strawberry
– Paper towels (optional)
Gathering the Necessary Equipment
Before you start slicing your strawberry, you need to make sure that you have all the necessary equipment to hand. This includes a sharp knife, a cutting board, and a bowl or plate. It’s important to have all these items in place before you begin so that you don’t have to go searching for them while in the middle of slicing.
Wash and Dry the Strawberry
Once you have all the necessary equipment ready, it’s time to start preparing the strawberry for slicing. Begin by washing the fruit with cold water and drying it thoroughly with paper towels. This will ensure that the strawberry is free from dirt or debris which could affect the taste when eaten.
Cutting Off Both Ends
The next step is to cut off both ends of the strawberry using a sharp knife. Make sure that you cut as close as possible to each end without removing too much of the flesh of the fruit. Once this is done, discard both ends into a separate bowl or plate so they don’t get mixed up with the pieces of strawberry that will be eaten.
Slice The Strawberry Into Even Slices
Once both ends have been removed from the strawberry, it’s time to begin slicing it into even slices. To do this, hold one end of the fruit steady on a cutting board and carefully slice downwards towards the other end in long strokes with your knife. If desired, you can also slice each piece into smaller pieces for easier eating.(optional) Once all slices are complete, discard any remaining pieces into a separate bowl or plate.
Enjoy Your Sliced Strawberry
And there you have it! You’ve successfully sliced your strawberry into even pieces that are now ready to be enjoyed!
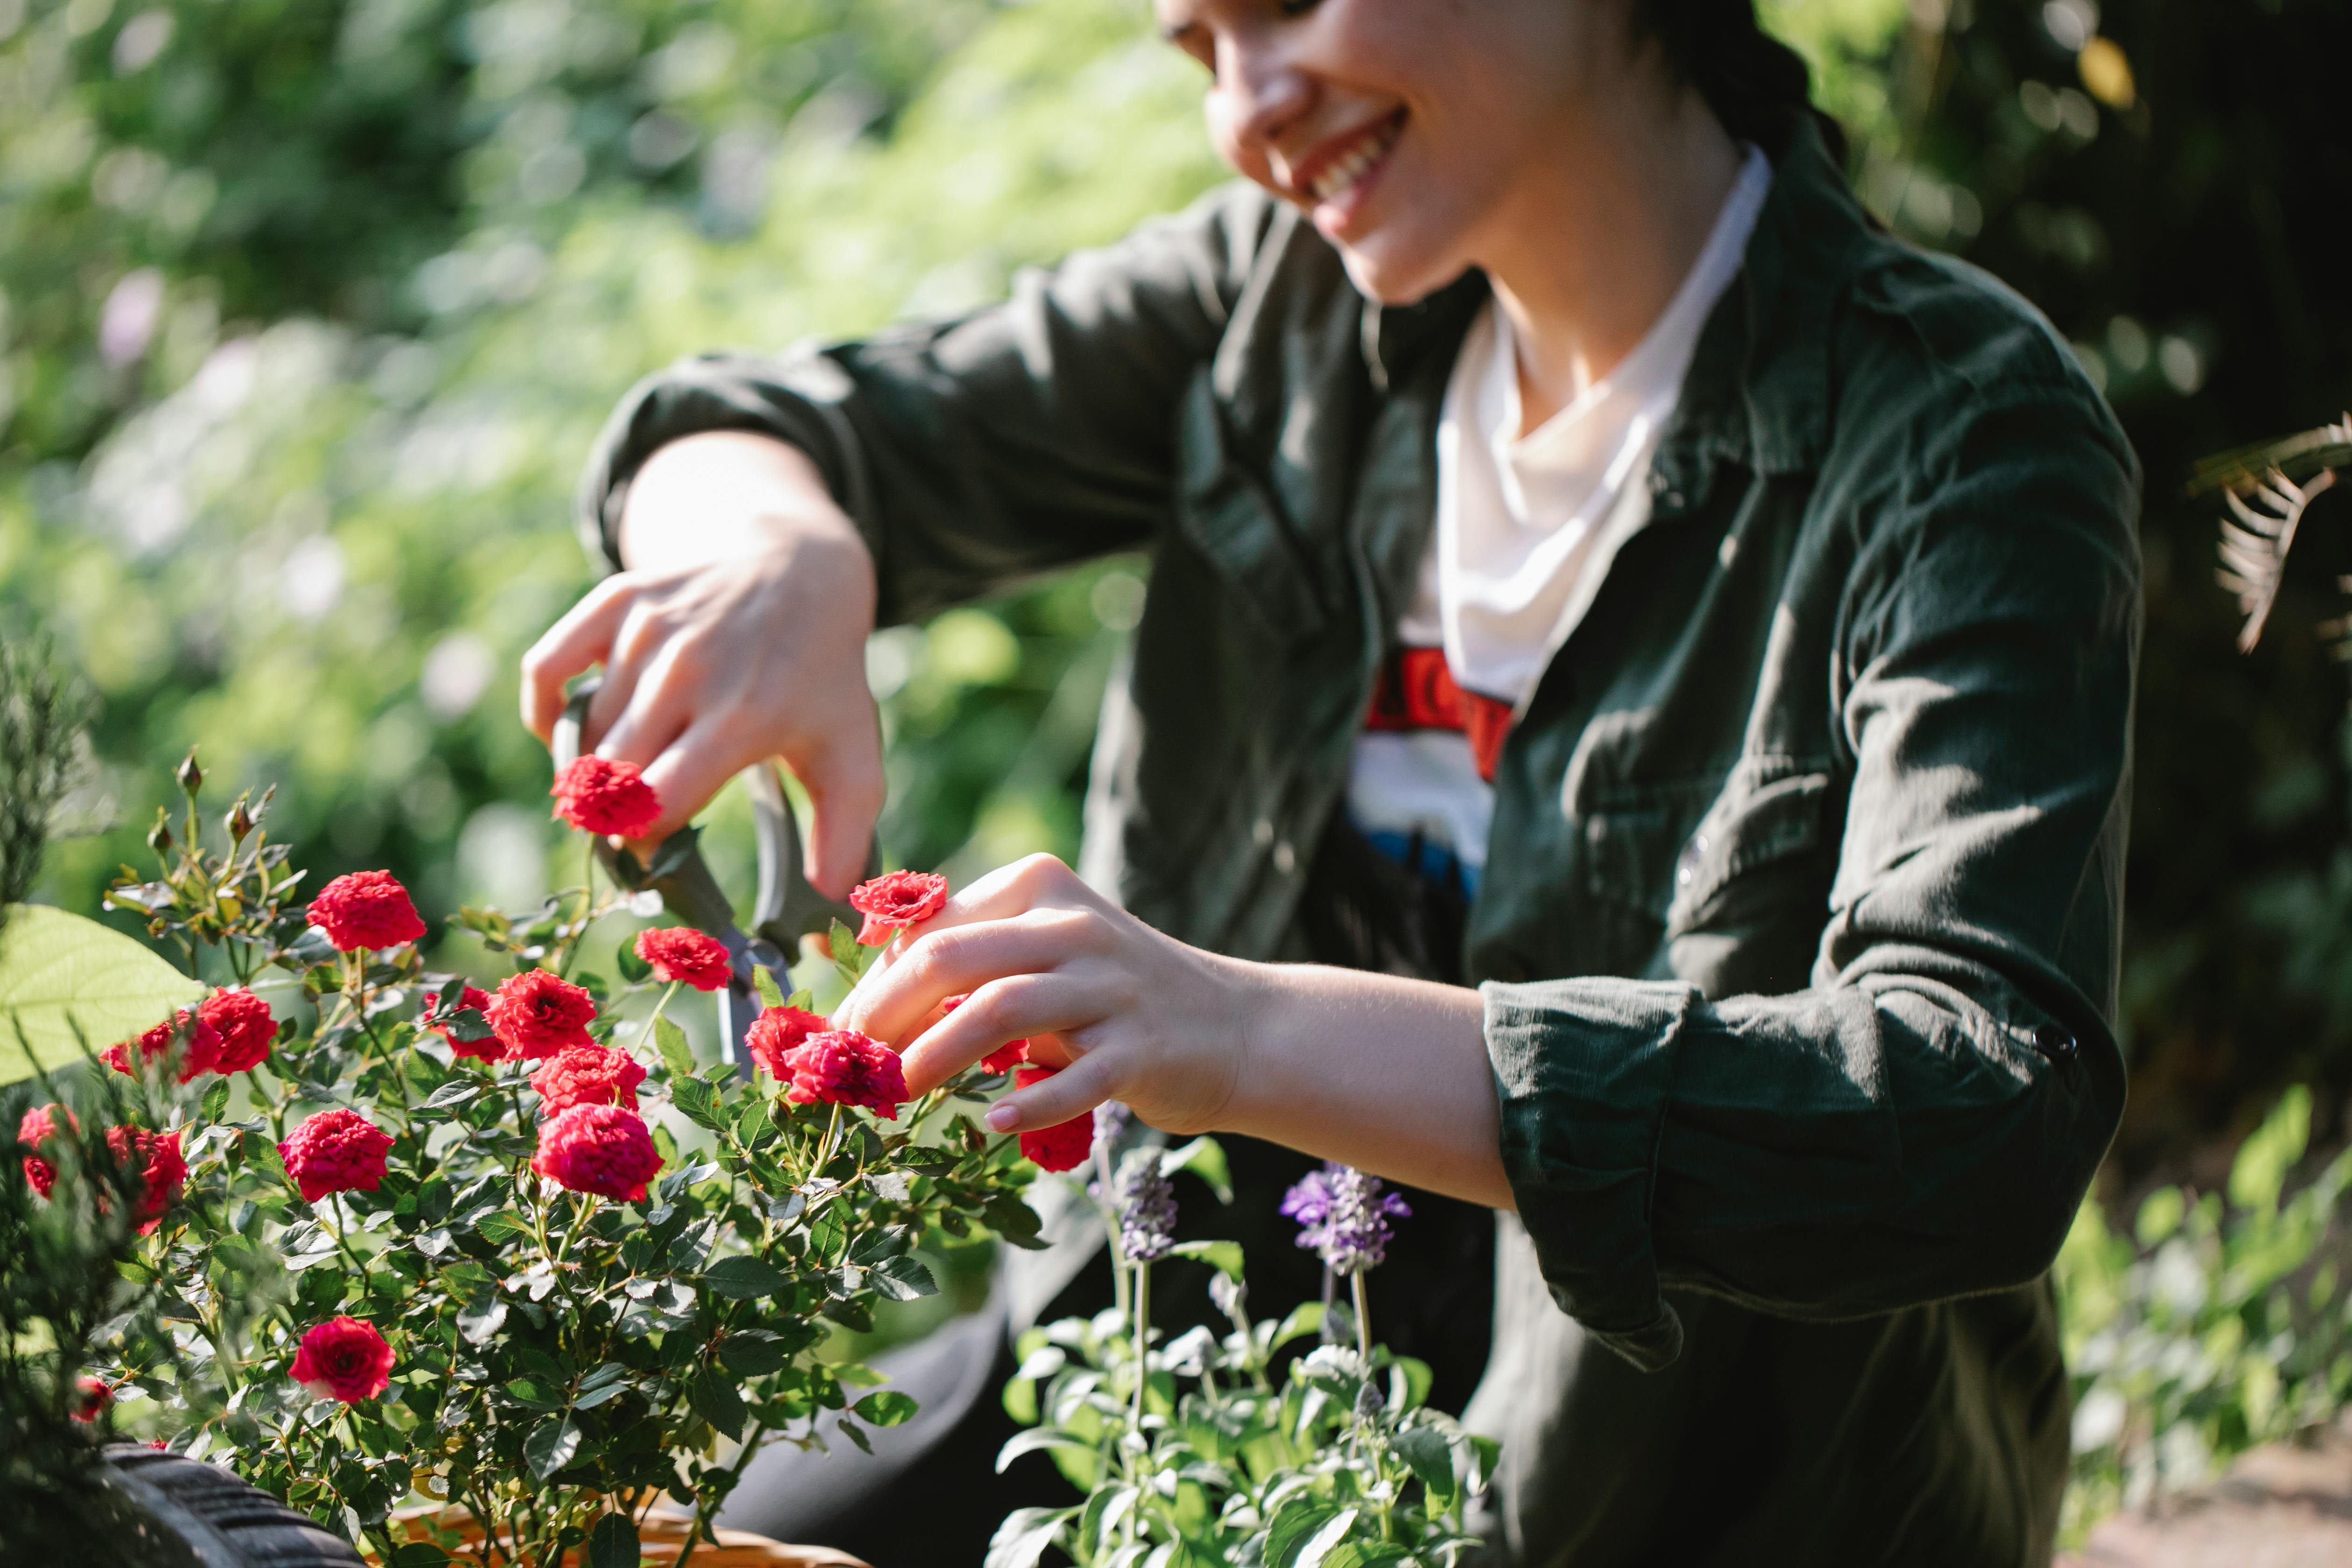
Separating the Petals
Flower petals can be separated from the stem with a few simple tools. The first step is to gather the petals and place them in a shallow bowl or plate. Next, use a pair of sharp scissors or a knife to cut the stem off of each petal carefully. This will help to keep the petals intact and prevent them from tearing. If you are using scissors, make sure to cut away from your body in order to avoid any potential accidents.
Once you have removed all of the petals from their stems, carefully spread them out on a flat surface so that they can dry. It is best to spread them out as evenly as possible in order to ensure that they dry evenly and do not curl or fray. Leave them for at least an hour or two before moving on to the next step.
Finally, use a pair of tweezers or your fingertips to separate each petal from each other. This will help to ensure that all of the petals are completely separated and will allow for easier manipulation when creating your flower arrangement or craft project. Be sure to be gentle when separating the petals so as not to damage any of them in the process.
Rolling the Petals
Creating a flower crown is a fun and creative way to express yourself with nature. The first step in making a flower crown is to choose the flowers you want to use. There are many different types of flowers, so you will want to choose ones that will look best together. Once you have chosen your flowers, it’s time to start rolling the petals. Rolling petals gives your crown a fuller look and helps keep the petals in place. To begin rolling, pick up one petal and gently roll it into itself until you reach the end. Continue this process with each petal until all are rolled. You can also use pins or glue to help keep the petals in place if needed.
Once all of your petals are rolled, it’s time to start assembling your flower crown. Start by arranging the flowers into a circle so that they overlap slightly and hold together when worn around your head. Secure each flower in place with pins or glue before moving on to the next flower. When all of your flowers are arranged, you can add any finishing touches such as ribbons or beads for extra flair.
When everything is put together, admire your beautiful work! With a few simple steps, you’ve created a unique and one-of-a-kind flower crown that expresses your creativity and style. Wear it proudly as a symbol of nature’s beauty!
Preparing the Wire
Creating a rose out of wire is a great way to add a unique touch to any craft project. The first step is to prepare the wire. You’ll need to choose the right type and gauge of wire for your project. The most common gauge for making roses is 22 or 24 gauge, but you can use different gauges depending on how large or small you want your rose to be. Cut the wire into pieces that are at least 3 inches long for each petal of the rose. If you are using multiple colors, make sure they are evenly cut in length and width.
Twisting the Wire
Once you have cut and prepared your wire, it’s time to start twisting it into petals. Start by holding one end of the wire tightly between your thumb and index finger. Using your other hand, twist the other end of the wire around it in a clockwise direction until it forms a looped petal shape. Repeat this process with each piece of wire until you have formed all the petals for your rose.
Forming the Rose Shape
Once all of your petals have been twisted, it’s time to form them into a rose shape. Start by arranging all of your petals in a circular pattern with one petal pointing up in the center. Take one petal and wrap it around another so that both ends meet in the center then twist them together to secure them in place. Continue this process with each petal until all are connected together and firmly secured in place. Your rose is now complete!
Tips for Perfectly Shaped Roses
Roses are one of the most popular and beautiful flowers that can add a touch of elegance and sophistication to any garden or home. To ensure that your roses look their best, it’s important to understand the basics of how to grow them. Here are some tips for perfect rose shaping:
First, it’s important to choose the right type of rose for your garden. Different varieties of roses have different growing requirements and shapes, so make sure you select a variety that will thrive in your local climate and soil conditions. Also consider the size of the plant when selecting roses; larger varieties may require more space than smaller ones.
Once you’ve chosen your plants, make sure you give them plenty of sunlight. Roses need at least 6 hours of direct sun each day to bloom and remain healthy. If possible, provide protection from strong winds or excessive rain.
When planting roses, make sure you dig a hole deep enough for the root ball and wide enough to spread out the roots without crowding them. Planting too deeply can cause root rot and other problems, so be sure to follow the instructions on the label carefully.
Regular pruning is essential for rose shaping. Prune away any dead or diseased wood as well as any weak branches that don’t support flowers well. Prune during the dormant season when there are no leaves on the plant; this will help keep it healthy and encourage new growth.
Finally, be sure to water your roses regularly throughout the growing season. Roses need about an inch of water per week; if natural rainfall isn’t enough, use a hose or watering can to supplement it. Keep an eye out for signs of dehydration such as wilting leaves or discolored petals; if you see these signs, water immediately.
By following these tips for perfectly shaped roses, you can ensure that your plants look their best all season long!
Decorating with Chocolate Syrup and Whipped Cream
Chocolate syrup and whipped cream are two of the most popular ingredients for decorating desserts. Whether it’s a simple cake or a complex ice cream sundae, the addition of chocolate syrup and whipped cream can elevate even the most ordinary desserts. With just a few simple steps, you can create a delicious treat that will impress your guests.
To start, choose a base for your dessert. This could be anything from a basic pound cake to an ice cream sundae. Once you have your base, it’s time to add the chocolate syrup and whipped cream. Start by pouring the chocolate syrup onto your dessert in thin, even lines. Be sure to spread it out evenly so that all areas of your dessert are covered with chocolate.
Next, use a spatula or spoon to scoop out dollops of whipped cream on top of the chocolate syrup. Spread out these dollops evenly across the dessert so that each bite is sure to have both chocolate and whipped cream in it. You can also use some creative techniques such as swirling or piping patterns into the whipped cream for added visual appeal.
Once you’ve finished decorating with chocolate syrup and whipped cream, you can add any additional toppings that you desire. These could include nuts, sprinkles, maraschino cherries, or anything else that suits your fancy.
When serving your creation make sure to do so immediately as both the chocolate syrup and whipped cream will eventually start to melt if left out too long . With just these few simple steps you can create an impressive dessert that is sure to be enjoyed by all!
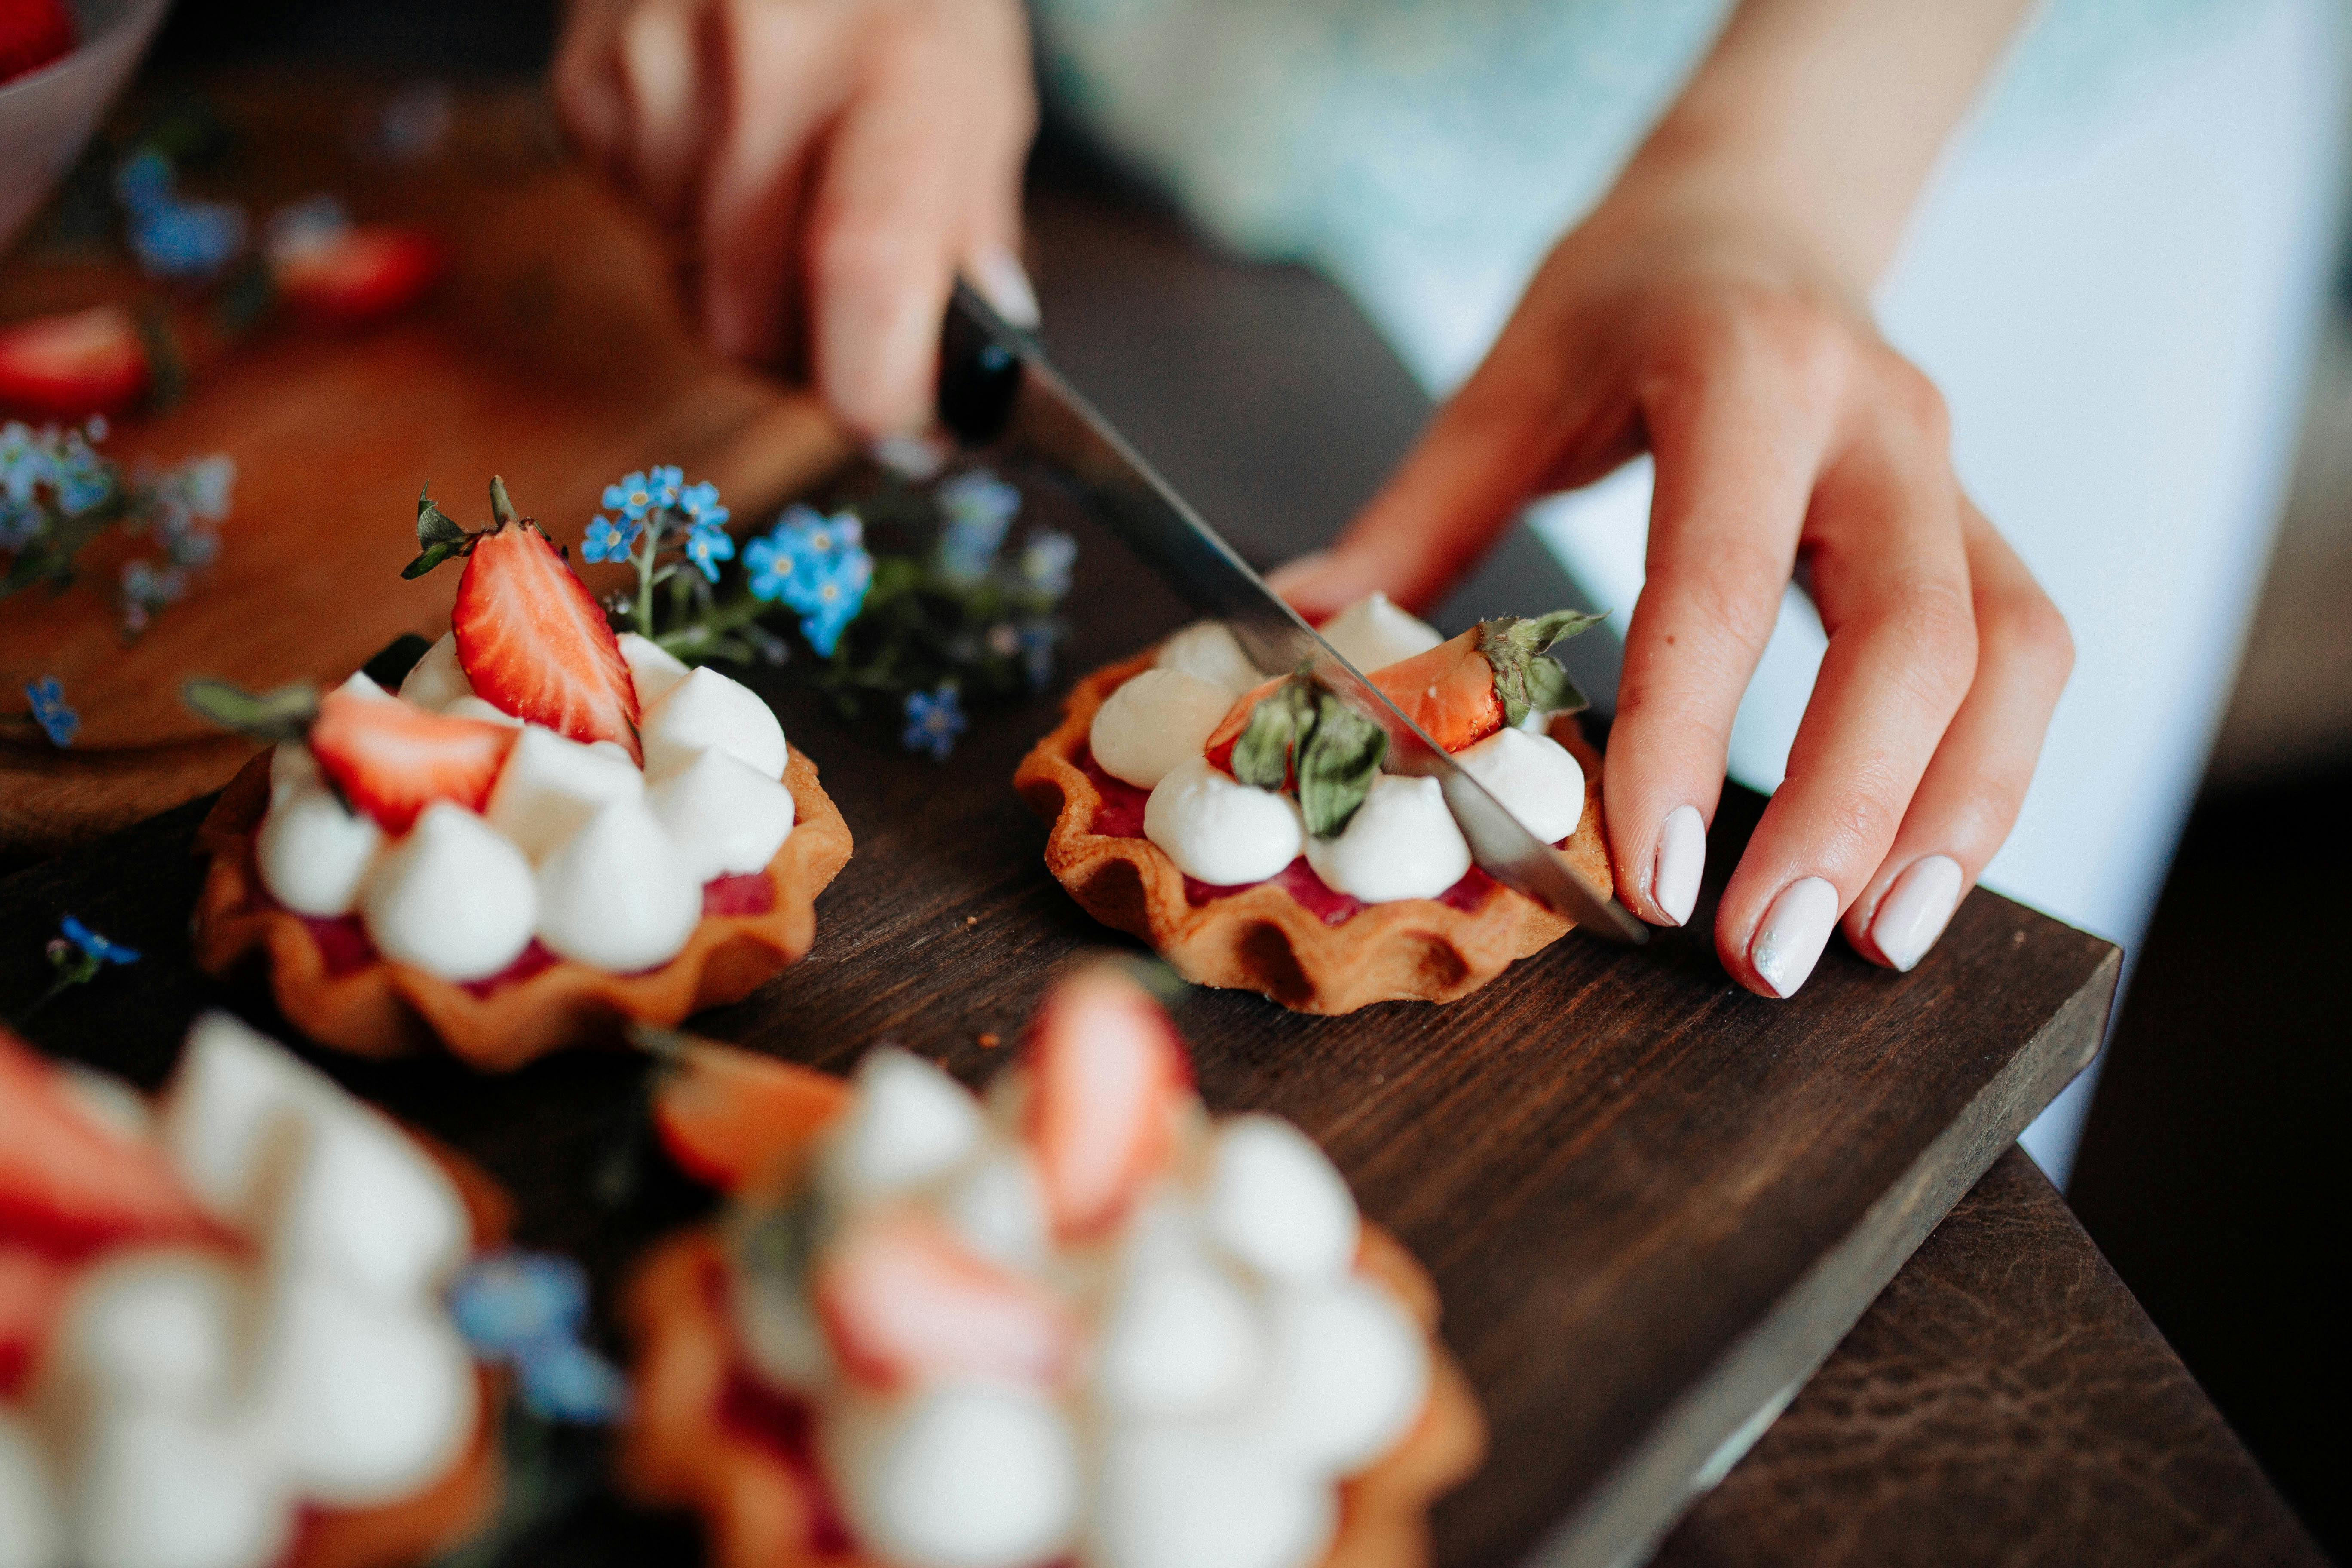
Strawberry Rose Parfait
One way to serve a strawberry rose is to make a parfait. Start by crushing up some graham crackers and adding it to the bottom of a glass. Layer it with some yogurt, fresh strawberries, and rose petals. Top the parfait with some more crushed graham crackers and a few sprigs of rose petals for garnish. Serve chilled or at room temperature for a light and delicious treat.
Strawberry Rose Compote
Another way to serve a strawberry rose is by making a compote. Start by simmering some strawberries, rose petals, sugar, and water in a pan on the stovetop until the mixture begins to thicken. Once thickened, remove from heat and let cool before serving. This can be served over ice cream or cake for an easy dessert that everyone will love.
Strawberry Rose Jam
To preserve your strawberry roses for later use, you can make jam! Start by crushing up your strawberries and adding them to a pot with sugar, pectin, lemon juice, and rose petals. Bring the mixture to a boil on the stovetop before reducing heat to low and simmering until thickened. Once thickened, pour into glass jars and let cool before sealing tightly with lids.
Strawberry Rose Sorbet
For something light yet refreshingly sweet, try making sorbet! Start by blending together strawberries, sugar, lemon juice, and rose petals in a blender until smooth. Pour the mixture into an ice cream maker and churn according to manufacturer’s instructions until thickened slightly. Serve immediately as-is or add some fresh strawberries for garnish before serving.
Conclusion
Cutting a strawberry into a rose is surprisingly easy to do and adds a beautiful touch to any dish. The key is to use the right tools, like a knife, paring knife, or melon baller, and make sure all your pieces are cut at the same angle. With practice, you can perfect your technique and impress your guests with beautiful strawberry roses!
When cutting strawberries into roses for presentation purposes, it’s important to choose strawberries that are ripe but still firm. The best way to do this is by looking for strawberries with bright red color and no signs of softness. You’ll also need to remove the stem before cutting the strawberry into slices.
Once you’ve mastered the technique of cutting a strawberry into a rose, you can experiment with different recipes and flavors. You can also mix different colors of strawberries together for an even more impressive presentation!
No matter how you choose to use them, strawberry roses are sure to add an elegant touch to any dish.

