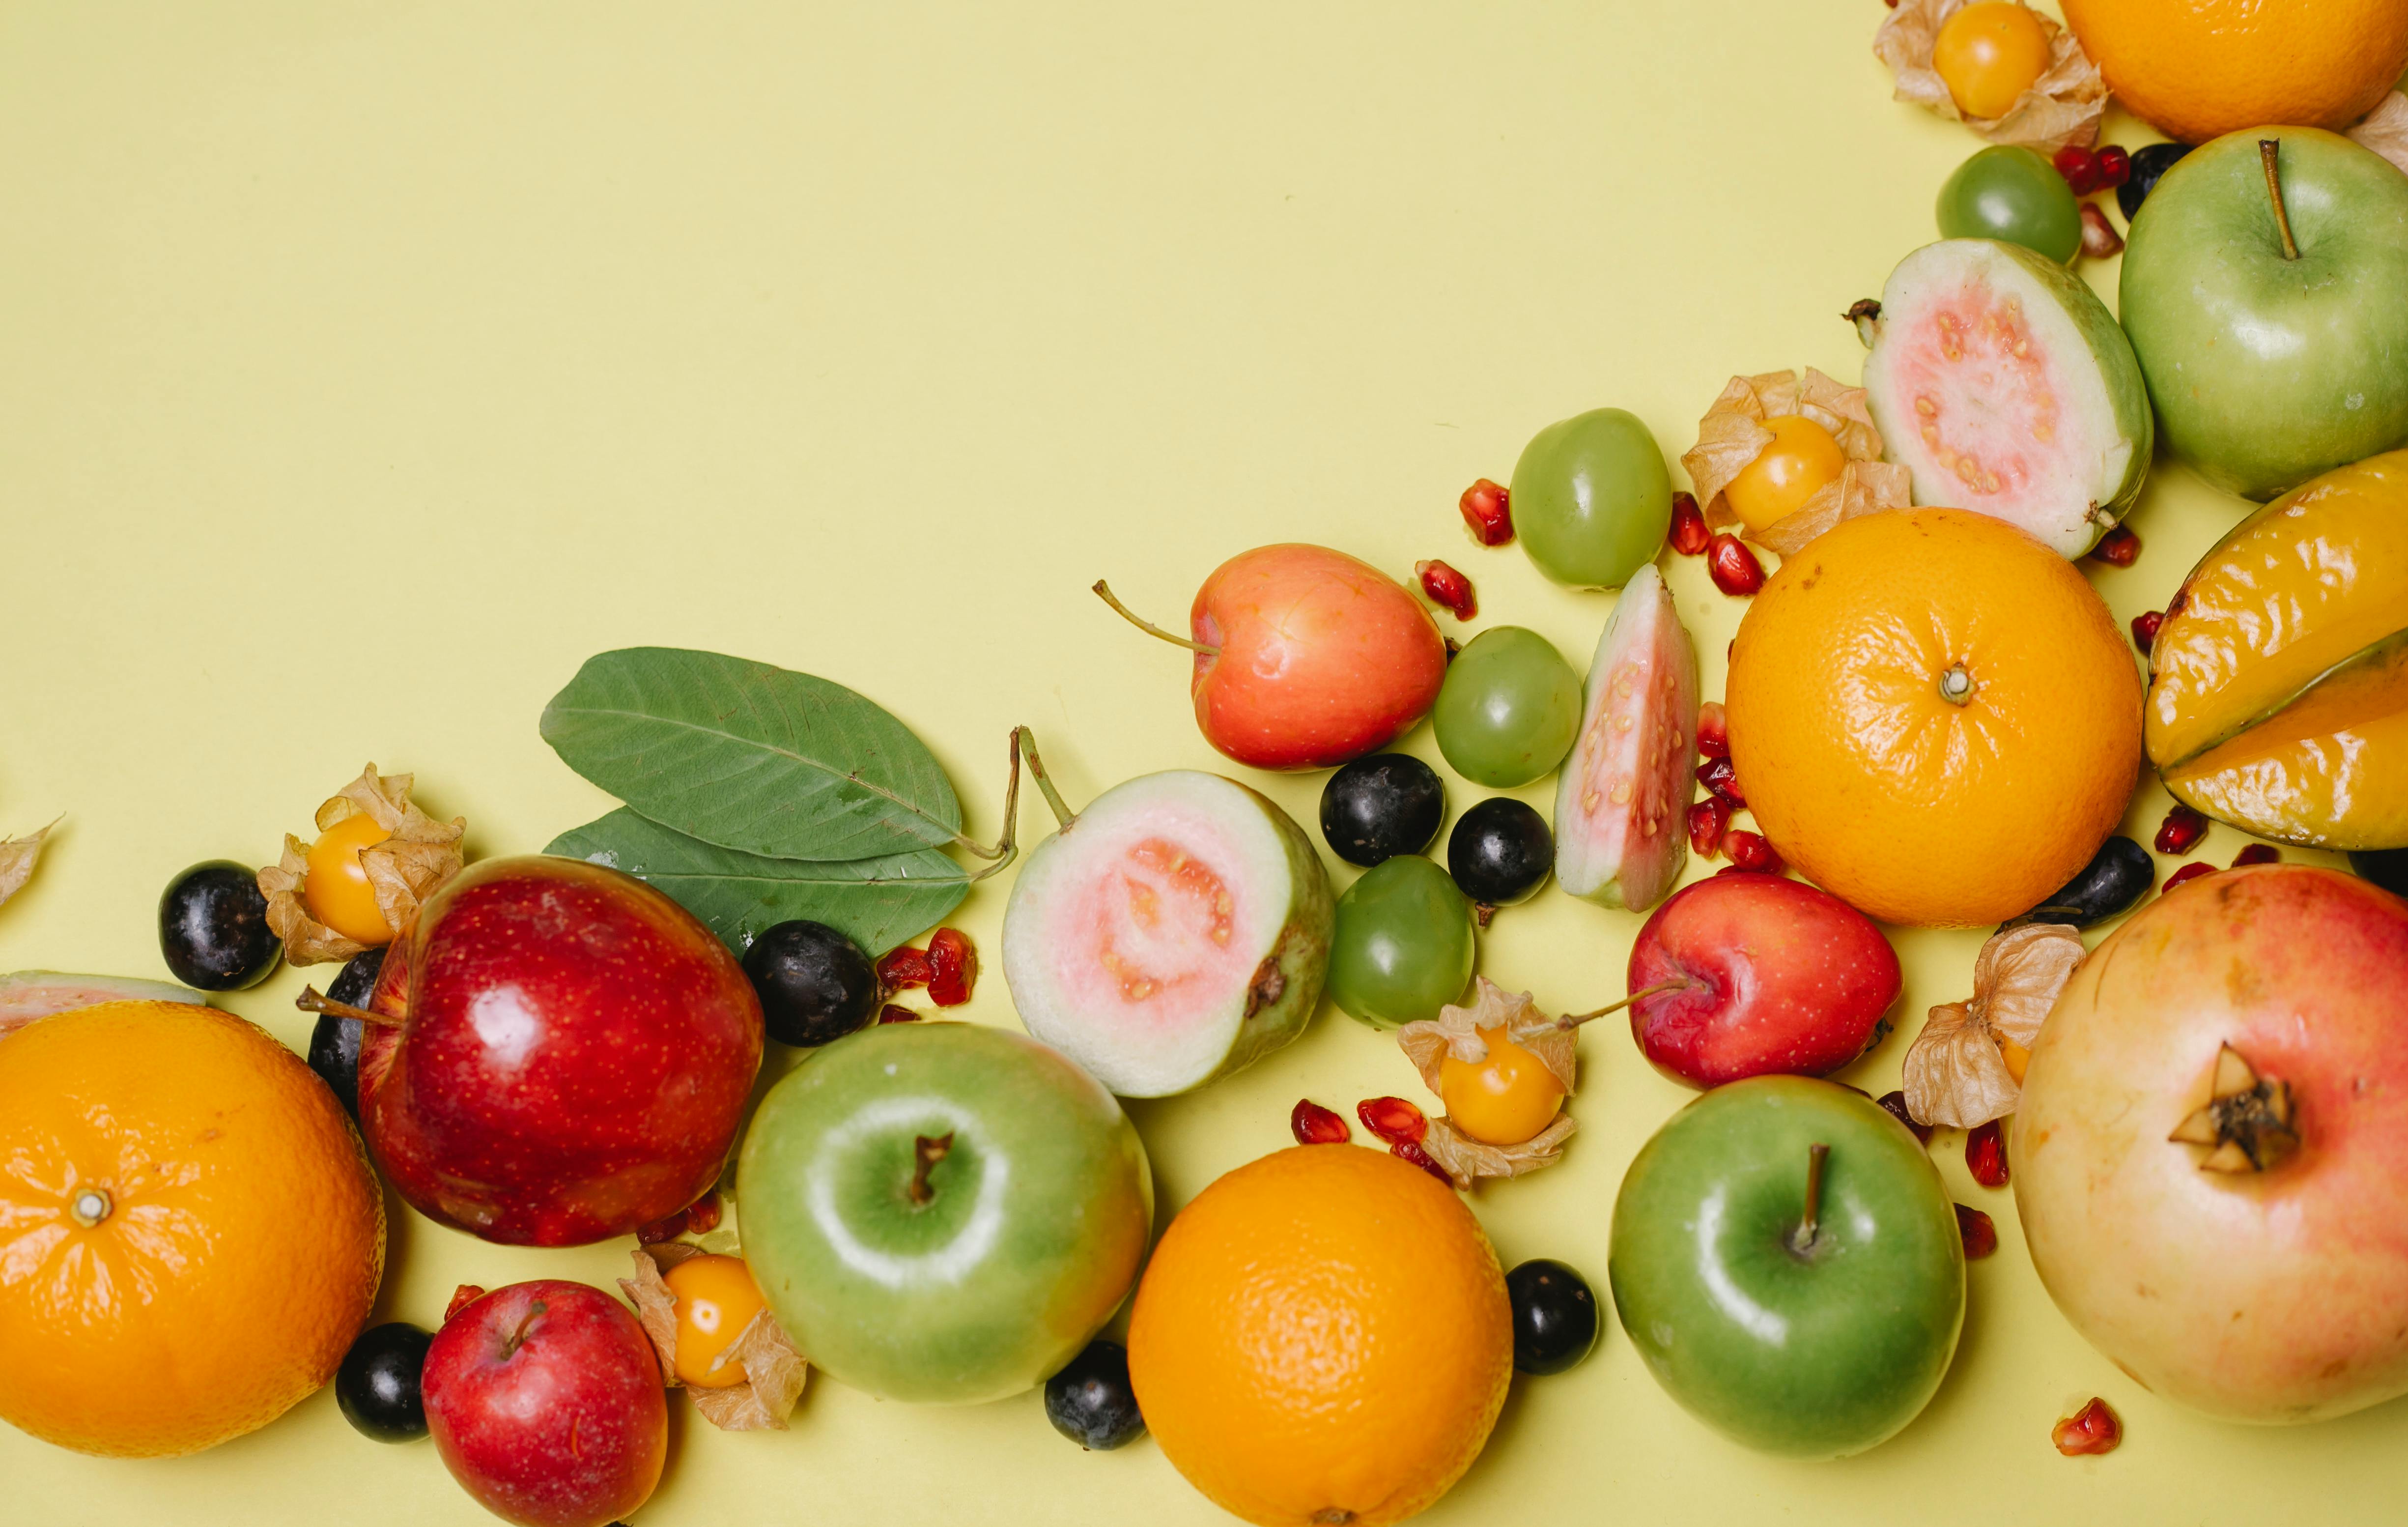
Preparing the Guava for Cutting
Cutting a guava is a simple process that requires some preparation before you begin. Before making any cuts, it’s important to make sure you have the right tools and materials for the job. You’ll need a sharp knife, cutting board, and paper towels. It’s also important to wear protective gloves to protect your hands from any sharp edges or juice splashes.Once you have the necessary tools, you can start preparing the guava for cutting. Begin by washing it thoroughly with cold water and patting it dry with paper towels. Then, cut off both ends of the guava. This will help make sure that any seeds or pulp inside are exposed. Finally, cut the guava into thin slices or cubes using a very sharp knife. Cut slowly and carefully to avoid any accidents.
After cutting, it’s important to discard any seeds or pits that may be in the guava slices or cubes. If left in, these can be a choking hazard for children or pets. Once all of the seeds are removed, you can enjoy eating your freshly cut guava!
Choosing the Right Knife
When it comes to choosing the right knife for your needs, there are a few things to consider. The most important factor is the type of material that the knife is made from. Different materials have different properties that can affect how sharp, durable, and resistant to corrosion the knife is. Stainless steel is one of the most common materials used in knives, as it is both strong and resistant to rust and corrosion. Carbon steel is another popular choice, as it can be heat treated to make it even stronger than stainless steel.It’s also important to consider the size and shape of the knife. Different blade shapes are better suited for different tasks, such as slicing, chopping, or filleting. A larger, heavier blade may be better suited for more heavy-duty tasks such as chopping wood or butchering meat. On the other hand, a smaller and lighter blade may be better suited for delicate tasks such as peeling fruits or vegetables.The handle material of a knife is also an important factor to consider. Handles made from plastic or rubber offer good grip but may not last as long as handles made from wood or metal. Handles made from natural materials such as bone or horn can provide a unique look and feel but may not be as durable or comfortable in your hand over time.Finally, price can be an important consideration when choosing a knife. While quality knives often come with a higher price tag, they usually last longer and perform better than cheaper knives made from lower quality materials. It’s always best to invest in a good quality knife that fits your needs rather than skimping on price and settling for a lower quality product that won’t last very long or perform well in different tasks.In conclusion, when choosing the right knife for your needs it’s important to consider all these factors: type of material, size and shape of blade, handle material, and price range in order to make an informed decision that will meet all your needs over time.
Making Sure the Surface is Clean
When tackling any project, it is important to make sure the surface you are working on is clean. This means cleaning any dirt, dust, or debris that may be present. This will ensure that the work you do will be of the highest quality and will last for a long time.The best way to clean a surface before beginning a project is to use a damp cloth. Wipe down the entire area to remove dirt and debris, then allow it to dry completely before moving on. After wiping the surface, you can also use a cleaning solution if necessary. Make sure that all of the cleaner is wiped off and the surface is completely dry before continuing with your project.
It’s also important to check for any cracks or crevices in the surface you are working on before beginning your project. These can be filled with spackling paste in order to create an even and smooth surface for your work. Make sure all of this filling material has dried completely before you start working on your project.
Finally, it’s a good idea to give any surface an extra layer of protection after it has been cleaned and prepped for your project. This could mean applying a sealant or primer in order to protect against dirt and moisture buildup over time. Applying this extra layer of protection will help ensure that your work lasts as long as possible and looks its best for years to come.
Cutting the Guava in Half
Cutting guava in half sounds like a simple task, but it can be surprisingly difficult. The trick is to use the right tools and to take your time. First, you will need a sharp knife. A dull knife won’t be able to cut through the tough outer skin of the guava. Make sure your knife is clean and sharp before you start.Next, wash the guava thoroughly to remove any dirt or bacteria from the skin. Then, use a vegetable peeler or a paring knife to remove the outer skin of the guava. This will make it easier to cut into the flesh of the fruit.Once you have peeled off the skin, it’s time to cut the guava in half. Place it on a cutting board and hold it firmly with one hand while you use your other hand to carefully slice through it with your sharp knife. Make sure not to saw back and forth as this could damage both your knife and your fruit! Instead, use long, steady strokes until you have cut all the way through.Finally, you can scoop out any seeds that may be inside with a spoon or fork before eating or using for a recipe. Enjoy!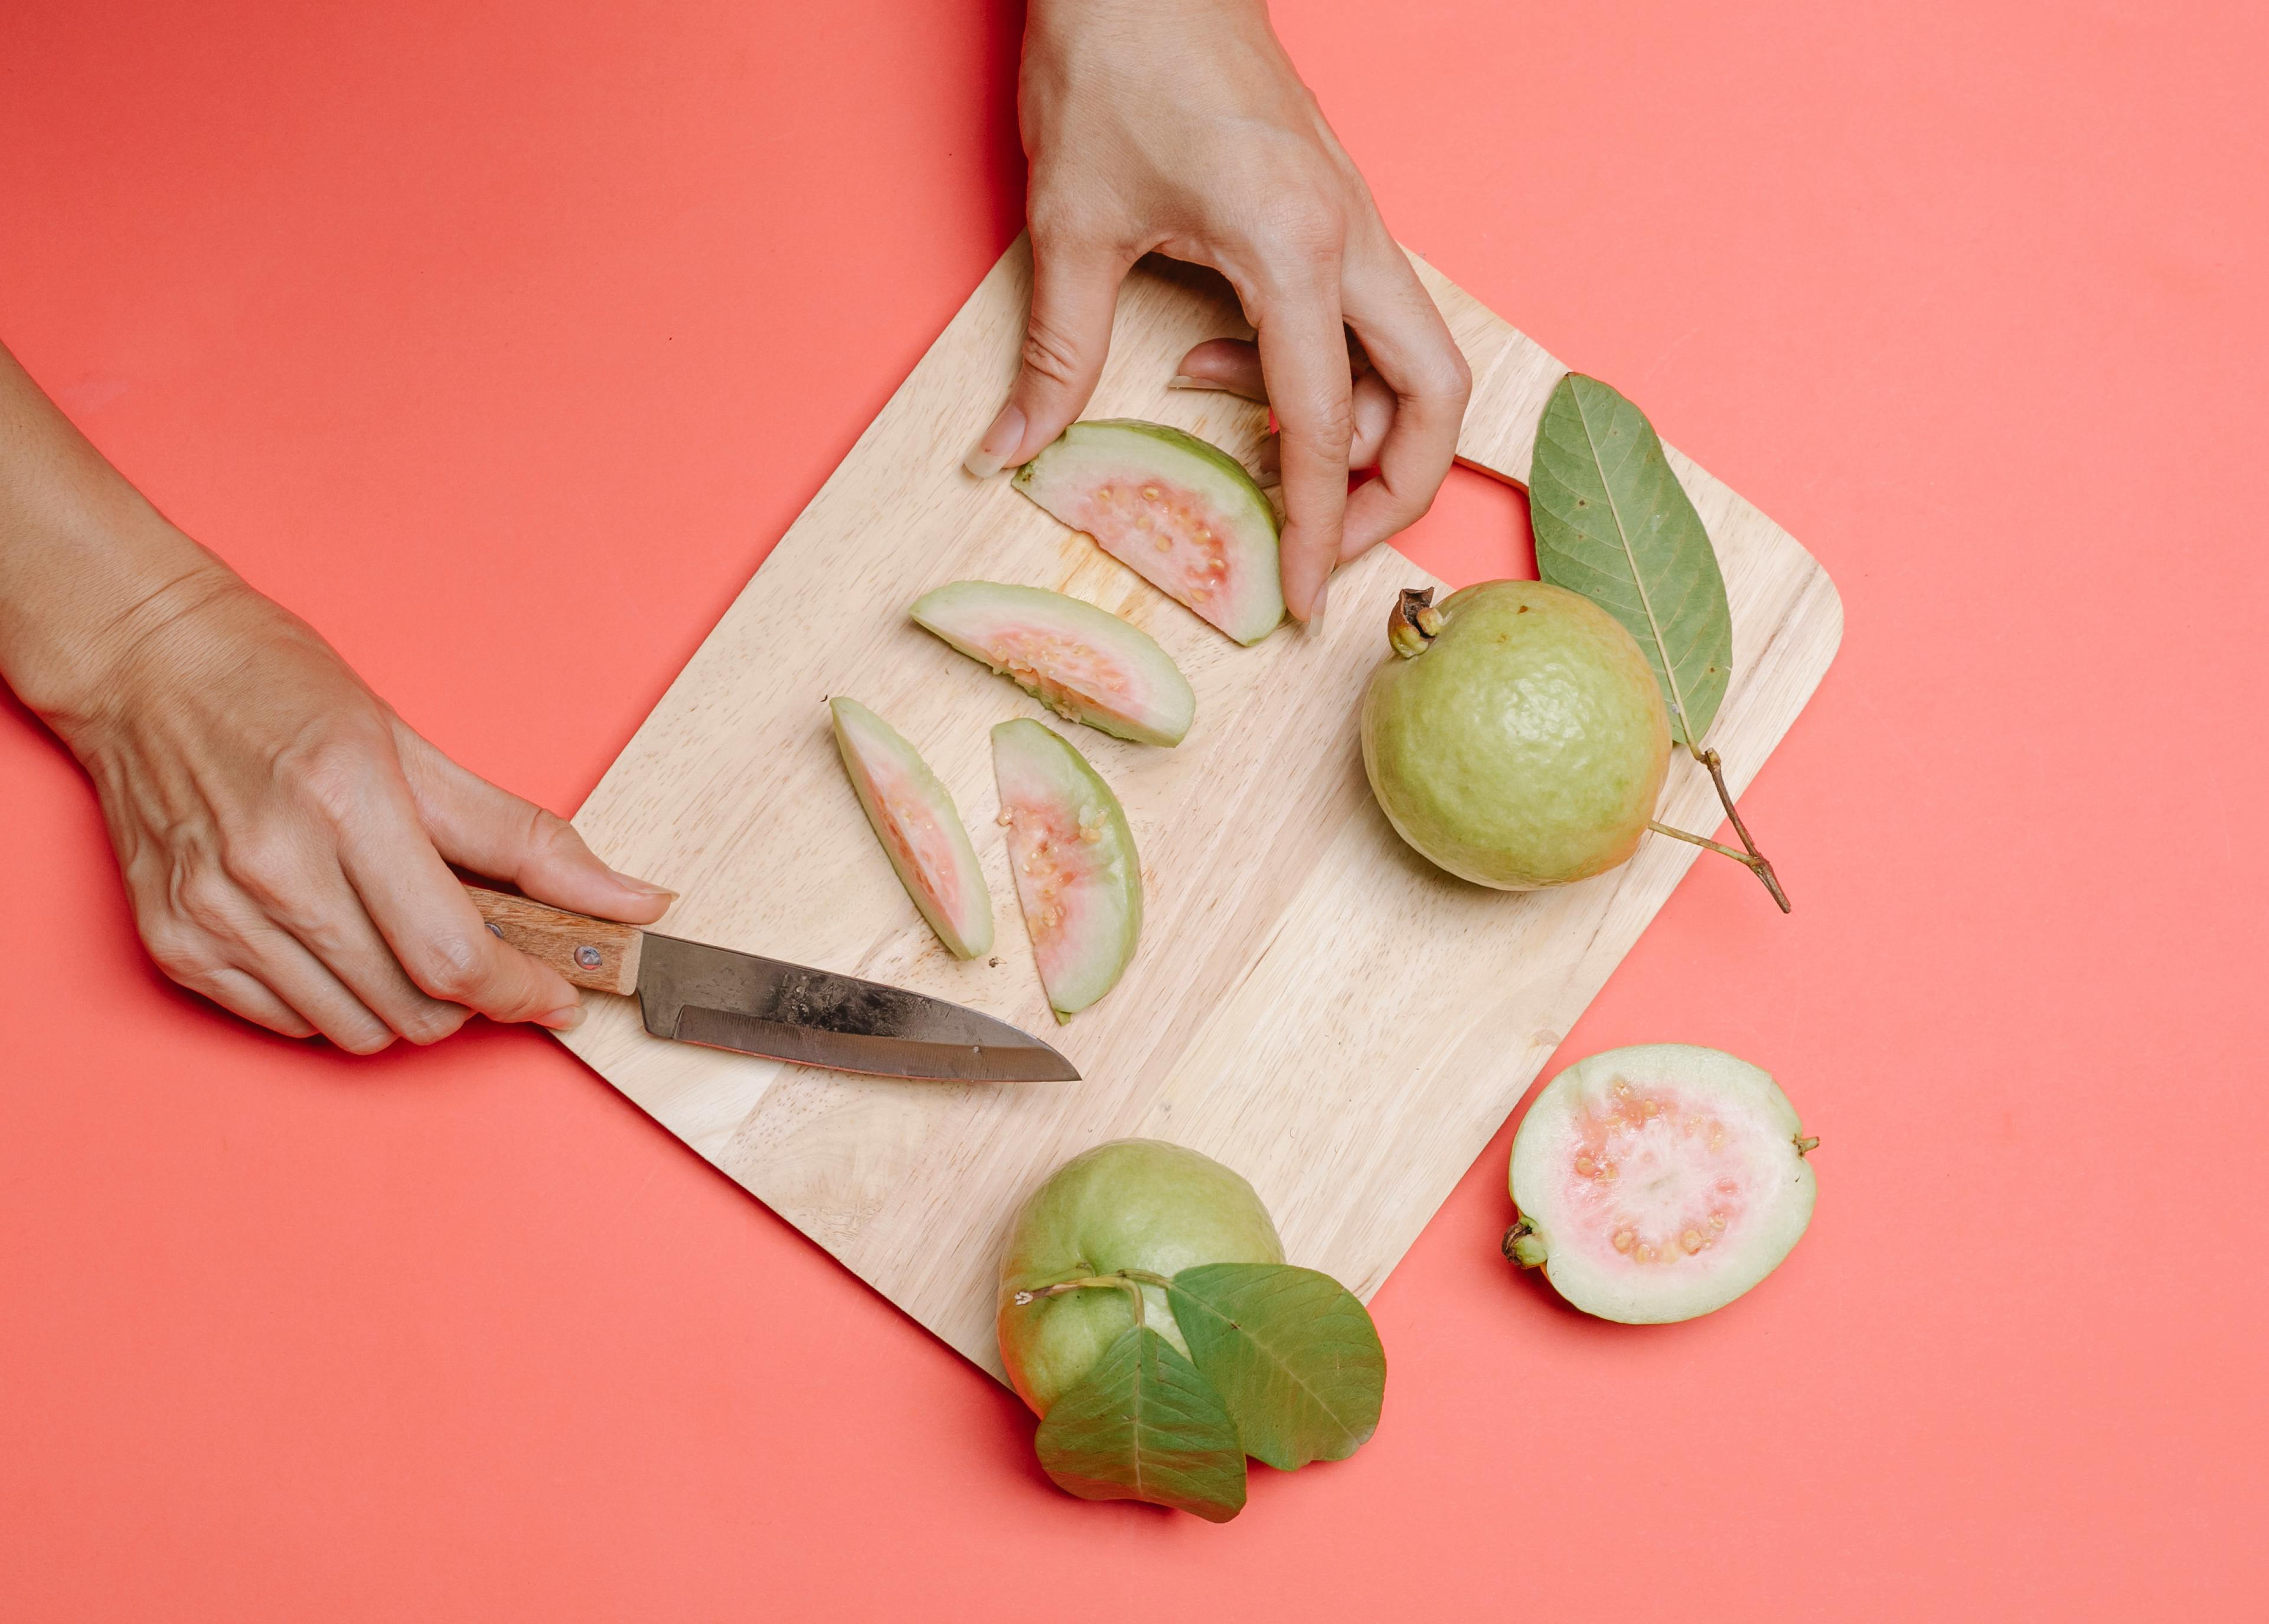
Using a Spoon to Separate the Flesh from Skin
Separating the flesh from skin can be a difficult task, especially when the fruit or vegetable is ripe. The easiest and most efficient way to do this is by using a spoon. A spoon has an edge that is sharp enough to cut through the skin but gentle enough not to damage the flesh beneath.When using a spoon, start by slicing into the skin at one end of the fruit or vegetable. Cut around the circumference of the fruit, being careful not to cut too deep. Once you have gone around, use your spoon to dig into the flesh and gently pull away from the skin. You may need to use some pressure, but try not to damage the flesh as much as possible.
Once you have separated most of it from the skin, take another spoon or fork and gently scrape away any remaining pieces of flesh that are still attached. You may also need to use your fingers or a knife for this step if there are stubborn pieces that won’t come away easily with a spoon.
Using a spoon is an easy and efficient way to separate the flesh from skin on fruits and vegetables without damaging them too much in the process. It only takes minutes and can save you time and energy in preparing meals or snacks for yourself or your family.
Removing Seeds and Pith from Flesh
Removing seeds and pith from flesh can be a tricky task, but it doesn’t have to be. With a few simple tools and techniques, you can quickly and easily separate the seeds and pith from the flesh of most fruits and vegetables.The first step is to cut the fruit or vegetable into smaller pieces. This will make it easier to handle and allow you to reach any seeds or pith that may be hidden within the flesh. Once you have cut the produce into smaller pieces, use a paring knife or spoon to carefully scrape away any visible seeds or pith.
If you are working with an especially juicy fruit or vegetable, such as a watermelon or tomato, you may want to strain out some of the juice before proceeding. Simply place a colander over a bowl or sink and pour the produce into it. The juice will drain away while leaving behind the flesh and any remaining seeds or pith.
Once you have scraped away as much of the seeds and pith as possible, it is time to remove any remaining bits with a fine mesh strainer. Place the strainer over another bowl or sink, then pour in your produce. The strainer will catch any small pieces of seed or pith that were not removed by hand while allowing the flesh to pass through.
With these simple steps, removing seeds and pith from fruit and vegetables can be quick and easy!
Slicing Guava Flesh
Slicing guava flesh is a quick and simple way to enjoy the sweet and sour flavors of this tropical fruit. If you are using a ripe guava, it should be relatively easy to slice through the flesh with a sharp knife. Start by cutting the guava in half lengthwise. Then, cut each half into thin slices, making sure to keep the slices even in thickness. Once you have the slices cut, you can enjoy them as is or add them to salads or other dishes for an extra burst of flavor.Dicing Guava Flesh
Dicing guava flesh is another great way to enjoy this tropical fruit. Start by cutting off the top and bottom of the guava so that it sits flat on your cutting board. Then, make vertical cuts lengthwise down each side of the guava, making sure not to go all the way through the skin. Finally, make horizontal cuts across each side of the guava, again making sure not to go all the way through its skin. Once you have your diced pieces ready, you can eat them as is or use them in salads or other dishes for an extra burst of flavor.Is There a Specific Way to Cut Guava That Makes It Look Good on a Fruit Tray?
For a stunning fruit tray, presenting guava beautifully requires some creativity. Start by slicing the guava in half, revealing its vibrant flesh. Then, cut each half into fan-like wedges for an appealing look. For additional decor inspiration, consider following expert tips for slicing oranges beautifully to enhance your display even further.
Cubing Guava Flesh
Cubing guava flesh is a great way to enjoy this tropical fruit in a variety of dishes. Start by removing the top and bottom from your ripe guava so that it sits flat on your cutting board. Then cut vertical slices down each side of your guava, making sure not to go all the way through its skin. Finally, make horizontal cuts across each side of your guava until you have created cubes that are even in size and thickness. You can then enjoy these cubes as is or add them to salads or other dishes for an extra burst of flavor!