

Crocheting a strawberry is an easy and fun project for anyone to do! It’s a great way to add some colour and texture to your home decor, or make a unique gift. With just a few simple materials and some basic stitches, you can make a sweet little strawberry in no time. In this guide, we’ll show you how to crochet your own strawberry step by step. With just a bit of practice, you’ll be able to create your own custom-made strawberries in no time. So gather up some yarn, a crochet hook, and let’s get started!Crocheting a strawberry is a great way to add a fun, fruity touch to any project. Follow these steps to make your own crochet strawberry:
1. Begin by chaining 3 stitches and joining them together in the first chain with a slip stitch. This will create your first round.
2. For the second round, make 6 single crochets in the center of the circle. This will create 6 points around the middle of your circle.
3. For round 3, chain 1 and make 2 single crochets in each stitch from the previous round (12 total). Join with a slip stitch at the end of this round.
4. Chain 1 and make 2 single crochets in each stitch from the previous round (24 total). Join with a slip stitch at the end of this round.
5. Chain 3 and make 5 double crochets in each stitch from the previous round (120 total). Join with a slip stitch at the end of this round.
6. Chain 1 and make 2 single crochets in each double crochet from the previous round (240 total). Join with a slip stitch at the end of this round to complete your strawberry shape!
7. To finish off your crochet strawberry, tie off your yarn, cut it, and weave in any remaining ends using a yarn needle or crochet hook.
Materials Needed for Crocheting a Strawberry
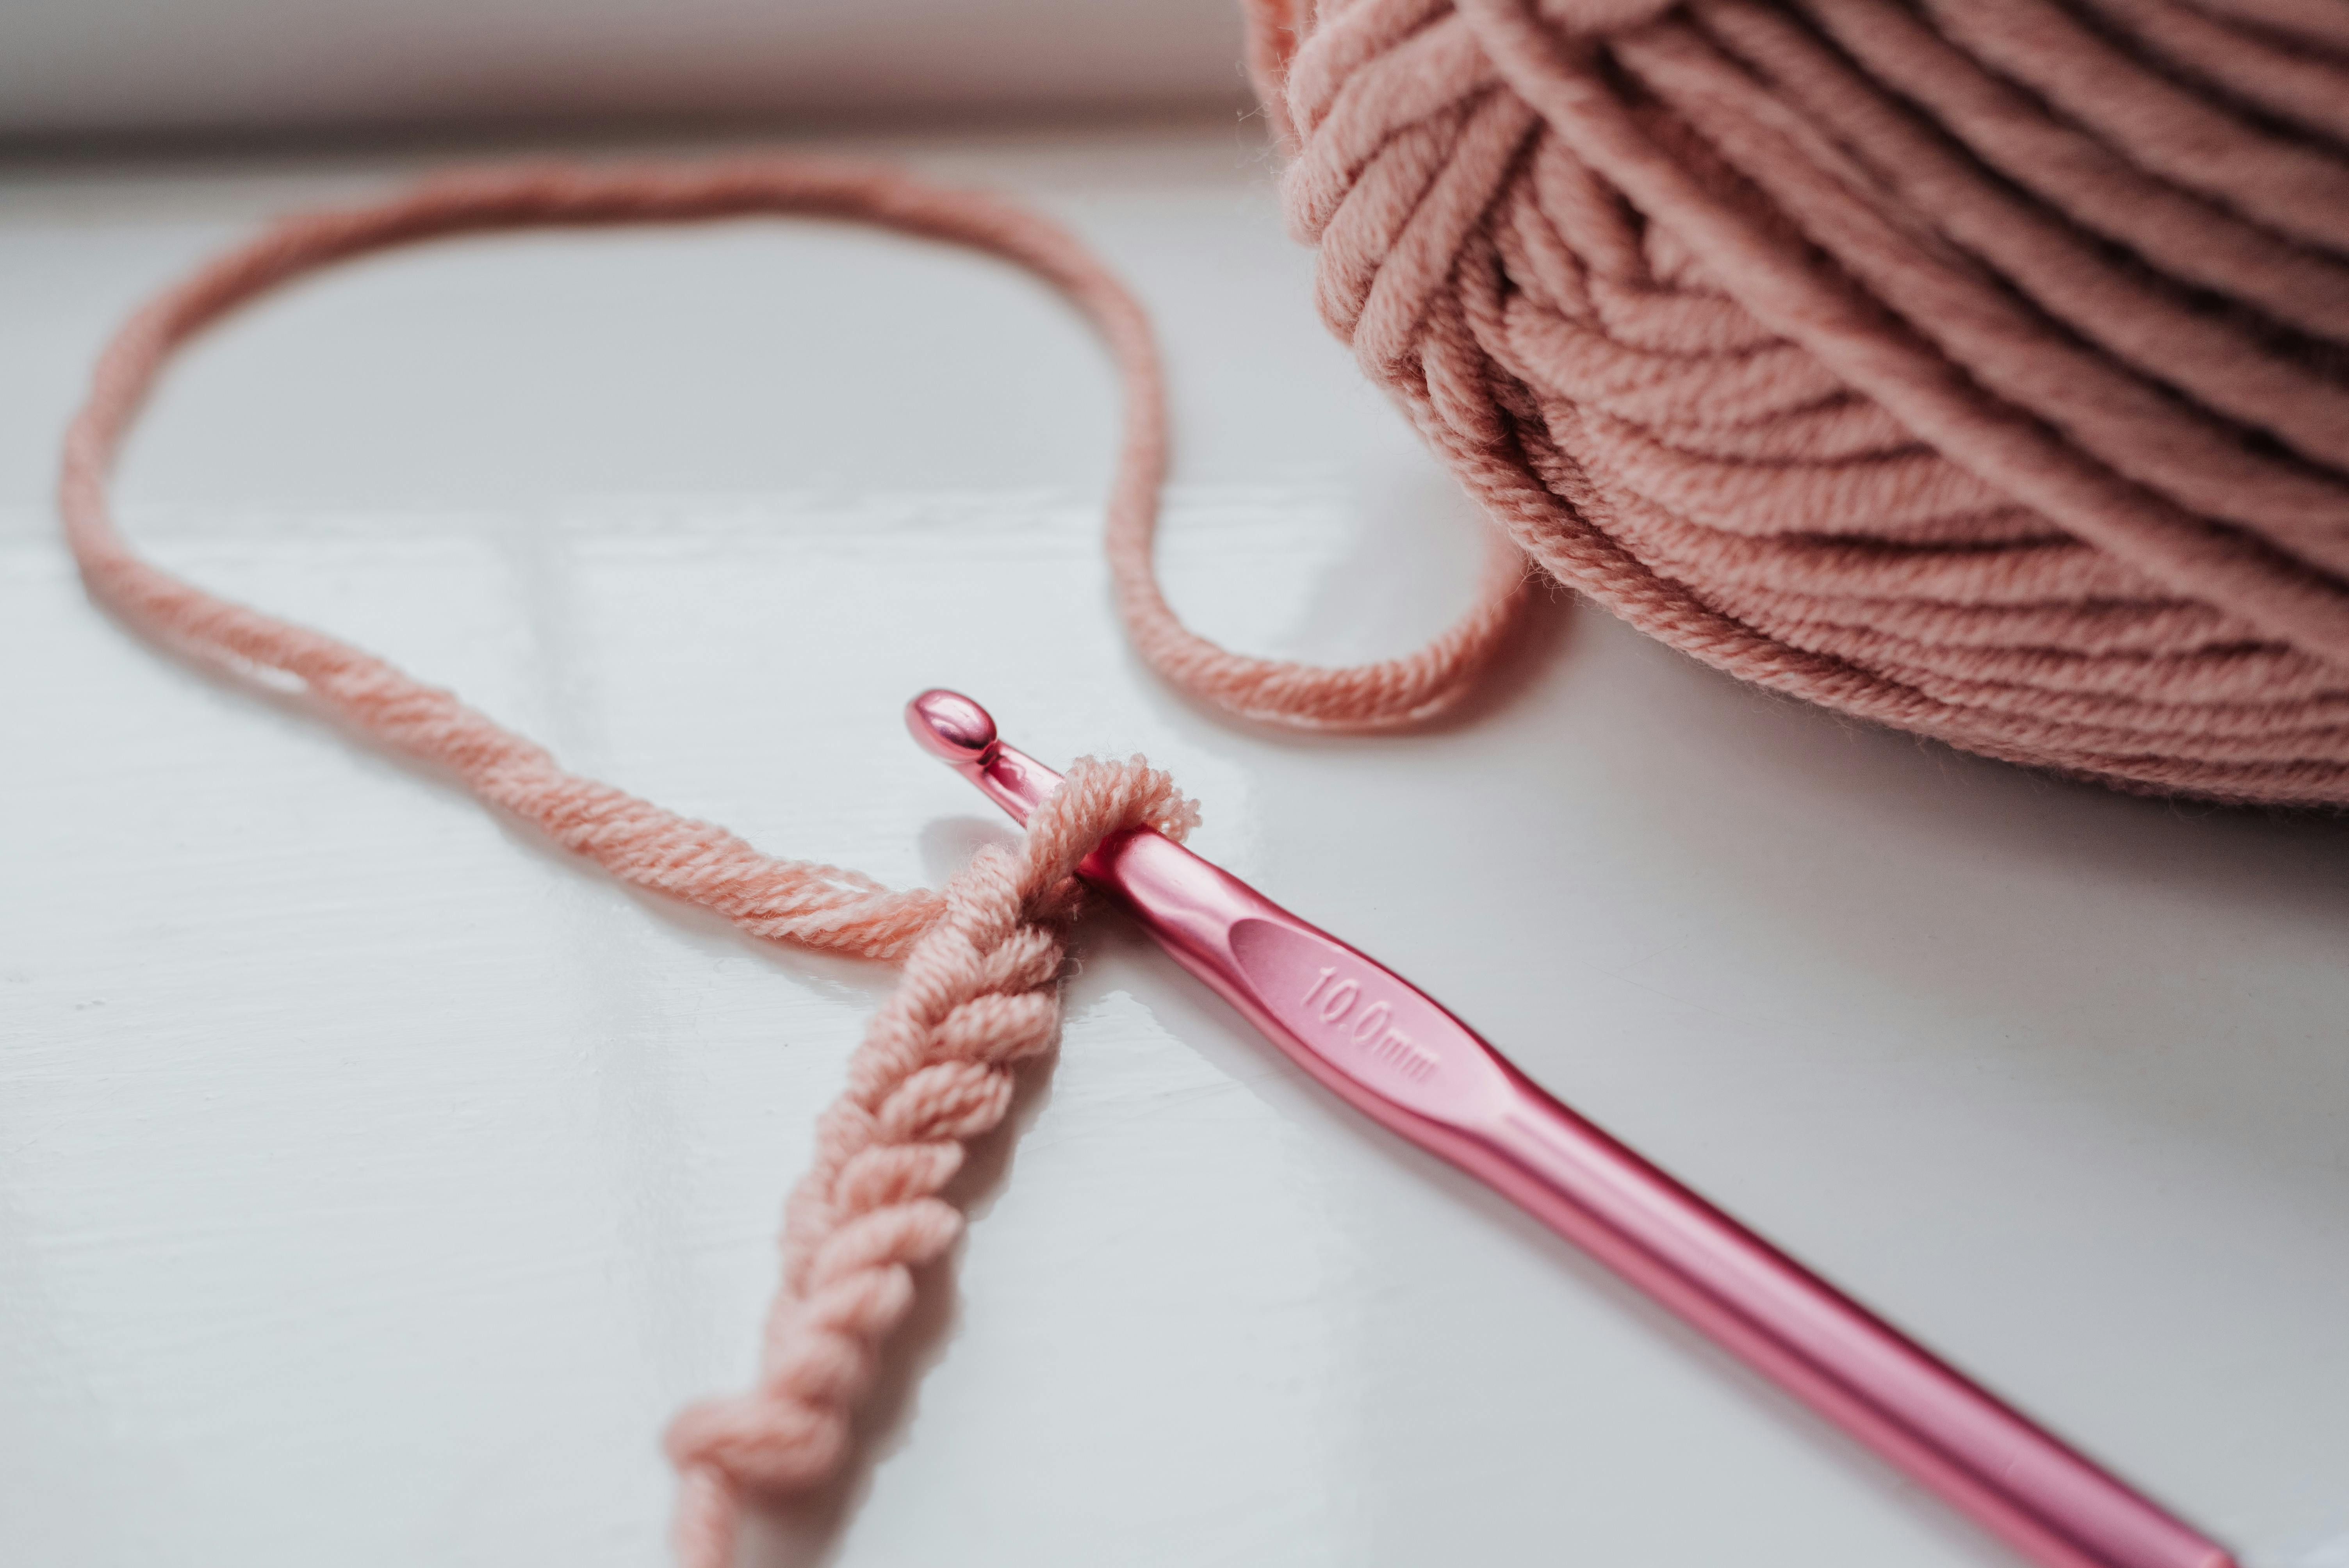
If you are looking to crochet a strawberry, you will need the following materials: yarn in red, green, and white; crochet hook size G (4 mm); tapestry needle; scissors; and stuffing.
You will also need to utilize basic crochet stitches such as chain stitch, single crochet stitch, slip stitch, and decrease. If you are new to crocheting or need a refresher on the basics of crocheting, there are plenty of online tutorials available that can help.
The red yarn is for making the strawberry itself – this is the main component of the project. The green yarn is for creating the stem and leaves. The white yarn is for stitching on the seeds – though this step can be skipped if desired.
The crochet hook size G (4 mm) will work best when making a strawberry as it provides the right balance between tightness and looseness. For stuffing material, you can use polyester fiberfill or any other stuffing material of your choice.
Finally, scissors and a tapestry needle will be needed to cut off excess thread and weave in any loose ends on your finished project respectively. With these materials in hand, you are now ready to start crocheting your own little strawberry!
Materials
To crochet a strawberry, you will need a size G (4.0 mm) crochet hook, worsted weight yarn in light pink and green, scissors, yarn needle, and stuffing. For the eyes, you will need two black beads or safety eyes.
Step-by-Step Instructions
Start by making a magic ring using the light pink yarn. Chain one and make seven single crochet stitches in the ring. Pull tightly to close the ring and chain one to start the next round. Make two single crochet stitches in each stitch of the previous round for a total of fourteen stitches. Chain one to start the third round and make one single crochet stitch in each stitch from the previous round. This should give you fourteen stitches again. Chain one to start the fourth round and make two single crochet stitches in every other stitch from the previous round for a total of twenty-one stitches.
Chain one to start the fifth round and make two single crochet stitches in each stitch from the previous round for a total of forty-two stitches. Chain one to start the sixth round and make one single crochet stitch in each stitch from the previous round for forty-two stitches again. This is when you will attach your eyes (or use safety eyes).
Chain one to start the seventh round and make two single crochet stitches in every other stitch from the previous round for sixty-three stitches total. Chain one to start eighth round and make one single crochet stitch in each stitch from the previous round for sixty-three stitches again.
Start decreasing by making two single crochets together starting with chain one at ninth row, continue this pattern until there are only six remaining stitches left on your hook at last row. Cut off your yarn leaving long tail to sew up strawberry shape with yarn needle.
Stuff your strawberry with fiberfill or stuffing and sew up opening with yarn needle using remaining tail of yarn.
Finally, using green yarn attach leaves on top of strawberry at back side with help of yarn needle.
Your strawberry is now ready!
Tip 1: Choose the Right Yarn for Your Project
When crocheting a strawberry, it is important to choose the right yarn for your project. Yarns come in different weights and blends, and picking the correct one can make all the difference when creating a successful strawberry. A lightweight cotton yarn is ideal for making a delicate, yet sturdy strawberry. It also helps to create a more realistic look than heavier yarns do. Additionally, you should avoid using thick or chunky yarns as they will make your strawberry too bulky and unnatural-looking.
Tip 2: Use a Crochet Hook that Fits Your Yarn
It is also important to use a crochet hook that fits your chosen yarn. Using too small of a hook will make it harder to work with your yarn and may result in a tightly-woven strawberry that won’t hold its shape well. On the other hand, using too large of a hook will make it difficult to get tight stitches and will result in an overly-loose strawberry that won’t keep its form. To find the best size crochet hook for your project, refer to the label on your yarn or consult with an experienced crafter.
Tip 3: Start with The Right Number of Foundation Chains
When making a crocheted strawberry, it is important to start with the right number of foundation chains. This will determine how big or small your finished product will be. For example, if you want to make a small strawberry you should start with about 15 chains whereas if you want to make a larger one you should start with 20 or more chains depending on how large you want it to be. Make sure not to chain too many as this can cause problems when working in rounds later on.
Tip 4: Work Evenly Throughout
When working up your crocheted strawberry, it is important to work evenly throughout so that each stitch looks uniform and even throughout your project. This means taking care not to pull too tightly on any one stitch or leave any gaps between them as this can lead to an unevenly shaped strawberry at the end. Also take care not to twist any stitches as this can cause an uneven look as well.
Tip 5: Use Decorative Embellishments for Extra Flair
Once you have finished crocheting your strawberry, adding decorative embellishments can give it extra flair and personality! You can use buttons for eyes or nose; ribbon for stems; sequins or beads for seeds; felt pieces for leaves; or anything else that strikes your fancy! Adding these finishing touches can really bring out the beauty of your crocheted creation and make it stand out from other projects.
What Size Yarn is Best for Making a Strawberry?
When it comes to making a strawberry out of yarn, the best size to use depends on the size and detail of the desired result. Generally, yarn sizes 4-5 are the most popular for making a realistic looking strawberry. Size 4 yarn is slightly thinner than size 5, which makes it better for smaller details such as adding seeds or veins on the strawberry. However, size 5 is more widely available and can still create a good-looking strawberry when worked with care.
When choosing yarn for a project like this, it’s important to consider how clean and neat you want the finished product to look. If you prefer a more finished look, choose a smooth yarn with even color throughout. This will create an even texture and result in cleaner edges. But if you prefer an organic look or have less experience with crochet or knitting, consider using variegated yarns that come in multiple colors or shades of red and green. This can give your strawberry a more natural look.
In addition to size and color, think about how durable you want your finished product to be. Acrylic yarns are usually more affordable than other options but they won’t last as long as wool or cotton yarns. If you plan to make multiple strawberries or give them as gifts, opt for something more durable so they’ll last longer and hold their shape better over time.
Overall, choosing the right type of yarn for making a strawberry depends on your skill level and desired outcome. Experimenting with different sizes and colors can help you get the perfect result that looks just like real fruit!
What Size Hook is Recommended for Crocheting a Strawberry?
When it comes to crocheting a strawberry, it is important to use the right hook size in order to achieve the desired shape and texture. The general recommendation for crocheting a strawberry is to use a size F (3.75 mm) crochet hook. This size will allow you to create the small, delicate details that make a strawberry look realistic. It will also help you to control the tension of your stitches so that the finished product looks neat and even. If you are using a thinner yarn, then you may want to go up one or two sizes in order to increase your tension control and stitch definition.
For those who are looking for an even more realistic strawberry, there are other options available as well. Using a smaller hook such as an E (3.5 mm) or even a D (3 mm), can help you create more intricate details and an overall smaller strawberry. However, it is important to remember that working with such small hooks can be difficult and time consuming, so it is best suited for experienced crocheters who are comfortable working with tiny hooks and threads.
No matter what size crochet hook you choose, it is important to remember that crocheting a strawberry takes patience and practice in order to achieve the desired result. With some practice, you should be able to create beautiful, realistic strawberries that look just like they were picked from the garden!
What Type of Yarn is Best Suited for Making a Crochet Strawberry?
When it comes to creating a crochet strawberry, the type of yarn used can have a big impact on how the finished product looks. Generally, acrylic yarn is the best choice for making crochet strawberries as it holds its shape well and is easy to work with. Acrylic yarn also comes in a wide variety of colors, so you can choose something that will make your strawberry look realistic.
Cotton yarn is another good option for making crochet strawberries. Cotton has a softer feel than acrylic, and it’s more absorbent so it won’t get as wet if you decide to use it outdoors. It may not hold its shape as well as acrylic yarn, but if you use the right stitches and stuff your strawberry with stuffing or polyester fiberfill, then it should be fine.
Wool is also an option for making crochet strawberries, but keep in mind that wool can be difficult to work with due to its natural elasticity. If you’re new to crocheting or don’t have much experience working with wool, then it may be best to stick with acrylic or cotton yarn. Wool does have its advantages though – it’s warm and durable and can give your finished strawberry a rustic feel.
No matter which type of yarn you choose for your crochet strawberry project, make sure to use the right hook size and tension when crocheting. Using too large of a hook size or too tight of tension can cause your stitches to become uneven or distorted, which will affect the final shape of your strawberry. Taking the time to practice before starting your project will help ensure that you get great results!
Adding Filling to Your Crocheted Strawberry
Adding filling to your crocheted strawberry can add a lot of texture and dimension to your finished piece. To begin, you will need some stuffing of your choice. Polyester fiberfill, cotton, wool, or any other type of stuffing will work. Start by taking a small amount of the stuffing and rolling it into a ball. Place the stuffing inside the crocheted strawberry and begin to fill it in with the balled up stuffing until firmly packed. You can use a crochet hook or your fingers to help push in the stuffing tightly. Once filled, gently press down on the top of the strawberry to ensure that it is fully stuffed.
Stitching Details
The last step is adding stitching details to your crocheted strawberry. This can be done with a yarn needle and thread or with embroidery floss. Take small stitches around the sides and top of the strawberry to create texture and dimension. Be sure to go slowly when stitching as you want your stitches to be even and consistent. When you are finished, tie off any loose ends or secure any knots with glue if necessary.
Adding filling and stitching details can really take your crocheted strawberries from ordinary to extraordinary! With just a few simple steps, you can create beautiful pieces that look like they were made by a professional!
Conclusion
Making crocheted strawberries is a great way to add a fun and unique element to any project. It is also a great way to practice basic crochet stitches, like the chain, single crochet, and slip stitch. With just a few supplies and some basic knowledge of crochet, you can create your own crocheted strawberry in just a few steps. The possibilities are endless for the ways you can use this cute little fruit in your projects!
Whether you’re looking for an easy way to add color and texture to your projects or just want something fun and new to make, this crochet strawberry tutorial will help you get started. So grab your supplies, get ready to have some fun, and let’s start crocheting!

