Crocheting a strawberry bag can be a fun and rewarding experience. With some basic crochet knowledge, you can create a unique bag that can be used for a variety of purposes. This tutorial will guide you through the steps necessary to make your own strawberry bag. You will need some basic crochet supplies such as yarn, a crochet hook, and scissors. Once you have the supplies on hand, it’s time to get started!In order to crochet a strawberry bag, you will need the following supplies:
– Yarn of your desired color
– Crochet hook
– Tapestry needle
– Scissors
– Stitch markers (optional)
Gather Supplies
Before beginning, make sure to gather all the necessary supplies. You will need yarn in the colors of your choice, a crochet hook that is appropriate for the yarn weight, a tapestry needle, and scissors.
Begin Base of Bag
Start by making a slip knot and chaining 6 stitches. Then, single crochet into each stitch in the chain to form a circle. Once you reach the end of the round, slip stitch into the first stitch to join it.
Increase Rounds
Continue crocheting around the circle by increasing your stitches in each round. To do this, crochet two single crochets into each stitch from the previous round. Keep increasing until your circle reaches the desired size for your bag base.
Crochet Sides of Bag
Once you have reached your desired size for your bag base, begin creating rows going up and around to form the sides of your bag. Single crochet into each stitch from the previous row until you reach desired height for your bag sides.
Create Stem and Leaves
To create the stem and leaves of your strawberry bag, start by making a chain with 4-5 stitches and then slip stitching back into itself to create a loop. From there, single crochet 7-8 stitches into each chain loop to create petals that will be used as leaves on your strawberry bag.
Once you have finished creating petals for all of your loops on both sides of the stem, fasten off your yarn and use a tapestry needle to weave in any loose ends. And there you have it! Your very own crocheted strawberry bag!
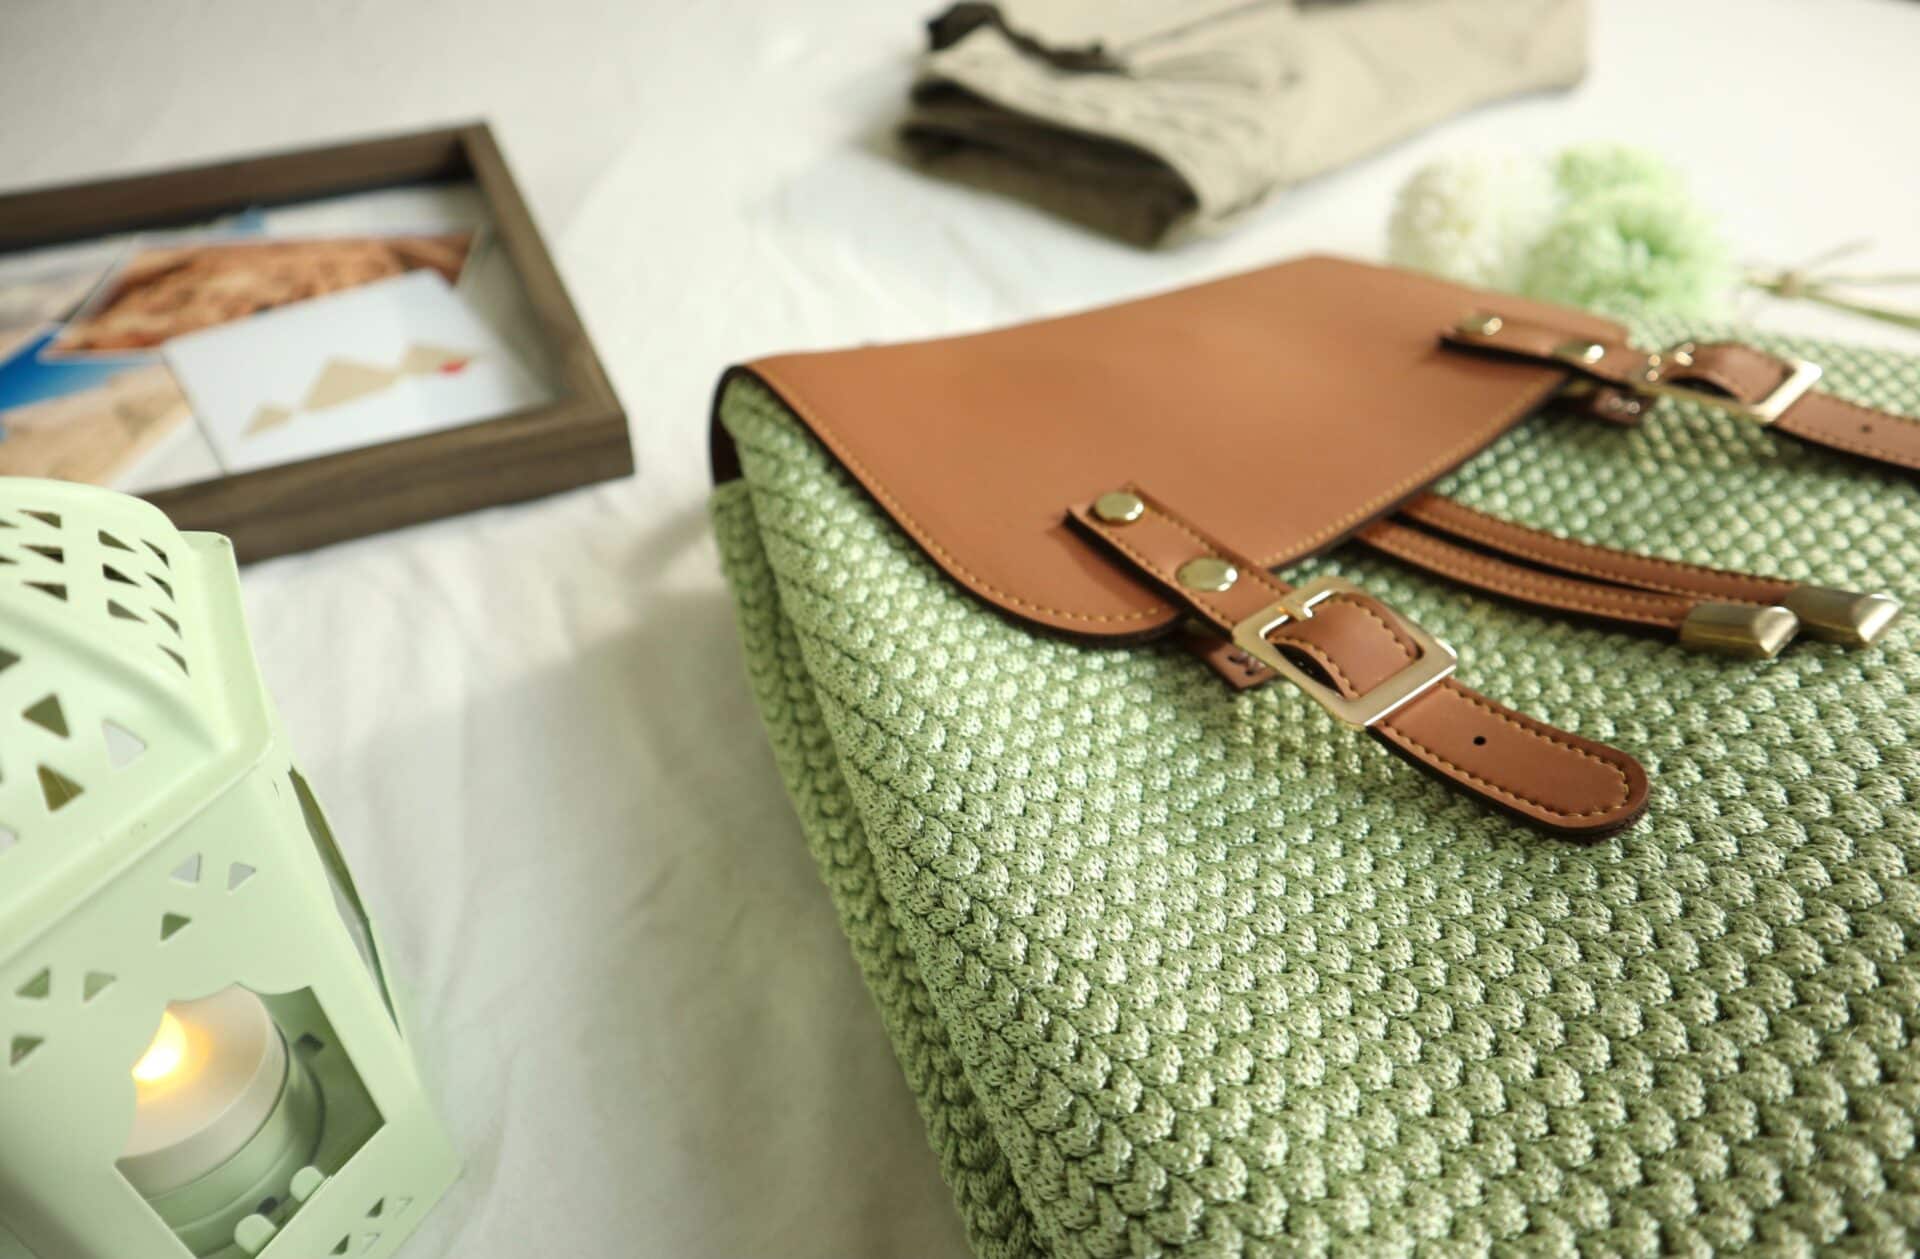
Creating The Bag’s Body
Creating a bag’s body is an important element of the sewing process. The bag’s body is the part of the bag that will contain everything inside it, so it is important that it is well-constructed and able to withstand heavy use. To create a bag’s body, you will need to gather materials such as fabric, thread, interfacing, and any other necessary materials. Once you have gathered the materials, you will need to cut out the fabric pieces according to the pattern or instructions you are using. You should always use a sharp pair of scissors when cutting fabrics to avoid fraying or uneven edges. Once your fabric pieces are cut, you can begin to assemble them using pins and a sewing machine. When sewing your bag’s body together, it is important to use strong stitches and make sure all seams are secure. Once your bag’s body is complete, you can add any details or embellishments that you would like.
Creating a bag’s body can be done by hand or with a sewing machine. Hand-sewn bags tend to be more durable and are often more intricate in design than those sewn with a machine. However, sewing machines allow for quicker production times and can help make precise stitching easier. Whichever method of construction you choose for creating your bag’s body, it is important to take your time and ensure that all seams are secure before moving on to the next step in the process.
Creating Strawberry Shapes
Strawberries are a delicious and versatile treat, and they can be used to make some very attractive shapes. Whether you’re creating a simple design for a cake or something more fancy for your next party, you can use strawberries to create some beautiful decorations. Here are some tips on how to create the strawberry shapes you desire.
The first step is to choose firm, ripe strawberries that have not been over-ripened. The best strawberries for creating shapes are typically those with an even shape and no blemishes or cracks. You’ll also need a sharp knife or scissors, as well as a cutting board.
Once you have your ingredients ready, start by cutting off the stem of each strawberry and discarding it. You can then cut the strawberry in half lengthwise using the knife or scissors. Next, cut each half into three triangular sections by making diagonal slices at the top and bottom of each strawberry half.
Now that you have your basic strawberry triangles prepared, you can begin forming them into different shapes. To make stars, place two triangles together side-by-side to form an X shape and then press down gently on the center of the X with your finger or a spoon until it forms an even star shape. For hearts, overlap two triangles so that their points meet in the middle and press down gently until it forms a heart shape.
To make other shapes such as leaves, circles, or butterflies, simply use your imagination and play around with different combinations of triangles until you find one that looks right for what you’re trying to create. Once you’re satisfied with your shape(s), arrange them on top of whatever dessert or snack item you’d like to decorate.
With these tips in mind, creating beautiful strawberry shapes should be easy! Try experimenting with different combinations of fruit slices and see what interesting designs you can come up with!
Creating Leaves
Leaves can be a great way to add beauty and life to any space. Whether it’s a living room, a garden, or even a terrace, adding leaves will bring a sense of nature and freshness to the area. There are several ways to create leaves for your space, depending on the type of look you are going for.
One way to create leaves is by using artificial greenery. Artificial greenery can come in many different forms, such as silk plants and flowers, paper garlands, and plastic trees. This type of greenery is easy to install and comes in many colors and textures so you can find something that fits your desired look. You can create an entire wall of leafy plants or just add some accents around the room with individual pieces.
Another way to create leaves is by using real plants and flowers. While this may take more effort in terms of watering and maintenance, it will give your space a much more natural look that will last longer than artificial greenery. You can buy live plants from local nurseries or even grow them yourself from seeds or cuttings. Once planted, you can let them grow freely or shape them into different patterns for a unique design element.
Finally, you can also use paintings or prints of foliage as another way to create leaves in your space. By hanging up prints or paintings on the walls, you can add visual interest without actually having any real foliage in the room. This is also a great option if you don’t have enough natural light for real plants to thrive in your space.
Creating leaves in any space is easy when you know what options are available. Whether you choose artificial greenery, live plants, or prints and paintings, adding foliage will bring life and beauty to any area!
Attaching the Leaves and Strawberries onto the Bag
Decorating a bag with leaves and strawberries can be a fun and creative way to add a special touch to any occasion. Whether you are making a gift bag, or just want to dress up your own accessories, adding these elements can make any bag stand out. Here are some simple steps to help you attach the leaves and strawberries onto your bag:
Start by cutting the leaves and strawberries out of craft paper. Make sure that they are cut in the same size and shape, so that they look neat when attached. Once they are cut out, use double-sided tape to stick them onto the bag. This will ensure that they stay in place without slipping off.
If you want to add more dimension, use glue dots instead of double-sided tape. Glue dots can be used for attaching 3D items onto surfaces, such as fabric or paper. This will give your decorations more depth and texture.
Once all of your elements are attached, use a piece of ribbon or twine to tie around the top of the bag for extra security. This will ensure that all of your decorations stay in place and don’t move around. If desired, you can also add additional accents such as beads or charms for an even more unique look.
By following these simple steps, you can easily attach leaves and strawberries onto any type of bag for a creative touch!
How To Add A Drawstring For Closure
Adding a drawstring closure to any project is an easy and effective way to make sure it stays securely closed. Whether you’re making a bag, a pouch, or a cover for something else, the drawstring method is the simplest way to make sure everything stays in place. Here’s how to add a drawstring closure to your project:
First, you’ll need two pieces of cord or ribbon that are long enough to go all around the item you’re making, and still have enough left over for tying knots at each end. You’ll also need two pieces of fabric that are cut in circles or ovals that are slightly larger than the cord you’ve chosen. Sew one piece of fabric onto each end of the item you’re making, with the right sides of the fabric facing outwards.
Next, thread one piece of cord through one side of the fabric circle and tie it off with a knot. Thread it through until you reach the other side of the circle and tie off with another knot. Repeat this step with the other piece of cord and fabric at the other end. Once both cords are threaded through both circles, pull them tight so that they fit snugly around your item.
Finally, tie a couple knots at each end to keep it from coming undone. And there you have it – a simple drawstring closure that will keep your item securely closed! With this easy technique, you’ll be able to add drawstrings closures to any kind of project in no time.
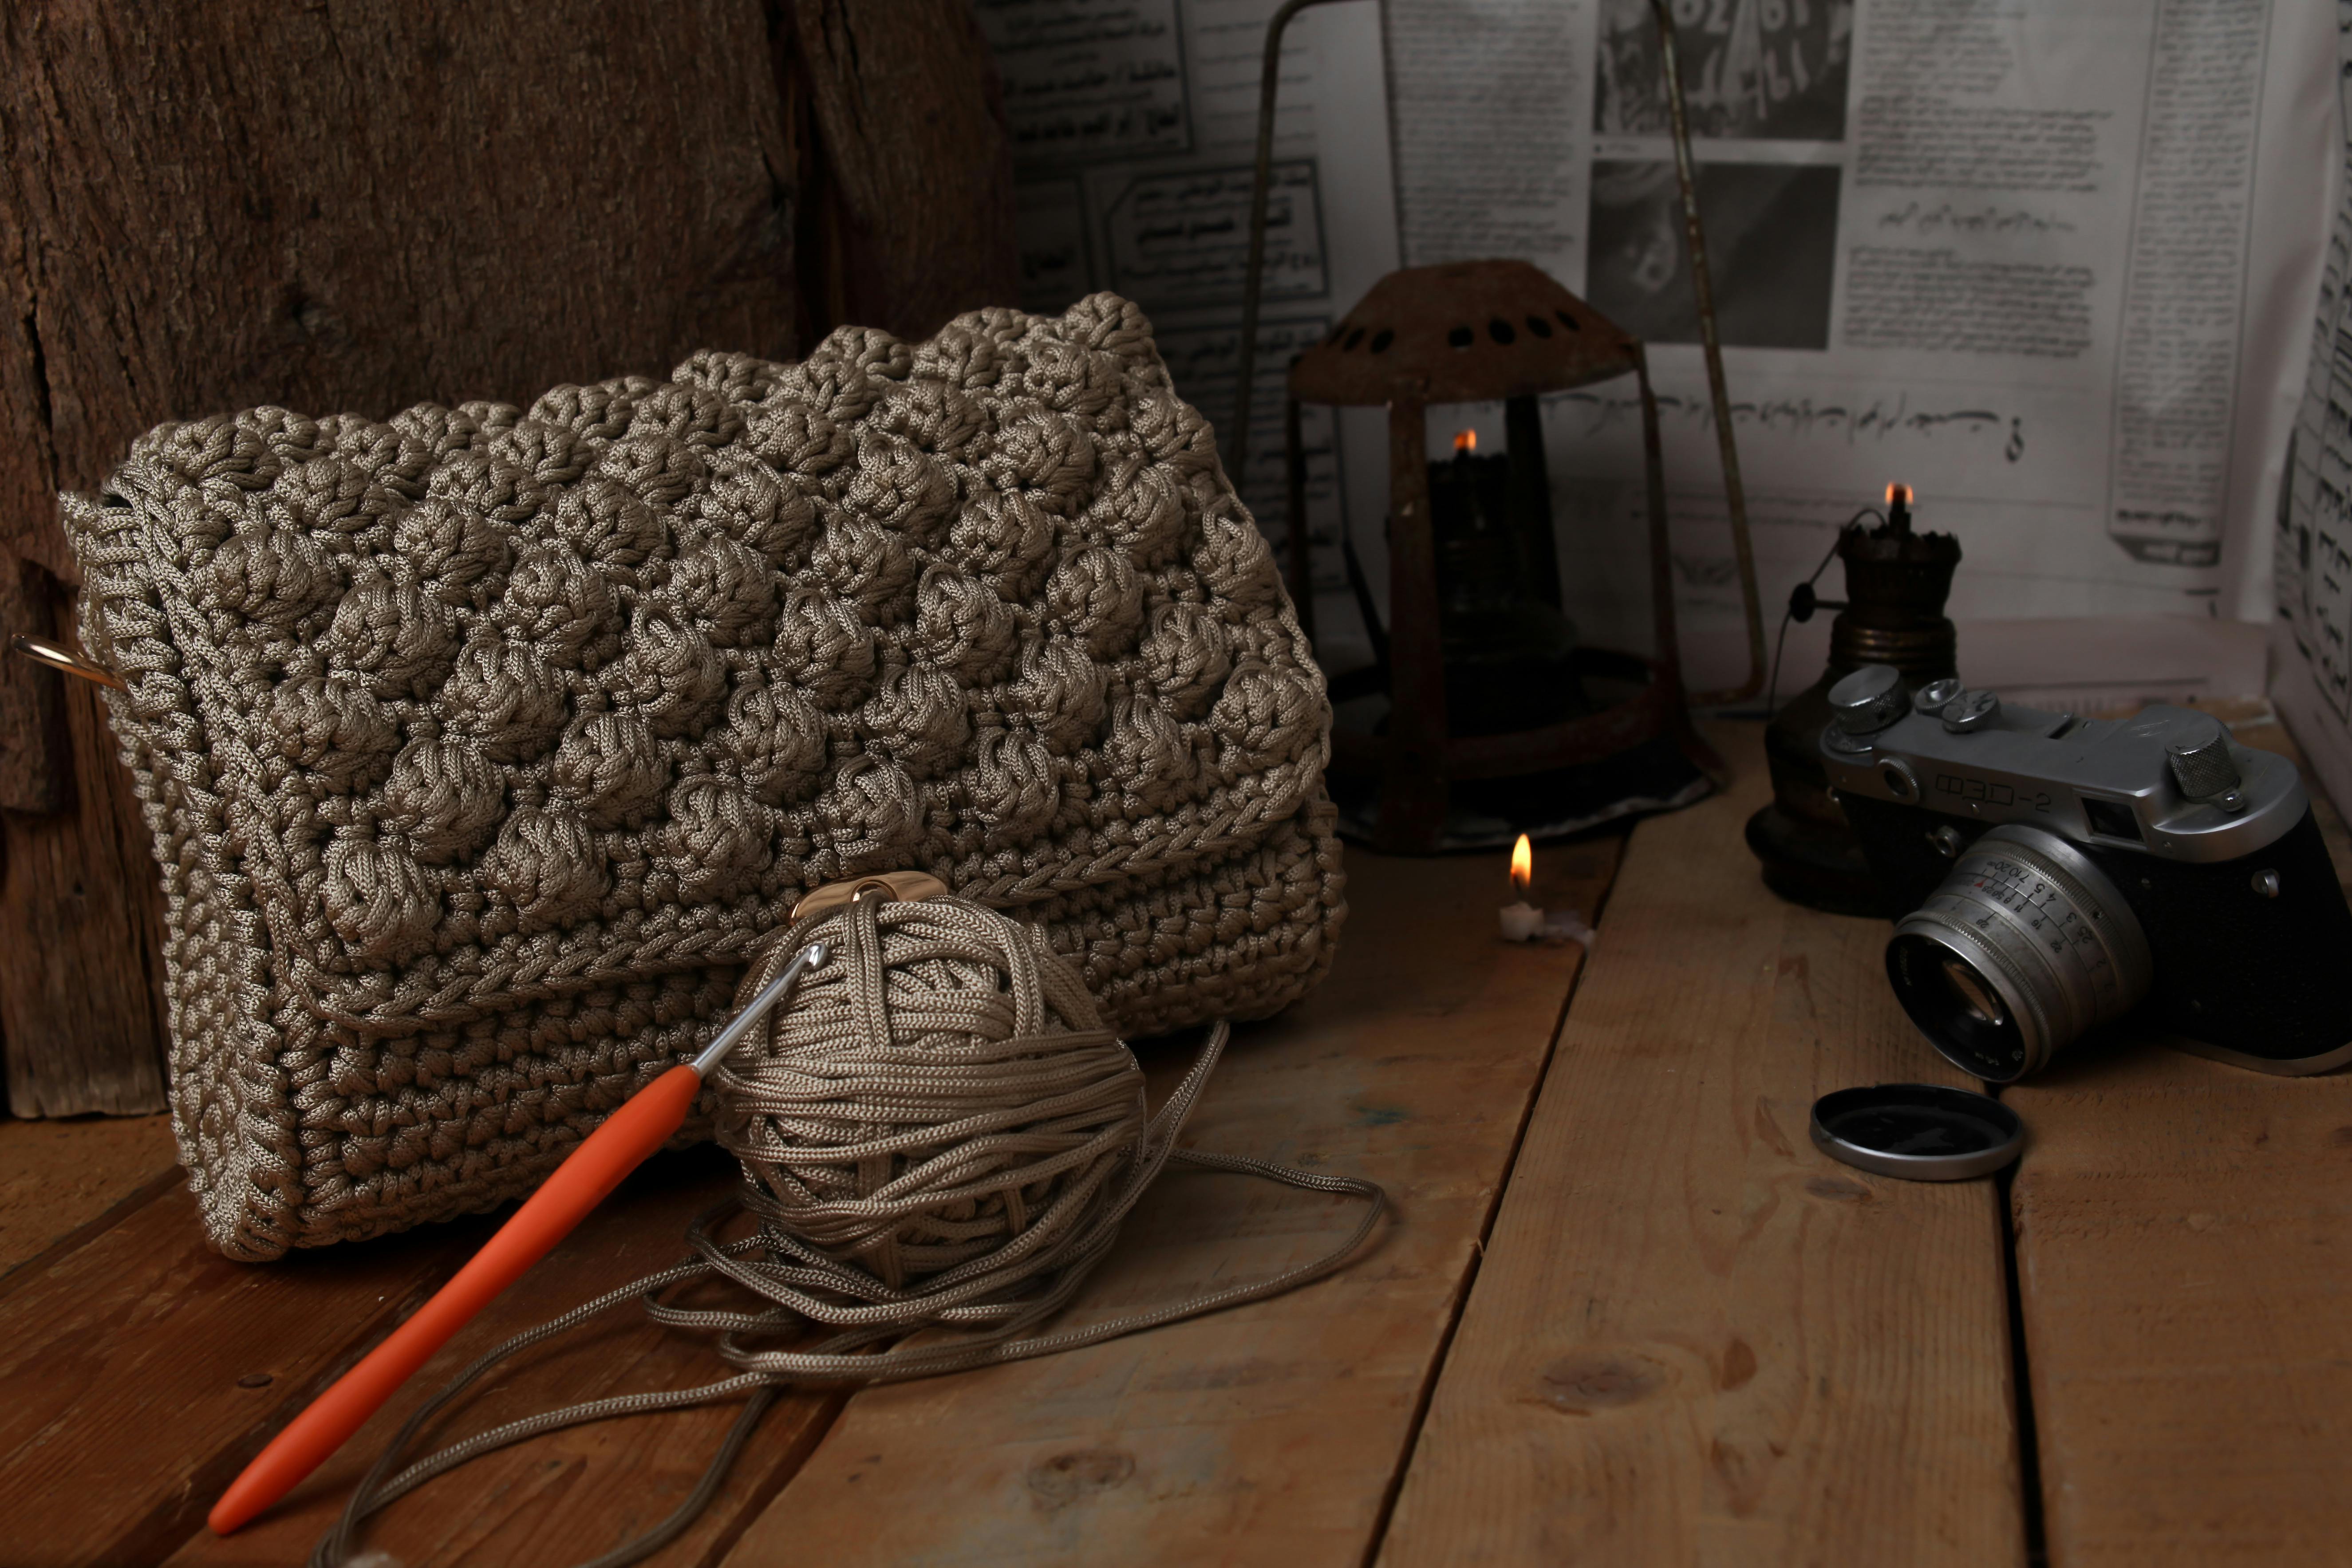
Sturdy Strawberry Bag
When it comes to storing and transporting strawberries, a sturdy strawberry bag is essential. A good quality bag will keep your strawberries safe from damage and decay during transport and storage. Here are some tips on making a sturdy strawberry bag:
Choose a durable material. Look for materials that are thick, strong, and water-resistant. Some good choices include canvas, polyester, nylon, and jute. Avoid using thin plastic bags as they can easily tear or puncture.
Choose the right size for your needs. You want a bag that is big enough to fit all of your strawberries without them being squished together. Make sure to measure the size of your produce before purchasing the bag so you get the right size for your needs.
Use double stitching for added strength. Make sure to use reinforced stitching on all seams so that the bag can handle heavy loads without tearing or fraying. This will help ensure that your strawberries stay safe and secure during transit or storage.
Include handles or straps for easy carrying. Handles or straps will make it easier to carry the bag around when you need to transport it from one place to another. Look for bags with padded handles or straps so they are comfortable on your hands while carrying them around.
Choose bags with zippered closures for added security. Zippers will help keep out pests like bugs and rodents while keeping your strawberries secure inside the bag during transit or storage. Be sure to choose high-quality zippers that won’t break easily over time.

Conclusion
Crocheting a strawberry bag is a fun and simple project that anyone can do. The supplies are minimal, and the pattern is easy to follow. The bag has endless possibilities for customization, allowing you to make it your own. Not only does it look great, but it’s also an environmentally friendly alternative to plastic bags. With its unique shape and bright colors, this bag will be sure to bring a smile to anyone who carries it.
Whether you’re a beginner or an experienced crocheter, this project is perfect for all skill levels. And with a little bit of time and patience, you can create a beautiful strawberry bag that’s sure to become one of your favorite accessories!

