

Crocheting a strawberry is a great way to make an adorable and unique decoration! Whether you want to add a bit of character to your home decor or create a perfect gift for a loved one, crocheting a strawberry is the perfect project. With just some basic crochet skills and supplies, you will have your own strawberry in no time. In this guide, we’ll show you how to crochet your own strawberry step-by-step.To crochet a strawberry, you will need the following materials:
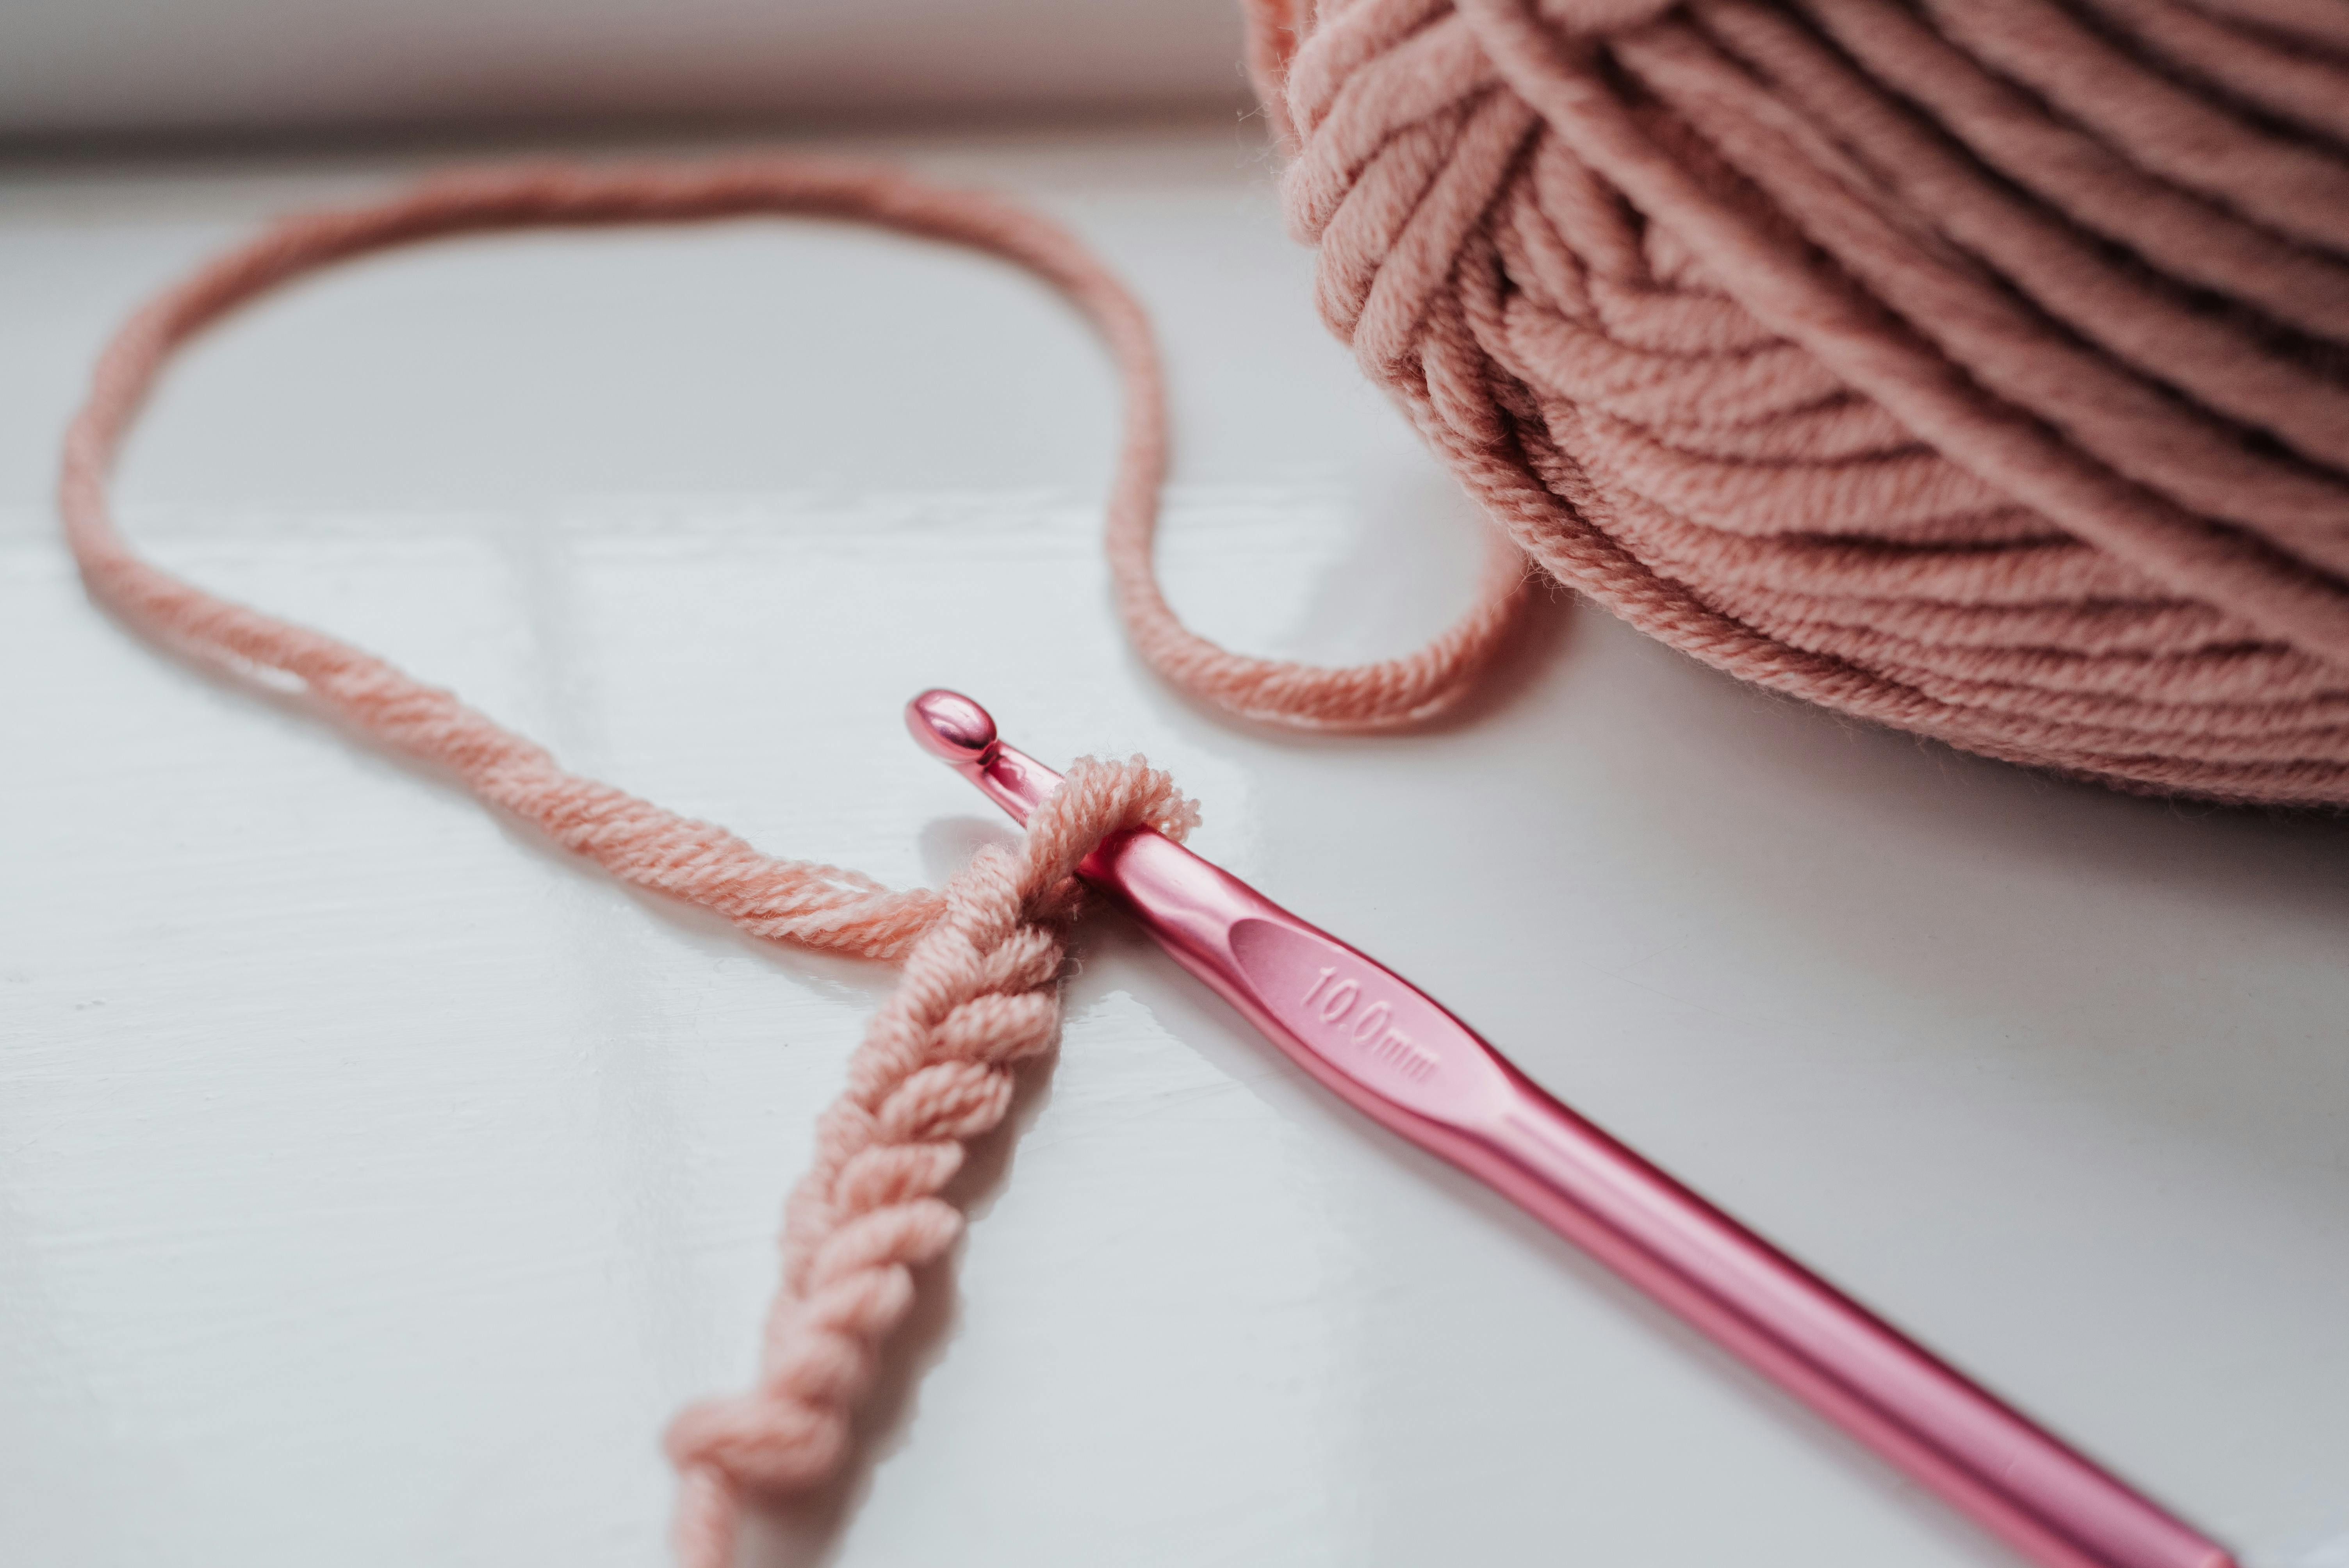
• Crochet hook (size G/4mm is ideal)
• Worsted weight yarn in red, white, and green
• Tapestry needle
• Stuffing or poly-fil
• Stitch markers (optional)
How to Crochet the Base of the Strawberry
Crocheting the base of a strawberry is a great way to create a unique decoration or toy. It can be used for various projects such as baby blankets, wall hangings, pillows, and more. The process of crocheting the base is relatively simple and requires only basic crochet stitches. With some practice, anyone can learn how to crochet the base of a strawberry.
To begin crocheting the base of a strawberry, you will need to gather your supplies. This includes yarn in any color you choose, a crochet hook that corresponds with the size of your yarn, and scissors. Once you have all your supplies ready to go, it is time to start crocheting.
The first step in crocheting the base of a strawberry is to make a magic ring. To do this, you will wrap your yarn around two fingers twice and bring it back up through its center hole. Now grab your crochet hook and pull it through the loop at the top of your magic ring. Then make four single crochet stitches into this loop before pulling it closed with another chain stitch. You should now have five stitches on your hook.
Next, chain two more stitches and then make two double crochet stitches into each stitch from round one for eight total double crochet stitches in total. As you continue with this pattern, keep track of how many rows you have created so that you can make sure they are even when finished with all rounds. Once you have completed all rounds and all rows are even, fasten off by pulling up on the last loop and cutting off excess yarn with scissors.
Your finished product should look like an oval shape that is slightly pointed at both ends – this will be the base of your strawberry! To add some texture to this project, consider adding some extra chains or different types of stitches into each round as desired for added visual interest. Now that you know how to crochet the base of a strawberry, get creative and start making yours today!
How to Crochet the Leaves of the Strawberry
Crocheting the leaves of a strawberry is a great way to add a unique touch to any project. The leaf of the strawberry is made up of five petals, which can be crocheted in several different ways. The most common way to crochet the leaves is by using single crochet stitches. This method creates a dense and sturdy fabric, which makes it perfect for creating decorative items like coasters or amigurumi.
To begin crocheting the leaves, start by making a slip knot on your hook. Then, chain six stitches and join them together with a slip stitch into a circle. From here you can begin single crocheting around the circle, increasing your stitch count with each round until you have five petals in total. Once you reach this point, you can start decreasing until you have only four stitches left in your round.
After that, continue to work in rounds until you have reached your desired size for the leaf. You can also add some texture to your leaf by adding short rows or post stitches along the center spine of each petal. Finally, finish off with a slip stitch and weave in all your ends! With these steps, you will have created a beautiful crocheted strawberry leaf that is perfect for any project!
How to Crochet the Top of the Strawberry
Crocheting the top of a strawberry is easy and fun! Start by chaining three stitches. This will form the foundation of your project. Then work a single crochet into each stitch, forming a ring. From here, crochet four more chains, then slip stitch into the first chain. This will create a second ring around the first one.
Next, make two half double crochets into each chain stitch from the first round. This will give you eight stitches in total. Then make three chains and slip stitch back into the first chain from this round. This will create another ring around the previous ones.
The last step is to make two single crochets in each of the eight stitches from the second round. This will give you sixteen stitches in total and finish off your strawberry top! Now all that’s left is to fasten off and weave in any loose ends. And that’s how you crochet a strawberry top!
How to Add Color and Texture for a Realistic Look
Adding color and texture to a painting can make a huge difference in its overall look. The right combination of colors and textures can create an atmosphere that is both realistic and visually appealing. Here are some tips on how to add color and texture for a realistic look:
One of the best ways to add color and texture to your painting is by using different types of paint. Different types of paint will provide different effects when applied, so experiment with different types of paint to find the one that works best for your painting. For example, acrylic paints have a thick, glossy finish while watercolor paints have a more subtle finish.
Another great way to add color and texture is by using various techniques such as glazing or blending. Glazing involves applying thin layers of paint over each other in order to create a soft, blended look. Blending involves mixing two or more colors together in order to create an interesting effect. Both techniques can be used together or separately in order to achieve the desired effect on your painting.
Using various types of materials can also add texture and color to your painting. For example, adding sand or gravel can give your painting an interesting textured look, while adding fabric or lace can give it a unique feeling of depth and dimension. Using other materials like metal or wood can also help you create an interesting visual effect on your painting.
Finally, it’s important to remember that every type of paint has its own unique characteristics and properties, so it’s important to experiment with different types before settling on just one type for your painting. Taking the time to explore all the options available will help you create a masterpiece that has both color and texture!
How to Join All Pieces Together
Joining all the pieces together can be a difficult task for those who are unfamiliar with the process. However, with some time and patience, anyone can learn to join multiple pieces of material together. The first step is to make sure that all the pieces are cut to the correct size and shape. This is important as it will ensure that the finished product is even and symmetrical. The next step is to use a suitable adhesive or glue for joining each piece together. Depending on the type of material being joined, different types of glue may be required.
Once all the pieces have been glued together, they should be placed in a clamp or vice so that they stay in place while drying. If necessary, clamps can be used to hold two pieces together before gluing them together as well. After allowing enough time for the glue to dry, it is important to check that each joint is secure and that no gaps have been left between the two pieces.
The final step is to sand down any rough edges or uneven surfaces on the joined pieces. This will help create a more professional finish and also ensure that there are no sharp edges which could cause injury when handling the joined object. Finally, if desired, any additional features such as painting or staining can be added once all of the pieces have been securely joined together.
In conclusion, joining multiple pieces of material together requires patience and careful consideration but with practice it can become an easy task for anyone who wants to create a project from scratch or repair an existing one. Knowing which type of adhesive and tools work best for any particular project will help save time and effort in ensuring that everything fits correctly into place when joining multiple pieces together.
Select the Right Strawberries
When selecting strawberries, it is important to choose those that are firm, plump and bright in color. Avoid those that are soft, moldy, wet or have brown spots. It is also important to select strawberries of a similar size so that they cook evenly.
Clean and Hull the Strawberries
Once you have selected the desired strawberries, it is important to clean them properly. Gently wash the strawberries in cool water and then pat them dry. After washing, you must hull the strawberries by using a paring knife to remove their stems and green leaves.
Cut the Strawberries Evenly
Now that your strawberries are washed and hulled, it is time to cut them into even slices or wedges. Slice the strawberry in half from top to bottom or into thin slices for a more uniform look. You can also cut them into wedges for a decorative effect.
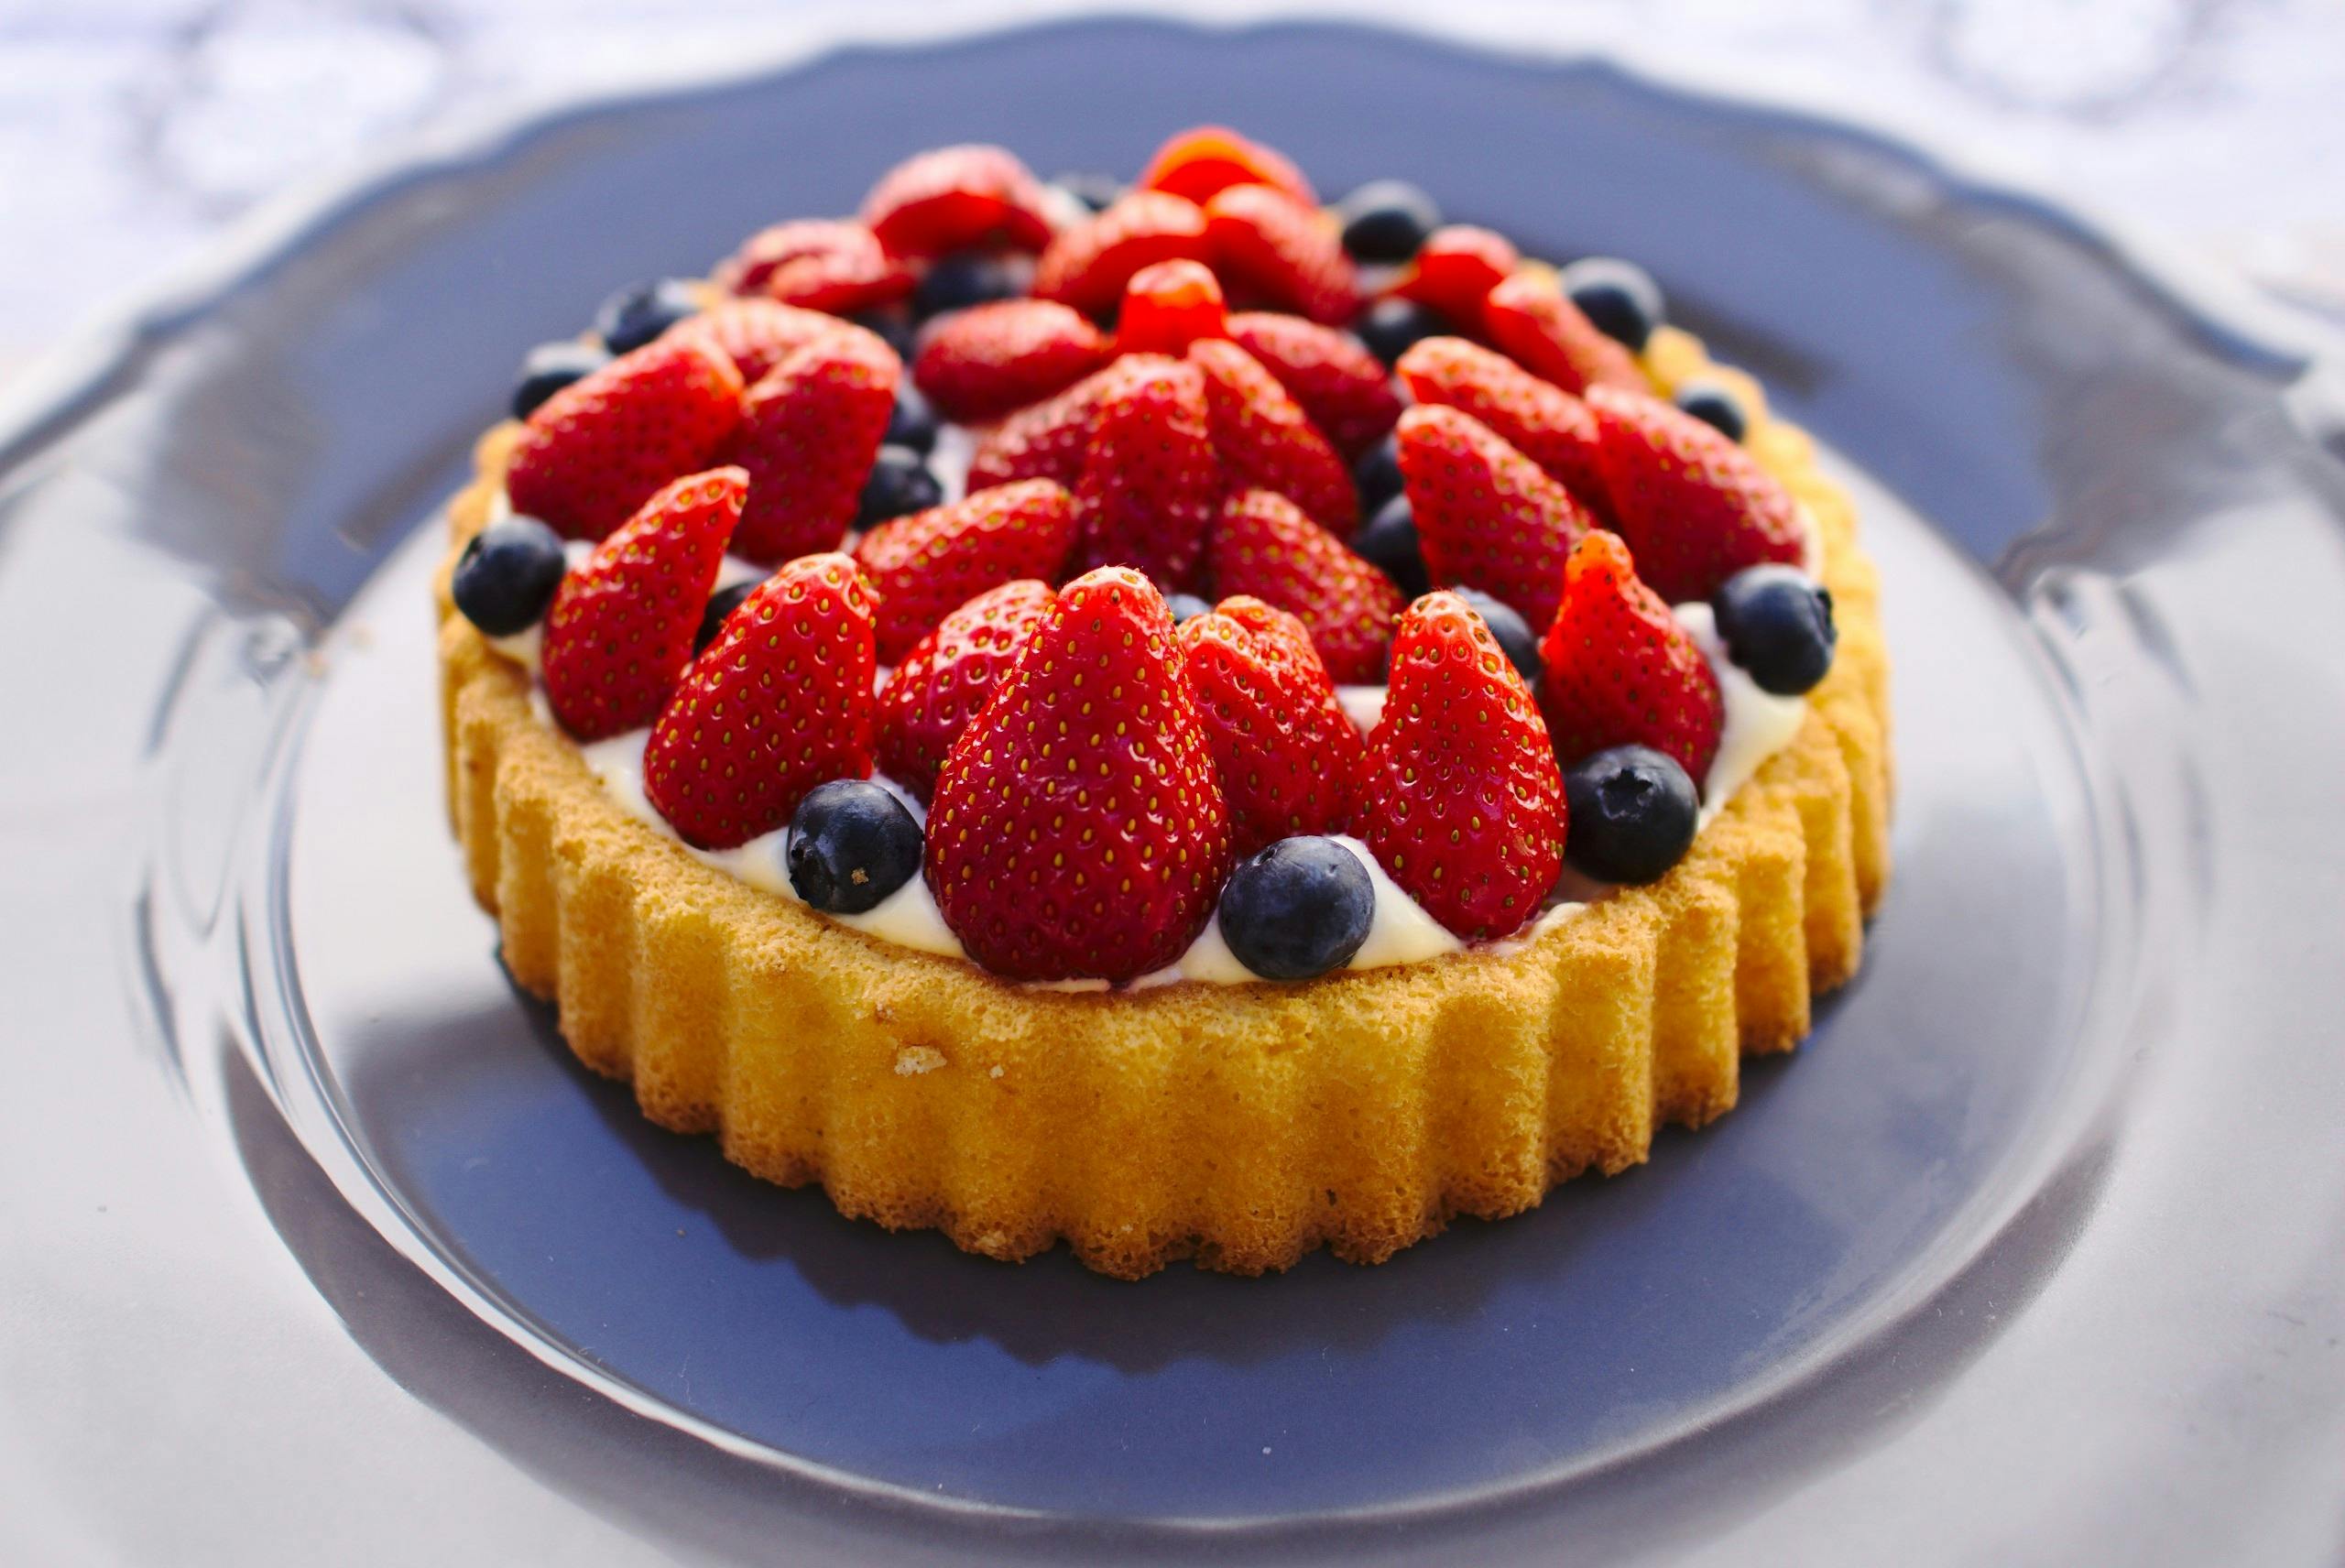
Arrange the Strawberries Artistically
Once you have cut your strawberries into even pieces, you can start arranging them artfully on your serving dish. Place a few of the larger pieces in the center and then arrange smaller slices around them in a circular pattern for a beautiful presentation.
Garnish with Fresh Herbs or Powdered Sugar
For an added touch of flavor and texture, consider garnishing your platter of strawberry slices with fresh herbs such as mint or basil leaves or with a light dusting of powdered sugar. These garnishes will add an extra layer of flavor that will make your presentation even more attractive and delicious!
What Is This Technique?
This technique is a method of creating content that is engaging, informative, and well-written. It involves using keywords and phrases to provide structure and flow to the text. The goal is to create content that is interesting and easy to read, while also providing relevant information. This technique can be used for both short-form and long-form content, such as blog posts, articles, website copy, and more.
How Can You Use This Technique?
This technique can be used in many different ways. It can help writers create content that is both informative and entertaining. For example, using keywords and phrases can help writers focus their writing on certain topics or themes. Additionally, this technique can help writers create content that is easily understood by readers. Finally, this technique can be used to ensure that content contains accurate information that readers will find helpful or useful.
What Are the Benefits of Using This Technique?
Using this technique can bring several benefits to any written content. First, it helps writers create content that is more organized and easier for readers to understand. Second, it helps the writer ensure that all relevant information is included in the text without sacrificing readability or accuracy. Finally, this technique helps writers craft content that stands out from other pieces of writing by using keywords and phrases strategically throughout the text.
What Else Can You Do with This Technique?
This technique can be used in a variety of other ways as well. For example, it can help writers create SEO-friendly content by using relevant keywords throughout the text. Additionally, this technique can be used to make sure all facts are accurate before publishing any written work online or in print form. Finally, this method of writing can help any writer craft engaging headlines for their work that will capture readers’ attention quickly and efficiently.
Conclusion
Making a crochet strawberry is a great way to show off your handiwork. It’s a simple and easy pattern that can be done in no time. The colorful yarn and the vibrant red of the strawberry make it look very eye-catching. The finished product can be used for many things, from decorating your home to making a gift for someone special. With a few supplies, some basic knowledge of crochet stitches, and some patience, anyone can make their own crochet strawberry.
Crocheting a strawberry is an enjoyable experience that’s sure to bring satisfaction when the project is completed. It’s an easy way to add color and texture to any room or project. All you need is a few supplies, some basic knowledge of crochet stitches, and the eagerness to create something beautiful. Go ahead and give it a try!

