
Strawberry preserves are a delicious and versatile way to enjoy strawberries all year round. With a few simple steps, you can easily turn fresh or frozen strawberries into a sweet, flavorful spread that can be used in all sorts of recipes or enjoyed on its own. In this guide, we’ll walk you through the process of making your own strawberry preserves from start to finish.To can strawberry preserves, begin by gathering fresh strawberries, sugar, and a lemon. Wash and hull the strawberries, then cut them into small pieces. Place the cut strawberries into a large pot and add two cups of sugar and the juice from one lemon. Cook the mixture over medium heat, stirring occasionally, until it comes to a boil. Boil for five minutes, then remove from heat.
While the strawberry mixture is cooling, prepare the jars that you will be using to can your preserves by washing them with hot soapy water and sterilizing them in boiling water. Also prepare your lids by warming them in hot water. Once everything is ready, ladle your preserves into the jars leaving about ½ inch headspace at the top of each jar. Wipe off any excess preserve from around the rim of each jar with a damp cloth. Place lids on each jar and tighten the rings around them until they are finger-tightened.
Place your filled jars in a canner filled with enough water to cover them by at least one inch. Bring the canner to a boil over high heat and process for 10 minutes. Carefully remove jars from canner with jar lifters onto a towel or cooling rack and allow to cool completely before storing away or giving as gifts!
Gather the Necessary Supplies
Gathering the necessary supplies for a project is an important step in ensuring that you have everything you need to complete it successfully. Knowing what supplies you will need ahead of time can save you a lot of time and effort during the project. To ensure success, it is important to make sure that all of the required materials are on hand before beginning your task.
Start by making a list of all of the supplies that are necessary for your project. This should include both large and small items, such as tools, materials, and any other items needed to complete your task. Once you have completed your list, take the time to check that all of the necessary items are available and in good condition. If any items need to be purchased or replaced, make sure to do so before beginning your project.
Once all of the necessary supplies are gathered together, organize them in a way that makes them easy to find during the project. It can be helpful to label each item with its purpose or location so that they remain organized and easy to locate when needed. Additionally, make sure to set aside any extra supplies for unexpected needs or in case something goes wrong during the project.
Gathering all of the necessary supplies before beginning a project is essential for successful completion. Taking time to make a list of supplies needed, checking availability and condition, and organizing them once they are collected will help ensure that everything runs smoothly when working on any task or project.
Preparing the Strawberries
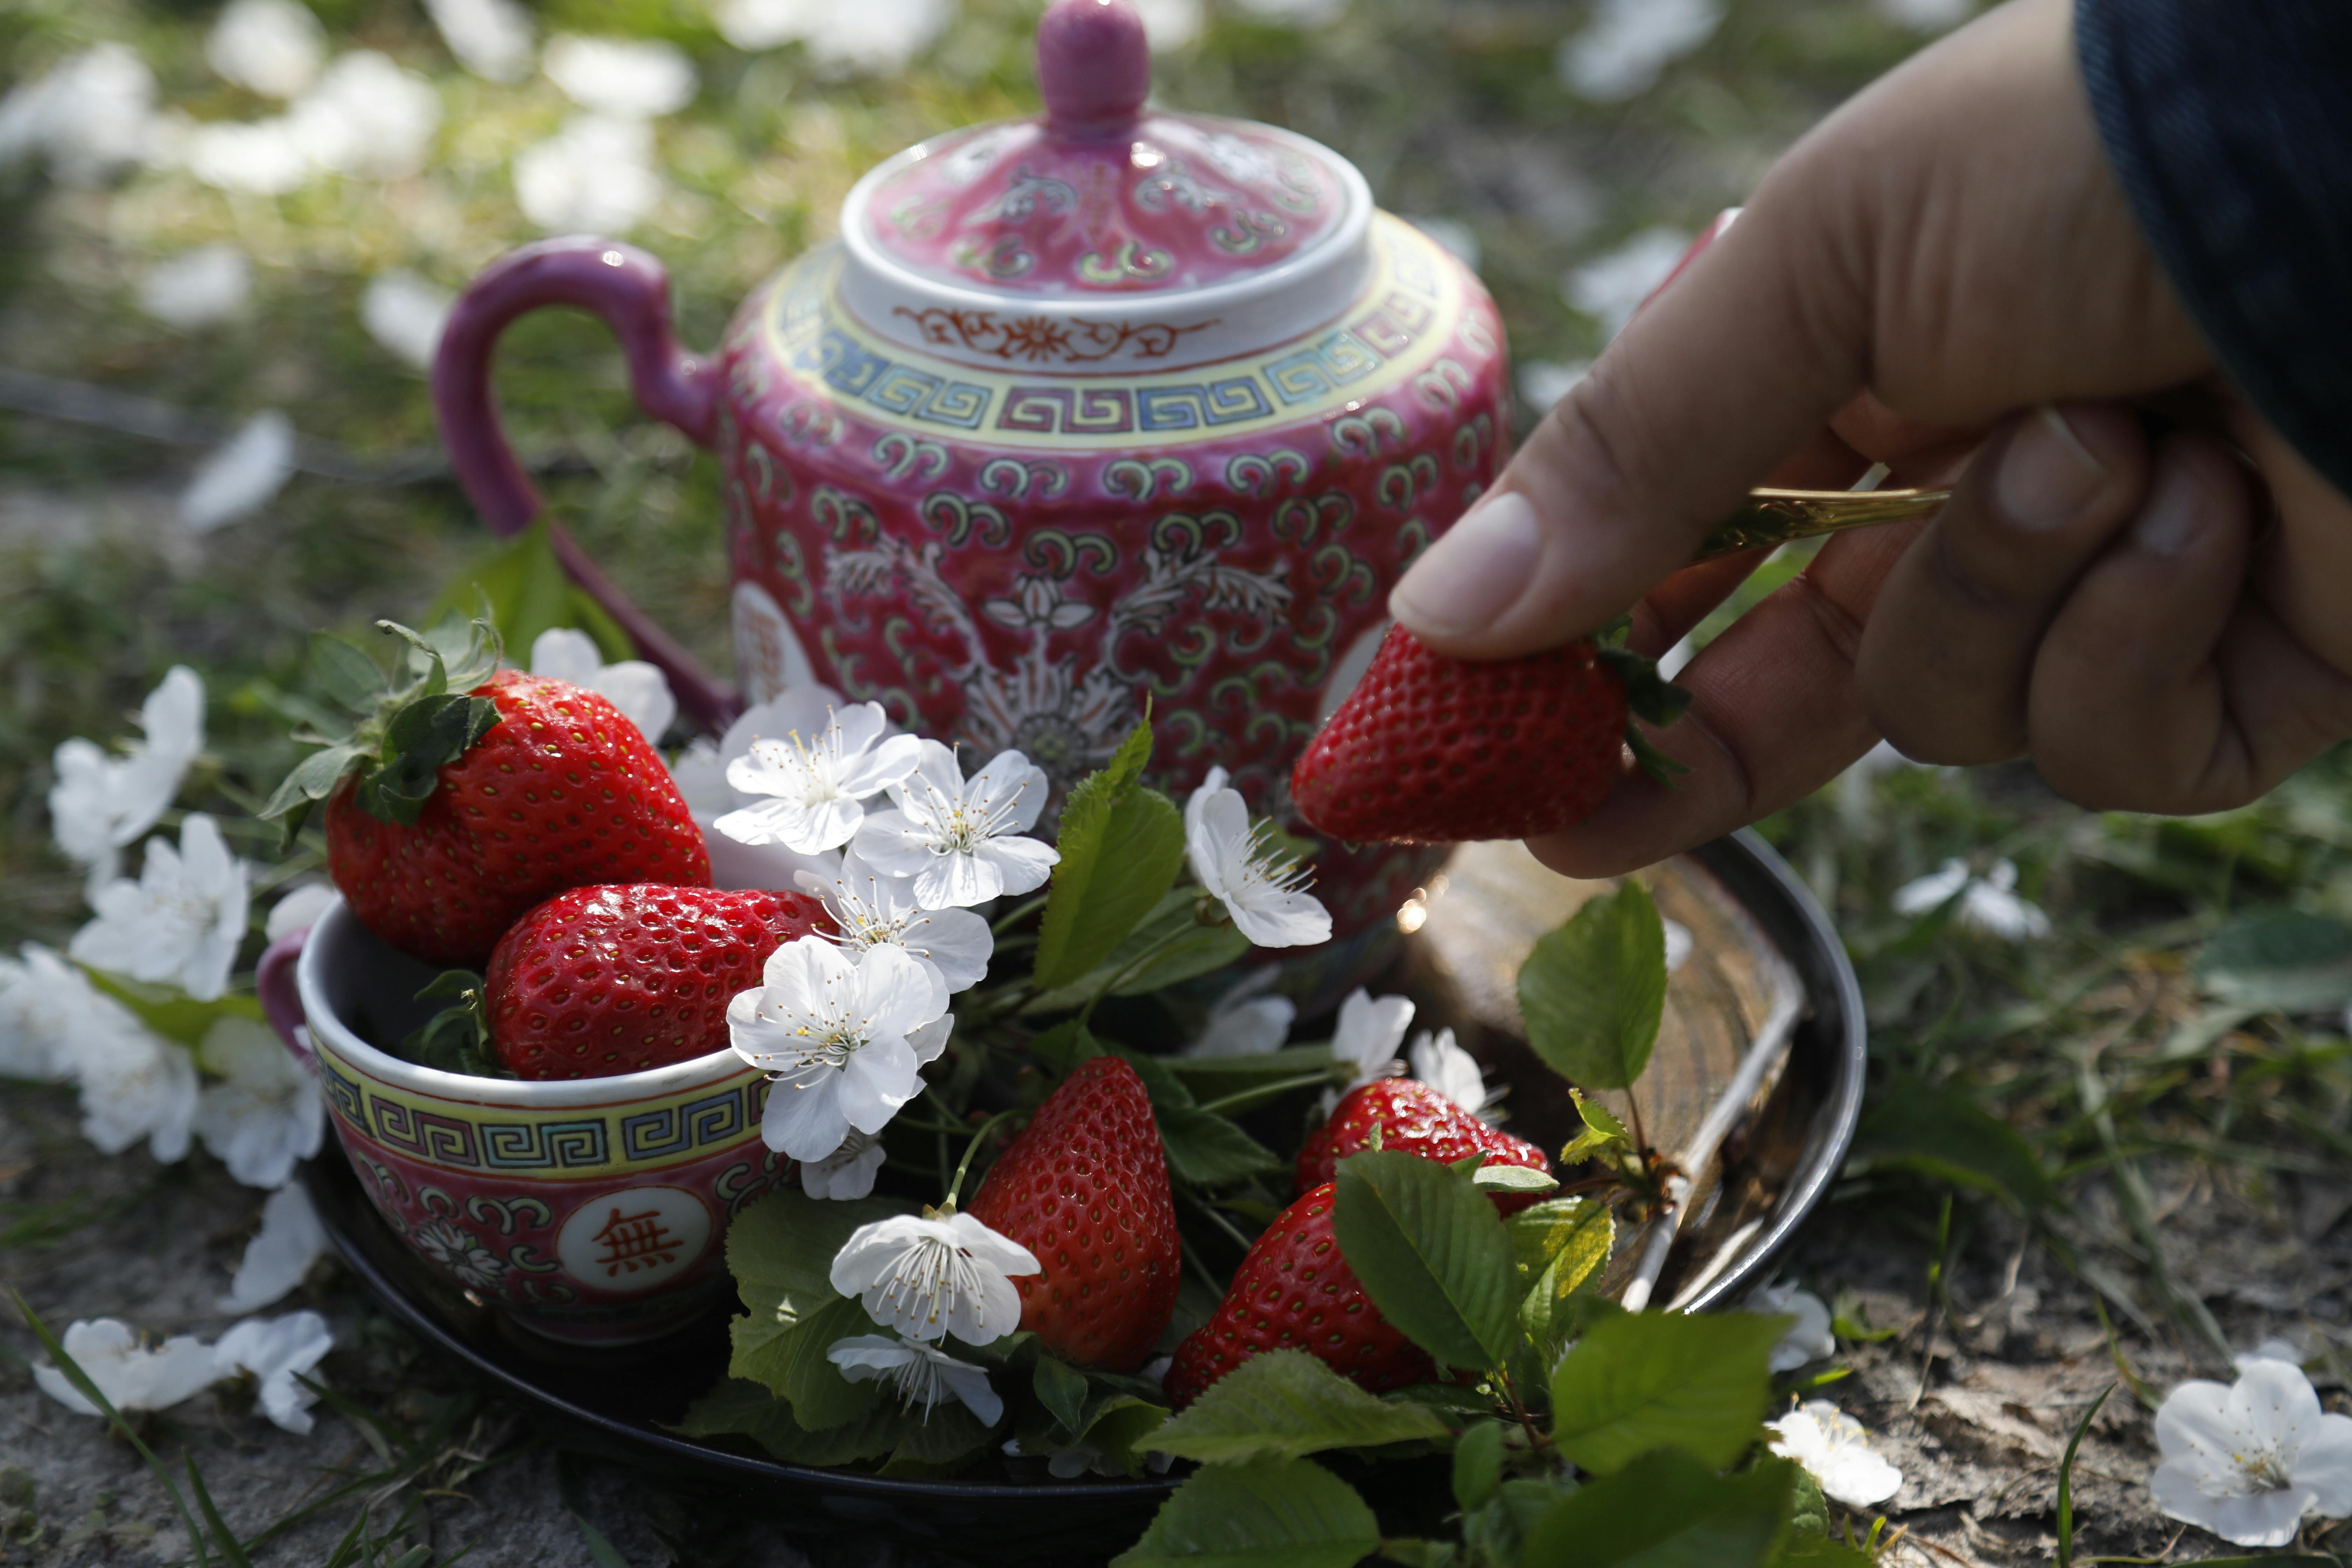
Preparing strawberries for a recipe is a simple process and doesn’t take too much time. First, you’ll need to wash your strawberries. Make sure to rinse them thoroughly in cold water to get rid of any dirt or residue that may have accumulated on them. After rinsing, you’ll need to pat them dry with paper towels or a clean kitchen towel. You don’t want any excess water left on the berries before you start preparing them.
Once the strawberries are dry, you can begin removing their green tops. Use a paring knife or strawberry huller to carefully remove the green tops of each strawberry, taking care not to puncture the flesh of the fruit. Once they are all trimmed, you can slice them into desired sizes for your recipe. Whether you’re making jam, pies or just snacking on them, sliced strawberries are easy to work with and look great in almost any dish!
Boiling the Ingredients
Boiling is a great way to cook and prepare ingredients for a variety of dishes. Boiling helps to soften tough ingredients, such as vegetables, and helps to release flavor from spices and herbs. Boiling also helps to break down starches, creating a more savory and flavorful dish. To boil ingredients, first bring a pot of water to a rolling boil over high heat. Once boiling, add the desired ingredients and reduce the heat slightly so that the water continues to boil at a moderate rate. Depending on the ingredient being boiled, the cooking time will vary. For example, potatoes take about 20 minutes to cook while carrots take about 10 minutes. Once cooked through, remove from heat and strain off any excess liquid before adding them to your dish. Boiling is an easy and efficient way to prepare your food for many recipes!
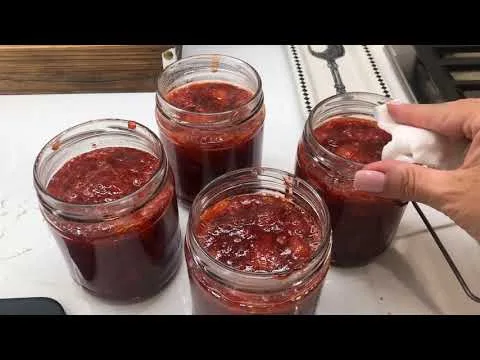
Filling the Jars with Preserves
Preserves are a great way to store fruits and vegetables for the long-term. They can be used in a variety of recipes, from pies to jams and jellies. Filling jars with preserves is a simple yet rewarding task that will help you create delicious treats for months to come.
The first step in filling jars with preserves is to choose the type of produce you want to use. This could be anything from apples and pears to tomatoes and peppers. Once you have chosen the produce, it’s time to clean and prepare it for storage.
You will need to wash and peel any produce that needs it, then cut it into small pieces or mash it up if you are making jam or jelly. Once your produce is ready, start heating up a large pot of water on the stove until it comes to a rolling boil.
Add your prepared produce to the boiling water and let simmer for about 10 minutes. This will help break down the cell walls of the fruit or vegetable and make them easier to preserve. When done, take off the heat and strain off all liquid from your fruit or vegetable pieces before transferring them into sterilized jars using a slotted spoon or ladle.
Once all of your fruit or vegetable pieces have been transferred into jars, top each jar with hot sugar syrup or honey (depending on what kind of preserves you are making) until just below the rim of each jar. Place lids onto each jar and screw on firmly before placing them into boiling water for 15 minutes, using tongs if necessary.
Once done, carefully remove each jar from boiling water with tongs and let cool overnight before storing in a cool dark place until needed. With this method you can easily make delicious fruit jams, jellies, pickles, sauces, chutneys and more that will last for months!
Preparing the Jars
Before canning and sealing jars, it is important to ensure that the jars are properly prepared. This includes washing them with hot, soapy water and then rinsing them in hot water, as well as inspecting them for cracks or chips. It is also important to make sure that the lids and seals are free of rust or any other debris. Once the jars have been cleaned and inspected, they should be filled with the food items that will be preserved, leaving some headspace at the top of each jar. This should be done carefully to avoid spills or air pockets. The lids should then be placed on the jars and tightened securely but not too tightly.
Heating the Jars
Once all of the jars have been filled and sealed, they should be placed in a canning kettle to heat up. The contents should heat up slowly until they reach a temperature of around 212°F (100°C). At this point, steam should begin to escape from around the lid. This is an indication that the contents are sufficiently heated and that it is time to proceed with sealing.
Sealing and Processing the Jars
Once heated, it is time to seal the jars. This can be done by either using a vacuum sealer or a manual sealer. With either method, it is important to ensure that all of the lids are properly sealed before placing them back into the canning kettle for processing. Once all of the lids are sealed, they should then be processed in boiling water for 10-15 minutes depending on their size and contents. Afterward, they can be removed from the kettle and allowed to cool before being labeled and stored away for later use.
Testing Sealed Jars
Testing sealed jars is a necessary step in many food production processes. Ensuring the jar is properly sealed and airtight helps to prevent spoilage and contamination while also preserving the freshness of the food. In this process, a variety of tests are used to check for any leaks or weak points in the jar’s seal. This includes visual inspection, pressure testing, vacuum testing, and dye testing.
Visual inspection involves looking for any visible signs of damage or weak points on the jar’s seal. Pressure testing involves applying a specific amount of pressure to each part of the jar’s seal to simulate its operation when it is pressurized or vacuumed during normal use. Vacuum testing is similar but it uses a vacuum instead of pressure. Finally, dye testing uses colored dyes to detect any leaks in the jar’s seal that are not visible to the naked eye.
These tests are important because they help identify any weaknesses or damage that may occur as a result of mishandling during shipping or storage. They also ensure that the product remains safe for consumption and that it will not spoil before its expiration date. Testing sealed jars can be tedious and time-consuming, but it is essential for ensuring quality control when producing food products for consumers.
Storing Canned Strawberry Preserves
Canned strawberry preserves can be stored for months in a cool, dry place. It is important to check the expiration date on the label before consuming the preserves. The best way to store canned strawberry preserves is in a cool, dry pantry or cupboard away from direct sunlight and extreme temperatures.
It is also important to keep the lid tightly sealed when storing canned strawberry preserves to prevent spoilage and contamination. If the lid becomes loose, it should be re-sealed with a new lid or replaced with another one. It is also important to keep canned preserves away from heat sources such as stoves, ovens, and dishwashers as this can cause spoilage.
When opened, it is important to store leftover canned strawberry preserves in an airtight container in the refrigerator and consume within two weeks of opening. If kept at room temperature, leftover canned strawberry preserves should be consumed within three days of opening. Canned strawberry preserves that have been opened should not be left out at room temperature for more than two hours as this can cause bacteria growth which can lead to food poisoning.
It is also important to check the color and smell of canned strawberry preserves before consuming as these indicators can help determine if they are safe to eat. If there are any signs of spoilage such as discoloration or off-smells, the preserve should not be consumed.
Conclusion
Making strawberry preserves is a great way to enjoy the sweet taste of strawberries all year round. With the right ingredients and directions, you can make your own delicious strawberry preserves in no time.
When making preserves, it is important to remember to sterilize your jars and lids before using them, as well as use a boiling water bath when canning. This will help ensure that your preserves are safe to eat.
It is also important to use the correct ratio of sugar and fruit when making preserves, as too much or too little sugar can affect the consistency and taste of your finished product.
Finally, it is important to follow the recipe instructions carefully and make sure that you are working in a clean environment. This will help ensure that your strawberry preserves turn out perfectly every time.
With these tips in mind, you will be able to easily make delicious strawberry preserves at home!

