

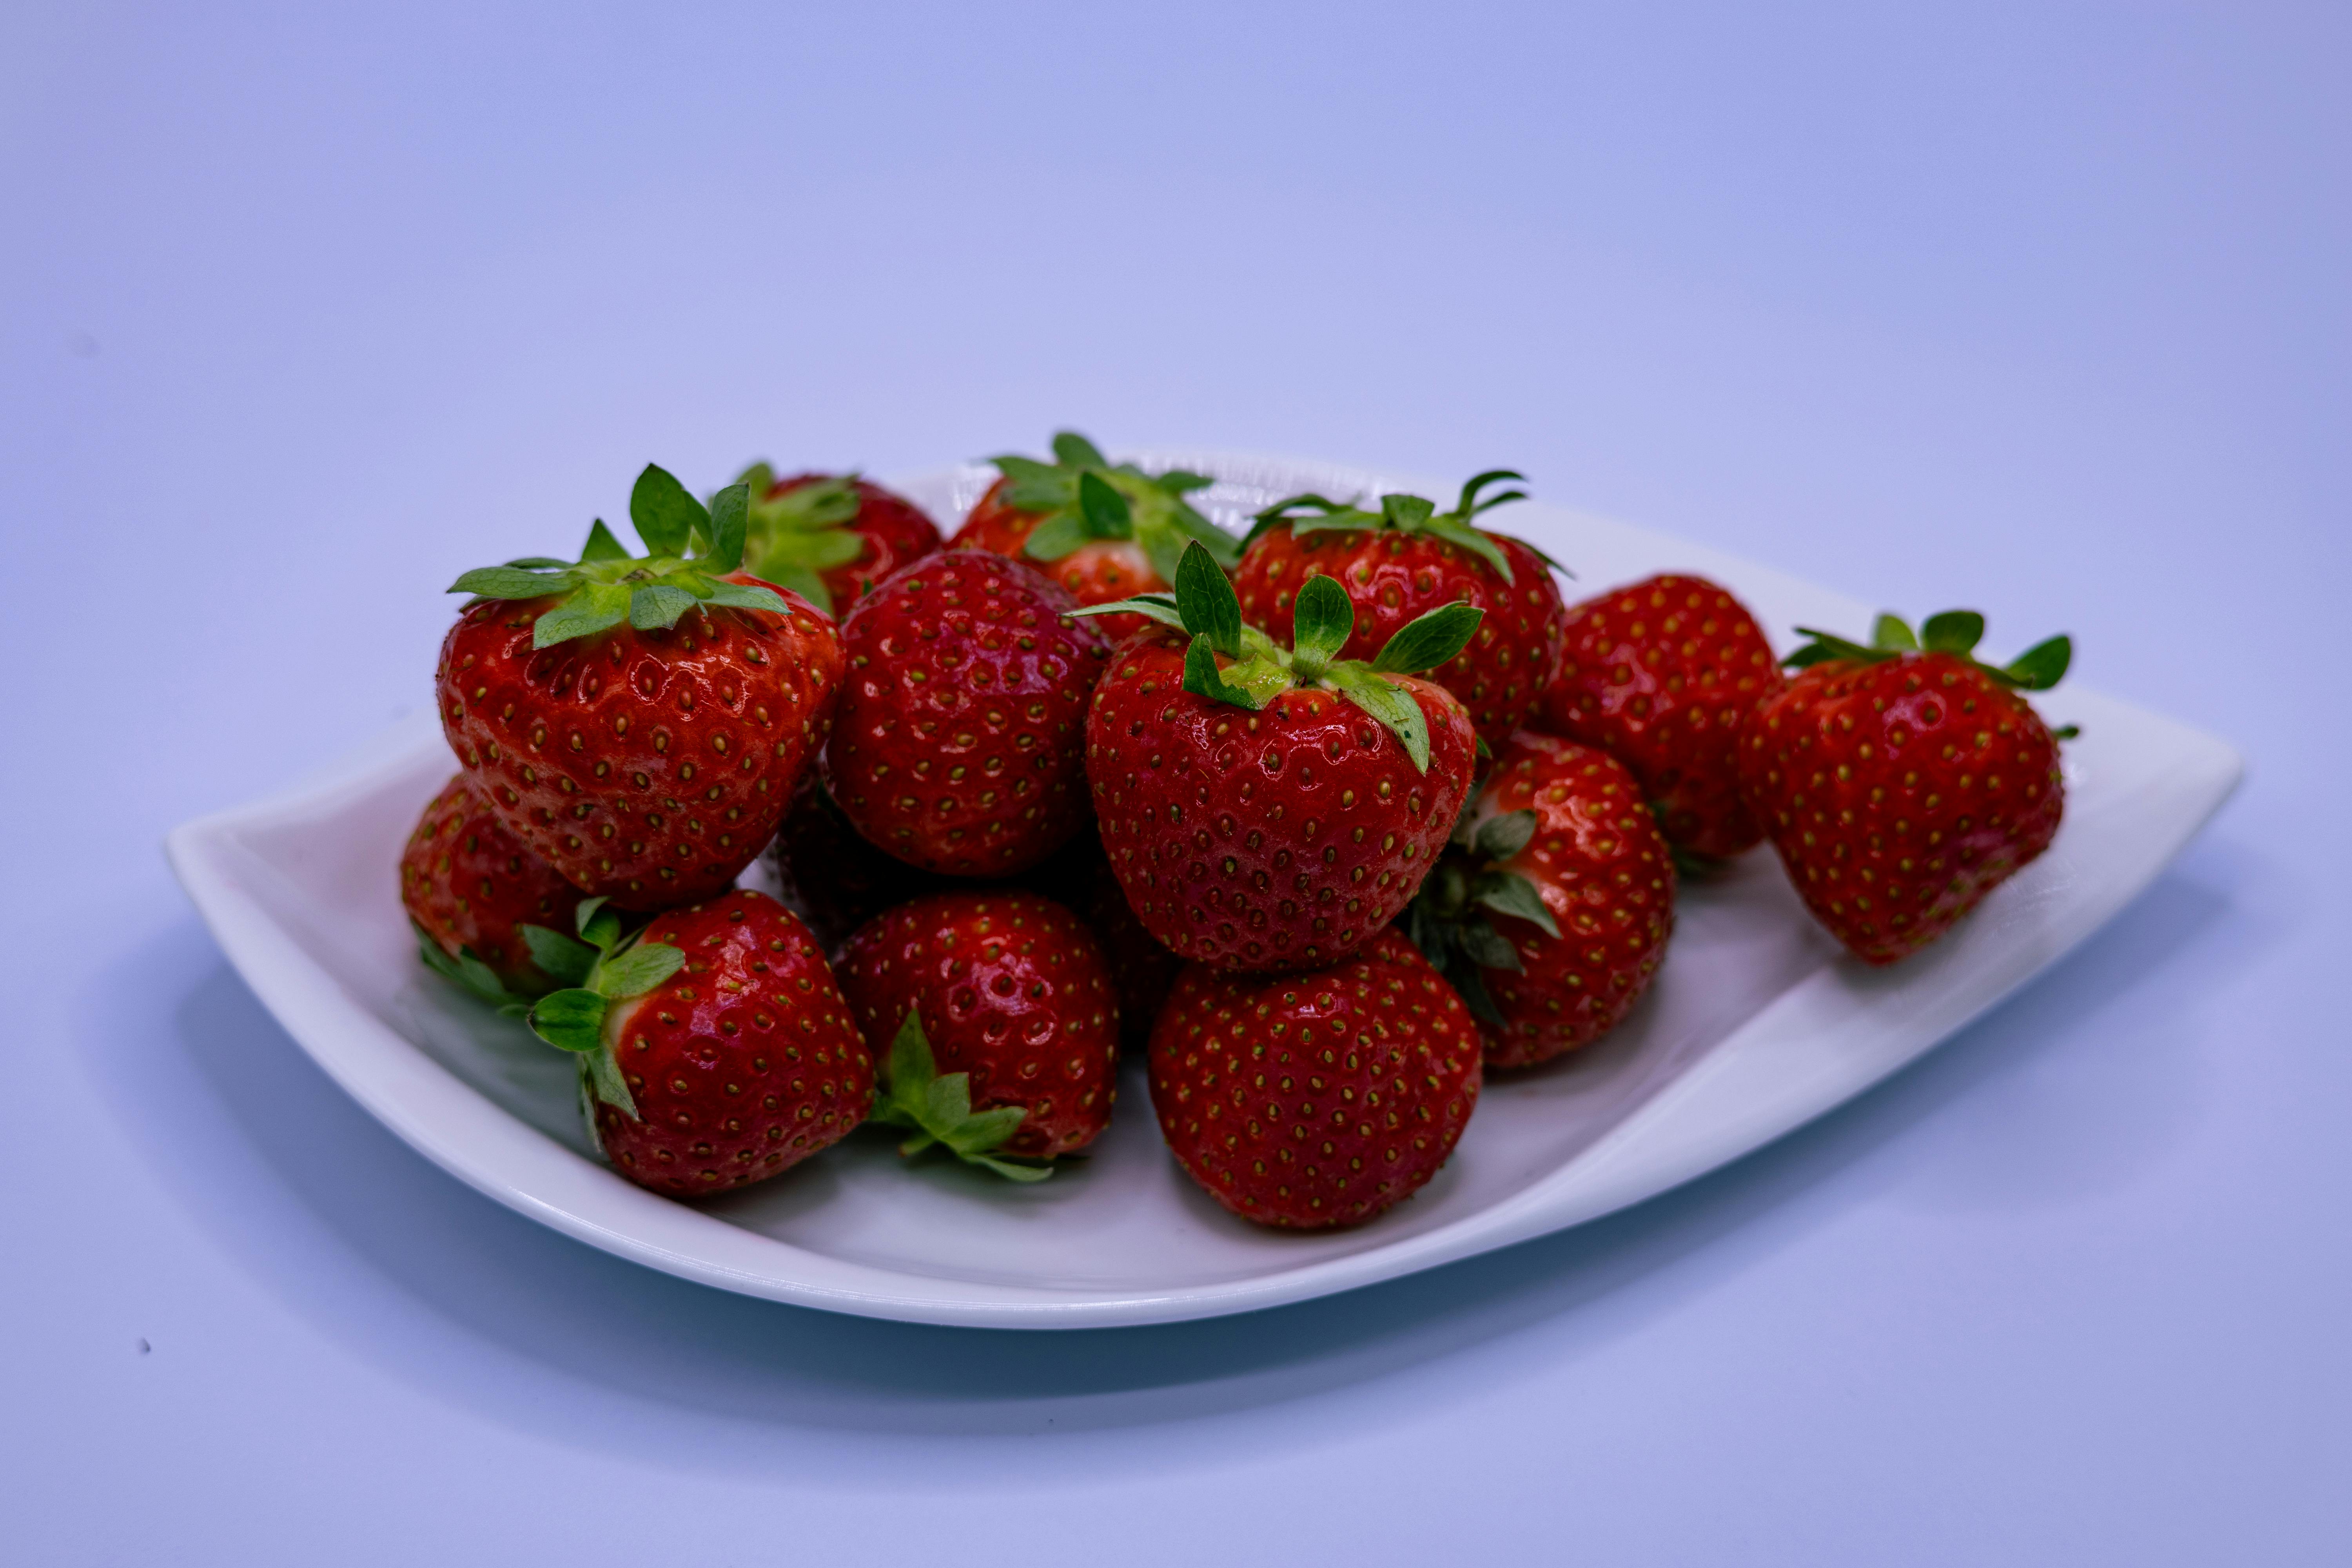
Strawberries are a delicious and versatile fruit, and canning them is a great way to enjoy them all year round. Canning strawberries is a simple process that requires basic kitchen equipment and your favorite canning supplies. In this guide we will show you how to can strawberries in easy-to-follow steps so that you can enjoy them anytime!1. Rinse the strawberries under cool running water and remove any leaves or stems.
2. Place a colander in the sink and lightly dry the strawberries with a paper towel.
3. Cut away any bruised or damaged parts of the strawberries and discard them.
4. Place the strawberries in a large pot and fill it with enough cold water to cover them.
5. Bring the pot to a boil over medium-high heat, stirring occasionally.
6. Turn off the heat and allow the strawberries to sit in the hot water for 2-3 minutes before draining them in a colander.
7. Return the drained strawberries to the pot, adding 1/2 cup of sugar for every quart of strawberries, if desired, then stir until combined.
8. Bring the mixture back to a boil over medium-high heat, stirring occasionally for 5 minutes until it thickens into syrup consistency.
9. Fill sterilized jars with the hot strawberry mixture leaving 1/2 inch of headspace at the top of each jar before screwing on lids tightly (or use canning lids).
10. Process jars in a boiling water bath for 10 minutes before removing them from the pot and allowing them to cool completely before storing in a cool, dark place away from direct sunlight for up to one year (or store in refrigerator for shorter periods of time).
Equipment Needed to Can Strawberries
Canning strawberries is a great way to preserve the sweet taste of summer for enjoyment all year round. To ensure the best results, it is important to have the right equipment on hand. This includes a large pot, canning jars, lids and rings, a jar lifter, a ladle, and a funnel.
The large pot should be tall enough to cover the canning jars with at least one inch of water when they are submerged. It should also be deep enough to allow for boiling water bath canning which will require two inches of water over the top of the jars. A canner or special pot designed for home canning is ideal but any large pot with a lid will suffice.
Canning jars come in many sizes and shapes but standard mason jars are most commonly used. The lids and rings must fit securely on the jars and be in good condition; these should always be purchased new and not reused from previous batches of canned food items.
A jar lifter is an essential tool for safely lifting hot jars out of boiling water baths; this tool should have rubber-coated ends to provide an extra layer of protection from burns. A ladle is used for filling the jars with liquid while leaving room at the top for air circulation. Lastly, a funnel helps to prevent spillage when pouring liquids into small-mouthed jars.
All of these pieces of equipment are readily available in most kitchen supply stores or online retailers and are necessary for safe and successful strawberry canning projects.
Preparing Strawberries for Canning
Canning strawberries is a great way to enjoy their delicious flavor year-round. Before you begin the canning process, there are a few important steps to follow in order to ensure your canned strawberries turn out perfectly.
The first step in preparing your strawberries for canning is to wash and hull them. Start by rinsing them with cold water. After rinsing, use a paring knife or strawberry huller to remove the stem and green tops from the strawberries. Make sure that you don’t cut too deep into the fruit and remove too much of the berry with the stem.
Once your strawberries have been washed and hulled, they are ready to be processed for canning. If you plan on canning whole berries, you will need to blanch them first. To do this, submerge your strawberries in boiling water for 1-2 minutes before transferring them to an ice bath. Blanching helps preserve their fresh taste and vibrant color.
If you plan on canning sliced or crushed berries, you won’t need to blanch them first. Simply cut or crush the fruit using a knife or food processor before adding it to jars or freezer bags for canning. Once your strawberries are prepared, they are ready to be canned according to your recipe instructions!
Making Canning Strawberry Syrup
Canning strawberry syrup is an easy way to preserve the sweet taste of summer. This recipe is a great way to enjoy the deliciousness of fresh strawberries all year round. The process of canning strawberry syrup is simple and doesn’t require any special equipment. All you need is strawberries, sugar, water, and a few other basic ingredients. First, you will need to gather your ingredients and supplies. You will need fresh strawberries, white sugar, lemon juice, pectin, and canning jars with lids and rings. Once you have all your supplies ready to go, it’s time to start making the syrup. Begin by washing and hulling the strawberries before cutting them into small pieces. Place the cut strawberries in a large pot with enough water to cover them completely. Add the sugar and lemon juice to the pot and stir gently until all of the ingredients are combined. Bring the mixture to a boil over medium-high heat before reducing it to a simmer for about 20 minutes or until it has thickened. Now it’s time to add in the pectin. Make sure you stir this in well so that it is completely incorporated into the mixture. Once everything is combined, turn off the heat and let the mixture cool for about 10 minutes before ladling it into clean canning jars leaving about 1/2 inch headspace at the top of each jar. Wipe down jar rims before placing lids on top; then tighten rings around each lid securely but not too tight as air needs to escape during processing in order for jars to seal properly.
Finally, place filled jars in a boiling water bath for 10 minutes before removing them with tongs onto an old towel or cooling rack set on top of a cookie sheet or baking pan lined with newspaper (to catch any liquid that may spill from jar). Allow jars sit undisturbed for 24 hours before checking seal quality by pressing down on center of lid; if lid does not flex up & down then jar has sealed properly & may be stored in cool dark place indefinitely (check occasionally that seal remains intact). Enjoy your homemade strawberry syrup!
Boiling Water Bath Canning Method for Strawberries
The boiling water bath canning method is a great way to preserve strawberries for the long term. It is a simple process that requires only a few tools and ingredients, making it an ideal choice for those who are just starting out in canning. With this method, you can store your strawberries for up to one year or longer.
To begin, you will need a large pot or canning kettle that is deep enough to cover the jars with an inch of water above them. You will also need a jar lifter, jar funnel, bubble remover tool, and lid lifter. You will also need your jars and lids, as well as some sugar or lemon juice for the syrup or brine that will be used to fill the jars.
Once you have all of your supplies ready, you can begin the process by washing and sterilizing the jars and lids. After they have been cleaned and dried thoroughly, you can fill them with your prepared strawberries (which should be washed before filling). Once the jars are filled, you will need to add either sugar syrup or lemon juice to each jar before capping them with their lids and rings.
Once all of your jars have been filled and sealed, you are ready to begin the boiling water bath process. Place your filled jars into the canner or large pot and fill with enough hot water so that there is an inch of water above the tops of the jars. Place a lid on top of the kettle and bring to a rolling boil over high heat. Boil for at least 10 minutes before removing from heat and allowing to cool completely before taking off lids.
Once cooled completely, remove lids from each jar and check that seals are tight by pressing on center of lid; if it does not give way at all then it has sealed correctly. Label each jar with its contents as well as its expiration date (up to 1 year from when it was canned) before storing in a cool dark place such as a pantry or basement shelf until ready to use. Enjoy!
Pressure Canner Method for Strawberries
Strawberries are a delicious and nutritious fruit that can be enjoyed in a variety of ways. One of the best methods for preserving strawberries is to pressure can them. Pressure canning is a safe and effective way to preserve the flavor and nutrients of this delicious fruit. The process involves sealing the jars with lids and processing them in a pressure canner. The pressure created in the canner kills any bacteria or microorganisms, ensuring that the food is safe to eat.
Before you begin, make sure you have all of the necessary supplies on hand: jars, lids, screw bands, a jar lifter, and a pressure canner. You will also need fresh strawberries, sugar or honey, and water or fruit juice for sweetening.
The first step is to prepare the strawberries by washing them in cool running water. Then cut off any stems and remove any bad spots or blemishes. To sweeten the strawberries, add sugar or honey to taste before adding water or juice.
Next you will need to fill each jar with prepared strawberries, leaving about 1/2 inch of headspace at the top of each jar. Use a spatula or other tool to remove any air bubbles from the jars before sealing them with lids and screw bands. Make sure that all lids are tight so that no air escapes during processing.
Once your jars are filled with prepared strawberries it’s time to process them in your pressure canner. Follow the manufacturer’s instructions for use carefully when using your pressure canner as there may be different requirements depending on where you live. When processing is complete, turn off heat source and allow pressure canner to depressurize naturally before opening lid.
Once cooled, check each lid for an airtight seal by pressing down on center of lid with your finger; if lid pops up it has not sealed properly and food should not be consumed until lid has been replaced with a new one and food re-processed in pressure canner as above directions indicate.
Once sealed correctly store jars in cool dark place away from direct sunlight; shelf life for canned strawberries may vary but generally last up to one year if stored properly; enjoy!
Testing Sealed Jars of Canned Strawberries
When testing sealed jars of canned strawberries, it is important to ensure that all necessary safety precautions are taken. This includes wearing protective clothing and ensuring that all surfaces used for testing are properly sanitized. It is also important to check the expiration date on the jar before opening it. Once the jar has been opened, it should be inspected for any signs of spoilage or mold growth. If either is present, the jar should be discarded immediately.
The next step in testing sealed jars of canned strawberries is to smell the contents. If there is a strong odor, this could indicate spoilage or mold growth and the jar should be discarded. If the contents smell fresh, then it can be tested further for safety and quality assurance purposes. This includes checking for signs of discoloration or off-flavors in the fruit itself as well as examining the liquid in which it is stored for signs of cloudiness or off-aromas.
Finally, a taste test can be conducted by sampling a small amount of the canned strawberries. This should be done with caution, as consuming spoiled food can lead to food poisoning and other health issues. If there are no signs of spoilage or off-flavors present, then the canned strawberries can be deemed safe for consumption.
Storing Canned Strawberries
Canned strawberries are a convenient and tasty way to enjoy this beloved fruit year-round. To ensure that your canned strawberries remain fresh and flavorful, proper storage is essential. Canned strawberries should be stored in a cool, dry place away from direct sunlight and extreme temperatures. If possible, store the cans in a cupboard or pantry at room temperature. To maximize shelf life, store cans away from heat sources such as ovens, stoves, and radiators. Additionally, it’s important to keep moisture away from canned goods; avoid storing cans in damp or moist areas.
If you plan to use the entire can of strawberries at one time, there’s no need to transfer the contents to an airtight container. Otherwise, transfer any unused strawberries to an airtight food storage container right away and store in the refrigerator for up to three days. If you wish to freeze leftover strawberries for later use, make sure they are completely cooled before transferring them to a freezer-safe bag or container. Frozen canned strawberries will remain fresh for up to six months when properly stored.
Conclusion
Canning strawberries is a fun and easy process that can help you enjoy the natural sweetness of this popular fruit year-round. With the right supplies and some patience, you can have jars of delicious canned strawberries in no time! If you’re new to canning, it’s best to start with a smaller batch and practice good safety measures. Once you get the hang of it, you’ll be able to make larger batches of canned strawberries with ease.
So, if you’ve been wanting to try your hand at canning food, why not start with strawberries? With their natural sweetness and bright flavor, they make for a great beginner option. Plus, when spring rolls around again, you’ll be able to enjoy the sweet flavor of summer all year long!

