

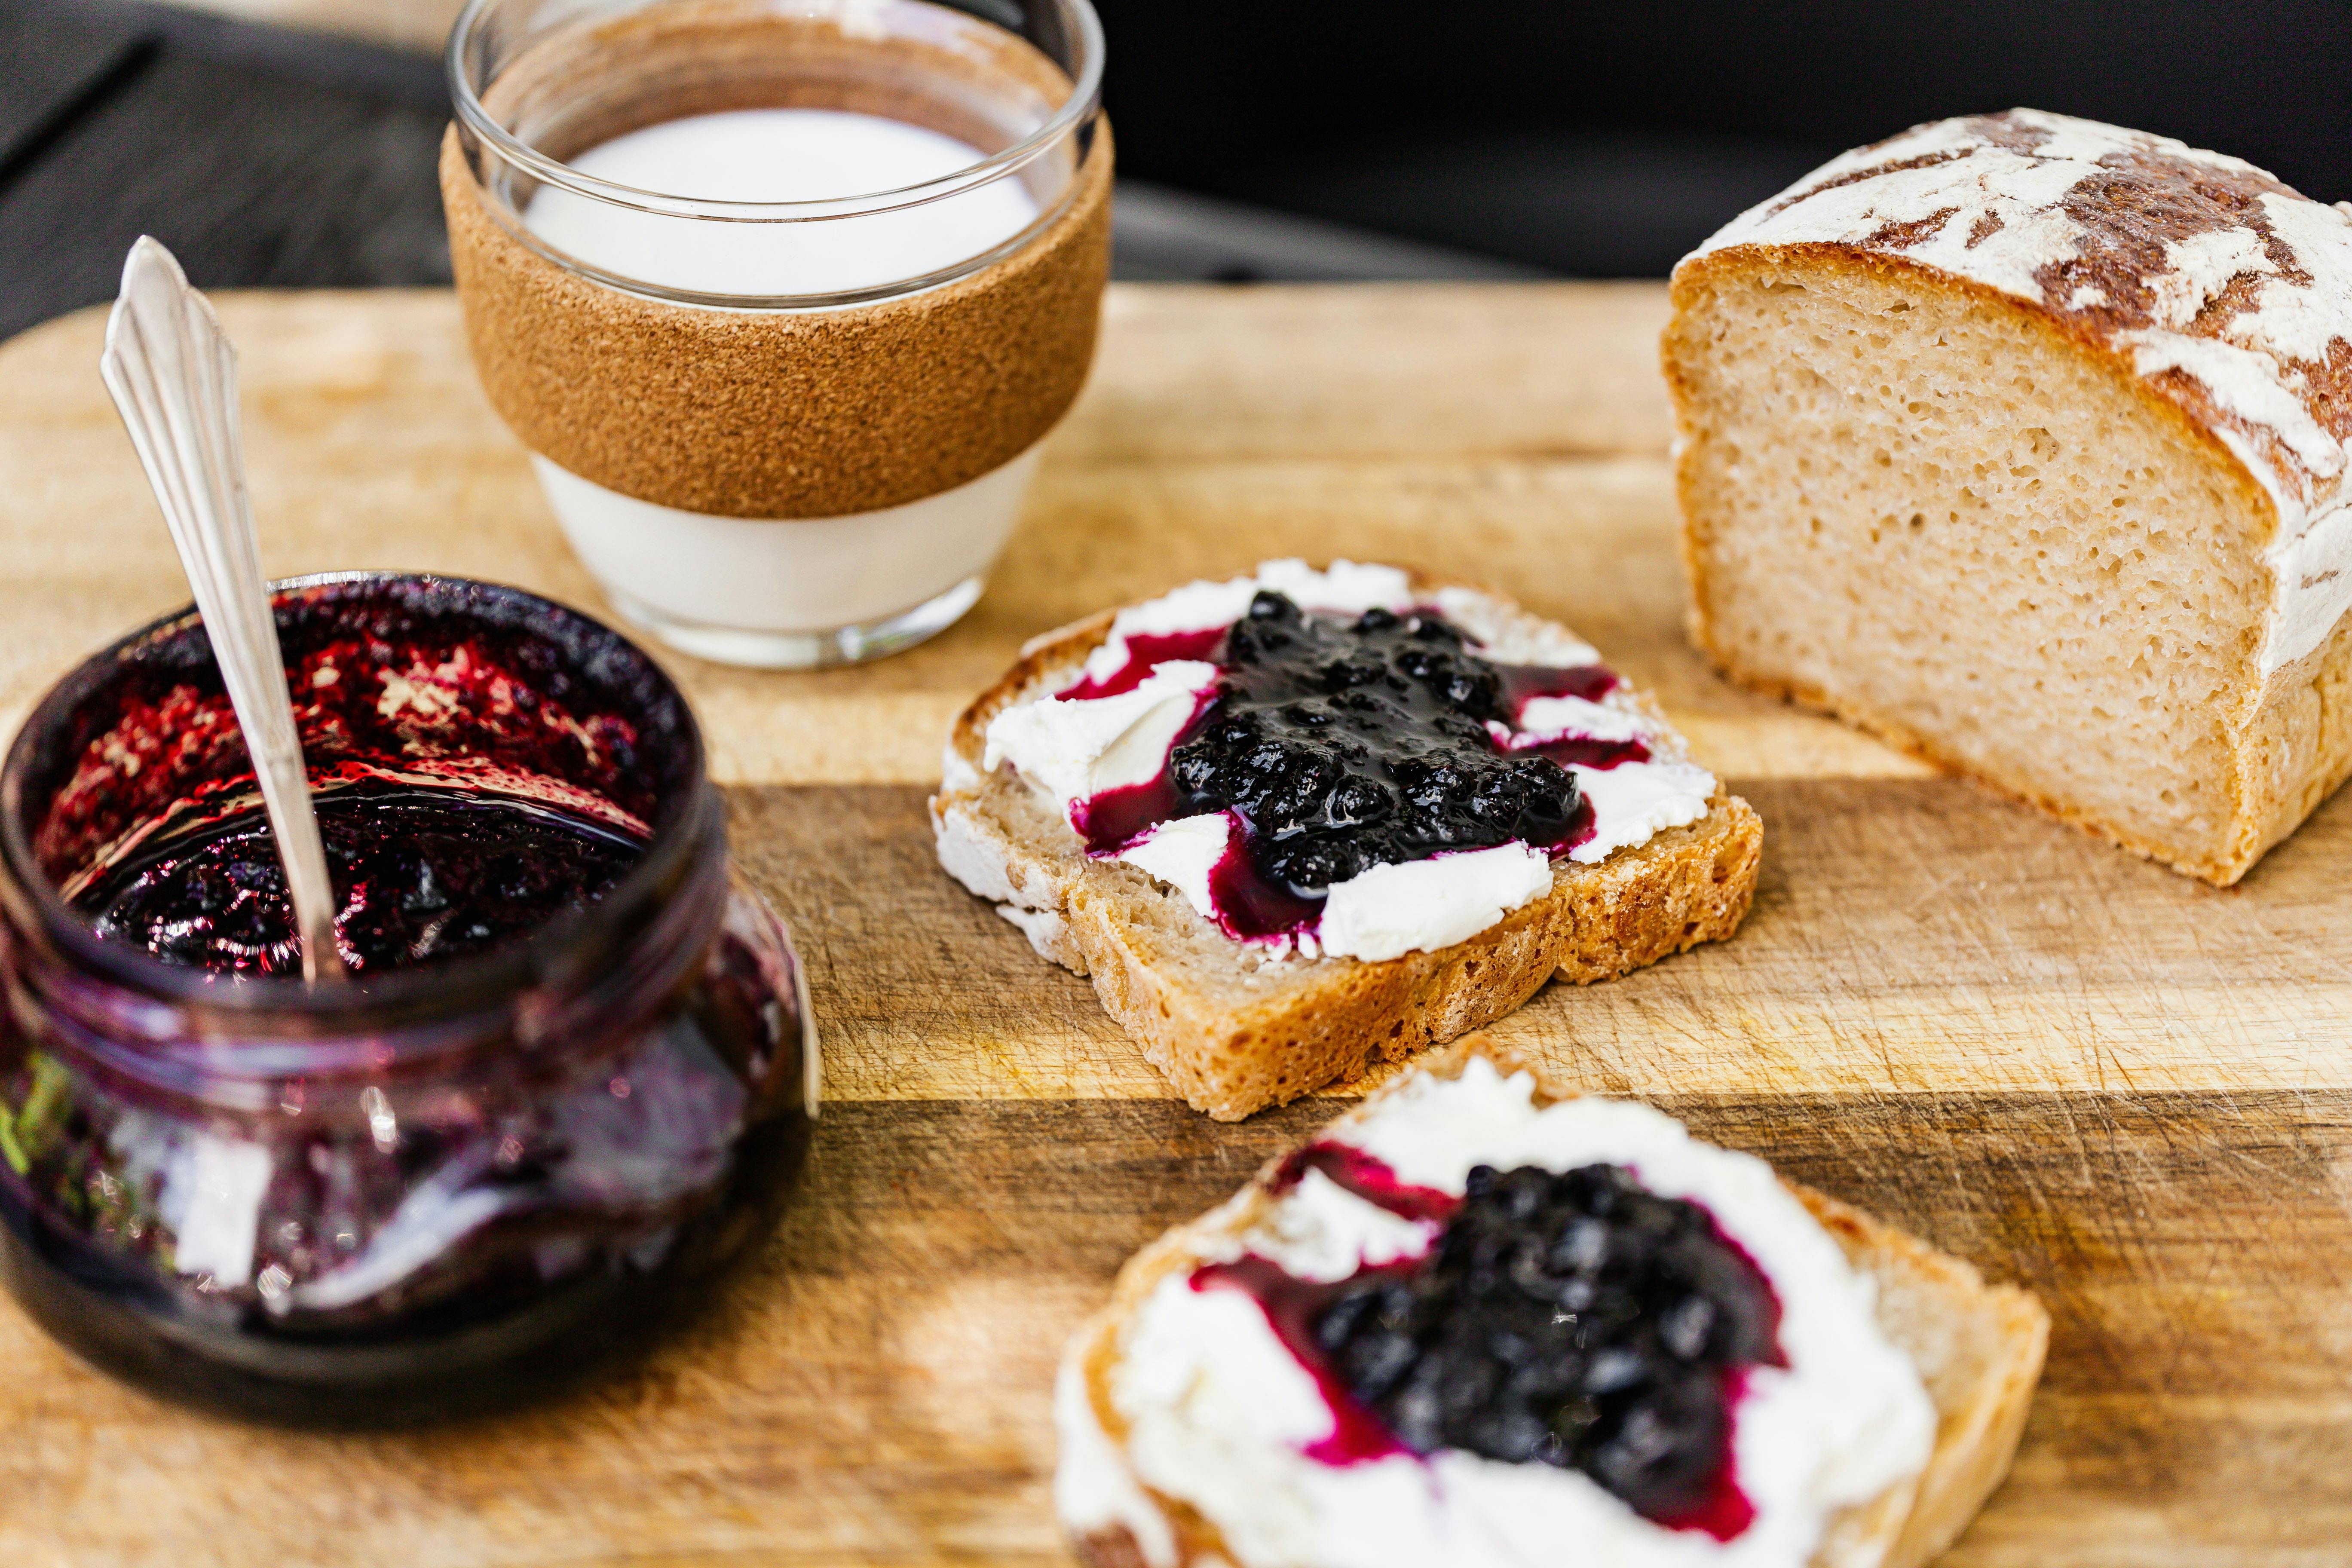
Making blueberry jam is a great way to preserve the flavor of summer’s best blueberries. With just a few simple ingredients, you can make delicious, homemade jam that will last for months. This guide will walk you through the steps of making blueberry jam and provide helpful tips and tricks for ensuring a successful outcome.Gathering supplies for making blueberry jam is an essential part of the process. Here are some of the items you will need:
1. Fresh blueberries
2. Granulated sugar
3. Pectin
4. Lemon juice
5. Canning jars with lids and bands
6. A large stock pot or Dutch oven
7. A ladle and funnel
8. A jar lifter or tongs
9. Clean kitchen towels
How to Prepare the Berries for Making Blueberry Jam
Making blueberry jam is a great way to use up seasonal berries and preserve them for later. Before you start making your jam, you need to prepare the berries. This involves washing, sorting, and crushing them.
Start by washing the berries in cool water to remove any dirt or debris. Always use a gentle touch when cleaning the fruit so that it does not get damaged. Once washed, drain off the water and spread out the berries on a clean cloth or paper towel to air dry.
Next, sort through the dry berries and pick out any that are bruised or bad. You want to make sure you only include ripe, healthy berries in your jam. Once you have sorted through all of them, crush them with a potato masher or food processor until they are broken up into small pieces.
Now that your berries are prepared, you can start making your delicious homemade blueberry jam! With a few simple steps, you can enjoy your seasonal bounty year-round!
Making the Jam Syrup for Blueberry Jam
Making a jam syrup is an essential step in making blueberry jam. To make a jam syrup, you will need sugar, water, and blueberries. First, add the sugar and water to a medium-sized saucepan and stir until the sugar is dissolved. Next, add the blueberries to the mixture and heat it over medium heat until it starts to boil. Once boiling, reduce the heat and simmer for approximately 15 minutes, stirring occasionally to prevent scorching. After 15 minutes, strain the mixture through a mesh sieve into a bowl or pan to remove all of the seeds and skins from the jam. The resulting liquid is your jam syrup – use it as directed in your recipe for making blueberry jam!
Creating a flavorful jam syrup is key to making delicious blueberry jam. When selecting your ingredients for making your syrup, look for ripe berries that are bright in color with no signs of decay or mold. For best results, use high-quality sugar that won’t impart any off-flavors into your final product. Also consider adding additional flavorings such as vanilla extract or lemon zest to give your syrup some extra complexity.
Making jam syrup can be time consuming but well worth it in terms of flavor and texture. If you’re looking for an easy way out, consider buying pre-made jams or jellies that already have their own sweet syrups included – just be sure to check the ingredient list carefully! With these tips in mind, you’ll be well on your way to making delicious homemade blueberry jam!
Cooking Blueberries and Syrup Together
Blueberries and syrup make a delicious combination, and cooking them together is surprisingly simple. To begin, combine the blueberries and syrup in a saucepan over medium heat. Stir the mixture frequently so that it doesn’t stick to the bottom of the pan. After about five minutes, reduce the heat to low and continue stirring for an additional five minutes. By this time, the blueberries should be soft and the syrup should be thickened.
Once you have achieved your desired texture, remove the saucepan from heat and transfer its contents to a bowl or dish. The blueberry syrup can then be served hot or cold depending on your preference. Try topping pancakes, waffles, or ice cream with this sweet treat for a delicious dessert!
For an extra special treat, try adding some spices such as cinnamon or nutmeg to the mixture while it’s cooking. These spices will add an extra layer of flavor that will really bring out the sweetness of the blueberries and syrup. Experiment with different amounts of each spice until you find a combination that you like best!
Testing the Consistency of Your Blueberry Jam
Making homemade blueberry jam is a fun and rewarding kitchen activity. It’s an excellent way to preserve the summer season and make a delicious treat that will last all year. However, it’s important to test the consistency of your blueberry jam to ensure it has a thick, spreadable texture. This can be done with a few simple tests.
The first test you can do is called the cold saucer test. To do this, place a spoonful of your blueberry jam on a chilled plate or saucer and place it in the fridge for two minutes. Take it out and run your finger through it – if the jam wrinkles and remains firm, then you know it is ready.
The second test you can do is called the sheeting test or thread test – this is used to check for its ‘jell’ point. Place a spoonful of your jam on a spoon and lift it over a bowl – if two threads form as you draw away from each other, then you know your jam is ready.
Finally, you can also check for sugar content by using a refractometer or hydrometer. A refractometer measures sugar content by determining how much light passes through your jam when placed on its surface; whereas a hydrometer measures sugar content by floating in liquid and measuring its density.
Testing the consistency of your blueberry jam is an important step in the process – not only will this ensure that your final product has a thick spreadable texture, but also that it has the correct amount of sugar content for optimal preservation. With these simple tests, you’ll be able to make sure that your homemade blueberry jam is perfect every time!
Sterilizing Jars and Lids for Canning Blueberry Jam
Canning blueberry jam is a great way to preserve the freshness of the fruit for later use. To ensure that your jam is safely preserved, it is important to make sure that your jars and lids are properly sterilized before use. This will help prevent any foreign bacteria from entering your jam and making you or your family sick. Here are some simple steps you can take to ensure that your jars and lids are properly sterilized before canning:
The first step is to make sure all of the jars and lids you will be using are clean. Wash them with hot, soapy water, then rinse them off with warm water. Let them air dry on a clean towel or paper towels.
Once the jars and lids are clean, they must be sterilized. You can do this by boiling them in a pot of water for at least 10 minutes, or by running them through a dishwasher on the hottest setting. It is important to note that if you use a dishwasher, you must not open the door until after the cycle has been completed.
Once they have been sterilized, it is important to keep them covered until you are ready to fill them with your blueberry jam. This will help ensure that no foreign bacteria enters the jars or lids while they wait to be filled.
By following these simple steps, you can rest assured knowing that your blueberry jam will be safe and free from any foreign bacteria. So get out there and start canning!
Filling Jars with Your Finished Blueberry Jam
Once you have finished making your blueberry jam, the next step is to fill the jars so that you can enjoy it later. The process of filling the jars should be done carefully and with caution to ensure that the jam is stored correctly and safely. Here are some tips for filling jars with your finished blueberry jam.
First, make sure that you are using clean jars for storing your jam. Sanitize them by boiling them for a few minutes or running them through a dishwasher cycle. This will help prevent any contamination that could occur when storing food in jars.
Next, use a funnel to fill the jars with your blueberry jam. This will help ensure that the jam is evenly distributed in each jar and there won’t be any spillage when filling them up. Make sure to leave about 1/2 inch of headspace at the top of each jar so that there is enough room for expansion when sealing the lids.
Once the jars are filled, wipe off any excess jam from the rims and threads of each jar with a damp cloth or paper towel. This will prevent any potential issues when trying to seal the lids on tightly after processing.
Finally, place a lid on each jar and seal it tightly using either a metal lid or wax paper discs. You may also choose to process your filled jars in a boiling water bath for 10 minutes in order to ensure that they are properly sealed and bacteria-free before storing away.
By following these steps, you can ensure that your filled jars of blueberry jam are properly sealed and ready to be enjoyed later!
Processing Canned Blueberry Jam in a Boiling Water Bath
Canned blueberry jam is a delicious way to preserve summer’s bounty of blueberries for enjoyment throughout the year. Processing blueberry jam in a boiling water bath ensures that it will be properly preserved and safe to eat. Here are the steps for processing canned blueberry jam in a boiling water bath:
First, sterilize the jars, lids, and bands that will be used for canning. This can be done by washing them in hot soapy water and then boiling them for 10 minutes. Once sterilized, jars should be filled with the prepared jam, leaving about ½ inch of headspace at the top.
Next, wipe the rims of the jars with a clean damp cloth to remove any food particles. Place lids on jars and secure them with bands until finger tight. Place filled jars in a pot or canning rack and fill pot with enough water to cover all jars by 1-2 inches.
Bring water to a boil over high heat, reduce heat to low and simmer for 10 minutes. Using jar tongs, carefully remove jars from hot water and place on a clean kitchen towel or cutting board away from any drafts. Allow jars to cool completely before testing seals.
Once cooled, press down on center of lid. If lid does not move or flexes slightly then jar is properly sealed and ready for storage or gifting. If lid does not stay down then jar has not sealed properly and must be re-processed or consumed within 2 weeks.
Processing canned blueberry jam in a boiling water bath preserves the flavor of fresh summer fruit while ensuring safety when consuming homemade jams and jellies. Following these simple steps will make sure your canned goods are delicious every time!
Conclusion
Making blueberry jam is an easy process that anyone can do at home. All you need are some blueberries, sugar, and a few other basic ingredients. You can use fresh or frozen blueberries to make jam, and you can adjust the sugar levels to find your perfect sweetness. After boiling the mixture to reach the appropriate temperature and consistency, simply ladle it into jars and store them in your pantry or refrigerator for up to one year. With just a bit of effort, you can enjoy homemade blueberry jam all year long!
Making jams in your own kitchen is not only fun but rewarding. You get to enjoy the fruits of your labor right away and save money by making your own preserves. Whether you like a thick or thin consistency, sweet or tart flavor, or raspberry-blueberry swirls, you can customize your own jam recipe with just a few simple steps. Now that you know how to make blueberry jam, why not give it a try?

