
Strawberries are a delicious and versatile fruit that can be used in a variety of recipes. Baking strawberries is an easy and delicious way to enjoy this sweet fruit. Baked strawberries can be used to top desserts, such as ice cream or cheesecake, or simply enjoyed on their own. With just a few simple ingredients, you can bake up a delicious batch of sweet strawberries in no time. Keep reading to learn how to bake strawberries!To bake strawberries, preheat your oven to 375°F. Place the strawberries on a baking sheet lined with parchment paper. Sprinkle with 2 tablespoons of sugar, 1 tablespoon of melted butter, and 2 teaspoons of freshly squeezed lemon juice. Bake for 15 minutes until the strawberries have softened and are slightly caramelized. Enjoy!
Preparing the Strawberries
Preparing strawberries is an easy and quick process that can be done in no time. First, start by rinsing the strawberries under cold running water to remove any dirt or debris. Make sure to also remove any stems that may still be attached. Then, gently pat the strawberries dry with a paper towel. Once dried, you can begin slicing them into desired sizes. Depending on how you plan to use the strawberries, you may want to cut them into thin slices or thicker chunks. After slicing, the strawberries are now ready for your recipe!
Gather Necessary Ingredients
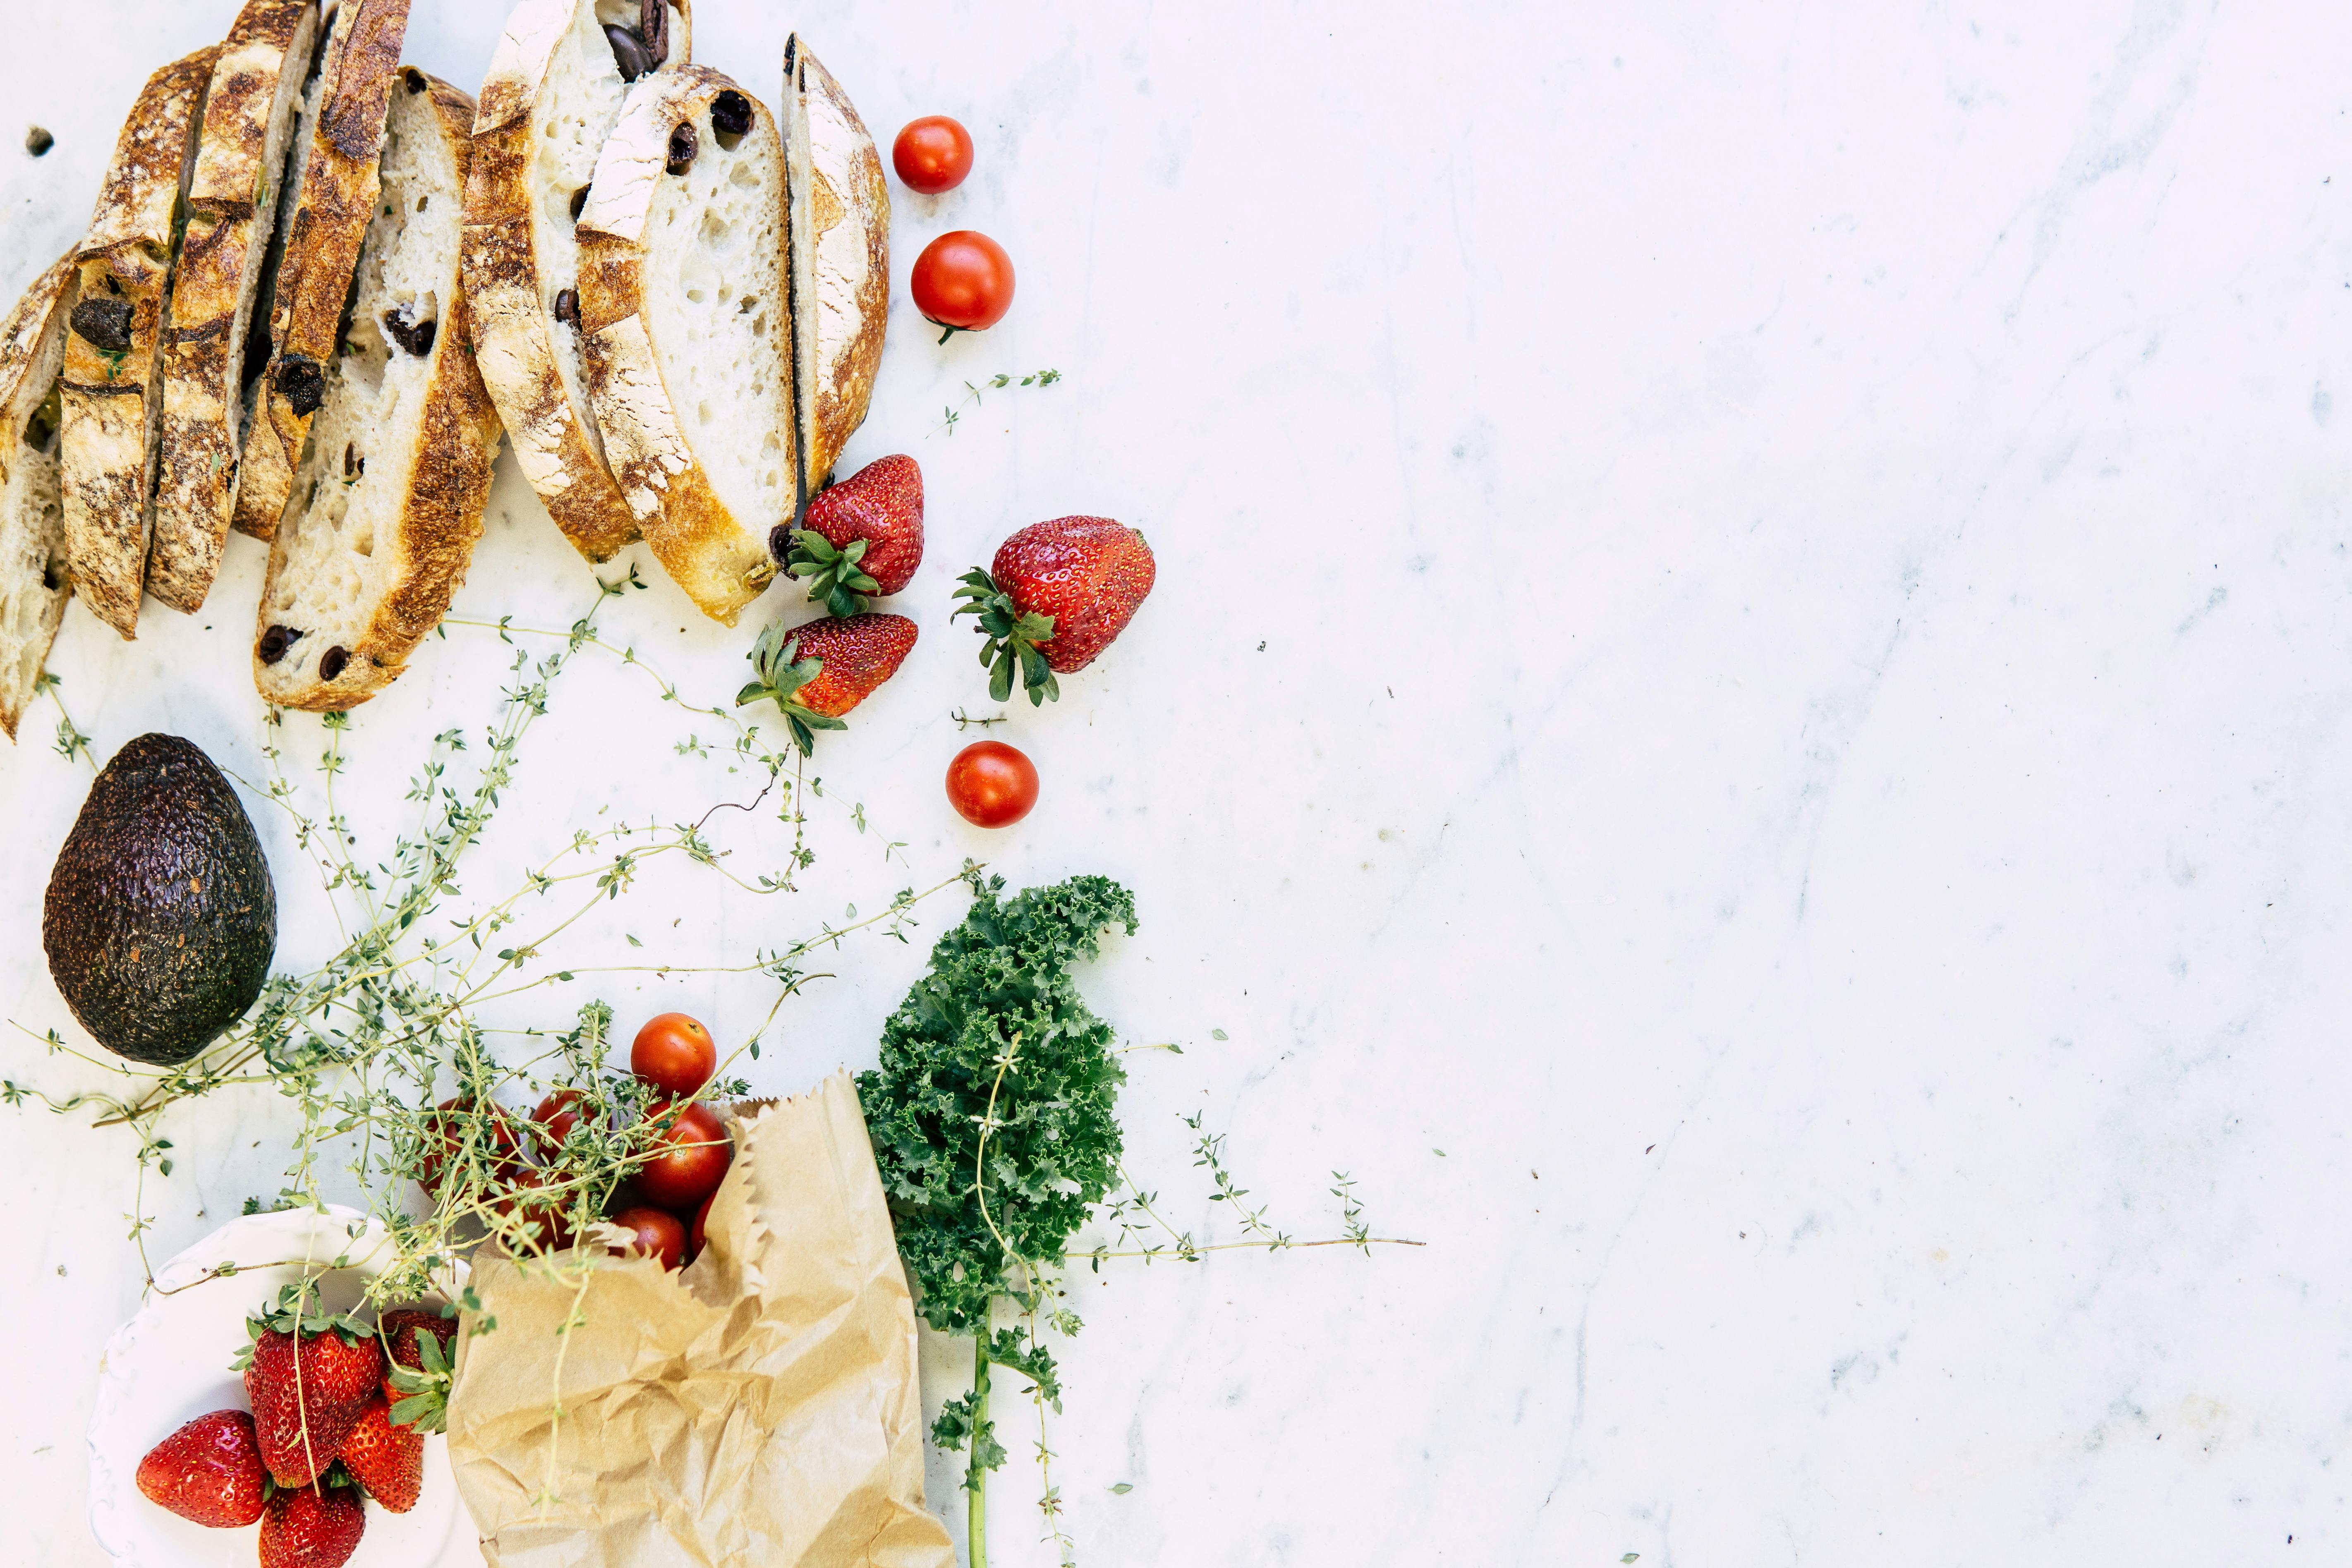
Heading to the grocery store can often be an overwhelming experience. It’s important to make sure you have a list of all of the necessary ingredients before you go, so that you don’t forget anything. Make sure to check your pantry and refrigerator for things you already have on hand, as well as items that may not be immediately visible such as spices or condiments. Once you’ve compiled a list of items, it’s time to start shopping!
When shopping for ingredients, try to stick to organic options when possible. Organic produce is grown without chemical pesticides and fertilizers, making it healthier for both you and the environment. If organic is not an option, then look for local or conventional produce that is in season and will be fresher. Read labels carefully and buy only what you need so that nothing goes to waste.
Finally, make sure to bring reusable bags when heading to the store. Plastic bags are not biodegradable and can take up valuable space in landfills. Reusable bags are easy to store in a purse or car so that they’re always available when needed. With these tips, grocery shopping can be an easier and more eco-friendly process!
Preheat the Oven
Preheating an oven is an essential step in cooking, and it couldn’t be easier. Before you begin baking, preheat your oven to the desired temperature. This can be done by setting the temperature on your oven’s control panel. Once the desired temperature is reached, you can begin adding your ingredients and baking. Preheating an oven ensures that all ingredients are cooked evenly and thoroughly, giving you perfect results every time.
Before preheating your oven, make sure to check the recipe for any special instructions. Some recipes may require a specific temperature or a different method of preheating. For instance, some recipes may call for preheating using convection heat or preheating with steam. If you’re unsure about how to preheat your oven correctly, consult your owner’s manual or contact the manufacturer for more information.
Once your oven is preheated, it’s important to monitor the food as it cooks so that it doesn’t overcook or burn. Many ovens come equipped with a timer that can be set to remind you when food is done cooking or when to check on it. If your oven does not have a built-in timer, consider investing in one so that you don’t have to worry about constantly checking on what’s cooking in the oven.
Being mindful of preheating times and temperatures will help you get delicious results from all of your baking endeavors!
Grease the Pan
Greasing your pan before you start baking is one of the most important steps. Greasing helps prevent sticking, ensuring your baked goods come out in one piece. You can use butter, shortening, oil, or a non-stick cooking spray to grease the pan. To ensure even distribution, it’s best to spread the greasing agent evenly around the entire interior surface of the pan. If you’re using butter or shortening, use a spatula to spread it around until it completely coats all sides of the pan. For an even layer of oil, you can use a pastry brush to coat the interior of the pan with oil. Finally, if you choose to use a non-stick cooking spray, make sure to spray it in short bursts and cover every corner until there’s an even layer of oil on all sides. After greasing your pan, let it sit for a few minutes before adding any ingredients or putting it into preheated oven.
When baking cookies and other flat treats such as brownies and bars, it’s important to grease your pans with a thin layer of butter or margarine for best results. This will help keep your treats from sticking when they are removed from the pan after baking. To properly grease your pans when making cookies or flat desserts, first rub some butter into all of the corners and edges with your fingers or a small rubber spatula. Then take a paper towel and spread an even layer across the entire surface of the inside of the pan. Finally, sprinkle some flour overtop and tap out any excess before adding cookie dough or other ingredients.
When using cake pans for cakes and quick breads like banana breads or zucchini breads, greasing them is also essential for successful results. Before pouring in any batter make sure that you have generously coated all surfaces with either butter or vegetable shortening and then dusted them lightly with flour or cocoa powder (depending on what kind of cake you’re making). This will ensure that your cakes come out easily from their pans without sticking when they’re done baking.
Finally remember that for most recipes requiring greased pans; parchment paper is another option which eliminates any messy clean up afterwards. Parchment paper provides an extra layer between food and its container so it won’t stick as easily when removed from its container after baking. It also keeps food from absorbing too much fat since there’s no need to grease with fats such as butter or margarine when using parchment paper liners.
Arrange the Strawberries
Arranging strawberries is not a difficult task. All you need is a few simple tools and some patience. First, begin by washing the strawberries in cold water. Make sure to remove any dirt and debris from the fruit. After washing, gently pat the fruit dry with a paper towel or soft cloth. Once dry, place the strawberries on a flat surface and arrange them in a single layer. If needed, use a knife to cut away any stems or leaves that may be present. Finally, arrange the strawberries in an attractive pattern on your serving dish. Be sure to leave enough space between each one so that they can be easily served.
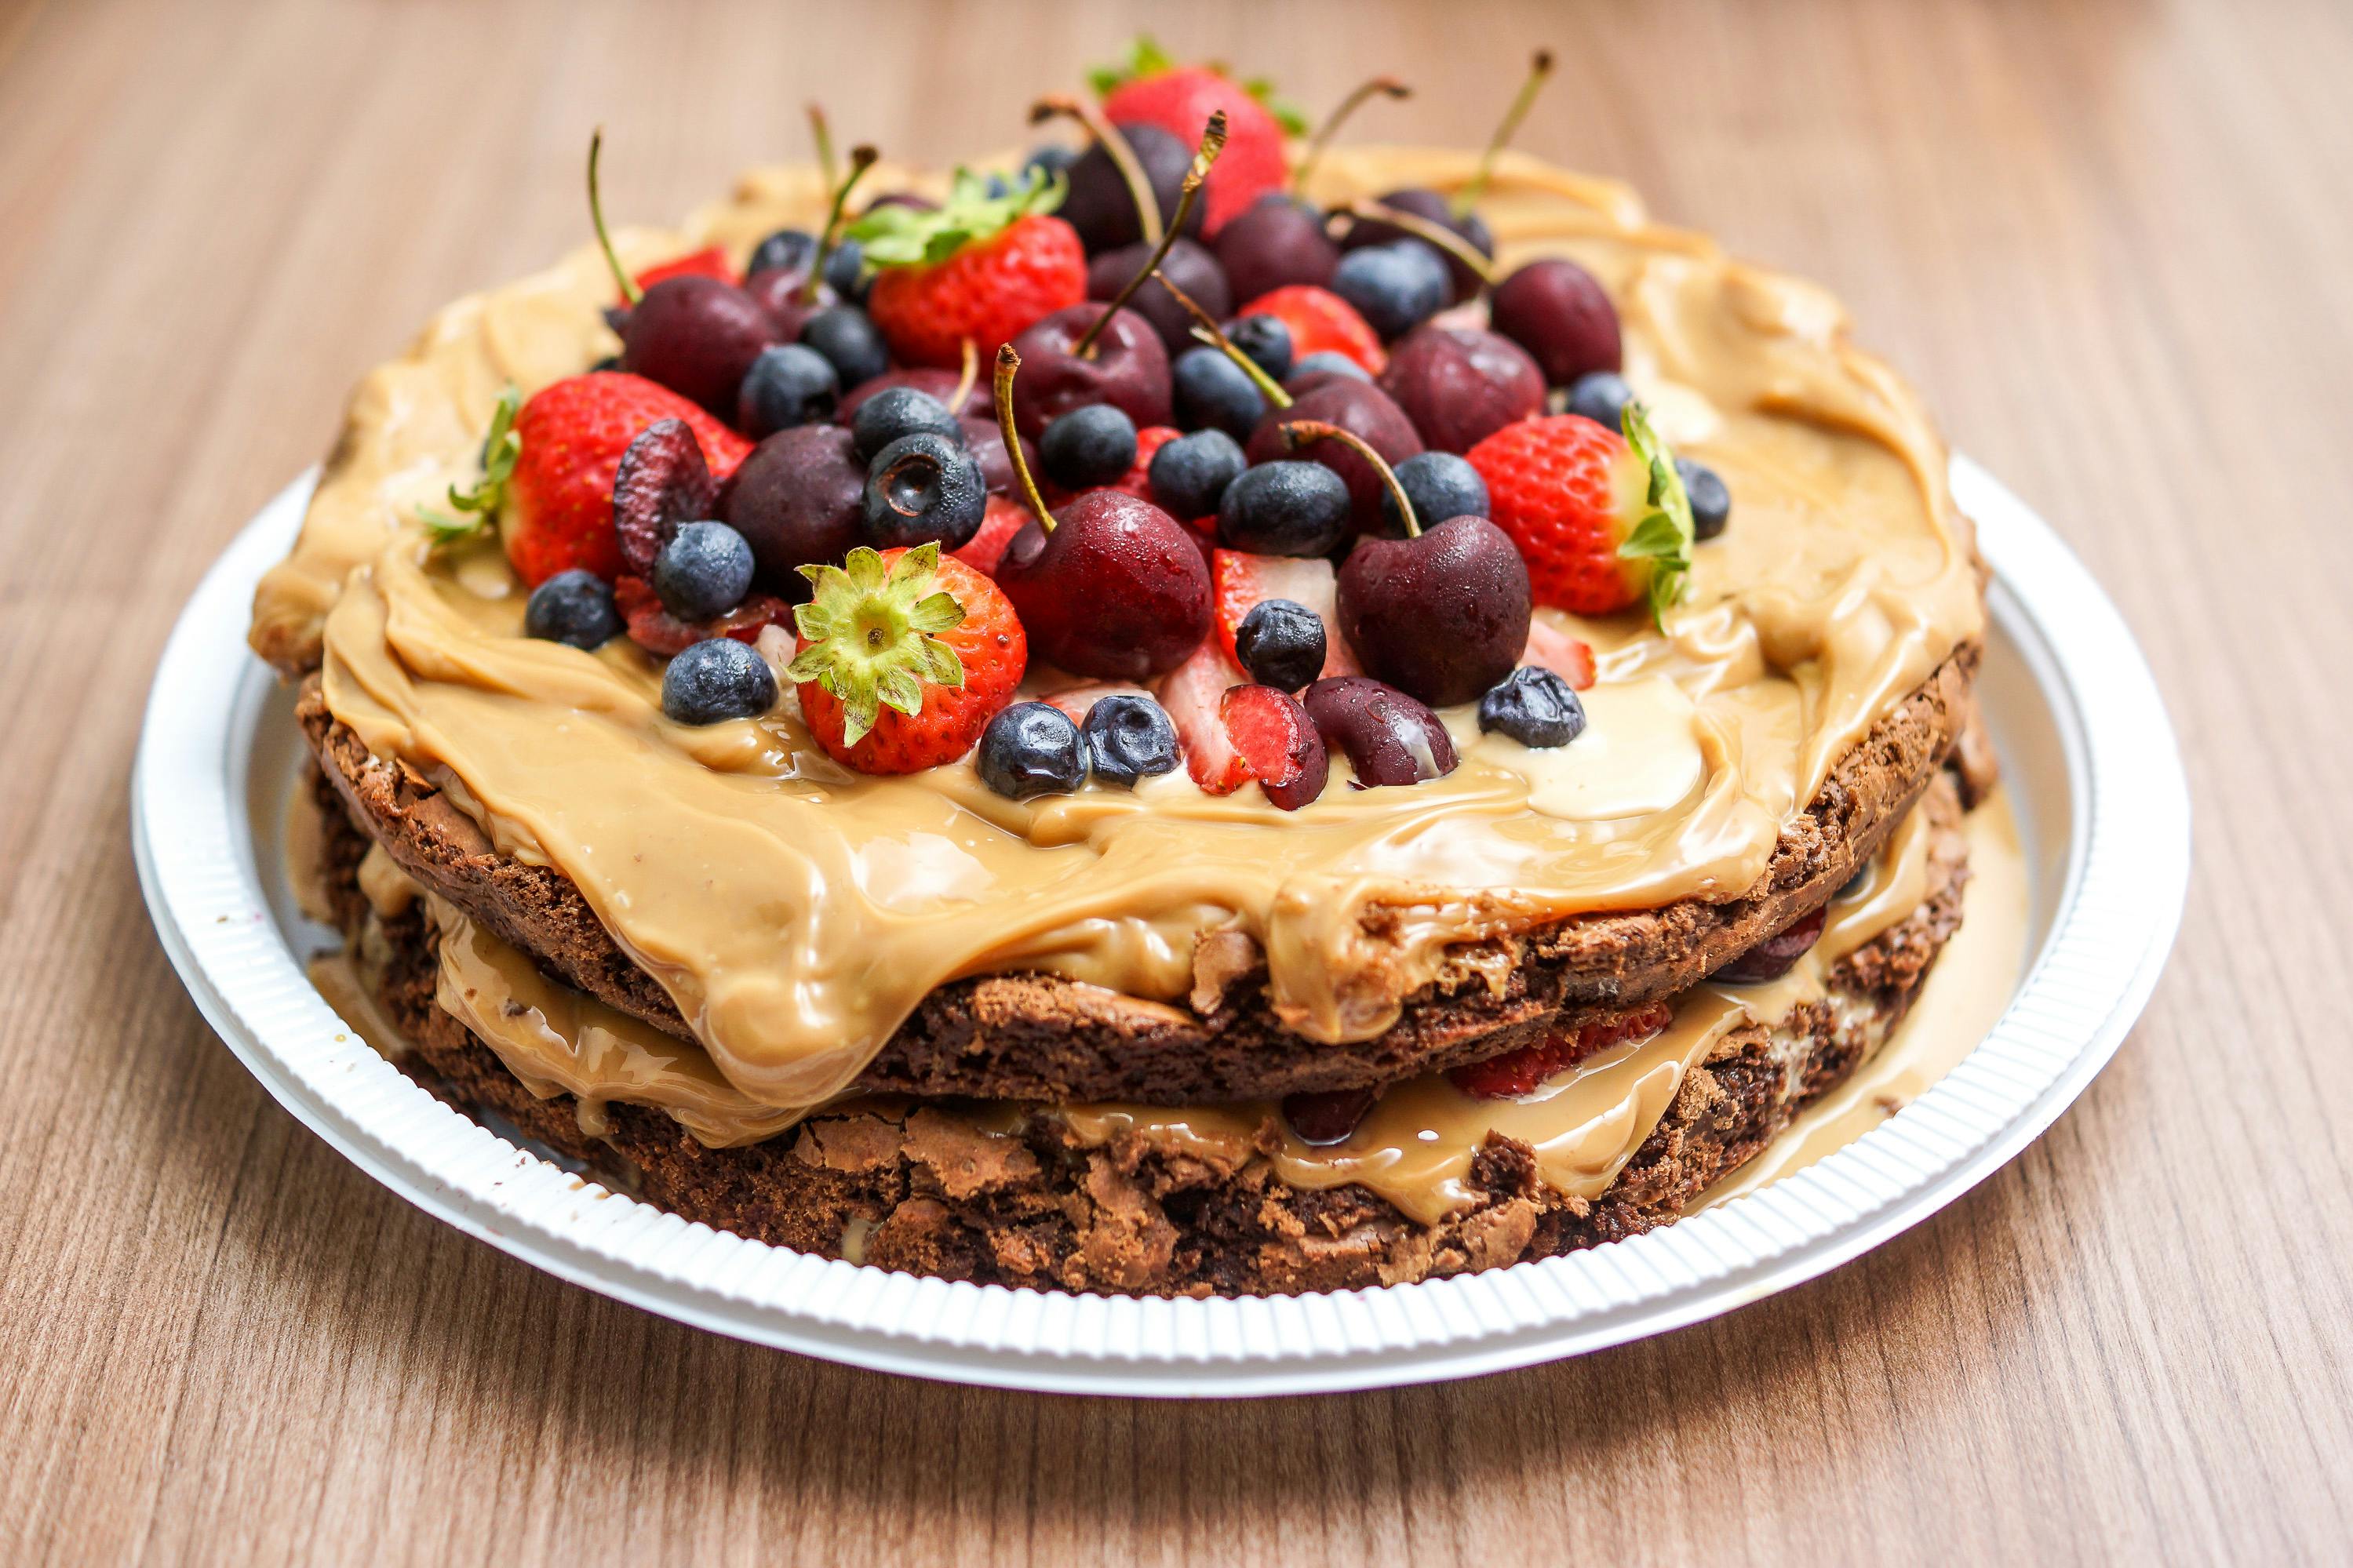
Once arranged, you can garnish your platter with fresh mint leaves or other herbs for added color and flavor. You can also sprinkle some sugar over the berries for some added sweetness. For an extra special touch, drizzle melted chocolate over the top of your arrangement for an eye-catching presentation. Enjoy!
Prepare Dough
To prepare the dough for the pastry, mix together flour, salt and butter. Use a pastry blender or two knives to cut the butter into the flour until it resembles course crumbs. Add cold water a few tablespoons at a time while mixing with a fork, until the dough just comes together. Gently knead the dough on a lightly floured work surface until smooth. Wrap in plastic wrap and refrigerate for 30 minutes before rolling out.
Roll Out Dough
Take out the chilled dough and roll it out on a lightly floured surface. Roll until it is large enough to fit into your pie dish with some overlap. Trim off excess dough and crimp edges with your fingers or a fork as desired. Prick bottom of crust all over with a fork to prevent it from puffing up during baking.
Fill Pie Crust
Spoon cooled filling into prepared pie crust and spread evenly with the back of a spoon or spatula. If desired, you can top with lattice strips or decorative crust cut-outs.
Sprinkle Sugar and Spices
If desired, sprinkle sugar and spices on top of filling before baking for extra flavor and crunch. This step is optional but recommended!
Prepare the Strawberries
To prepare the strawberries for baking, start by washing them with cold water. Gently rub off any dirt or debris and then dry them with a paper towel. Once they are clean, cut off the stems and slice each strawberry into four pieces. Place all of the prepared strawberries onto a baking tray lined with baking paper or parchment paper.
Sweeten the Strawberries
Once the strawberries have been prepped and placed on the baking tray, sprinkle them evenly with granulated sugar. The amount used depends on personal preference – for a lightly sweetened strawberry, use 2 tablespoons of sugar; for a sweeter flavor, use up to 4 tablespoons of sugar.
Bake the Strawberries
Finally, bake the strawberries in an oven preheated to 350 degrees Fahrenheit for approximately 8 minutes until they are lightly golden brown around the edges. Once baked, remove from oven and let cool completely before serving or storing. Enjoy!
Conclusion
Baking strawberries is a great way to make a delicious and healthy dessert. It not only tastes good but also has a lot of health benefits. It is easy to make and can be served warm or cold. You can top it with whipped cream or ice cream for an extra special treat. With just a few simple ingredients, you can enjoy the sweet taste of baked strawberries anytime.
Whether you are looking for a sweet snack or something special for a dinner party, baking strawberries is sure to please everyone. With some creativity and imagination, you can come up with endless ways to enjoy this delicious treat. So why not give it a try? You will be glad you did!

