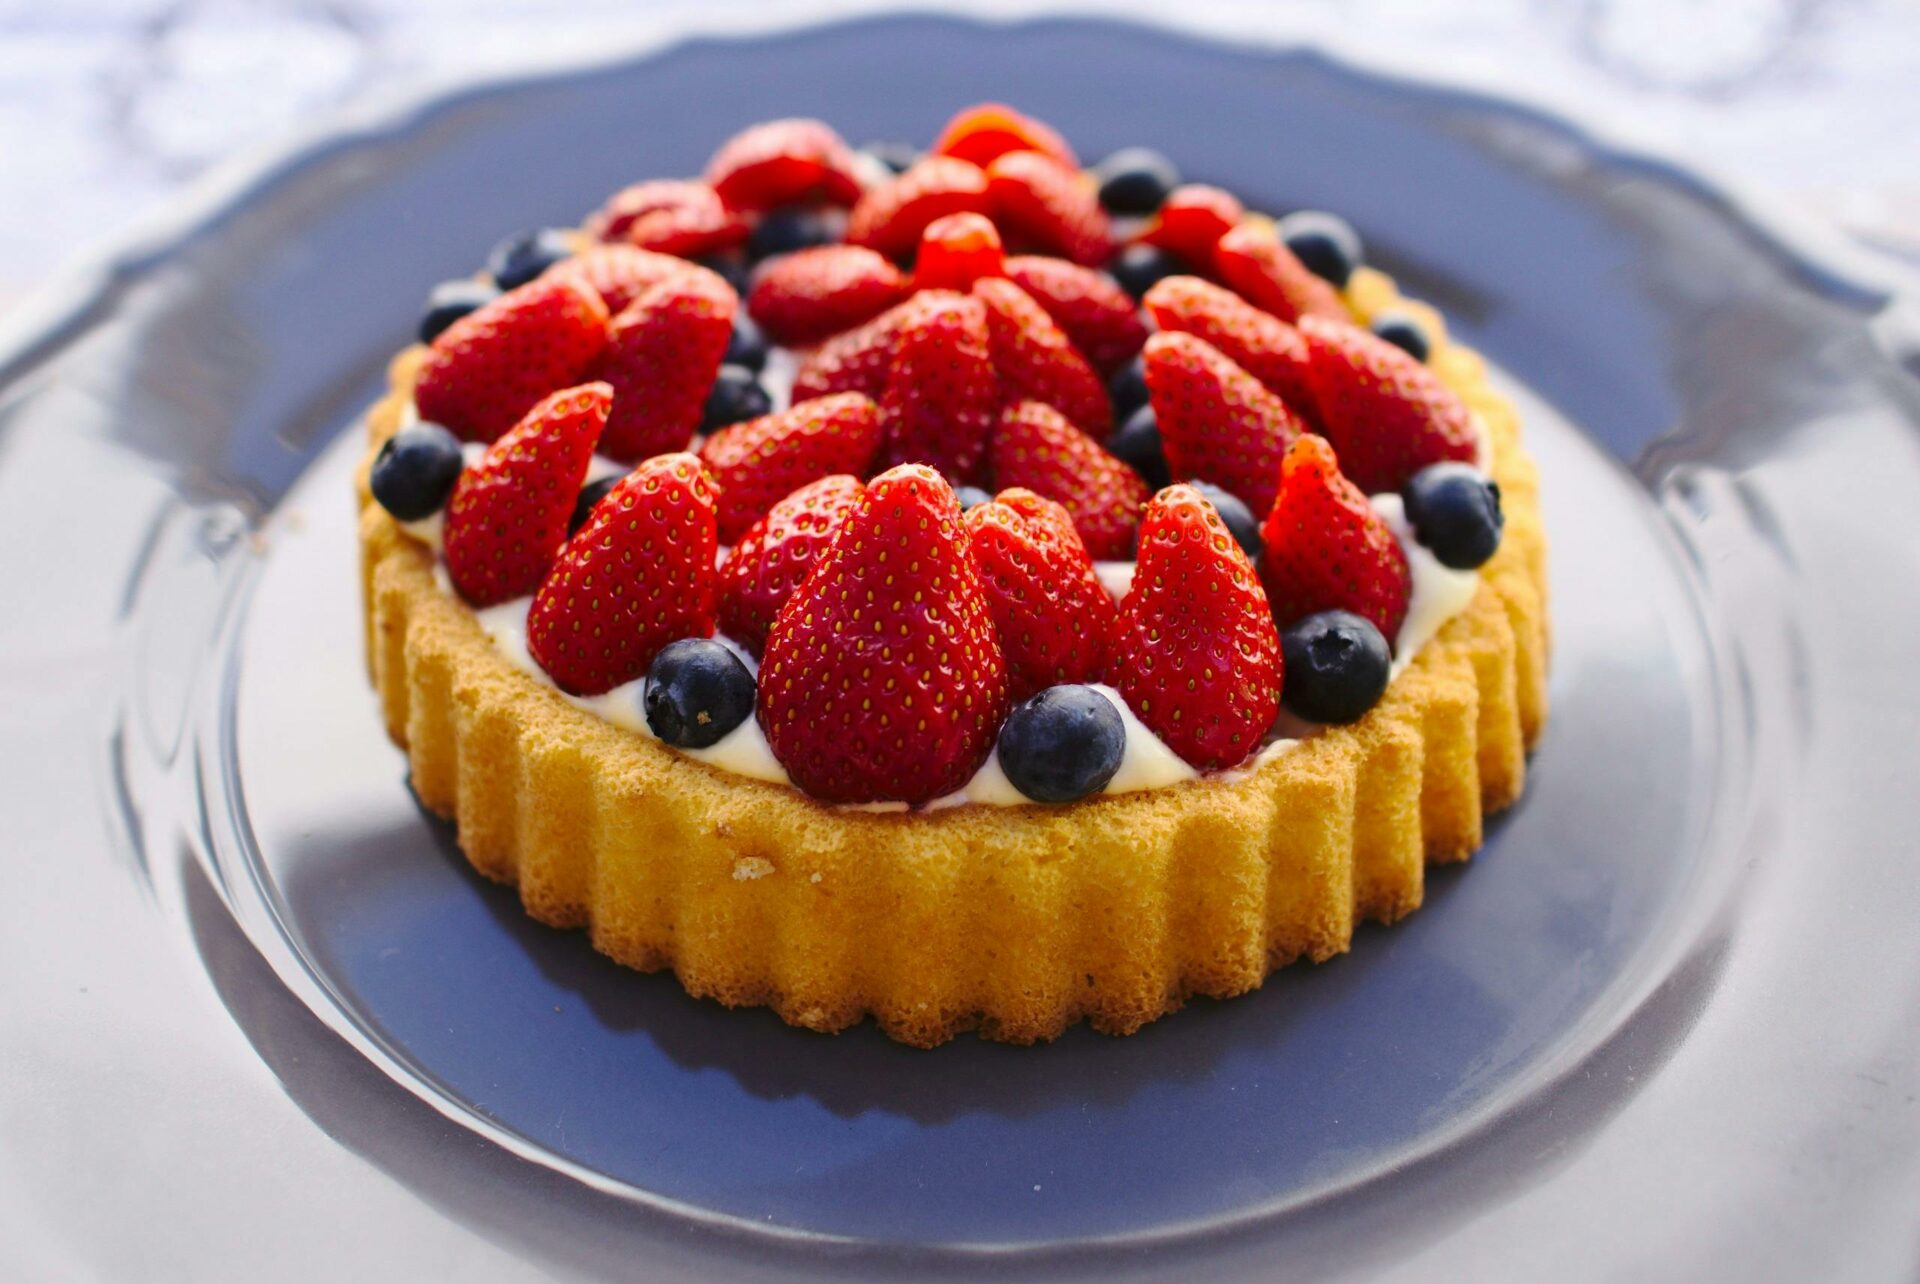
Welcome to Deliciously Sweet: A Step-by-Step Guide on How to Make Shoney’s Strawberry Pie! This guide will provide all the tips, tricks, and techniques necessary to make a sweet and delicious strawberry pie that tastes just like the one from Shoney’s. From making the perfect crust to creating the perfect filling, this guide will help you make a delicious pie that’ll have your family and friends begging for more. So let’s get started on your journey to making the best strawberry pie ever!Welcome to the Shoney’s Strawberry Pie tutorial! In this tutorial, we will discuss the steps involved in making a delicious strawberry pie from Shoney’s. We will go over the ingredients needed and provide step-by-step instructions on how to assemble and bake your own Shoney’s Strawberry Pie. By the end of this tutorial, you will have all the knowledge you need to make your own mouthwatering strawberry pie from scratch. Let’s get started!
Gather the Necessary Ingredients
Before starting any recipe, it is important to gather all of the necessary ingredients. This will help make sure that everything is ready and on-hand before you start cooking. Make sure to double-check the recipe for any special ingredients that may be needed. If something isn’t available in your local store, consider looking online for more options.
When gathering ingredients, it is essential to check their freshness and expiration dates. Foods that have passed their expiration date can cause food poisoning or other health issues. Additionally, make sure all of the ingredients are washed and prepared according to the recipe’s instructions. This will ensure that they are suitable for use in your desired dish.
It is also important to measure out all of your ingredients correctly before starting the recipe. Follow the exact measurements listed in the recipe as closely as possible, as this will help ensure that your dish tastes and looks just like it should. Double-check measurements if needed, and if a particular ingredient isn’t listed in the recipe, don’t add it unless specified by a professional chef or nutritionist.
Preparing the Pie Crust
Making a pie crust from scratch can be a daunting task, but it doesn’t have to be. With the right ingredients and a bit of patience, you can easily prepare a delicious and flaky crust for your pies.
The first step to making a pie crust is to gather the necessary ingredients. You will need flour, butter (or shortening), salt, and ice water. You’ll also need some sort of utensil for mixing the dough; either a fork or pastry blender will work just fine.
Once you have all of your ingredients, you’ll want to measure them out into a large bowl. Start by combining 1 cup of flour with 1/4 teaspoon of salt in your bowl. Then cut in 1/3 cup of butter (or shortening) and mix it into the flour until it resembles coarse crumbs. Add in 2-3 tablespoons of ice water and mix until everything is just combined; be careful not to over mix!
Now that your dough is ready, you’ll want to roll it out onto a lightly floured surface using either a rolling pin or your hands. Be sure to roll it out into an even circle that is about 1/8 inch thick; this will help ensure that your crust cooks evenly. Once the dough is rolled out, transfer it into your pie plate and trim off any excess edges with kitchen scissors or a knife. Finally, prick the bottom of the crust with a fork several times before baking according to your recipe directions!
Choosing the Apples
When making an apple pie, the most important step is choosing the right apples. Apples come in many shapes, sizes, and varieties, and each type has its own unique flavor. For a perfect pie, it’s best to use a combination of tart apples like Granny Smith and sweet apples like Golden Delicious. The tart apples provide a nice balance to the sweetness of the sweet apples. When choosing your apples, it’s important to pick ones that are firm and unblemished. Avoid any bruised or damaged apples; they won’t hold up as well during baking.
Peeling and Coring
The next step in making an apple pie is peeling and coring the apples. This can be done by hand with a paring knife or with an apple peeler/corer tool. Either way, it’s important to make sure all of the skin is removed and the core is taken out completely so that you end up with just the flesh of the apple. If using a peeler/corer tool, make sure to follow the instructions carefully so that you don’t end up with any thin spots or uneven slices in your filling.
Adding Spices
Once you have peeled and cored your apples, it’s time to add spices for flavor. Cinnamon is a classic choice for apple pies, but nutmeg can also be used for a slightly different flavor profile. You can also add brown sugar or white sugar depending on how sweet you want your filling to be. Once all of your spices are added, mix everything together until everything is evenly distributed throughout the filling.
Assembling and Baking
The last step in making an apple pie is assembling and baking it! Start by rolling out two circles of pastry dough – one for the bottom crust and one for the top crust – then layering them into your pie dish with butter on both sides for extra flavor. Once you have filled your dish with your spiced-up apple filling, cover it with your top crust and crimp around the edges to seal it shut. Finally, bake according to recipe instructions until golden brown on top!
Making the Crust
Making a pie crust from scratch may seem daunting to many people, but it really isn’t that difficult. The first step is to combine the dry ingredients, such as flour and salt, in a medium bowl. Then add chilled butter or shortening cut into small pieces and mix with a pastry blender until it resembles coarse meal. After that, add cold water to the mixture and stir with a fork until it forms a ball of dough. Next, roll the dough out on a lightly floured surface until it is large enough for your pie pan. Finally, place the crust into the pan and crimp the edges.
Baking the Crust
Once your crust is in the pie pan, it needs to be pre-baked before you can fill it. This process is called blind baking. Start by lightly pricking holes in the bottom of the crust with a fork. Then line with aluminum foil or parchment paper and fill with dried beans or rice to weigh down the crust while baking. Bake at 375 degrees Fahrenheit for around 25 minutes until golden brown. Let cool before adding filling so that it does not become soggy when you pour in wet ingredients.
Preparing Filling Ingredients
The type of filling you choose will depend on what kind of pie you are making, but most recipes require some degree of pre-cooking before they are added to your crust. For instance, if you’re making an apple pie you need to cook down your apples first with butter, sugar and spices so they won’t be too crunchy when baked in the oven. Additionally, some recipes call for pre-cooking certain ingredients such as custards or meringues before combining them with other filling ingredients and pouring them into your prepared crust.
Assembling The Pie
Once your filling ingredients are ready, spread them evenly across your pre-baked crust then top with another layer of pastry or lattice strips if desired. Place onto a sheet tray lined with parchment paper then bake at 375 degrees Fahrenheit for 40-50 minutes until golden brown and bubbling around edges of crust. Let cool completely before slicing into pieces and serving!
Ingredients
The ingredients required for baking this delicious treat are flour, sugar, baking powder, salt, butter, and eggs. For the topping, you will need brown sugar and oatmeal.
Preparation
Start by preheating the oven to 350 degrees Fahrenheit. In a large bowl, combine the flour, sugar, baking powder and salt. Cut in the butter until it resembles coarse crumbs. Add in the eggs one at a time and mix until combined.
Next is to prepare the topping. In a separate bowl mix together the brown sugar and oatmeal until evenly blended.
Baking
Pour the batter into a greased 9-inch round cake pan or an 8×8 square pan. Sprinkle the topping over the batter. Bake for 25-30 minutes or until a toothpick inserted in center comes out clean. Let cool before serving and enjoy!
1. Start with a Cold Oven
Starting with a cold oven is essential for making a perfect pie crust. Allowing the crust to bake slowly in a cool oven allows it to cook evenly, and helps to prevent the edges from burning. To ensure that your oven is cold enough, preheat it to the lowest setting before baking your pie crust.
2. Roll Out Your Dough Evenly
Making sure you roll out your dough evenly is key for achieving an even-textured crust. Take your time when rolling out the dough, and make sure to check that it isn’t too thick or thin in some places. If you find any lumps of butter in the dough, simply flatten them out with your rolling pin as you go along.
3. Line Your Pie Dish
Once you have rolled out your dough, carefully line your pie dish with it. Make sure that there are no gaps or tears in the pastry, as this could cause your filling to leak out while baking. If necessary, use any excess pastry to patch up any weak spots.
4. Bake Blind
Baking blind means pre-baking your pastry before adding any filling. This helps to ensure that the bottom of the crust is cooked through and prevents it from becoming soggy once filled with ingredients. To bake blind, line the inside of the pastry case with parchment paper and fill it with either dried beans or ceramic baking beads.
5. Prick Your Pastry
Making holes in the base of your pastry before baking helps steam escape from the inside as it cooks and prevents it from rising unevenly or bubbling up in places. Simply prick small holes into the base of the pastry using a fork before adding any filling.
6. Brush With Egg Wash
Brushing egg wash onto your unbaked pie crust can help give it a golden sheen when cooked, while also keeping all its lovely layers intact when baked. Simply beat one egg yolk with 1 tbsp milk or cream and brush this onto your unbaked pastry just before baking.
7. Chill Before Baking
Chilling your prepared pie crust helps keep its shape during baking by allowing its fat content to firm up again after being rolled out and handled multiple times throughout preparation – this also helps create flaky layers when baked! Place prepared pie dough on a plate and chill it for around 15 minutes before baking. Adding artwork to your home can be an easy way to make a room more visually interesting. Whether you’re looking for a statement piece or just something to fill some empty wall space, selecting the right artwork can help set the mood of your home. With a variety of sizes, styles and mediums available, there are plenty of options for finding the perfect piece for any room. When choosing artwork for your home, start by considering the size of the space you’re trying to fill. If it’s a large wall in need of something dramatic, then look for a larger piece that will draw attention. For smaller areas, hang multiple smaller pieces that work together as a cohesive unit. You’ll also want to consider the color palette and style of the room when selecting artwork. Choose pieces that complement or contrast with other elements in the room to create visual balance. Once you have selected your art pieces, it is important to hang them correctly in order to show them off in their best light. Start by considering how high you want them placed on the wall; generally speaking, artwork should be hung at eye level or slightly higher if possible. Be sure to use appropriate hanging hardware and mount each piece securely so it won’t fall and cause damage. In addition to artwork itself, there are many ways you can add decorative touches around your art pieces that will help create an interesting gallery-like display. Adding frames and mats can be a great way to highlight each individual piece while creating visual interest around them. You can also add accessories such as shelves or lighting fixtures that will help draw attention to certain pieces while adding functionality as well. Making Shoney’s Strawberry Pie is an easy and delicious baking project. With this step-by-step guide, you can create a flavorful strawberry pie at home in no time. Whether you’re a beginner or an experienced baker, you’ll find that this recipe is simple and straightforward. This recipe provides the perfect balance of sweet and tart flavors, with a hint of almond for extra flavor. You can enjoy this pie on its own or as part of a larger dessert spread. The possibilities are endless! So what are you waiting for? Gather your ingredients and get ready to bake up some delicious strawberry pie! With this recipe, you’ll be able to impress your family and friends with a classic dessert that will have them coming back for more. Enjoy!Choosing Artwork
Hanging Artwork
Adding Decorative Touches

Conclusion

