
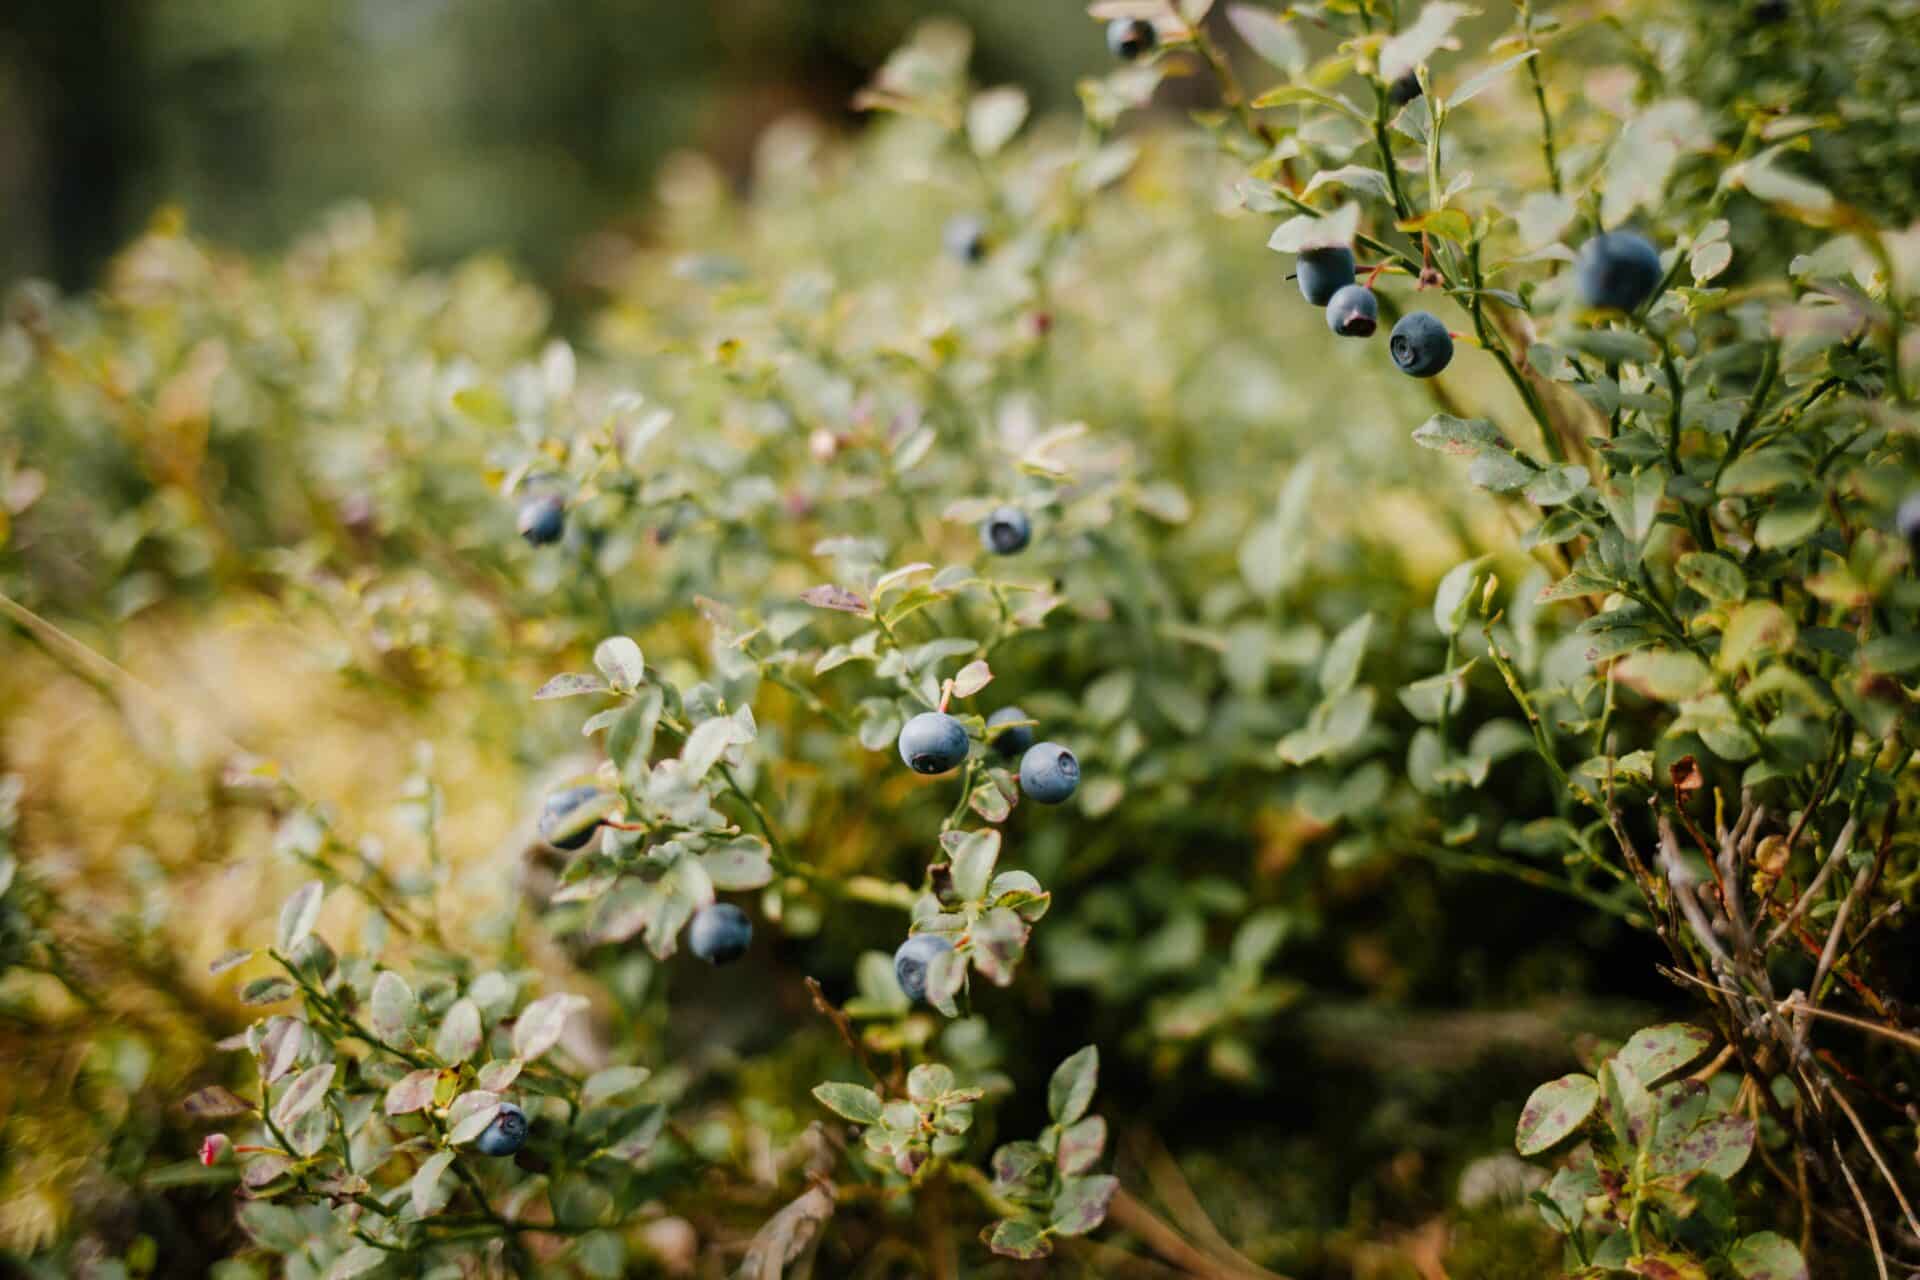
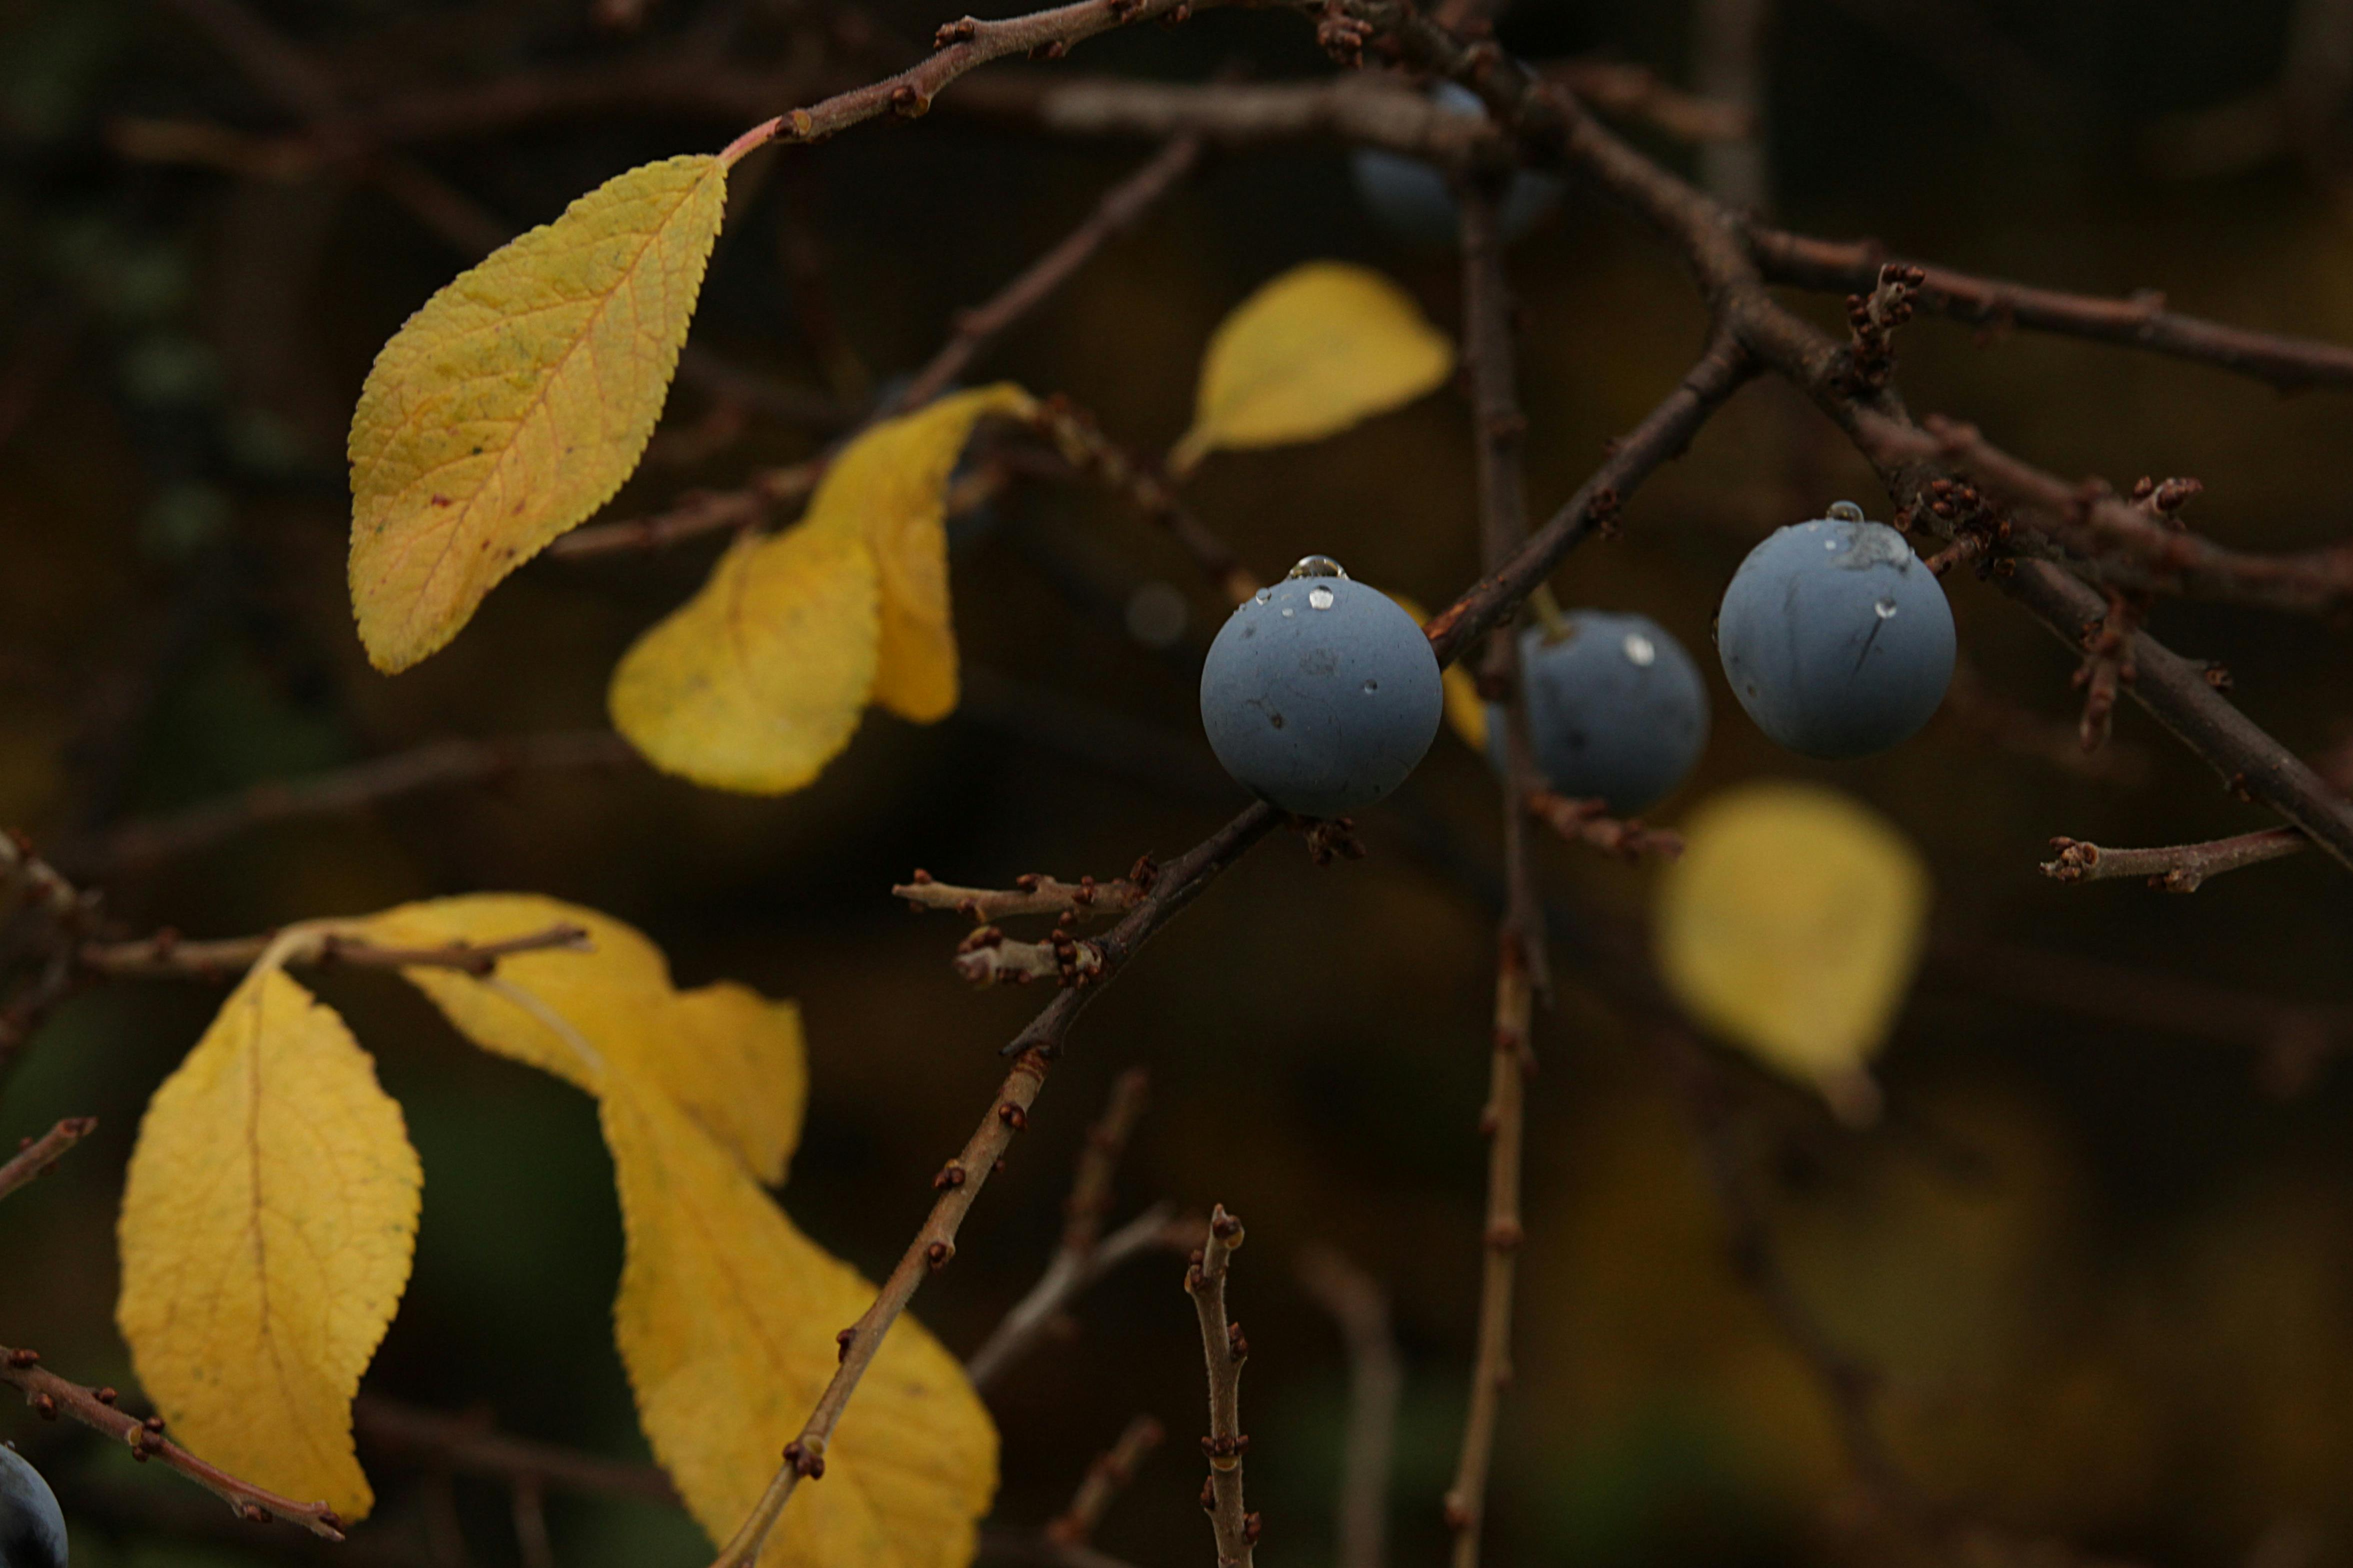
Cloning a blueberry bush is a great way to propagate the plant and create more bushes in your garden. Cloning involves taking cuttings from a mature and healthy bush and using them to create a clone of the original. This process is relatively easy and can be done at home with minimal materials. In this guide, you will learn how to clone a blueberry bush, starting with selecting the right cutting, preparing the cutting, and planting it in the soil. By following these steps, you will have successfully created your very own blueberry bush clone!To clone a blueberry bush, you will need the following items: rooting hormone, pruning shears, a sharp knife, a potting container with a soilless medium such as peat, and a plastic bag. Additionally, you will need to identify a healthy blueberry bush with strong canes and healthy foliage to use as the donor plant.
Gather the Necessary Tools
Before you can begin cutting, you will need to gather all of the necessary tools. This includes a saw (for larger pieces of wood), a jigsaw (for smaller pieces of wood), safety glasses, gloves, and dust masks. Additionally, you may want to use clamps to hold the wood in place as you cut. Once you have gathered all of the necessary tools, it is time to prepare the cutting area.
Prepare the Cutting Area
When preparing the cutting area, it is important to ensure that it is safe and free from debris or any other objects that could interfere with your cutting project. Make sure that any loose debris is removed from the area and that there are no obstructions that could cause an accident or injury. Additionally, ensure that any nearby furniture or objects are covered with protective sheeting to prevent damage from sawdust or debris.
Mark Out Your Cuts
Once you have prepared your cutting area, it is time to mark out your cuts on the wood. Use a ruler and pencil to accurately measure out where you would like to make your cuts. You can also use a template if needed for more precise measurements. Once your measurements have been taken, mark them out on the wood with a pencil so that they are clearly visible when you start cutting.
Check Your Measurements
Before beginning to cut, it is important to double-check your measurements and make sure they are accurate. If anything looks off or doesn’t seem right, go back and recheck your measurements before proceeding with your cutting project.
Put On All Safety Equipment
Once all of your measurements have been taken and double-checked, put on all necessary safety equipment before beginning any type of cutting project. This includes safety glasses, gloves, and dust masks as well as any other safety gear that may be required for specific types of projects. It is also important to make sure that anyone in the vicinity is wearing appropriate safety equipment.
Start Cutting
After all safety measures have been taken care of and double-checked, it is now time to start cutting! Depending on what type of saw you are using (jigsaw for smaller pieces or saw for larger pieces) follow the instructions provided with it in order to safely begin making cuts in the wood. Make sure not to rush through this process as accuracy is key!
Watering The Cutting For Optimal Growth
When growing plants from cuttings, proper watering is essential for optimal growth and health. Cuttings need to be kept moist in order to promote root growth and establishment. The goal is to provide enough moisture so the cutting doesn’t dry out, but not so much that it becomes waterlogged.
When watering cuttings, use tepid water that is free of chlorine or other chemicals. It’s best to water at the base of the cutting, not from above, as this can wash away any rooting hormone powder or gel that may have been applied earlier. When watering from below, place the container in a shallow dish or tray of water and let it soak up as needed.
Frequency Of Watering
The frequency of watering will depend on the type of cutting, its size and the environment in which it’s being grown. Softwood cuttings should be watered more frequently than hardwood ones as they are quicker to lose moisture. In warm weather, cuttings may need daily watering while in cooler temperatures they may only need to be watered every few days.
It’s also important to check for signs of wilting in order to determine when a cutting needs more water. The stem should feel firm when gently squeezed; if it’s limp or soft then it needs more moisture. Watering with a handheld mister can help keep cuttings hydrated without overwatering them.
Monitoring Progress
In addition to regular watering, monitoring the progress of your cuttings is important to ensure they are getting enough light and avoiding root rot due to excessively wet soil conditions. Keep an eye on them for signs of wilting or yellowing foliage, which could indicate an issue with either overwatering or underwatering. Also check for mold or mildew on the soil surface as this can be a sign that too much moisture is collecting around the roots.
If you detect any problems, adjust your watering schedule accordingly and consider using a soil-less medium such as perlite or vermiculite instead of potting soil if drainage appears to be an issue. With proper care and attention, your cuttings should begin forming roots within several weeks and will soon be ready for planting outdoors or potting up into larger containers!
The Ideal Temperature for Cloning Blueberry Bushes
Cloning blueberry bushes is a great way to create multiple plants from an existing one. It is also an easy way to propagate and multiply the desired characteristics of the parent plant. However, cloning blueberry bushes requires the right temperature to ensure success.
The best temperature for cloning blueberry bushes is between 21 and 24 degrees Celsius (70-75 degrees Fahrenheit). This range of temperatures provides a favourable environment for the formation of roots on the new cuttings. If the temperature is too high, it can cause moisture loss and wilting of the cuttings. If the temperature is too low, it can slow down or prevent root formation completely.
When cloning blueberry bushes, it is important to keep in mind that temperatures below 18 degrees Celsius (65 degrees Fahrenheit) should be avoided as this will cause dormancy in most species of blueberries. It’s also important to maintain a consistent level of humidity when cloning blueberry bushes as this will help keep moisture levels up and allow enough air circulation for healthy growth.
In addition to maintaining an ideal temperature, one should also pay attention to light intensity when cloning blueberry bushes. A good rule of thumb is to place the cloned plants in bright but indirect sunlight and avoid direct sunlight if possible. This will help prevent overheating and excessive water loss from the cuttings.
When it comes to cloning blueberry bushes, maintaining an ideal temperature between 21 and 24 degrees Celsius (70-75 degrees Fahrenheit) will provide optimal conditions for successful propagation and healthy growth of new cuttings. It’s also important to be aware of other environmental factors such as light intensity and humidity in order to ensure successful cloning results.
Removing Dead Or Diseased Branches From Cloned Bushes
Removing dead or diseased branches from cloned bushes is essential for the overall health of the bush. Pruning is an important part of plant care, and it should be done regularly to ensure that the bush remains healthy and free from diseases or other issues. Pruning helps to promote new growth and can also help to keep the bush from becoming overgrown. When pruning cloned bushes, it is important to pay close attention to the branches that are being removed so that they are not damaged in any way.
When removing dead or diseased branches, it is best to use sharp-edged pruners so that no damage is done to the remaining branches. It is also important to make sure that all of the dead material has been completely removed, as leaving even a small amount could lead to further decay and disease. Once all of the dead material has been removed, a sealant may be applied to help protect the newly exposed wood from moisture and disease.
It is also important to consider how often pruning needs to be done when caring for cloned bushes. Generally, pruning can be done once every year or two, but this may vary depending on the type of bush being cared for. In some cases, more frequent pruning may be necessary in order to keep up with new growth and ensure that no damage occurs due to overgrowth.
When removing dead or diseased branches from cloned bushes, it is important to take special care in order to avoid damaging any other parts of the bush. Taking proper care when pruning will help ensure that your bush remains healthy and free from disease while also promoting new growth.
Fertilizing Requirements For Cloned Bushes
Cloned bushes have unique fertilization requirements that must be met to ensure optimal plant health and growth. Fertilizing cloned bushes is essential for providing them with the nutrients they need to thrive. It’s important to choose the right fertilizer for your particular type of bush, as different types may require different amounts of fertilizer. Additionally, it’s important to apply the fertilizer at the right time of year and in the correct amounts.
When fertilizing cloned bushes, it’s best to use a slow-release fertilizer that will provide long-term nutrition to the plants. Slow-release fertilizers are available in granular or liquid forms, and can be applied either directly onto the soil or mixed into water and applied as a spray. It’s important to read and follow all instructions on the fertilizer package carefully before applying it.
Different types of cloned bushes may require different amounts of fertilizer, so it’s important to research your particular type before applying any fertilizer. In general, most types of cloned bushes will benefit from 1-2 pounds of slow-release fertilizer per 100 square feet of soil every 3 months during spring and summer months. During fall and winter months, you can reduce this amount to 1 pound per 100 square feet every 6 weeks.
It’s also important to ensure that you are not overfertilizing your cloned bushes. Too much fertilizer can cause leaf burn or other damage to your plants, so it’s important to measure out the correct amount when applying it. Additionally, avoid fertilizing during periods of drought or extreme heat as this can stress your plants even more.
By following these simple guidelines for fertilizing cloned bushes, you can help ensure that your plants grow strong and healthy all year round.
Conclusion
Cloning blueberry bushes is an easy and relatively inexpensive way to increase the size of your blueberry patch. By following the steps outlined above, you can easily create clones of your favorite blueberry bushes. With some time and patience, you can be enjoying delicious, homegrown blueberries for years to come.
For those looking for a more cost-effective option, consider purchasing rooted cuttings from a nursery or online retailer. These cuttings are already rooted and ready to plant in the ground or in containers. With proper care and maintenance, these plants will produce delicious blueberries in no time!
No matter which method you choose, cloning blueberry bushes is a great way to expand your garden with minimal effort and cost. So why wait? Get started cloning your favorite blueberry bushes today!