
Making strawberry jam from frozen strawberries is a great way to enjoy a delicious homemade treat at any time of the year. It’s easy to make, and it can be stored for up to two months in the refrigerator. Plus, you’ll get the added bonus of knowing that you are using real, natural ingredients – no preservatives needed! In this tutorial, we will show you how to make strawberry jam from frozen strawberries in just a few simple steps.To make strawberry jam from frozen strawberries, you will need the following ingredients and supplies:
– 2 pounds of frozen strawberries
– 4 cups of sugar
– 3 tablespoons of lemon juice
– A medium-sized saucepan
– A wooden spoon
– A jar or container for storing the finished jam
Choosing the Strawberries
When choosing strawberries, look for plump, brightly colored berries. Avoid any that appear wilted or have dark spots. Also be sure to check the container for any moldy or mushy berries. If you are picking your own strawberries, select those that are fully red and ripe. Unripe strawberries will not ripen once they are picked.
Washing the Strawberries
Once you have your strawberries, rinse them in cold water. Make sure to move the berries around in the water to get rid of any dirt or residue from the field or store. Be careful not to put too much pressure on the berries as they can be easily bruised and damaged. Once rinsed, let them dry on a paper towel or use a salad spinner.
Storing Strawberries
When storing strawberries, keep them in a refrigerator between 32°F-34°F (0°C-1°C). You can store them in their original packaging or transfer them into a covered container lined with paper towels to absorb moisture and prevent them from becoming soggy and moldy. If possible, try to consume the strawberries within two days for optimal flavor and texture.
Preparing Strawberries
Before preparing your strawberries, make sure to discard any that are bruised or spoiled. Cut off any stems and leaves before slicing them into quarters or halves depending on their size. If not using immediately, you can store prepared strawberries in an airtight container in the refrigerator for up to three days before consuming them.
How to Heat the Strawberries
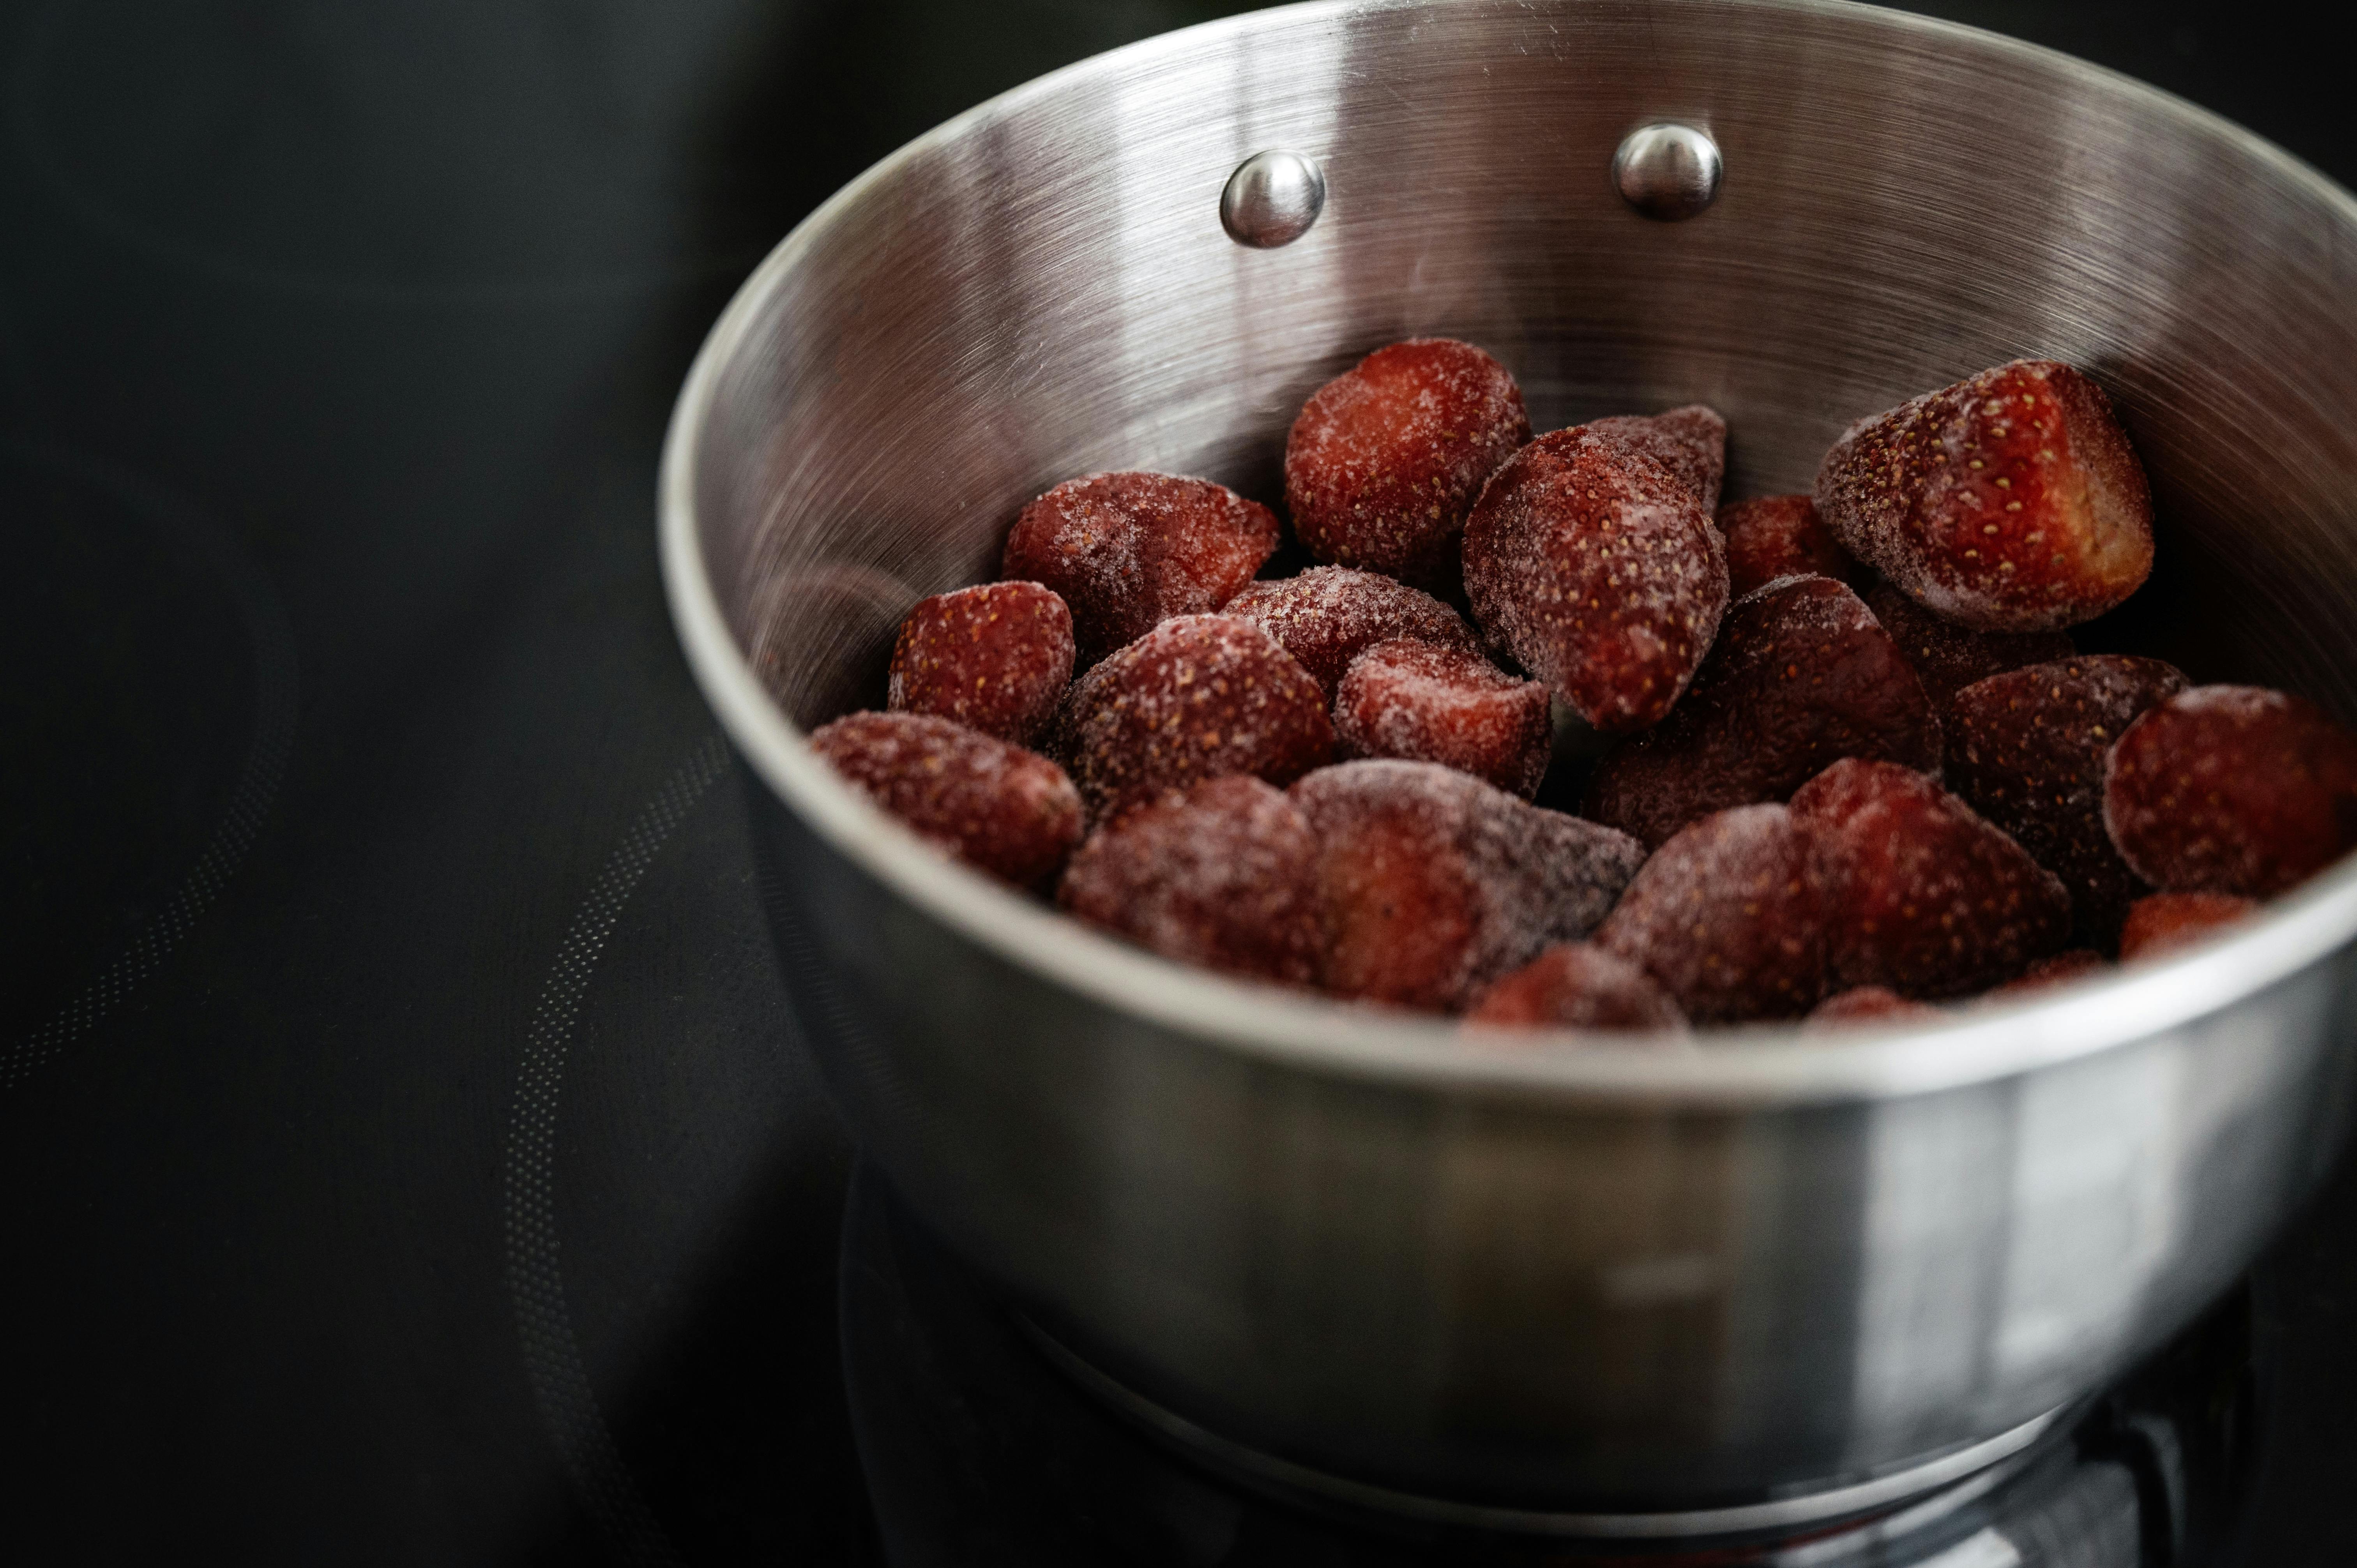
Heating strawberries is a great way to bring out the flavor of the fruit and create delicious desserts. Whether you’re making a strawberry pie, shortcake, or jam, heating your berries can make all the difference. To heat your strawberries, you have a few different options.
The simplest way to heat strawberries is in a saucepan on your stovetop. Start by washing and cutting your strawberries into small pieces. Place them in the pan over medium-low heat and allow them to simmer for several minutes. Stir regularly with a wooden spoon to prevent burning. Once the berries are heated through, remove them from the heat and let them cool before using in your recipe.
If you don’t want to use a stovetop, you can also heat strawberries in a microwave-safe bowl or dish. Again, start by washing and cutting up your berries before placing them in the bowl or dish. Cover with plastic wrap or a lid and cook on high for one minute before stirring and cooking for an additional minute or two until heated through.
Finally, you can heat strawberries on the grill as well! Start by preheating your grill to medium-high heat before cleaning and cutting up your berries into small pieces. Place them in an aluminum foil packet or directly onto the grill grates, cover with a lid if possible, and allow them to cook for several minutes until they’re soft and lightly browned around the edges. Remove from heat and let cool before adding to your recipe.
No matter which method you choose, heating strawberries is an easy way to add flavor and texture to any dessert!
Adding Sugar and Pectin
Making jam or jelly can be quite a lengthy process, but is well worth it when you bite into the finished product. To make jam or jelly, you need to add sugar and pectin. Pectin helps the jam set and provides texture, while sugar acts as a preservative. Adding too much sugar can cause the jam to become too sweet, while adding too little can cause it to spoil quickly. The key is to find the right balance between the two ingredients.
When making jam or jelly, start by measuring out the exact amount of sugar needed for your recipe. Once you have the correct amount of sugar, add the pectin according to package directions. Make sure to stir in the pectin until it has dissolved completely in order for your jam or jelly to set correctly. After that, proceed with your recipe as usual.
It’s important to note that different types of fruit require different amounts of sugar and pectin. You may need to adjust your recipe depending on the type of fruit you are using and its natural sweetness level. If in doubt, refer to a trusted cookbook or online resource for guidance on how much sugar and pectin should be used for each type of fruit.
Once you have added all of the ingredients together and cooked them according to instructions, let your jam or jelly cool before transferring it into jars or containers for storage. Properly sealed jars will keep in a cool, dark place for up to 6 months. Enjoy!
How to Test for Doneness
Testing for doneness is an important part of cooking. Knowing when a food is done cooking can help you avoid overcooking and ensure that your food is safe to eat. There are several methods for testing the doneness of food, including visual cues, temperature tests, and time tests.
Visual cues are often the easiest way to test for doneness. Depending on the type of food you’re cooking, there may be certain characteristics to look out for. For example, many types of meat should be cooked until they are no longer pink on the inside and their juices run clear. Baked goods like cakes and breads should be golden brown in color when done baking.
Temperature tests can also be used to test for doneness. For most types of meat, poultry, and fish, using a thermometer is an effective way to check if it is cooked through. Most meats should reach an internal temperature of at least 145 degrees Fahrenheit before they are safe to eat.
Finally, time tests can also be used as an indicator of doneness. Depending on the type of food you’re cooking, it may need to cook for a certain amount of time before it’s done. When using a timer to test for doneness, make sure you start timing as soon as you begin cooking and watch the clock carefully so that your food doesn’t overcook.
Knowing how to test for doneness can help you become a better cook and ensure that your meals turn out perfectly every time!

Storing the Jam
The best way to store homemade jam is in a cool, dry place. It should be stored in airtight containers or jars so that it doesn’t spoil. If you are using jars, make sure to use glass and not plastic. Plastic can absorb the flavor and aroma of the jam over time. When storing homemade jam, make sure to label it with the date it was made and any additional ingredients used. This information will help you keep track of how long your jam has been stored and when it should be used by.
When storing jam, it is important to remember that it can last up to one year if stored properly. However, for optimum flavor and quality, it is best to use the jam within three months of making it. If you are storing your jam for longer than three months, make sure to check on it periodically to ensure that there is no mold or spoilage occurring.
If you are planning on giving away your homemade jams as gifts or for other occasions, make sure that they are stored properly in airtight containers or jars before giving them away. This will help ensure that the recipient enjoys the full flavor of the homemade jam without any spoilage occurring due to improper storage methods.
Tips for Making Strawberry Jam From Frozen Strawberries
Making strawberry jam from frozen strawberries is a great way to enjoy the taste of fresh strawberries all year round. With a few simple steps, you can create a delicious homemade jam that will make your taste buds sing. Here are some tips for making strawberry jam from frozen strawberries:
1. Start by thawing your frozen strawberries in the refrigerator overnight. This will help to ensure that your berries are fully defrosted and ready to use. Once thawed, place the strawberries in a large bowl and mash them with a potato masher or fork until they form a thick puree.
2. Add sugar to the mashed strawberries and mix until fully combined. The amount of sugar you use will depend on how sweet you like your jam, so make sure to adjust according to taste. You can also add lemon juice or other flavorings if desired.
3. Place the strawberry mixture in a large pot and bring it to a boil over medium-high heat, stirring occasionally to prevent it from burning. Reduce the heat and simmer for about 20 minutes, stirring frequently until the mixture has reduced by half and is thickened.
4. Once the jam has thickened, turn off the heat and allow it to cool slightly before transferring it into clean jars or containers with lids. Make sure that all of your containers are well sealed before storing them in the refrigerator for up to two weeks.
With these tips for making strawberry jam from frozen strawberries, you can easily enjoy fresh-tasting strawberry jam all year round!
Alternative Ways of Making Strawberry Jam From Frozen Strawberries
Making jam from fresh strawberries can be a laborious process, but thankfully, you can also make delicious strawberry jam from frozen strawberries. This is a great way to enjoy the sweet, tangy flavor of strawberry jam all year round. Here are some alternative methods for making strawberry jam from frozen strawberries.
The first method is to thaw the frozen strawberries in a colander over a bowl, and then mash them with a potato masher or fork. Once the strawberries have been mashed, you can add sugar and lemon juice to taste. Place the mixture in a saucepan and cook over low heat until it has thickened to your desired consistency. Once cooled, store your delicious strawberry jam in an airtight container and enjoy!
Another way to make strawberry jam from frozen strawberries is to blend them in a food processor or blender until they are completely smooth. You can then add sugar and lemon juice as desired, and transfer the mixture to a saucepan. Cook the mixture over low heat until it has thickened to your desired consistency. Once cooled, store your homemade strawberry jam in an airtight container and enjoy!
Finally, if you don’t have time or don’t want to spend time making homemade strawberry jam from frozen berries, there are many store-bought varieties available. Make sure to check labels carefully for added sugars or other ingredients that may not be ideal for your diet. With this option, you can simply open a jar of ready-made strawberry jam and enjoy!
Conclusion
Making strawberry jam from frozen strawberries is a great way to enjoy the taste of strawberries year-round. It is easy to make, and you can customize the recipe to suit your preferences. You can experiment with different types of sweeteners and flavorings, such as honey, agave syrup, or cinnamon. The possibilities are endless! Strawberry jam also makes a great gift for friends and family. So why not give it a try?
Making strawberry jam from frozen strawberries is an easy and rewarding experience that will have you enjoying fresh-tasting strawberry jam all year round!