

Crocheting a strawberry cow is a fun and creative way to make a unique and adorable stuffed animal. With the right yarn, a crochet hook, and some basic crochet knowledge, you can easily create your own sweet little strawberry cow. In this guide, you will learn how to crochet the basic shape of a strawberry cow and then use your imagination to customize it with crocheted details such as eyes, ears, nose, horns, and spots. With just a few simple steps, you can create the perfect strawberry cow for yourself or someone special!To crochet a strawberry cow you will need the following supplies: yarn in red, white, and black; a size G crochet hook; a tapestry needle for weaving in ends; stuffing; and safety eyes. You may also want to have scissors and stitch markers on hand for when you are working.
Gather Materials
Gathering the necessary materials is an important step in any project. It’s essential to make sure you have everything on hand before you begin. This will save time and ensure that the project runs smoothly. When gathering materials, consider the type of project and the specific needs that it requires. For example, if it’s a woodworking project, then you’ll need to ensure that you have all of the necessary tools such as saws, drills, sanders, and clamps. You’ll also need to make sure that you have plenty of wood and other supplies. When gathering materials for other types of projects, such as sewing or painting, make sure to get all of the necessary fabric or paint colors. It’s also important to get any additional items that might be needed such as thread or brushes.
Once all of the necessary materials are gathered, it’s important to organize them so they are easy to find when needed during the project. This will help keep things running smoothly and prevent wasted time looking for items when they are needed.
Make the Body of the Cow
Creating the body of a cow is an important part of the process when constructing a cow sculpture. By following some simple steps, you can make a realistic and lifelike body for your sculpture. To begin, you will need some clay or modeling material. You can also use air-dry clay if desired. After gathering your supplies, you can start to form the body of the cow using simple techniques such as rolling and sculpting.
The most important part of making a cow sculpture is to get the proportions right. As with all sculptures, it is essential to make sure that the individual parts are in balance with each other. The head should be slightly larger than the body and all four legs should be roughly equal in size and proportion. Once you have established these basic proportions, you can start to refine your sculpture by adding details like ears and horns.
When creating the torso of a cow, it is important to remember that cows have relatively short torsos compared to their legs. This means that when creating your sculpture, you will need to ensure that the torso is shorter than both forelegs and hind legs. Once this has been achieved, you can start adding detail such as ribs and muscles to give your sculpture more realism.
When constructing a cow sculpture, it is also important to consider its fur or hide texture. This can be done by using a variety of tools such as stamps or carving tools to create grooves in the clay or modeling material to create an overall fur pattern on your cow’s body. Once this has been completed, you may want to add additional details such as skin folds or wrinkles which will further enhance your sculpture’s realism and texture.
Once your cow’s body has been completed, you can then move onto giving it color and finishing touches such as eyes and hooves before completing your masterpiece! With patience and practice, you can make an impressive looking cow sculpture that looks just like one from real life!
How to Make the Head of a Cow
Making a cow head out of paper mache is a great way to add a unique and creative touch to any project. Paper mache is an inexpensive, easily accessible art material that can be used to create a variety of sculptures and decorations. By following these simple steps, you can make the perfect cow head for your next craft project.
Begin by creating a base for your cow head. This can be done by using cardboard or foam core board and cutting it into the desired shape. Using hot glue, attach the two pieces together to form the basic shape. Once dry, cover the form with newspaper strips that have been soaked in white glue. Be sure to smooth out any bumps or creases and allow it to dry completely before continuing.
Next, you will need to create the facial features of your cow head. To do this, gather up some small twigs or sticks and cut them into different lengths and shapes for eyes, nostrils, ears, and horns as desired. Attach these items onto your paper mache form using hot glue or white glue. You may also want to use some additional materials like yarn or fabric scraps for extra details such as eyelashes or hair.
Finally, you can give your cow head a more realistic look by painting it with acrylic paints. Start by applying a base coat of white paint over the entire surface of your sculpture before adding in any details such as eye color, facial markings, etc. Allow this layer of paint to dry completely before adding additional layers until you’ve achieved the desired look.
Once complete, you can further enhance your cow head with other materials like feathers or fabric scraps if desired. These additions will help give your sculpture its own unique personality and style! With just a few simple steps and materials, you can now make a beautiful paper mache cow head that is sure to be admired for years to come!
Making the Legs of a Cow
The legs of a cow are fairly simple to make and will provide your project with a realistic look. The legs should be made from sturdy materials such as wood or plastic and should be painted in the color of your choice. To begin, measure out four pieces of material that are longer than the height you want your cow to be. Cut the pieces to size and then use a saw to make sure that all four are even in length. Next, use a drill to make two holes in each piece, one at the top and one at the bottom.
Once you have finished drilling the holes, it’s time to assemble the legs. Take two pieces and fit them together using some strong glue or screws, making sure that the holes line up correctly. Repeat this process with the other two pieces so that you have two complete legs which can then be connected together using more glue or screws. Finally, attach them securely to your cow’s body and paint them if desired.
Making sure you have all the necessary materials before starting any project is important, so double check that you have everything before commencing with this step. With a bit of patience and care, you will soon have completed your very own cow with realistic looking legs!
Appearance
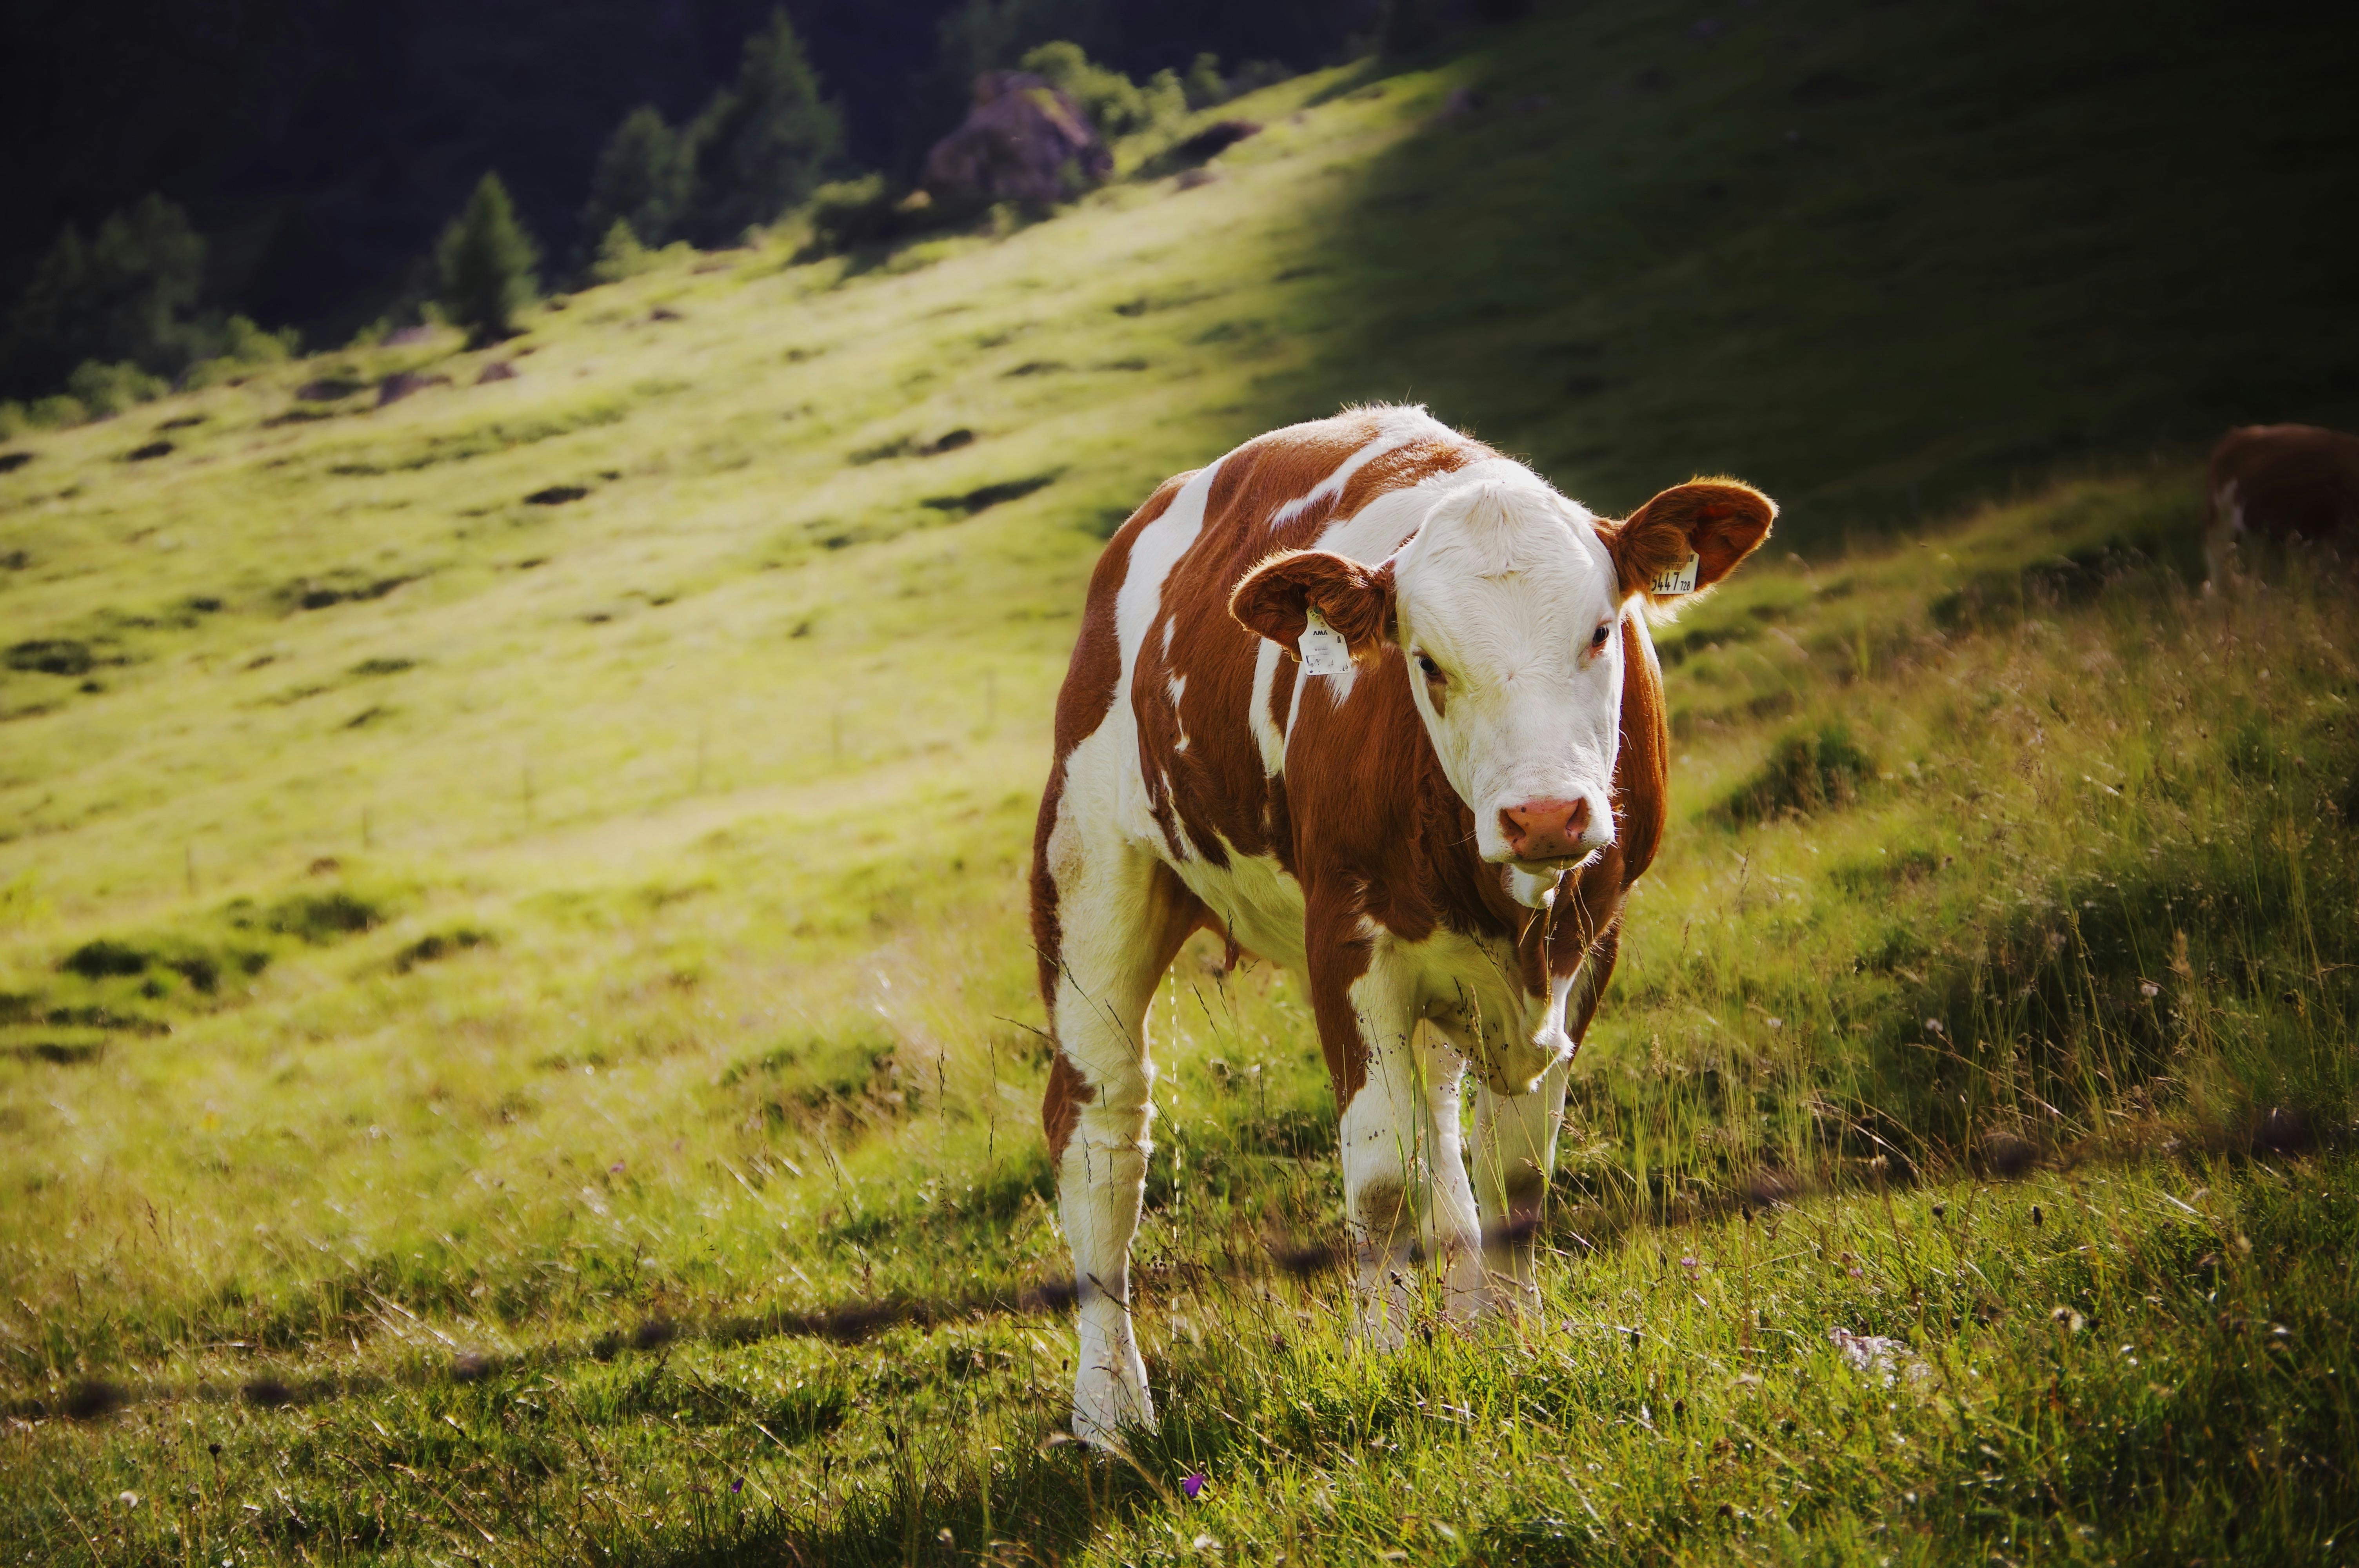
The Strawberry Cow is a breed of dairy cattle with a distinct pinkish-red coat. Its color comes from an abundance of red pigment in the coat, which gives it an overall rosy hue. The breed has short, glossy fur that is usually white with a few red spots. Its horns are curved and long, and its eyes are typically deep black or brown. The ears are large and floppy, while the muzzle is short and rounded. It has a thick neck and rounded shoulders, as well as short legs and feet.
Temperament
The Strawberry Cow is known for its gentle nature and friendly demeanor. It is very intelligent and can be easily trained to understand commands. It is also very gentle with children, making it an ideal pet for families. This breed is also known for being very docile and calm, making it an ideal animal for farms or other agricultural settings.
Diet
The Strawberry Cow makes an excellent dairy producer due to its high milk yield. Its diet consists mainly of hay, grasses, corn silage, grains, alfalfa, vitamins, minerals and other supplements as needed. It also needs plenty of fresh water daily to stay healthy and hydrated.
Health
The Strawberry Cow is generally a hardy breed that rarely has any major health issues to worry about. However, like all animals they can be prone to certain conditions such as mastitis or lameness if not properly cared for or if their diet isn’t properly balanced. Regular veterinary check-ups are recommended to keep them in optimal health condition.
Making The Tail Of The Cow
Making the tail of a cow is an important part of creating a realistic-looking sculpture or model. It is also a great way to express your creativity and make your own unique piece of art. There are several different methods for making the tail of a cow, depending on what material you are using and the level of detail you want to achieve.
The most common method for making the tail of a cow is to use wire mesh or other flexible materials, such as leather or fabric. This method allows you to easily shape and form the tail without having to cut or glue any pieces together. If you are looking for a more realistic look, you can use clay or other modeling materials to build up the shape of the tail and then add details such as fur texture or horns.
Another option for making the tail of a cow is to sculpt it out of wood or stone. This can be time consuming but it can also be very rewarding if done correctly. You will need special tools and patience to get the right shape and details but once it’s done it will last for years if taken care of properly.
If you’re looking for an easier way to make the tail of a cow, there are many pre-made models available in craft stores. These can be painted with acrylic paints or airbrushed with special effects paints for added realism. They can also be modified by adding pieces such as horns, fur texture, etc., so that they appear more realistic and lifelike.
No matter which method you choose, making the tail of a cow is an enjoyable process that can create unique pieces of art that will last for years to come!
Sew Pieces Together
Sewing is a great way to put pieces of fabric or other materials together to create something new. It’s an art form that has been around for centuries, and can be used to make everything from clothing and bedding to decorative items and crafts. Sewing is relatively easy to learn, but it takes practice and patience to become proficient at it. The basics of sewing involve a few simple steps: selecting the right materials, cutting the fabric pieces to the correct size, preparing the seams, and finally sewing them together.
When selecting materials for a project, it’s important to choose fabrics that are compatible with each other and the type of project you’re working on. Different fabrics require different types of needles and threads for proper sewing. Once you have chosen your materials, it’s important to measure them accurately so that all pieces are cut correctly for your project. This can be done with a measuring tape or ruler.
After cutting the fabric pieces, you will need to prepare the seams by pressing them flat with an iron and folding them over twice so they lay flat when sewn. This will help ensure that all seams are even and secure when sewn together. Finally, thread your needle with matching thread and begin stitching the fabric pieces together in a straight line using small backstitches or running stitches as needed. It’s important to keep your stitches even so that the seams don’t pull apart when worn or used.
Sewing is an enjoyable craft that can be used for many different projects around the home or workplace. With some basic knowledge of how to sew pieces together correctly, anyone can create beautiful items from fabrics in no time!
Conclusion
Crocheting a strawberry cow may seem intimidating at first, but it is a really fun project that anyone can do! The most important step is to choose the right yarn and crochet hook, as these will determine the size and look of your strawberry cow. After that, you can have fun with the stitches, colors and details. With some patience and practice, you’ll be able to crochet a strawberry cow that you will be proud of!
Happy crocheting!