

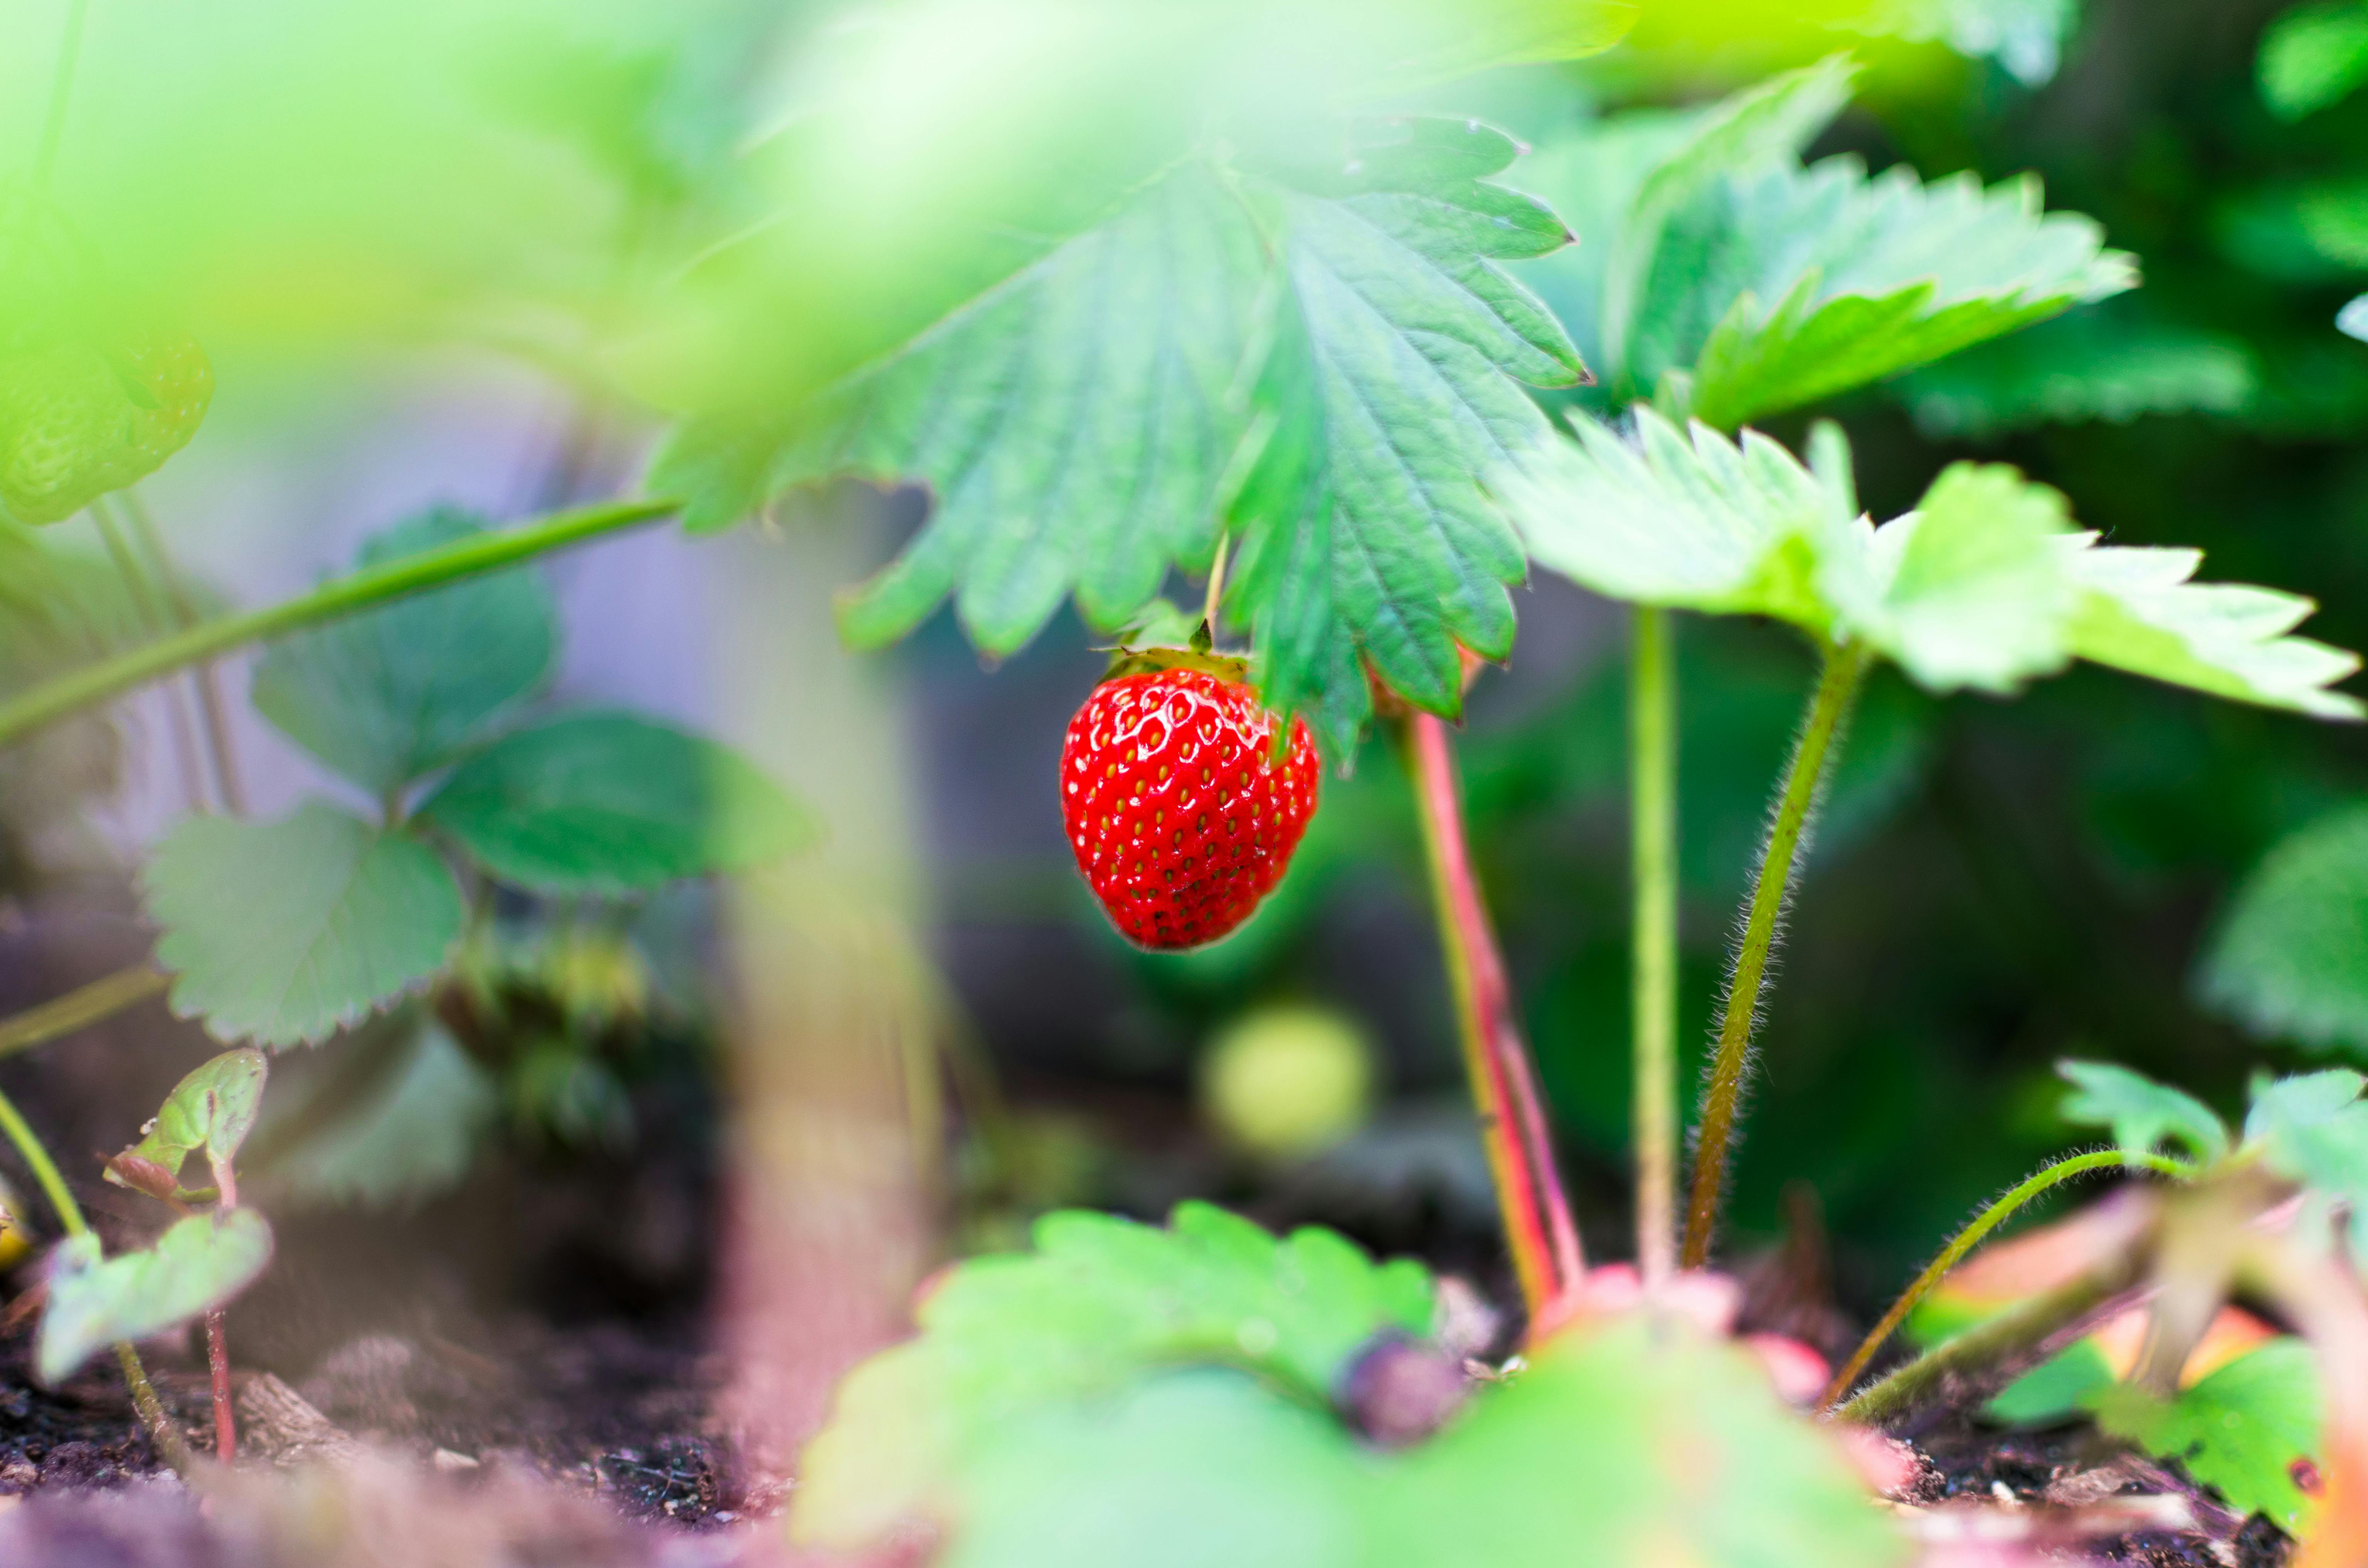
Propagating strawberry plants is a simple process that can be done by anyone. There are two main methods for propagating strawberries – runners and division – which will both allow you to increase your strawberry patch without having to buy new plants. In this guide, we will discuss the steps involved in propagating strawberries, as well as the benefits and considerations of each method.To propagate strawberry from cuttings, you will need a sharp knife and a small container. First, select a healthy strawberry plant for your cutting. Then carefully cut off the top of the plant at a 45-degree angle. Choose a cutting that is approximately 4-5 inches long with at least two sets of leaves. Remove the lower leaves from the cutting and dip it into rooting hormone powder. Place your strawberry cutting into a small container filled with potting soil. Make sure to water it regularly and keep it in partial sunlight until you start to see new growth coming through. Once this happens, you can transfer your newly propagated strawberry plant to its permanent home!
Propagating Strawberry
Propagating strawberry is a great way to increase your crop and enjoy more of the delicious fruit. To get started, you will need to gather some supplies. These items are essential for successful strawberry propagation:
- Strawberry Plants
- Potting Soil
- Pots or Containers
- Fertilizer
- Knife or Shears
Once you have all of the supplies, you can begin propagating your strawberry plants. Start by cutting off the crowns from the main plant. The crown is a small section of the stem that has roots and leaves attached, so it’s important to make sure you get as much of this part as possible. Once the crowns are removed, place them in a pot filled with moistened potting soil. Make sure to leave enough space between each plant so that they can grow without crowding one another.
Next, water your plants generously and give them plenty of sunlight. It’s important to keep the soil moist at all times during propagation as this will help encourage root growth. Regular fertilization with a balanced fertilizer will also help ensure healthy growth. Finally, once your plants are established, it’s time to transplant them into their permanent beds or containers.
Propagating strawberry plants is an easy way to increase your crop and enjoy more of these delicious fruits. With just a few simple steps and some basic supplies, you can be on your way to growing delicious strawberries in no time!
Gathering The Necessary Supplies
To begin the process of growing strawberries from cuttings, it is important to first gather the necessary supplies. You will need a sharp and sterile cutting tool, such as scissors or pruning shears. Other necessary supplies include a potting soil mix, rooting hormone, and a shallow container with drainage holes. Additionally, you may want to have clear plastic bags or plastic wrap on hand to cover the container while the strawberry cuttings are rooting.
Preparing The Cuttings
The next step in growing strawberries is to prepare the cuttings. Choose stems that are healthy and green in color, while avoiding any that appear brown or wilted. Cut the stem at an angle just below a node (where leaves have grown). Each cutting should be about 4-5 inches in length and should contain 2-3 leaves. Dip each cutting into rooting hormone before planting them.
Planting The Cuttings
Once the cuttings have been prepared, it’s time to plant them in their new container. Start by filling the shallow container with potting soil mix and make several small holes for planting. Place each cutting into its own hole and lightly tamp down the soil around it. Water each cutting thoroughly after planting.
Providing The Right Conditions
Strawberry cuttings will require certain conditions in order to root successfully. Place the container in an area away from direct sunlight but still bright enough for photosynthesis to occur. Covering the container with a clear plastic bag or wrap can help retain moisture as well as provide additional warmth for faster rooting results.
Monitoring The Progress
Once you have planted your strawberry cuttings, all that is left is to monitor their progress over time. Check on them frequently and water when needed until they have established strong roots which can take between 3-5 weeks depending on conditions. After this period, you can begin slowly introducing your strawberry plants to outdoor conditions before transplanting them into your garden or larger pots!
Preparing The Soil For Strawberry Propagation
Strawberries are an incredibly hardy and easy to grow fruit, but in order to get the best quality and yield from your crop, it’s important to prepare the soil properly before planting. Proper soil preparation for strawberries is essential for healthy roots, robust foliage, and an abundant harvest. Here are some tips on how to prepare the soil for strawberry propagation.
Start by testing the pH of the soil. Strawberries prefer a slightly acidic soil with a pH level of between 5.5 and 6.5. If your soil’s pH is too high or too low, you can add sulfur or lime to adjust it accordingly.
The next step is to incorporate organic matter into your soil. Organic matter such as compost, manure, or peat moss helps increase water-holding capacity and drainage in sandy soils while improving nutrient availability in clay soils. It also provides essential nutrients for your plants such as nitrogen, phosphorus, and potassium (NPK).
Once you’ve prepared the soil by adjusting the pH level and adding organic matter, it’s time to till or spade the bed. This helps break up any large clumps of dirt that could impede root growth and improve aeration in clay soils prone to compaction.
Finally, add a layer of mulch around your strawberry plants to help retain moisture and keep weeds at bay. If you live in a climate with cold winters, consider using straw or hay as mulch – this will help insulate the roots from freezing temperatures during the winter months.
By following these tips on preparing the soil for strawberry propagation, you’ll be well on your way towards growing healthy plants that will provide you with buckets full of fresh strawberries!
Understanding The Different Types Of Strawberry Cuttings
Strawberries are one of the most popular fruits in the world, and there are many different types of strawberry cuttings that can be used to produce a healthy and thriving crop. A strawberry cutting is a section of stem that has been cut from a mature strawberry plant, and then planted in soil or other growing medium. Strawberry cuttings can be used to propagate new plants from existing ones, or to start a new crop without having to buy an entire plant from the store.
The first type of strawberry cutting is called an “eye” cutting. This type of cutting is taken from the base of the plant, and it contains several small buds that will eventually grow into new plants if they are planted correctly. Eye cuttings are usually easy to take, as they don’t require any special tools or skills. However, they do need to be handled carefully so that none of the buds get damaged during the transplant process.
The second type of strawberry cutting is called a “runner” cutting. This type of cutting comes from further up on the stem, and it contains several long stems with leaves attached to them. These long stems will eventually form roots when planted in soil, allowing for new plants to form at each end. Runner cuttings often require more skill than eye cuttings, as they must be handled carefully so that none of the stems break during transplanting.
The third type of strawberry cutting is called a “crown” cutting. This type of cutting comes from further up on the stem than eye cuttings or runner cuttings, and it contains several branches with leaves attached to them. Crown cuttings can be used to start a whole new crop without needing an entire plant from a store, as they contain enough branches and leaves for multiple plants to develop when planted correctly in soil or other growing mediums. They also require more skill than eye or runner cuttings due to their larger size and delicate nature during transplanting.
Regardless of which type of strawberry cutting you choose for your garden, it is important to handle each one with care during transplanting so that none of the buds or stems get damaged in any way. With proper care and attention, any one of these types of strawberry cuttings can produce healthy and thriving plants that will provide plenty delicious fruit for your enjoyment!

Propagating Strawberry
Propagating strawberry is not a difficult task, but it is important to do it at the right time for the best results. The best time to propagate strawberry is during late winter or early spring. This is when the plant has enough energy stored up to support new growth, but before the heat of summer sets in. The exact timing will depend on your climate and where you live, so it’s important to do some research before you start propagating.
When propagating strawberry, there are a few key steps to follow. First, you will need to choose a healthy, disease-free mother plant from which to take cuttings. Cuttings should be taken from new growth and should be about 3-4 inches long. Make sure that each cutting has at least two sets of leaves and no flowers on them. Once cuttings have been taken, they should be immediately dipped in rooting hormone and planted in sterile potting soil in containers or trays.
It’s important to keep the soil moist but not soggy during the rooting process. It may take three weeks or more for roots to form on the cuttings, so patience is key here! After roots have formed and the plants have grown a bit, they can be transplanted into larger pots or into your garden bed. With proper care and regular watering, your newly propagated strawberries should produce fruit within a few months!
Selecting Strawberry Cuttings
When selecting strawberry cuttings, it is important to choose healthy and vigorous plants that are free of disease or pest damage. Look for strong, green leaves and stems that are firmly attached to the cutting. Avoid purchasing any cuttings with any brown or discolored foliage, as this is an indication of disease or pest damage. Additionally, check the roots of the cutting before purchasing to ensure they are not wilted or discolored. Healthy strawberry cuttings should have white roots that appear moist and vibrant.
Obtaining Healthy Strawberry Cuttings
It is important to obtain healthy strawberry cuttings from a reputable source. Ask around for local nurseries that specialize in strawberries, as they will likely have a wide selection of healthy plants available for purchase. If purchasing online, make sure to read reviews and look at photos before making a purchase. It is also recommended to contact the seller directly with any questions or concerns regarding the health of the cuttings.
Gathering the Supplies
Before planting the strawberry cuttings, you need to gather the necessary supplies. These include a sharp knife, scissors, potting soil, and containers or beds that are deep enough to support the strawberry plants. Additionally, you will need to make sure you have adequate drainage for the containers or beds. It is also helpful to have a watering can and some mulch on hand to help protect the roots of the strawberry plants.
Preparing the Containers or Beds
Once you have gathered all of your supplies, it is time to prepare your containers or beds for planting. If using containers, fill them with potting soil and create holes in the soil that are at least 4 inches deep for each cutting. If using a bed, make sure it is well-tilled and add potting soil as needed. Make sure there is adequate drainage before planting your cuttings.
Taking Cuttings
Now that you have prepared your growing area for planting, it’s time to take your cuttings from an existing strawberry plant. With a sharp knife or scissors, take cuttings that are about 4 inches long from healthy plants and make sure each cutting contains at least two sets of leaves. Place these cuttings in a cool place until they are ready to be planted.
Planting the Cuttings
Once your containers or bed are prepared and you have taken your cuttings from an existing plant, it’s time to plant them in their new home. Place each cutting into its own hole in the potting soil and lightly press down on it so that it is secure in its spot. Once all of your cuttings have been planted, water them thoroughly with a watering can so that they become established in their new environment.
Caring for Your Strawberry Plants
Now that all of your strawberry plants have been planted and watered properly, it’s important to keep up with their regular care routine. Water them regularly and check for pests or disease often so that they stay healthy and continue to produce fruit throughout the season. Mulch around each plant helps keep weeds away as well as keeps moisture around roots of plants during hot days.
Conclusion
Propagating strawberry plants from runners is a great way to increase your number of strawberry plants with minimal expense. Although it requires some patience and knowledge, the process is fairly straightforward and can be done in a few simple steps. First, you need to select the best runners from your existing strawberry plants. Then, you need to prepare the soil for the new plantings and get rid of any weeds. Finally, you need to replant the runners in their new location and take care of them until they have taken root. With proper care and attention, your propagated strawberry plants will thrive for many years to come.
Overall, propagating strawberry plants from runners is an easy way to expand your garden or berry patch without having to purchase additional starts. With a little bit of effort, you can easily increase your yield of delicious strawberries!